I love making paper snowflakes. I grew up making the kind where you fold paper, cut out different shapes along the edges and then unfold it to reveal a unique and beautiful snowflake creation. This year, I learned a new way to make a giant paper snowflake using paper lunch bags! The first one I tried was with some brown paper lunch bags I had in a a kitchen cabinet. Then I stumbled upon white lunch bags at Walmart, so I tried another using those.
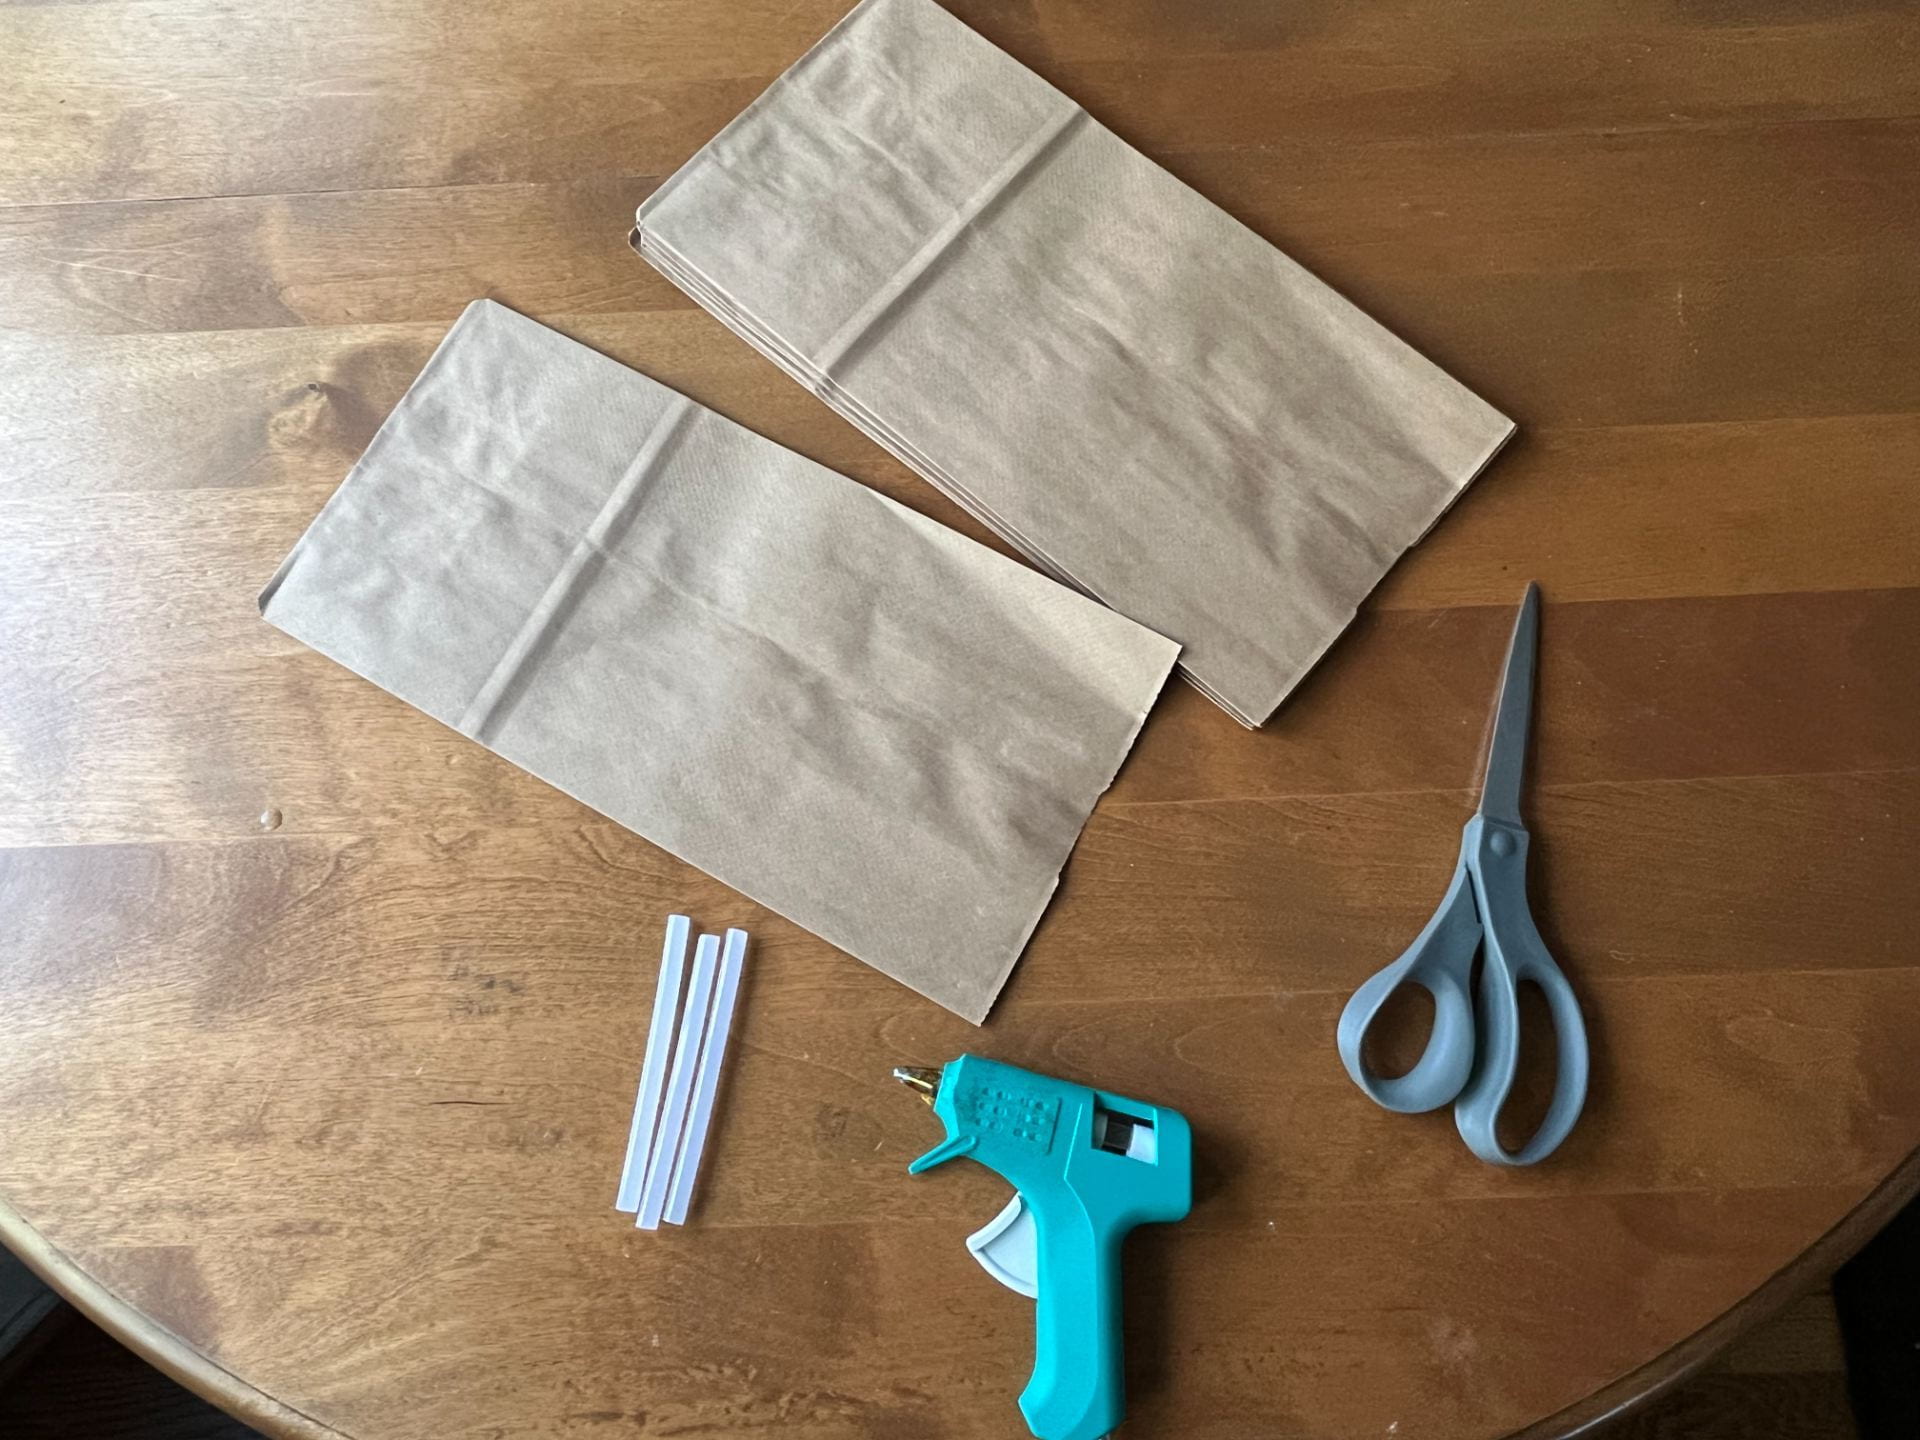
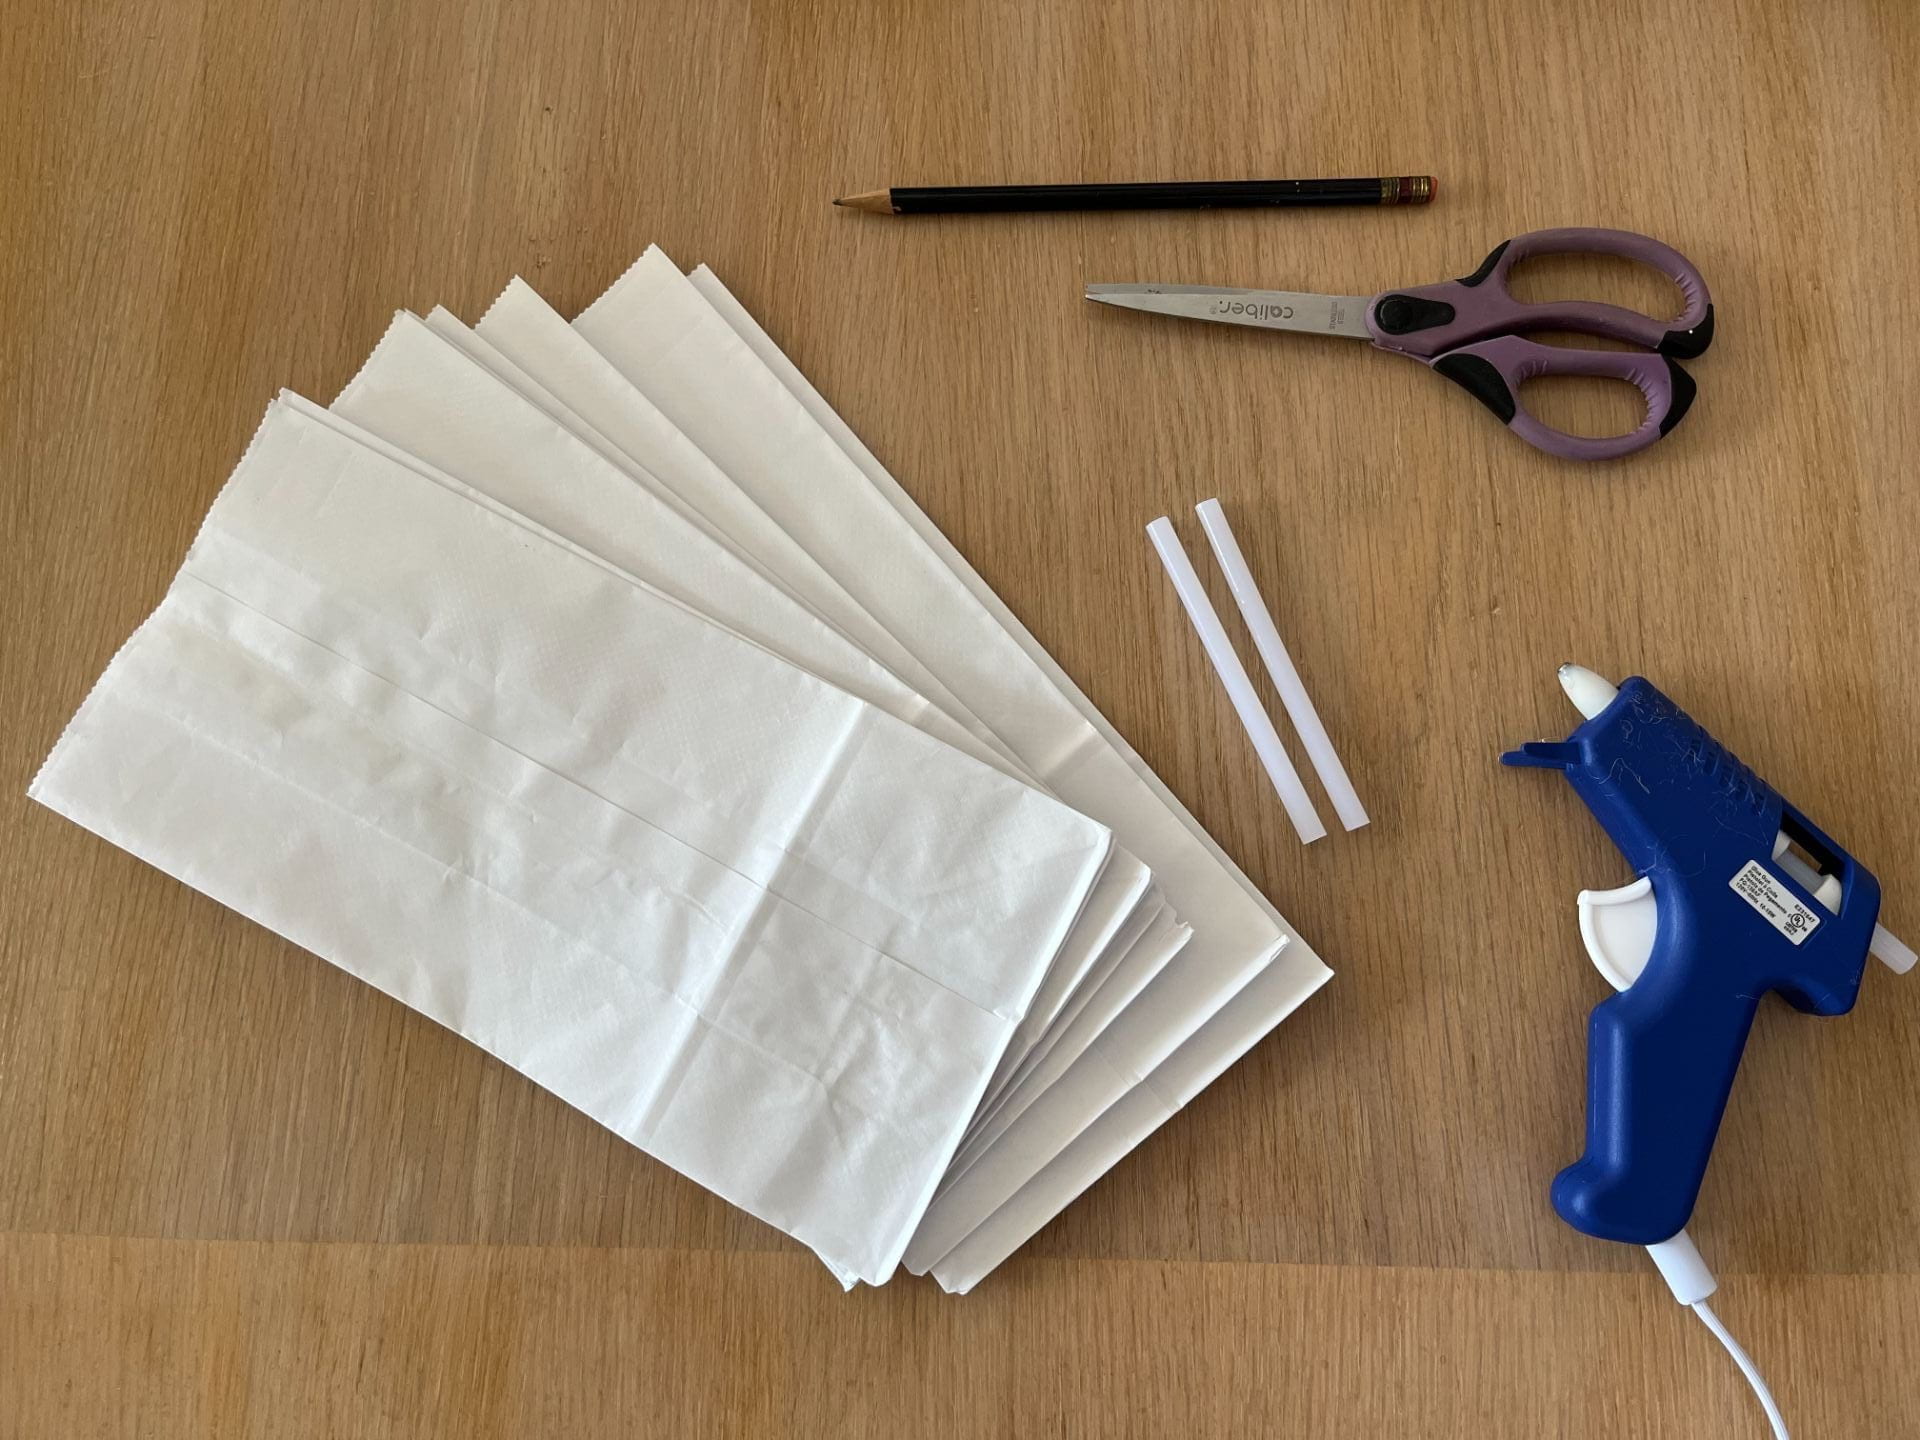
To make the snowflake you need 9 paper lunch bags, a hot glue gun (a glue stick or wet glue might work, but you’d have to let it dry before cutting and unfolding), scissors, a hole punch and some string or ribbon to hang it.
Squeeze glue in a line along bottom edge of lunch bag and the up the center to form a T.
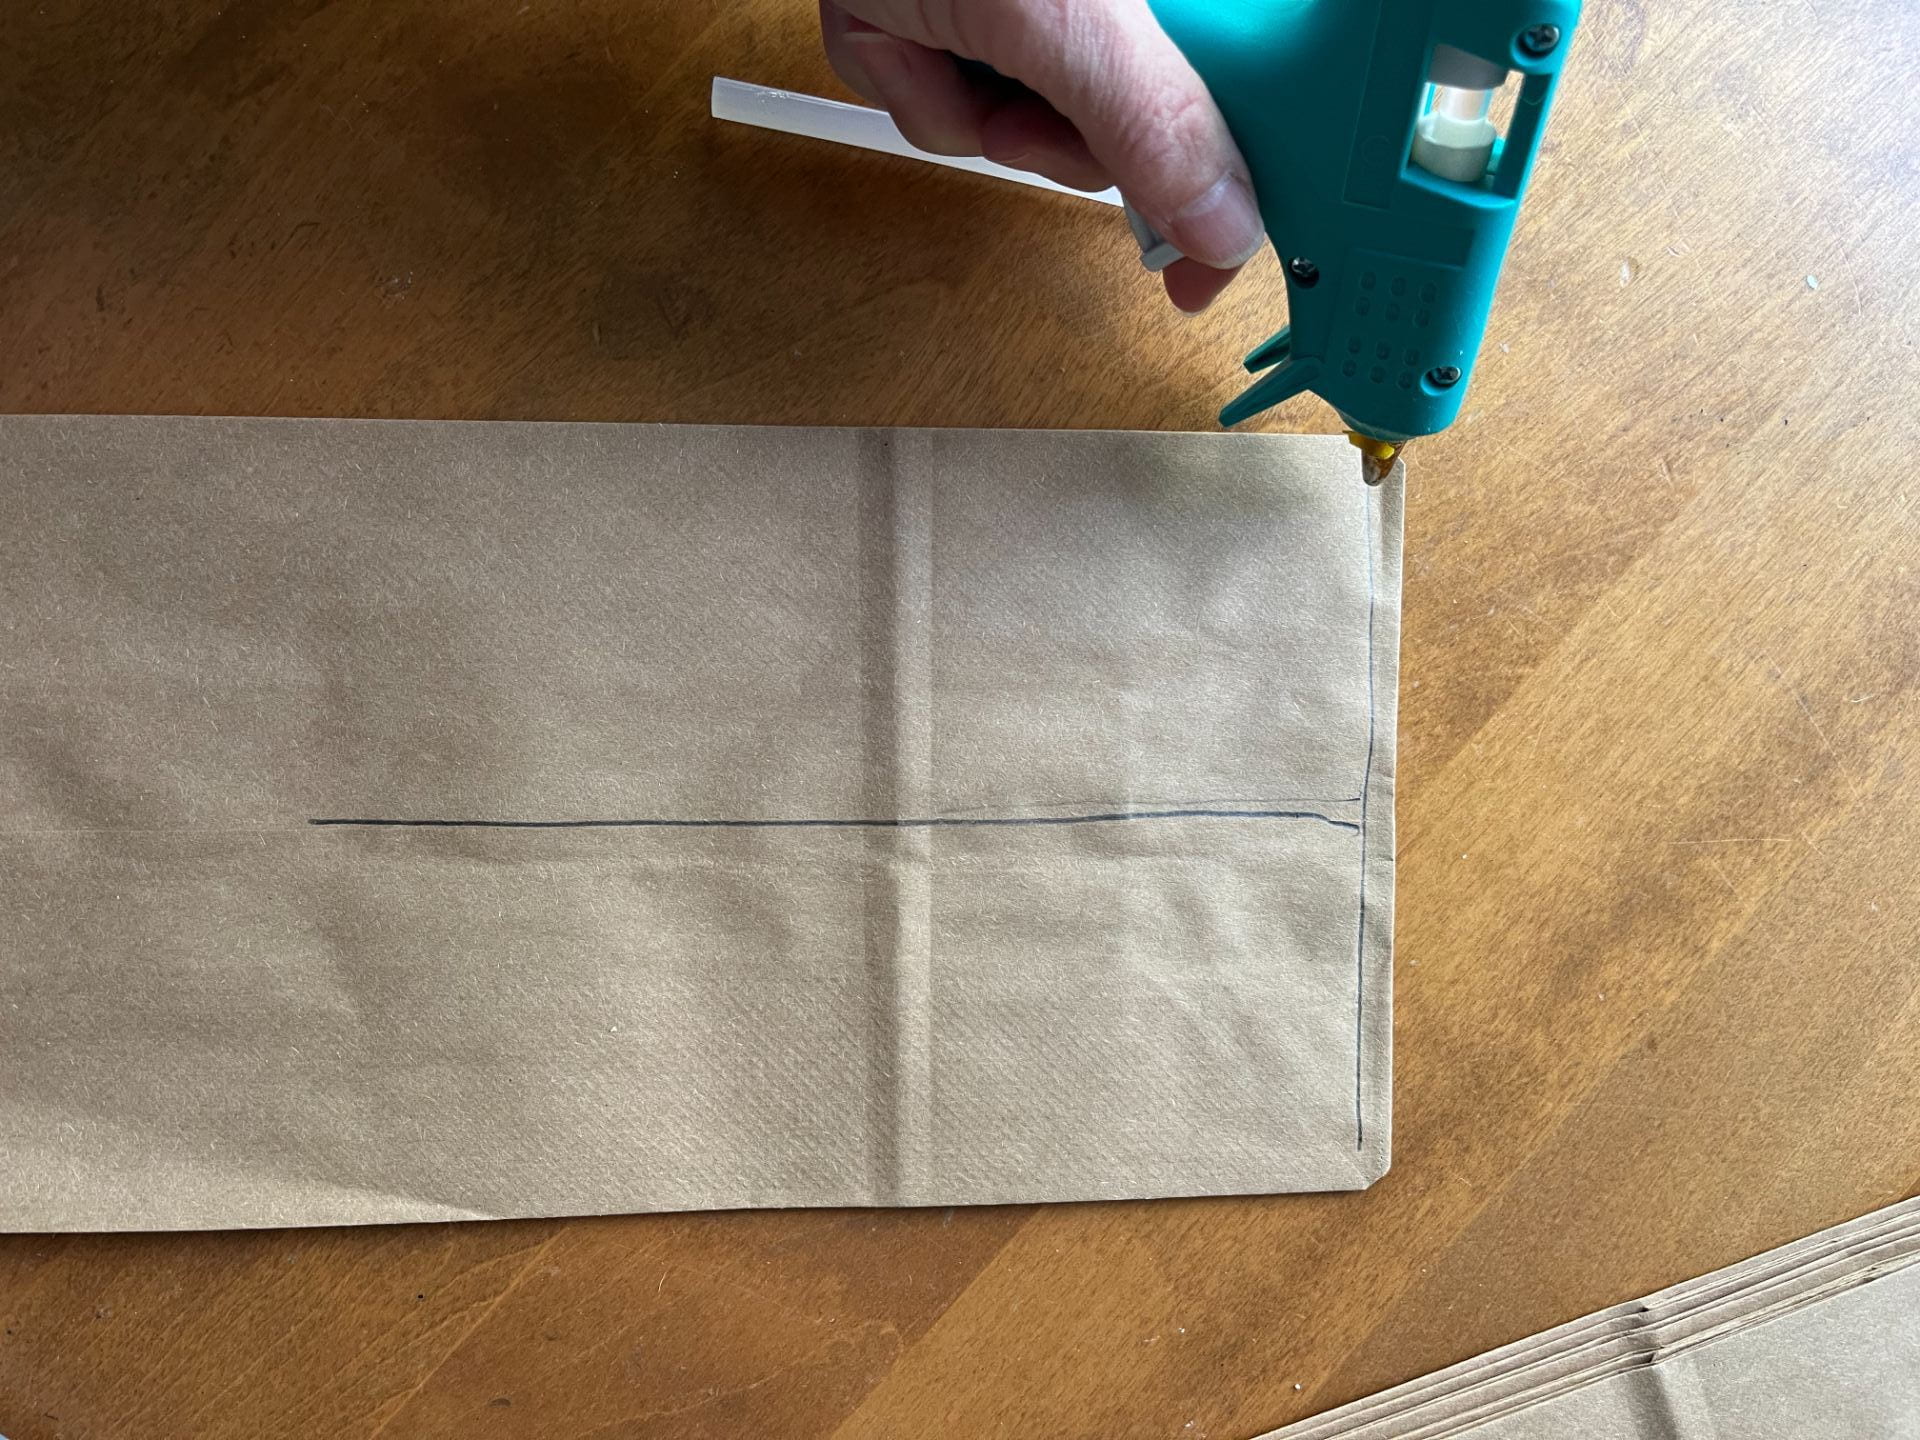

Place a lunch bag on top being careful to have them lined up and the bottom folded edge facing the same way. Continue making a glue T and placing a bag on top until you have a stack of 9 lunch bags glued together.


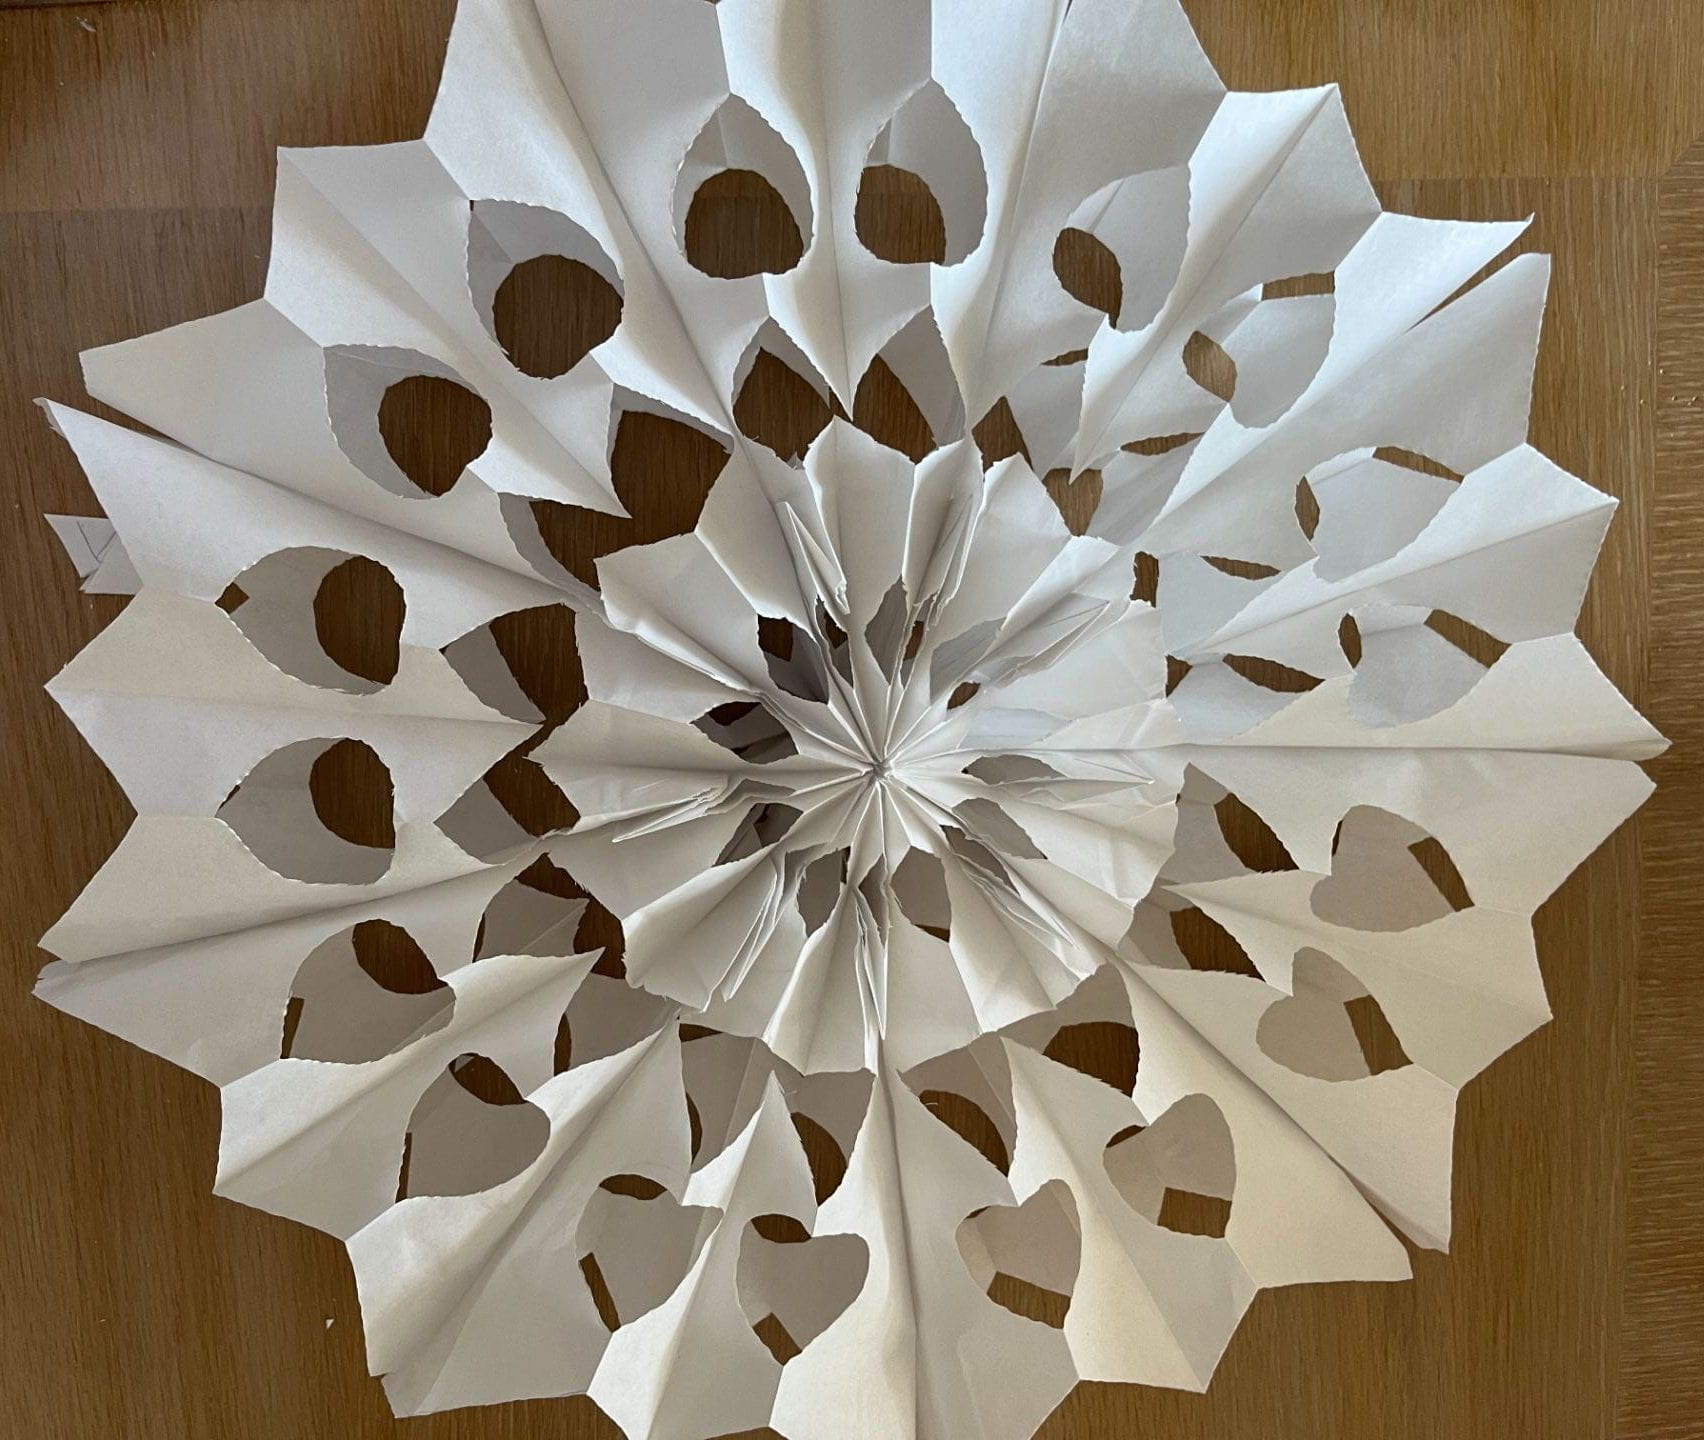
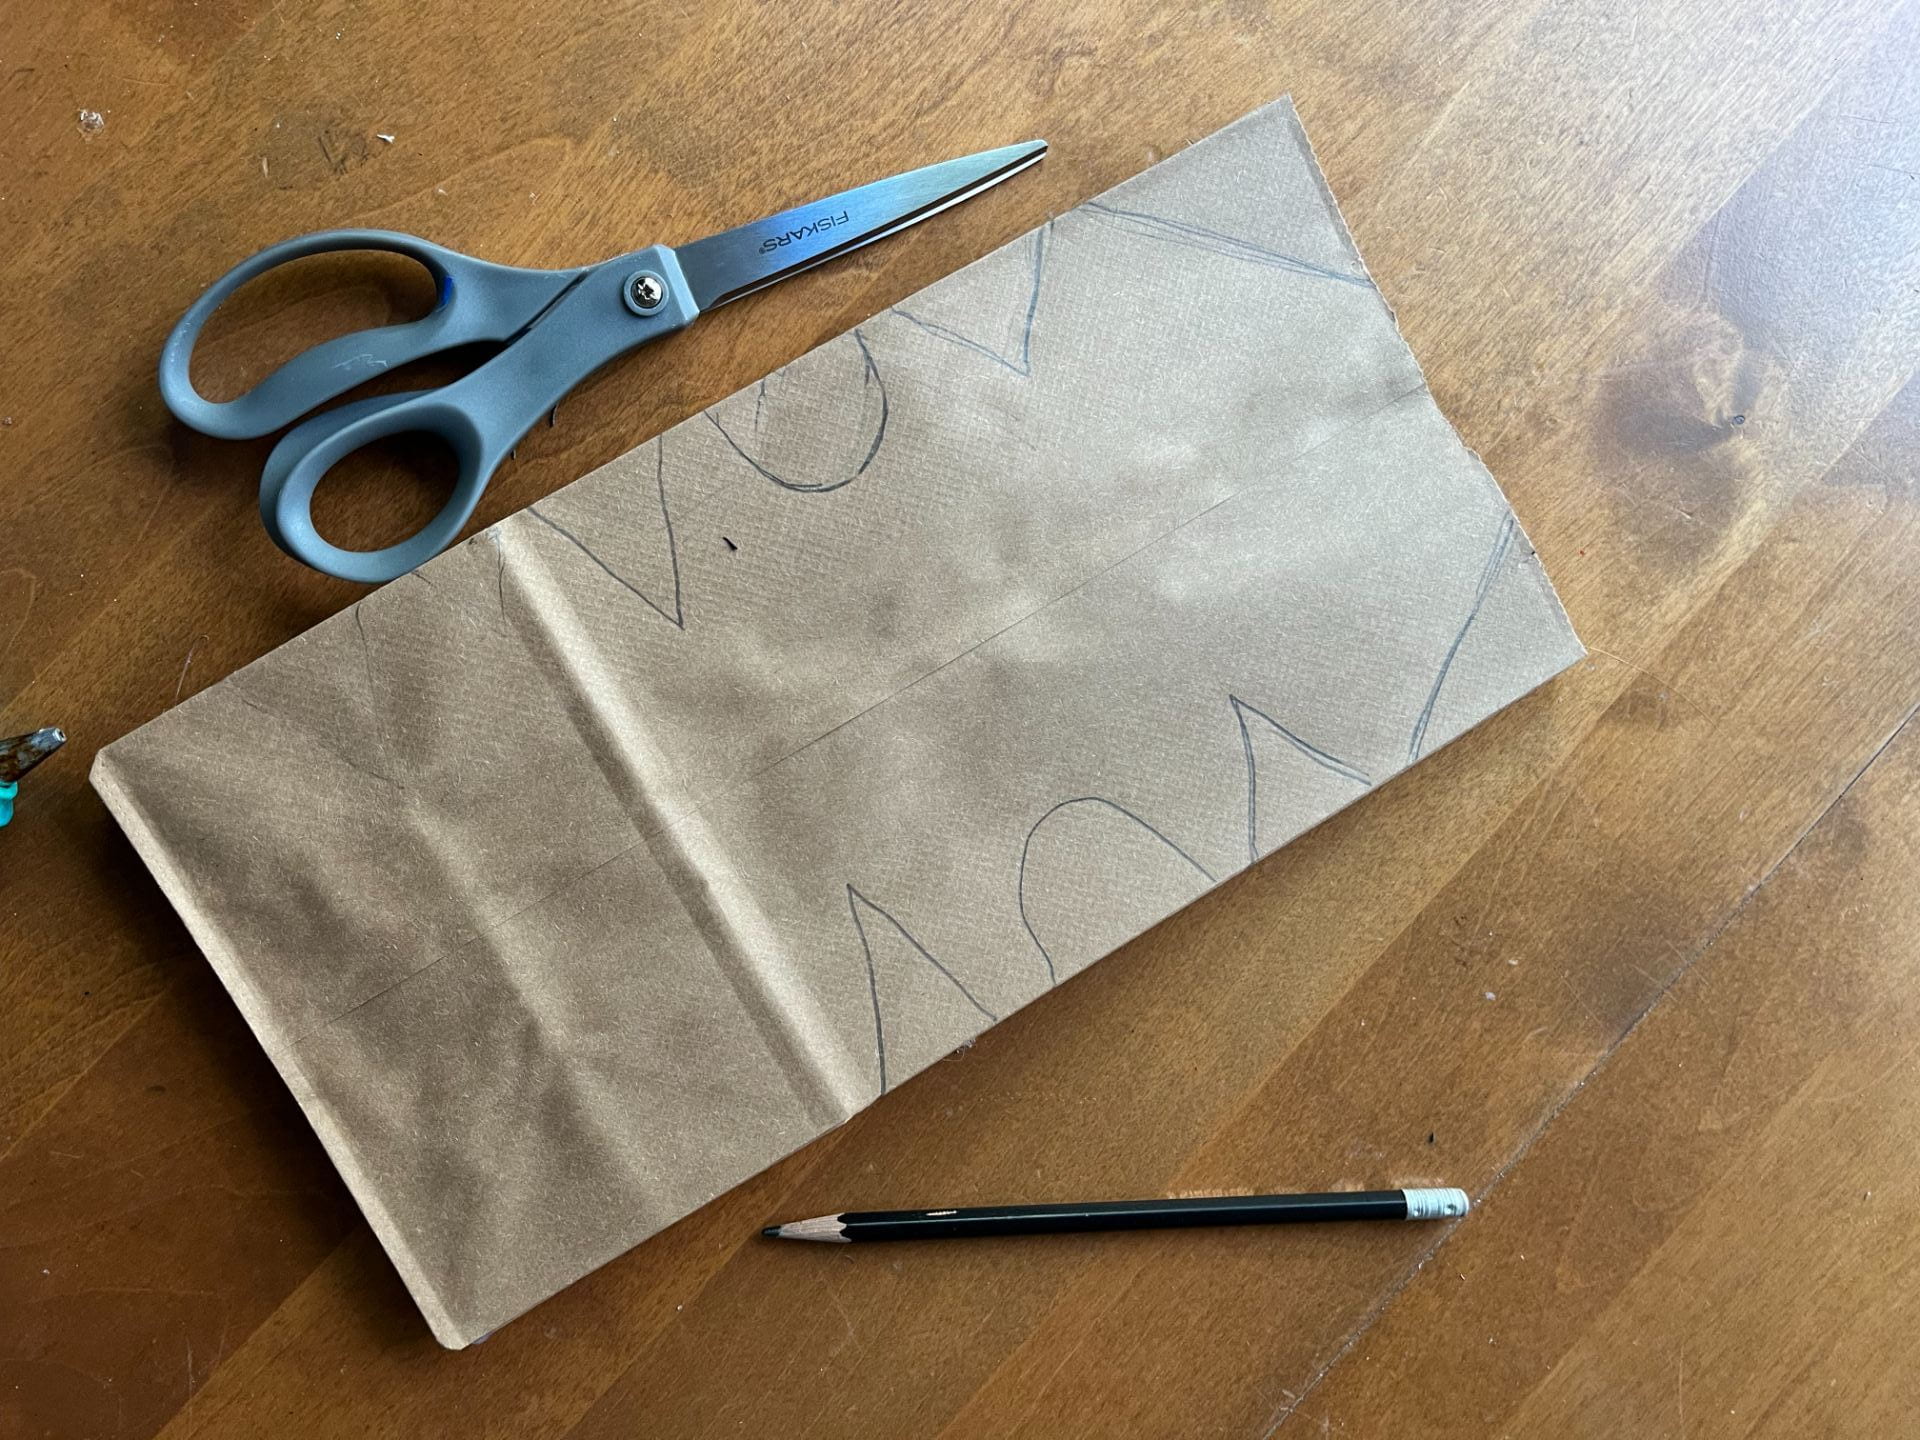
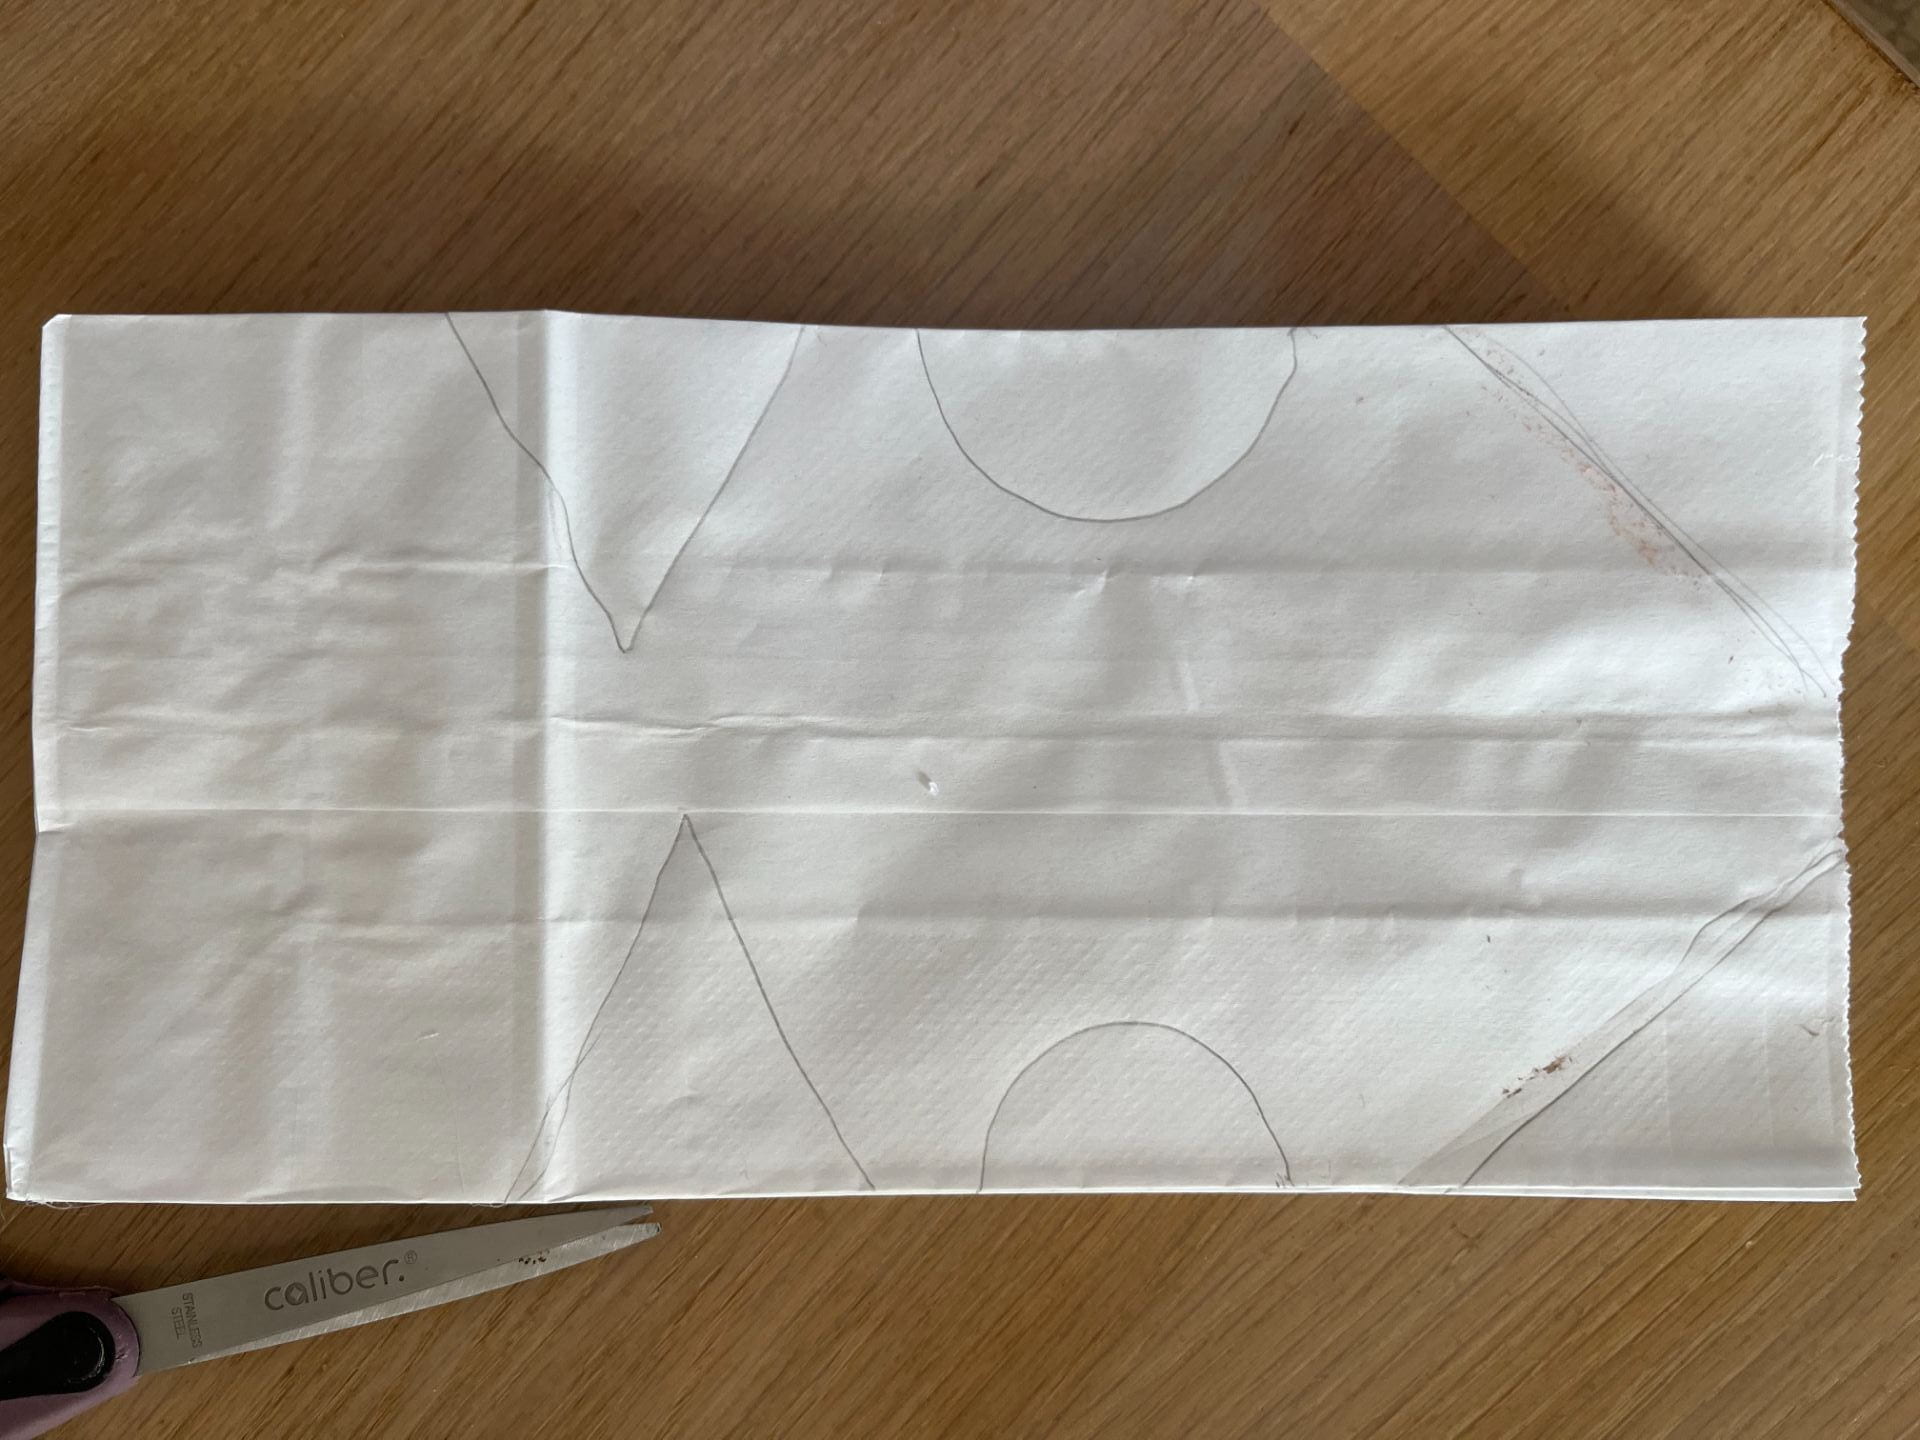
Draw shapes along both side edges that you want to cut out. I stayed above the area where the bottom of the bag folded up for the brown one, and tried cutting shapes all the way down the sides for the white one.

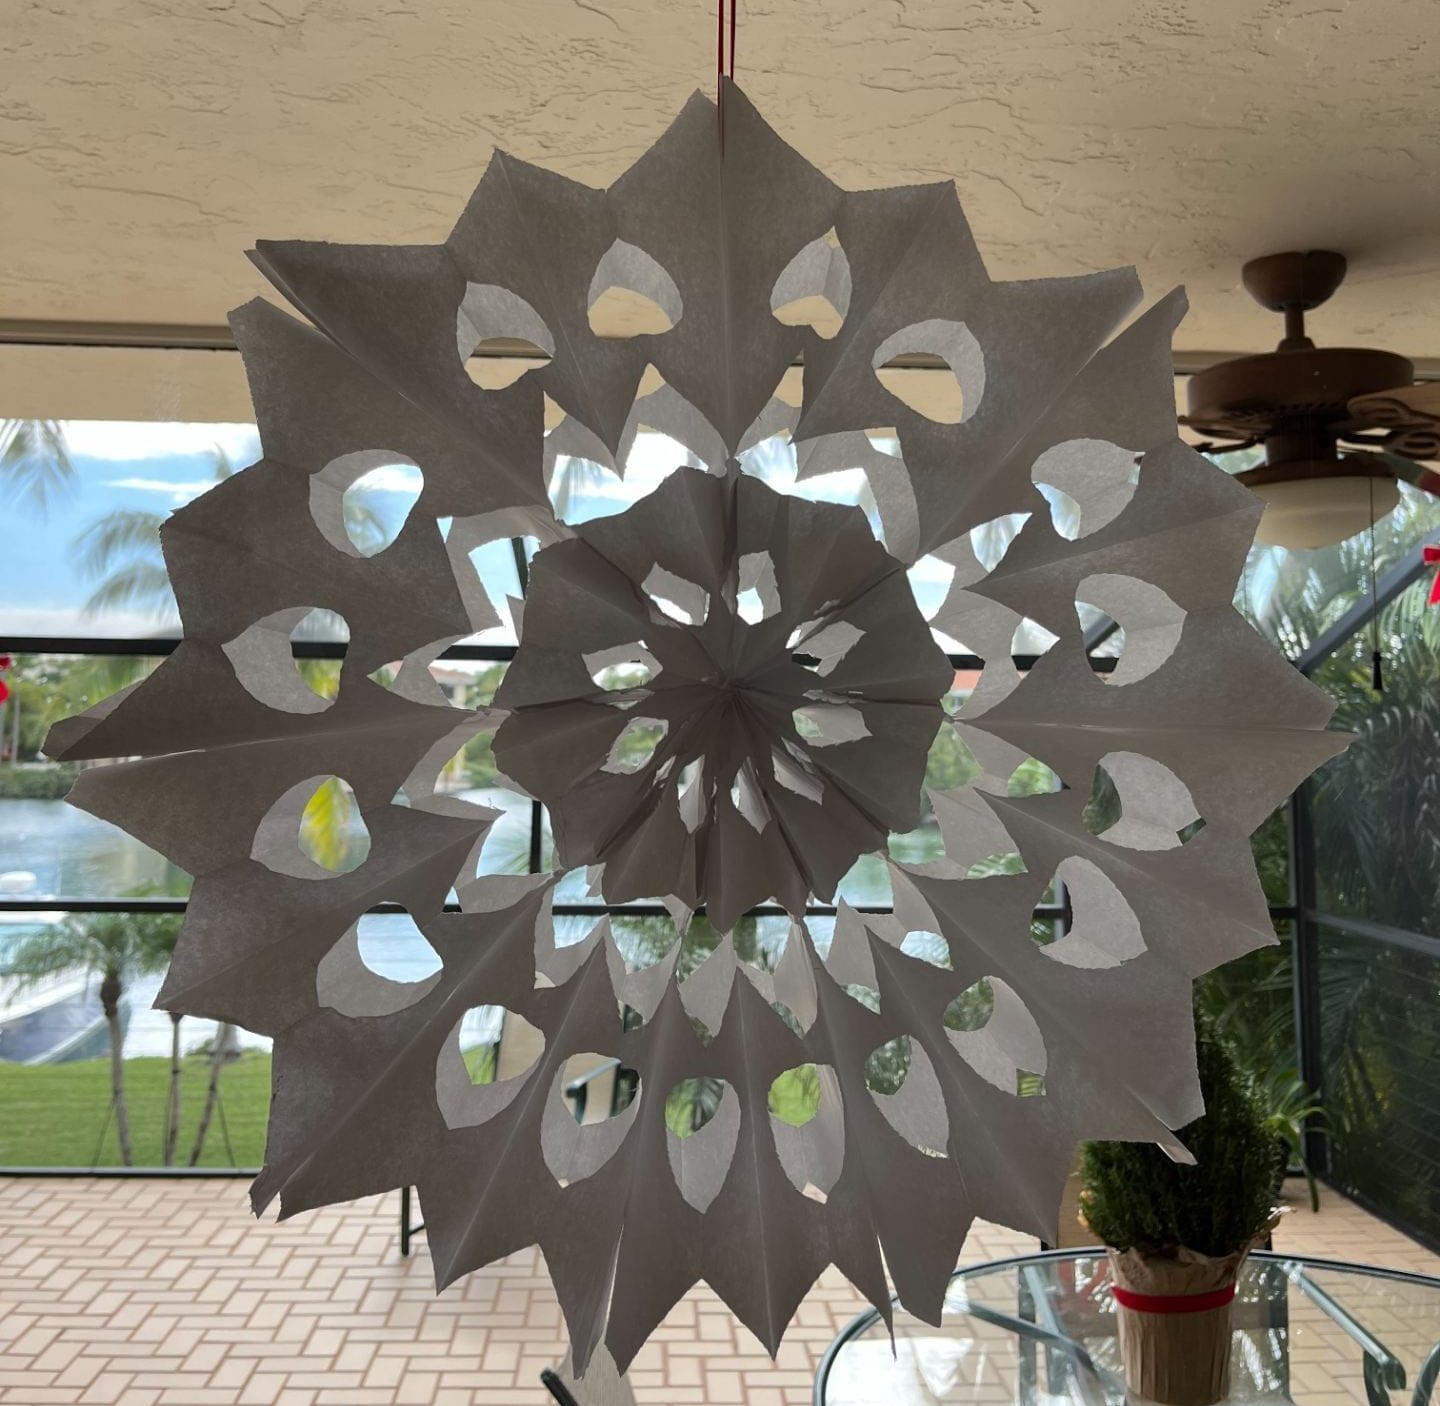
Once all the shapes are cut out, pull the two outside layers around to open the snowflake and glue them together.
You can then punch a hole in it, loop some string or ribbon through, and hang it up!