Hello all! I’ve had to switch gears a little bit for this post. I was originally planning on finishing a side table I am making with clear epoxy resin and rocks we collected over the years from lakes in northern Michigan. I was happily lugging all my supplies out onto our screened porch (the epoxy has strong fumes/odors so I need to do it out of the house) when I looked around and saw that layer of pollen dust on every surface. It would settle into my freshly poured epoxy and make it all I cloudy. Sooo….onto something else for now until the dust clears!
Having just set up school work spaces in our homes, I thought maybe they could use a little pizzazz.
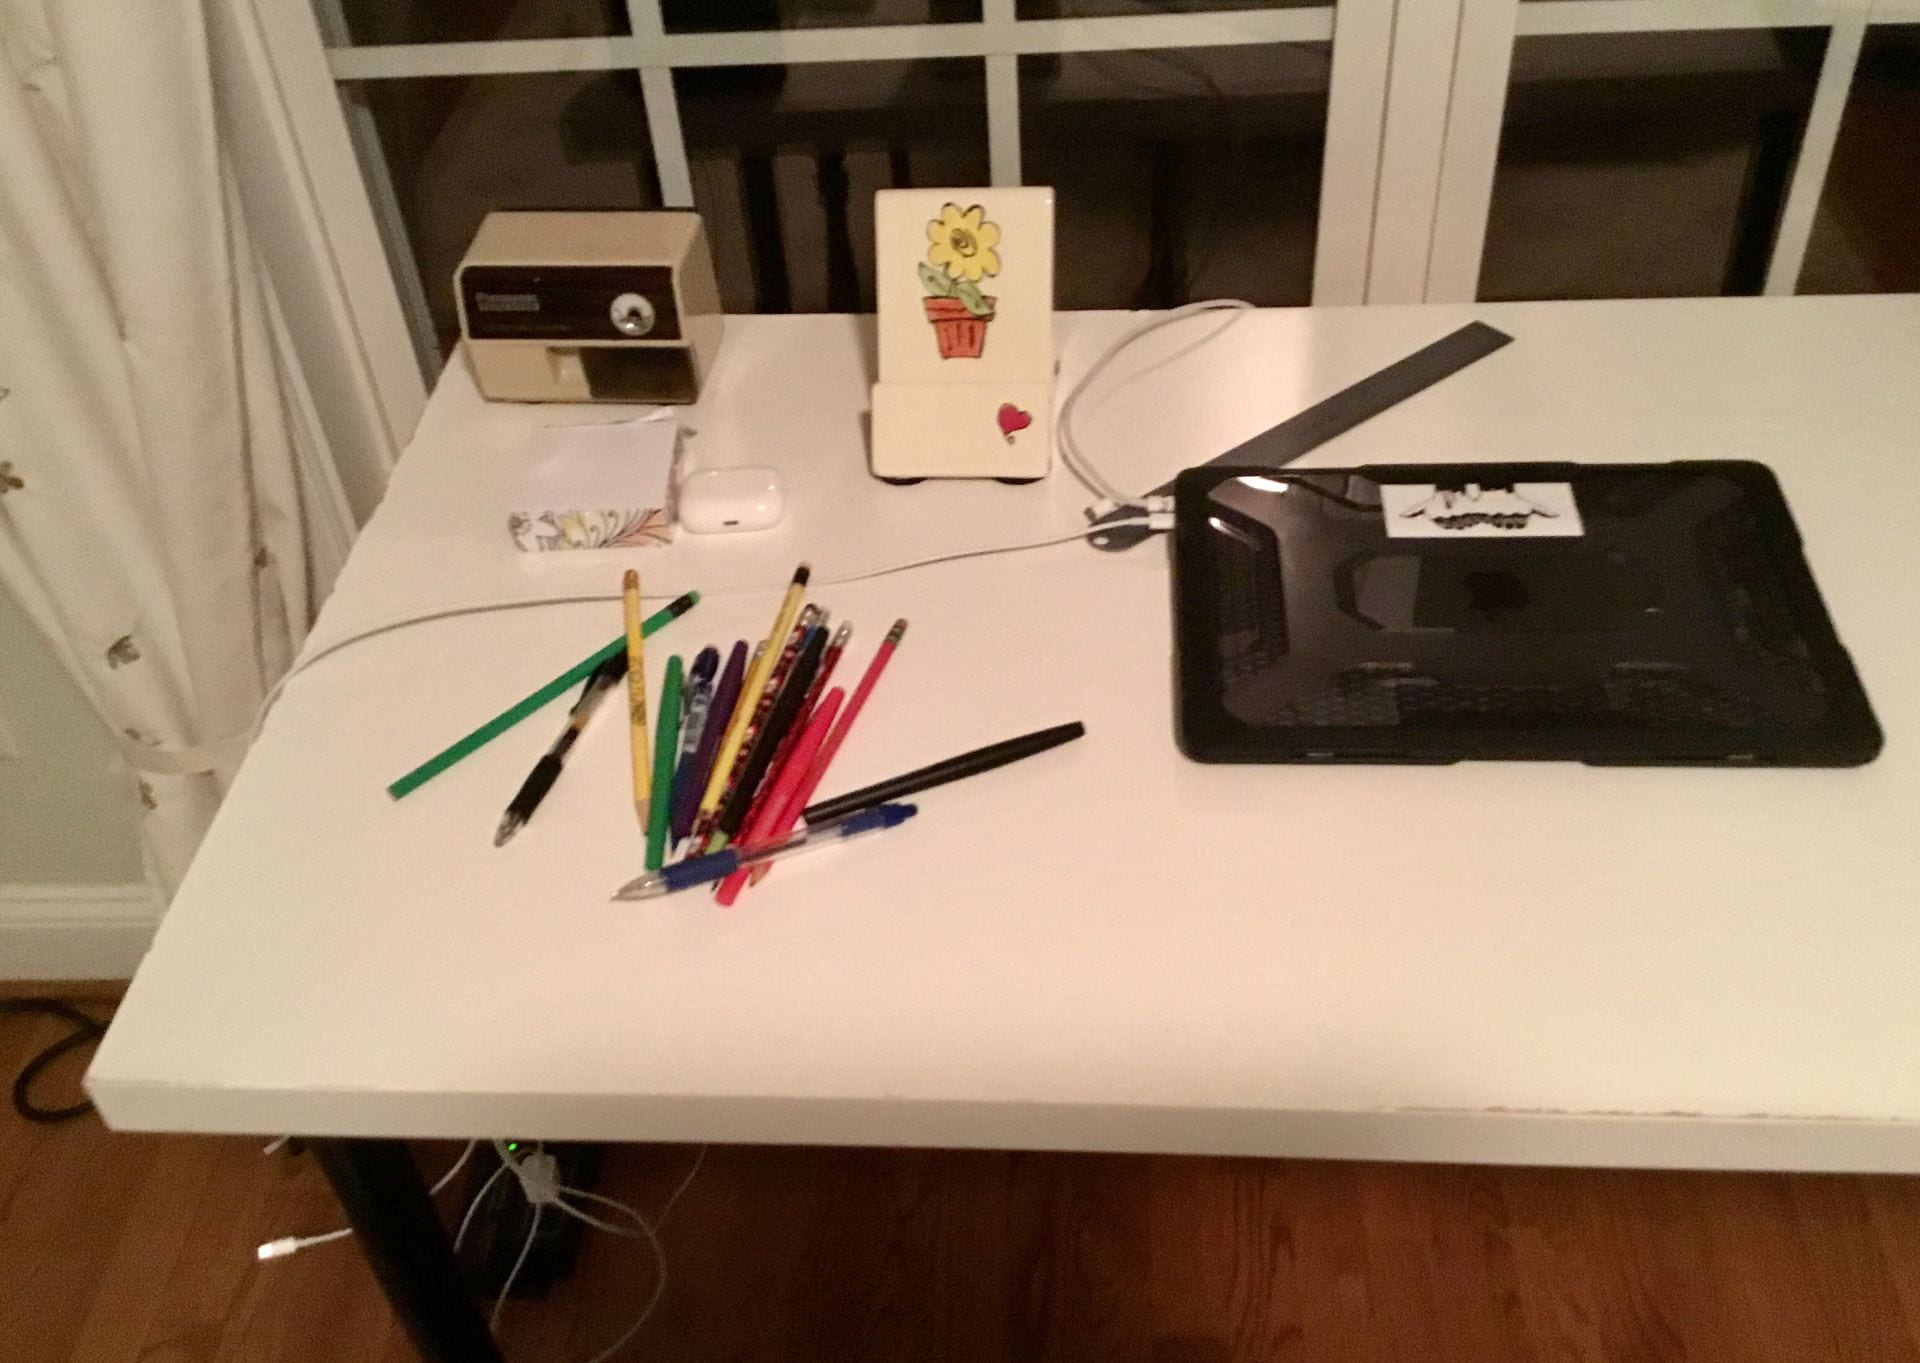
How about an awesome cup to hold all those pens, pencils, scissors and stuff? So I set off to do a pencil cup craft! Now I have LOADS of craft supplies, scraps of this and that, and tons of odds and ends because I love to do projects AND I never throw anything away. But that’s not true for everyone. So I tried to think of things that many people might have around their houses for this project. No running out to the stores. This is what I came up with…
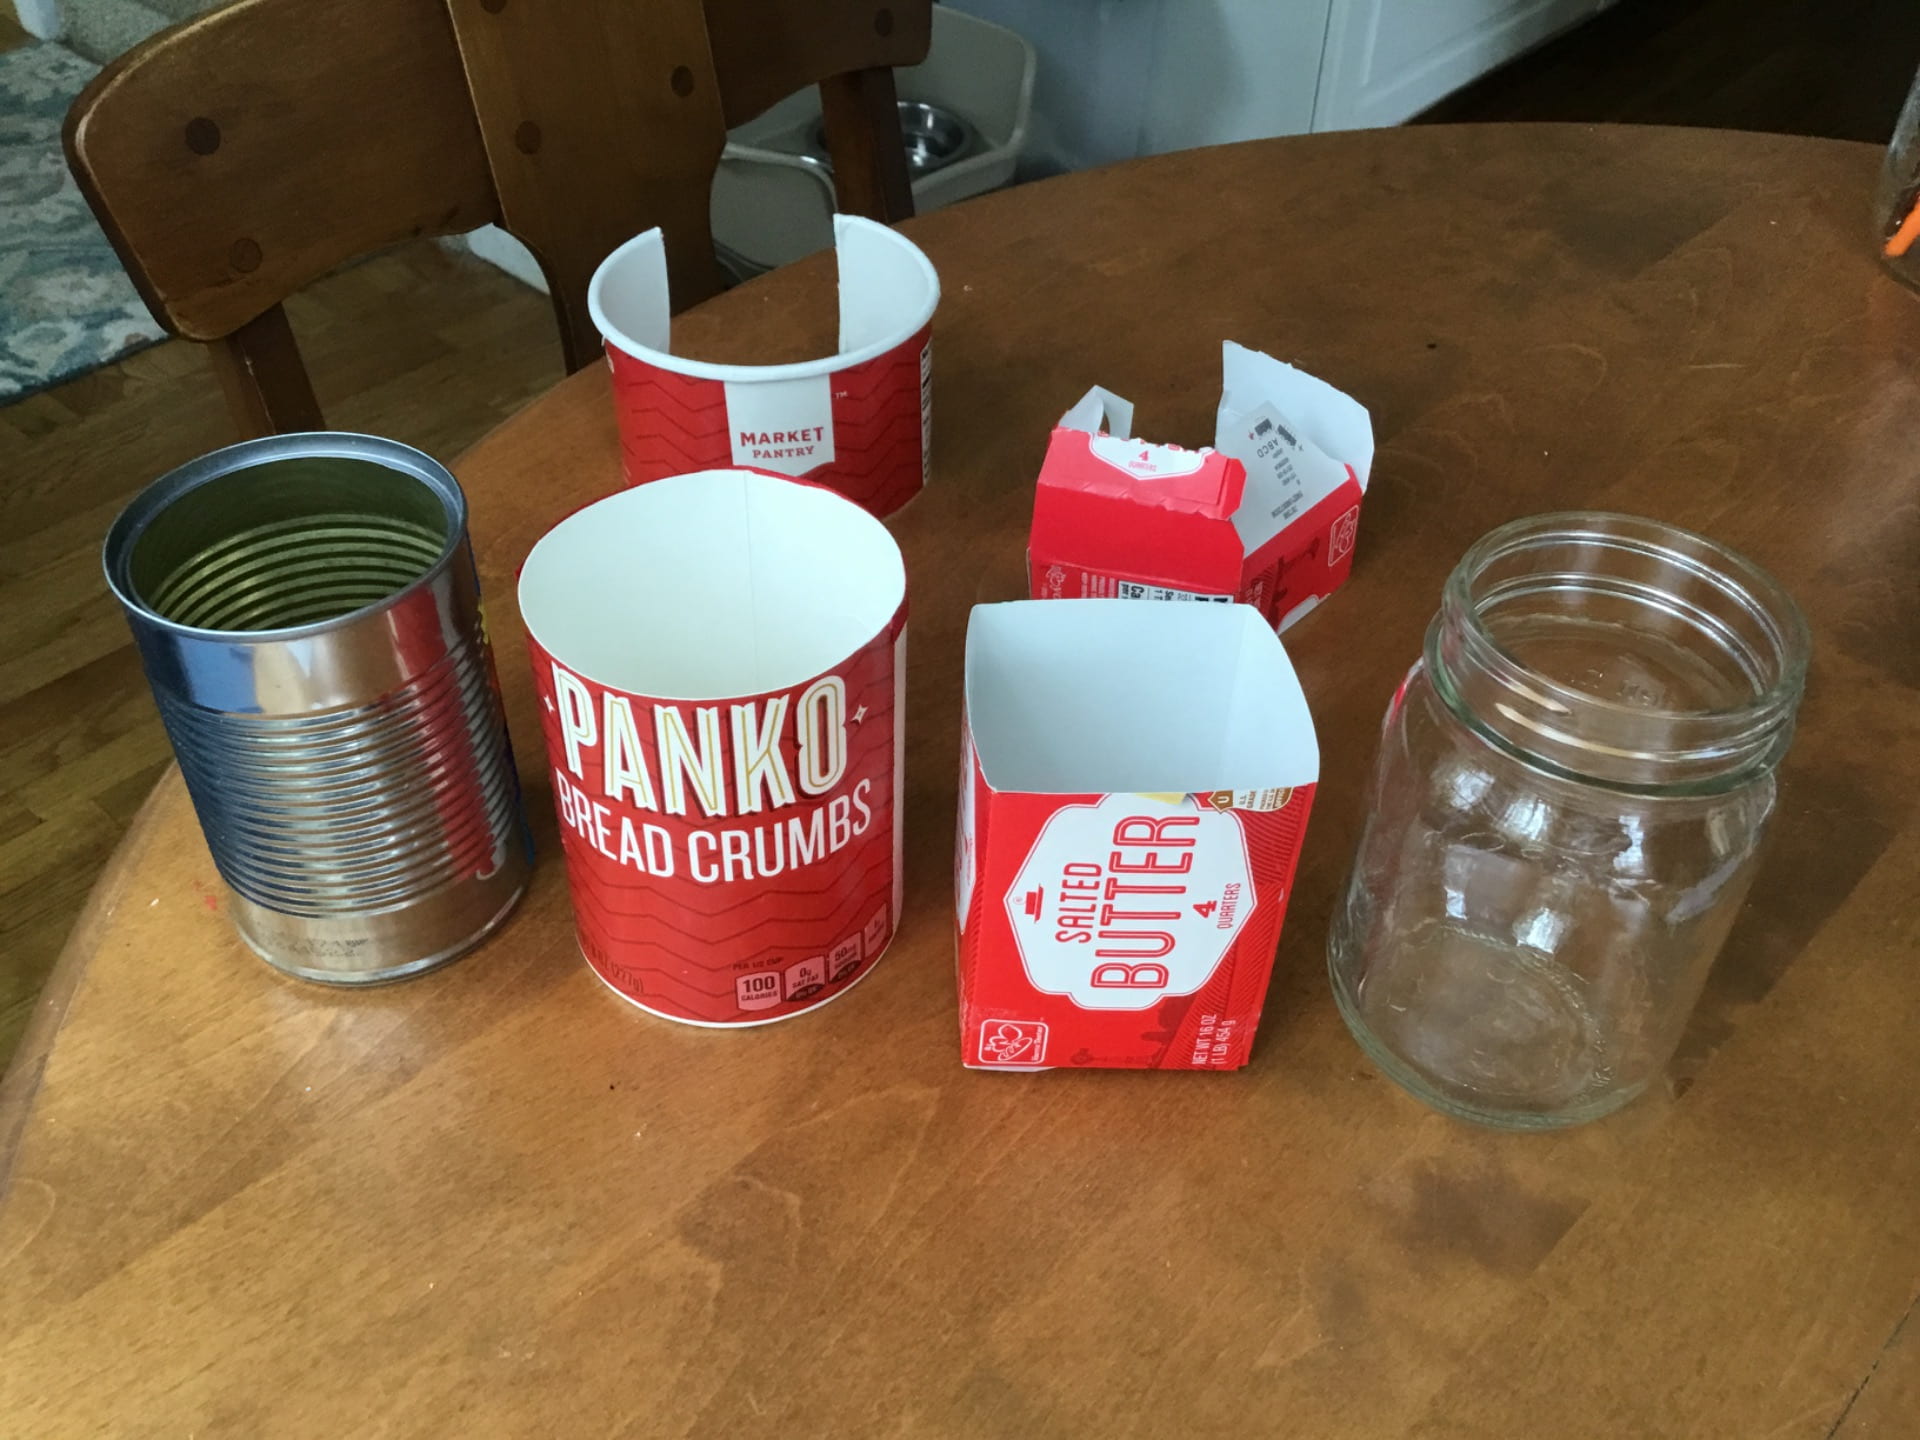
First, I needed something for the actual container that could neatly hold my supplies. I looked in my craft closet and dug through our recycling bin and found a few things I thought could work. Empty tin cans, mason jars or empty jelly jars, empty peanut butter jars, breadcrumb canisters or Pringles cans with tops cut off, or abutter box with top cut off. I’m sure there are other suitable things you could find. A few important warnings: 1. A parent or other adult must inspect edges of tin cans because they can be SHARP, 2. A parent or other adult MAY need to help cut of the tops of bottles or canisters that are plastic or more rigid cardboard, and 3. A parent or other adult needs to approve whatever you choose to use (no dumping a new can of beans in the trash or eating an entire can of Pringles in one sitting to get the container). I also need to point out that glass can break when tipped over or knocked to the floor, so jars may not be the best choice.
Containers chosen, I was off in search of things to use for decoration. Again, I’ve got pom poms, jewels, glass beads, glitter, shells, buttons, popsicle sticks, feathers, pipe cleaners, etc. All of which could be fun to use, but not everyone has them. Here are some things I found that seemed more likely to be in someone’s home.
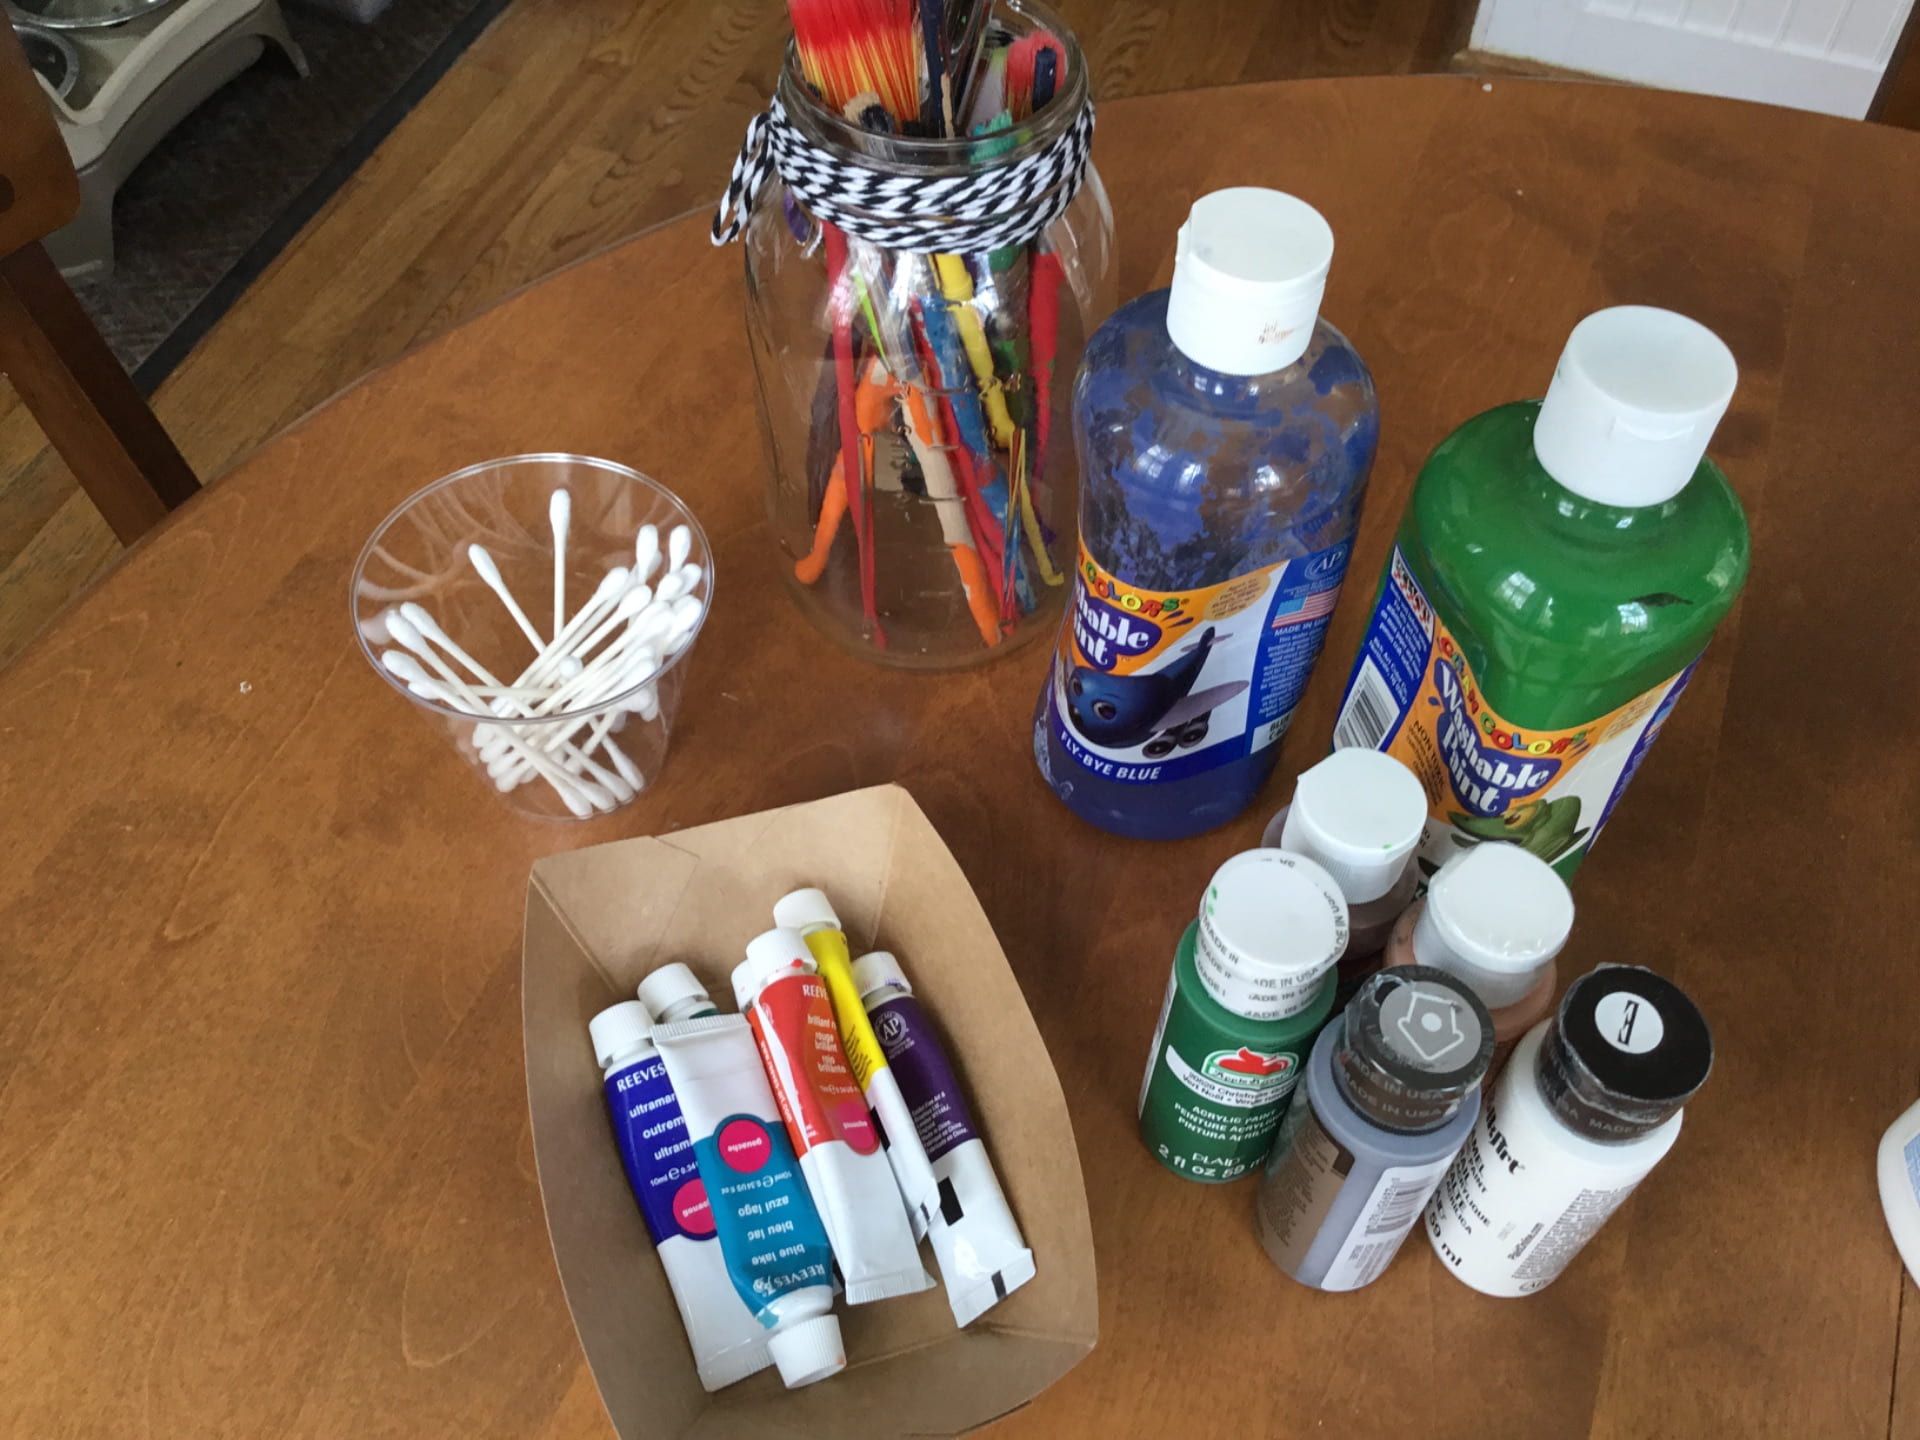
Paints and brushes or Q-tips
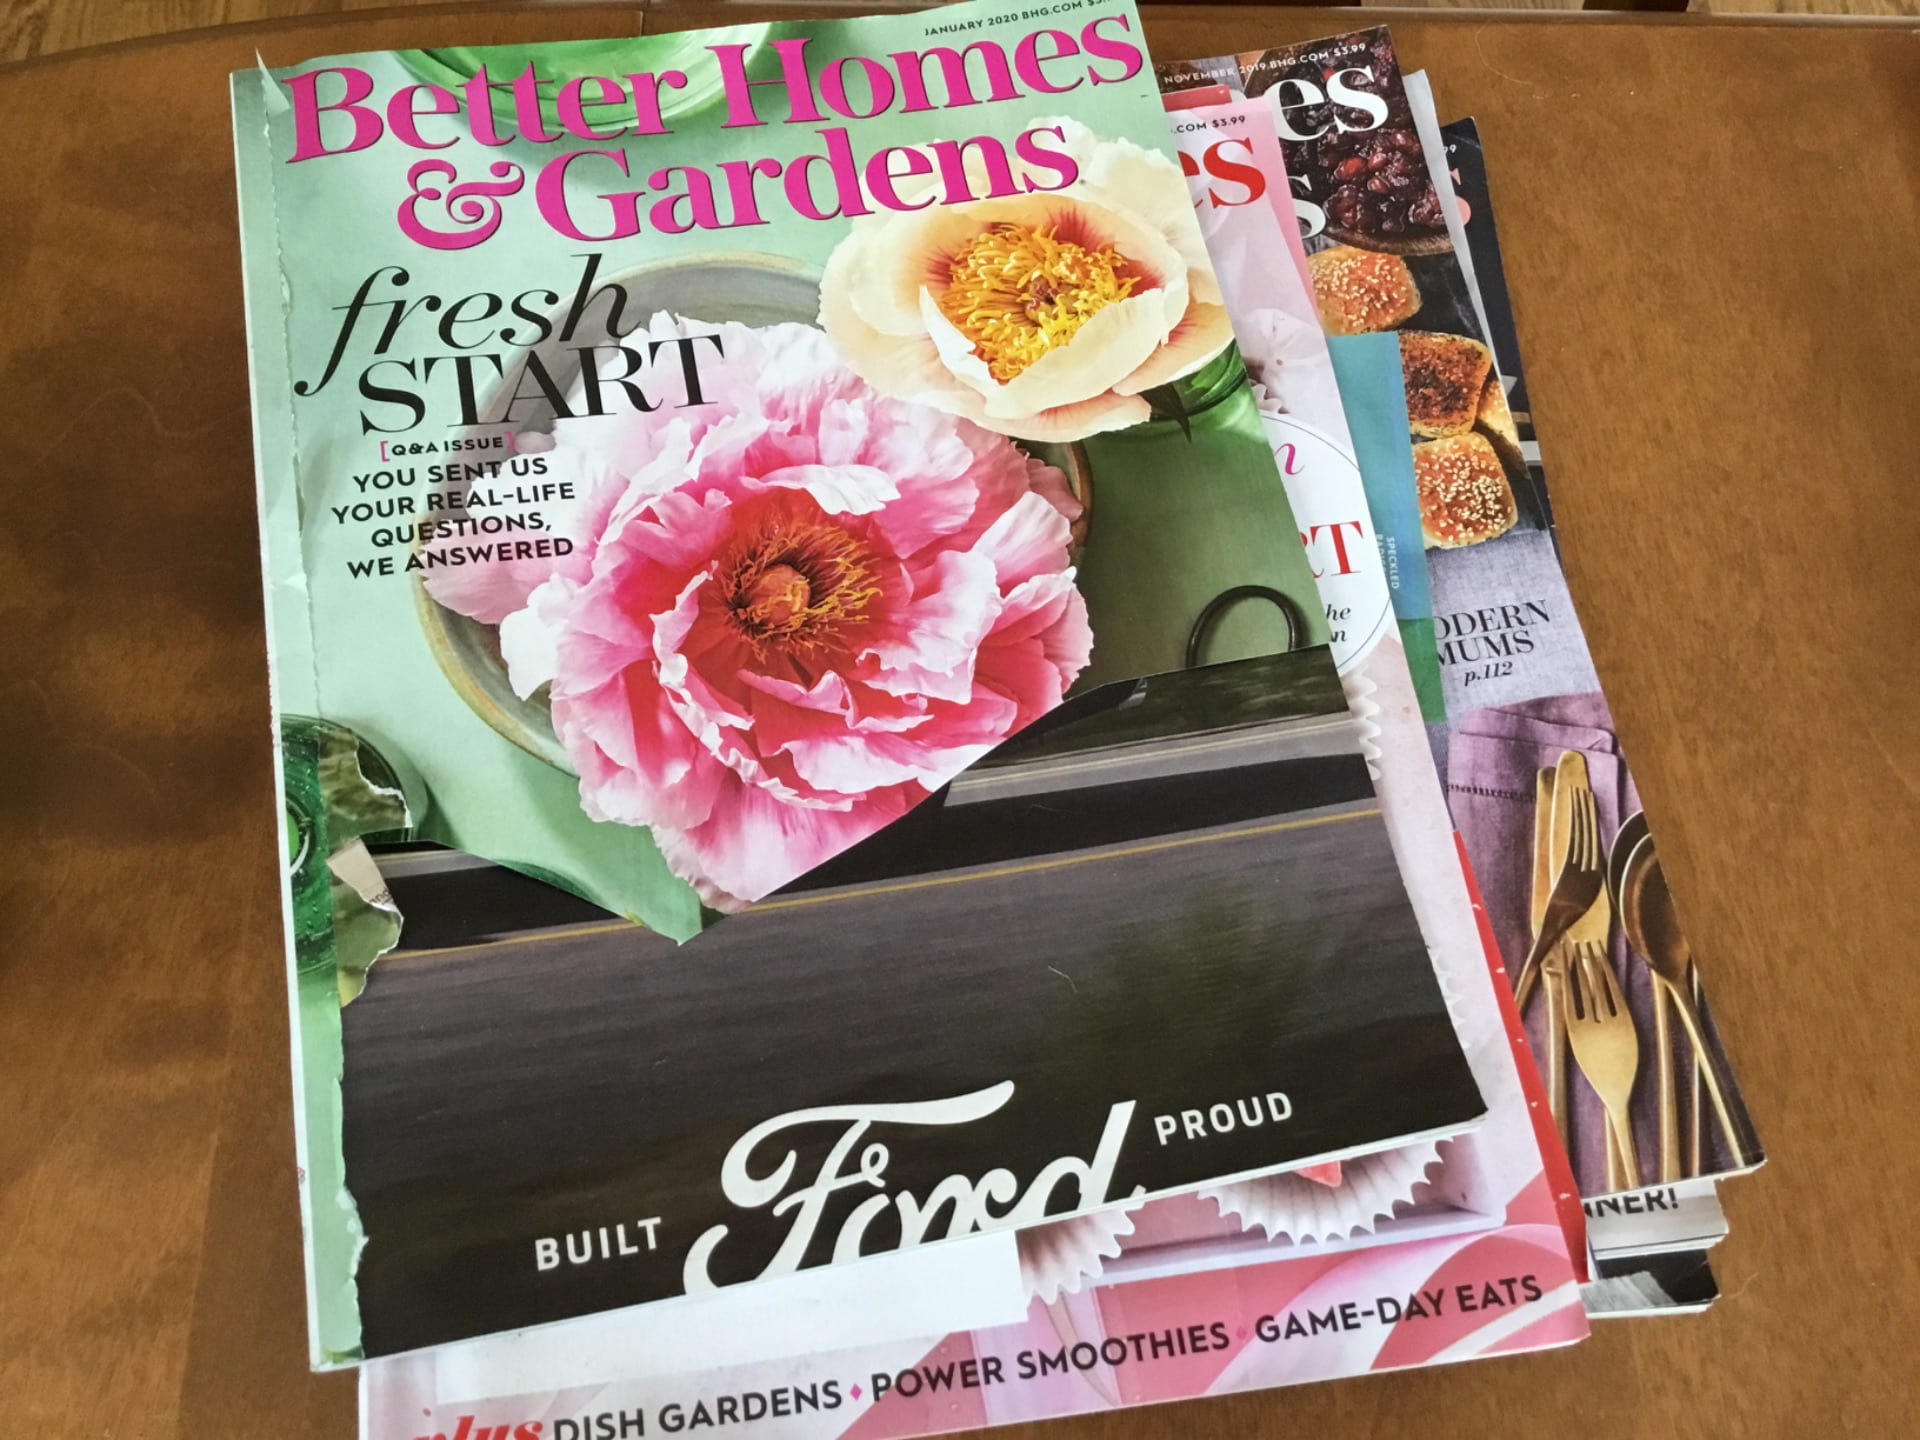
Old magazines
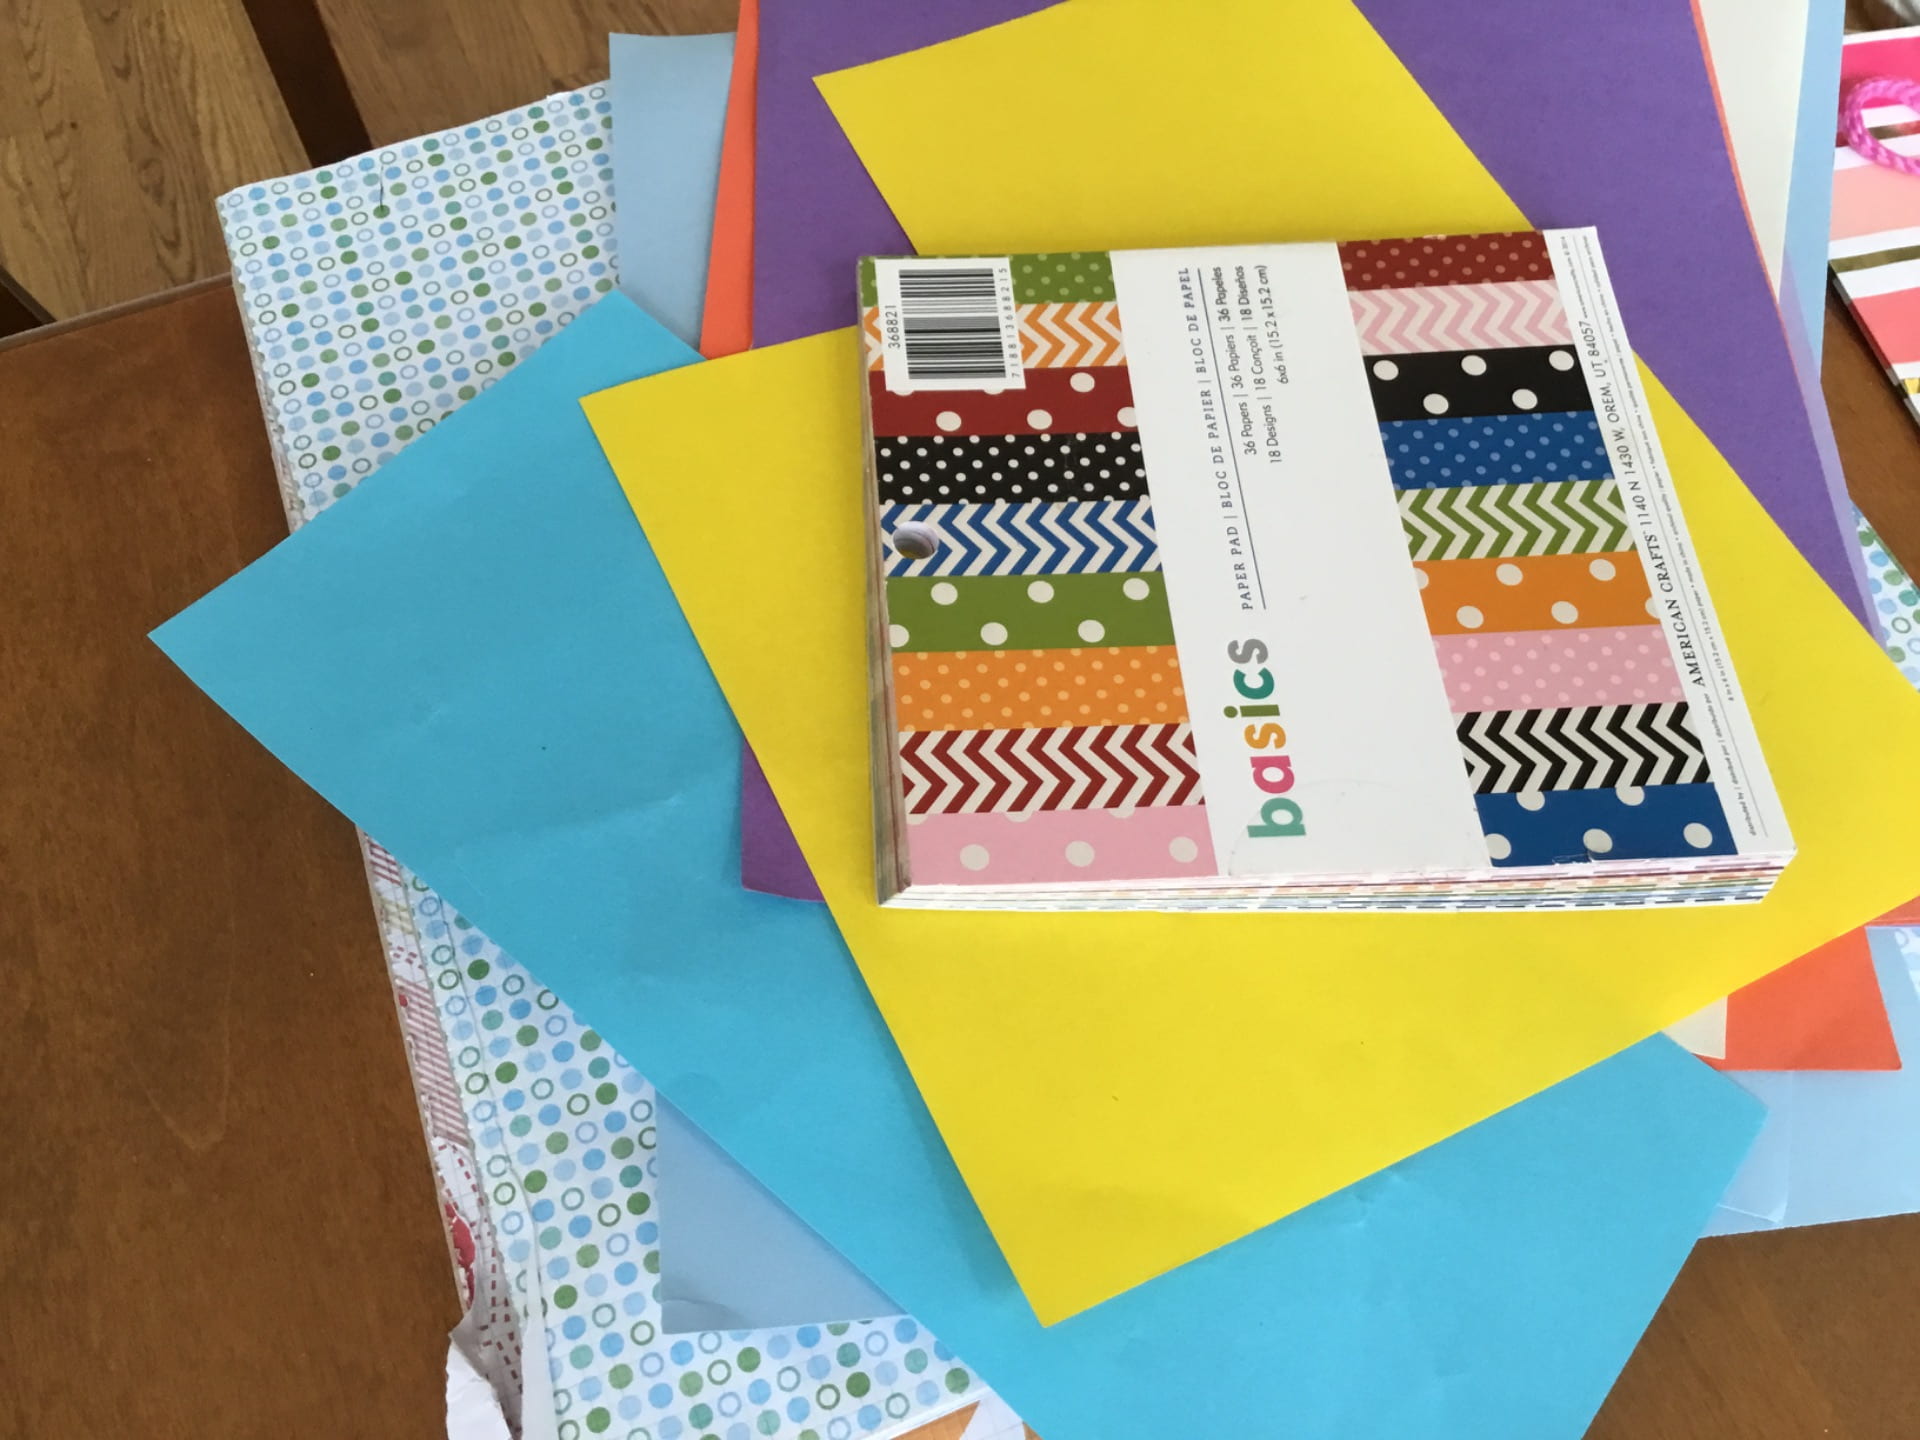
Paper – colors, patterns and/or white
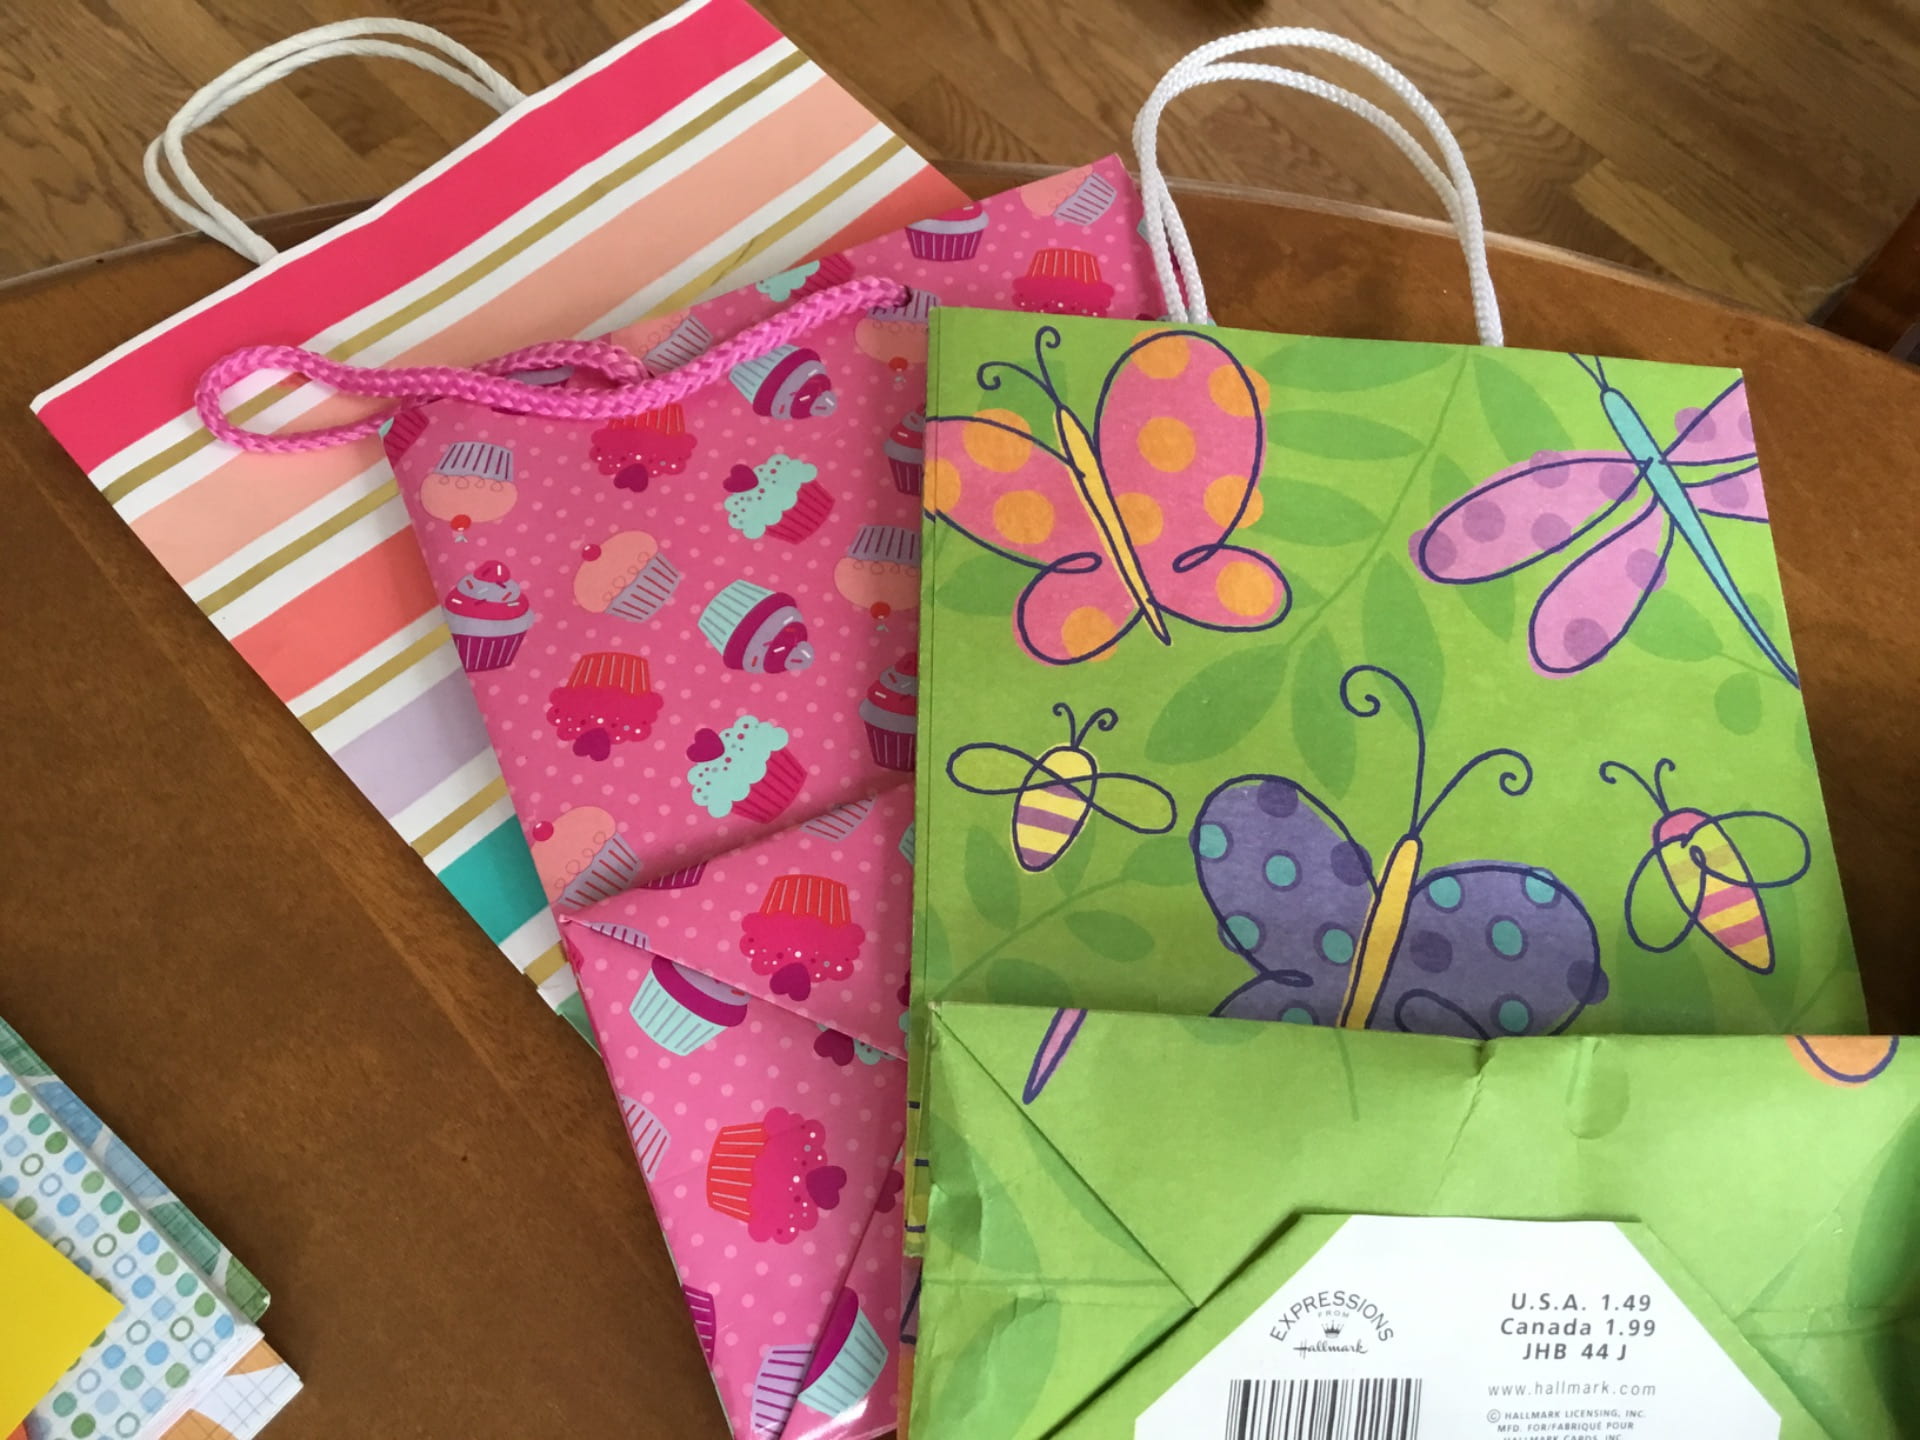
Old gift bags

Yarn, string, twine and ribbon
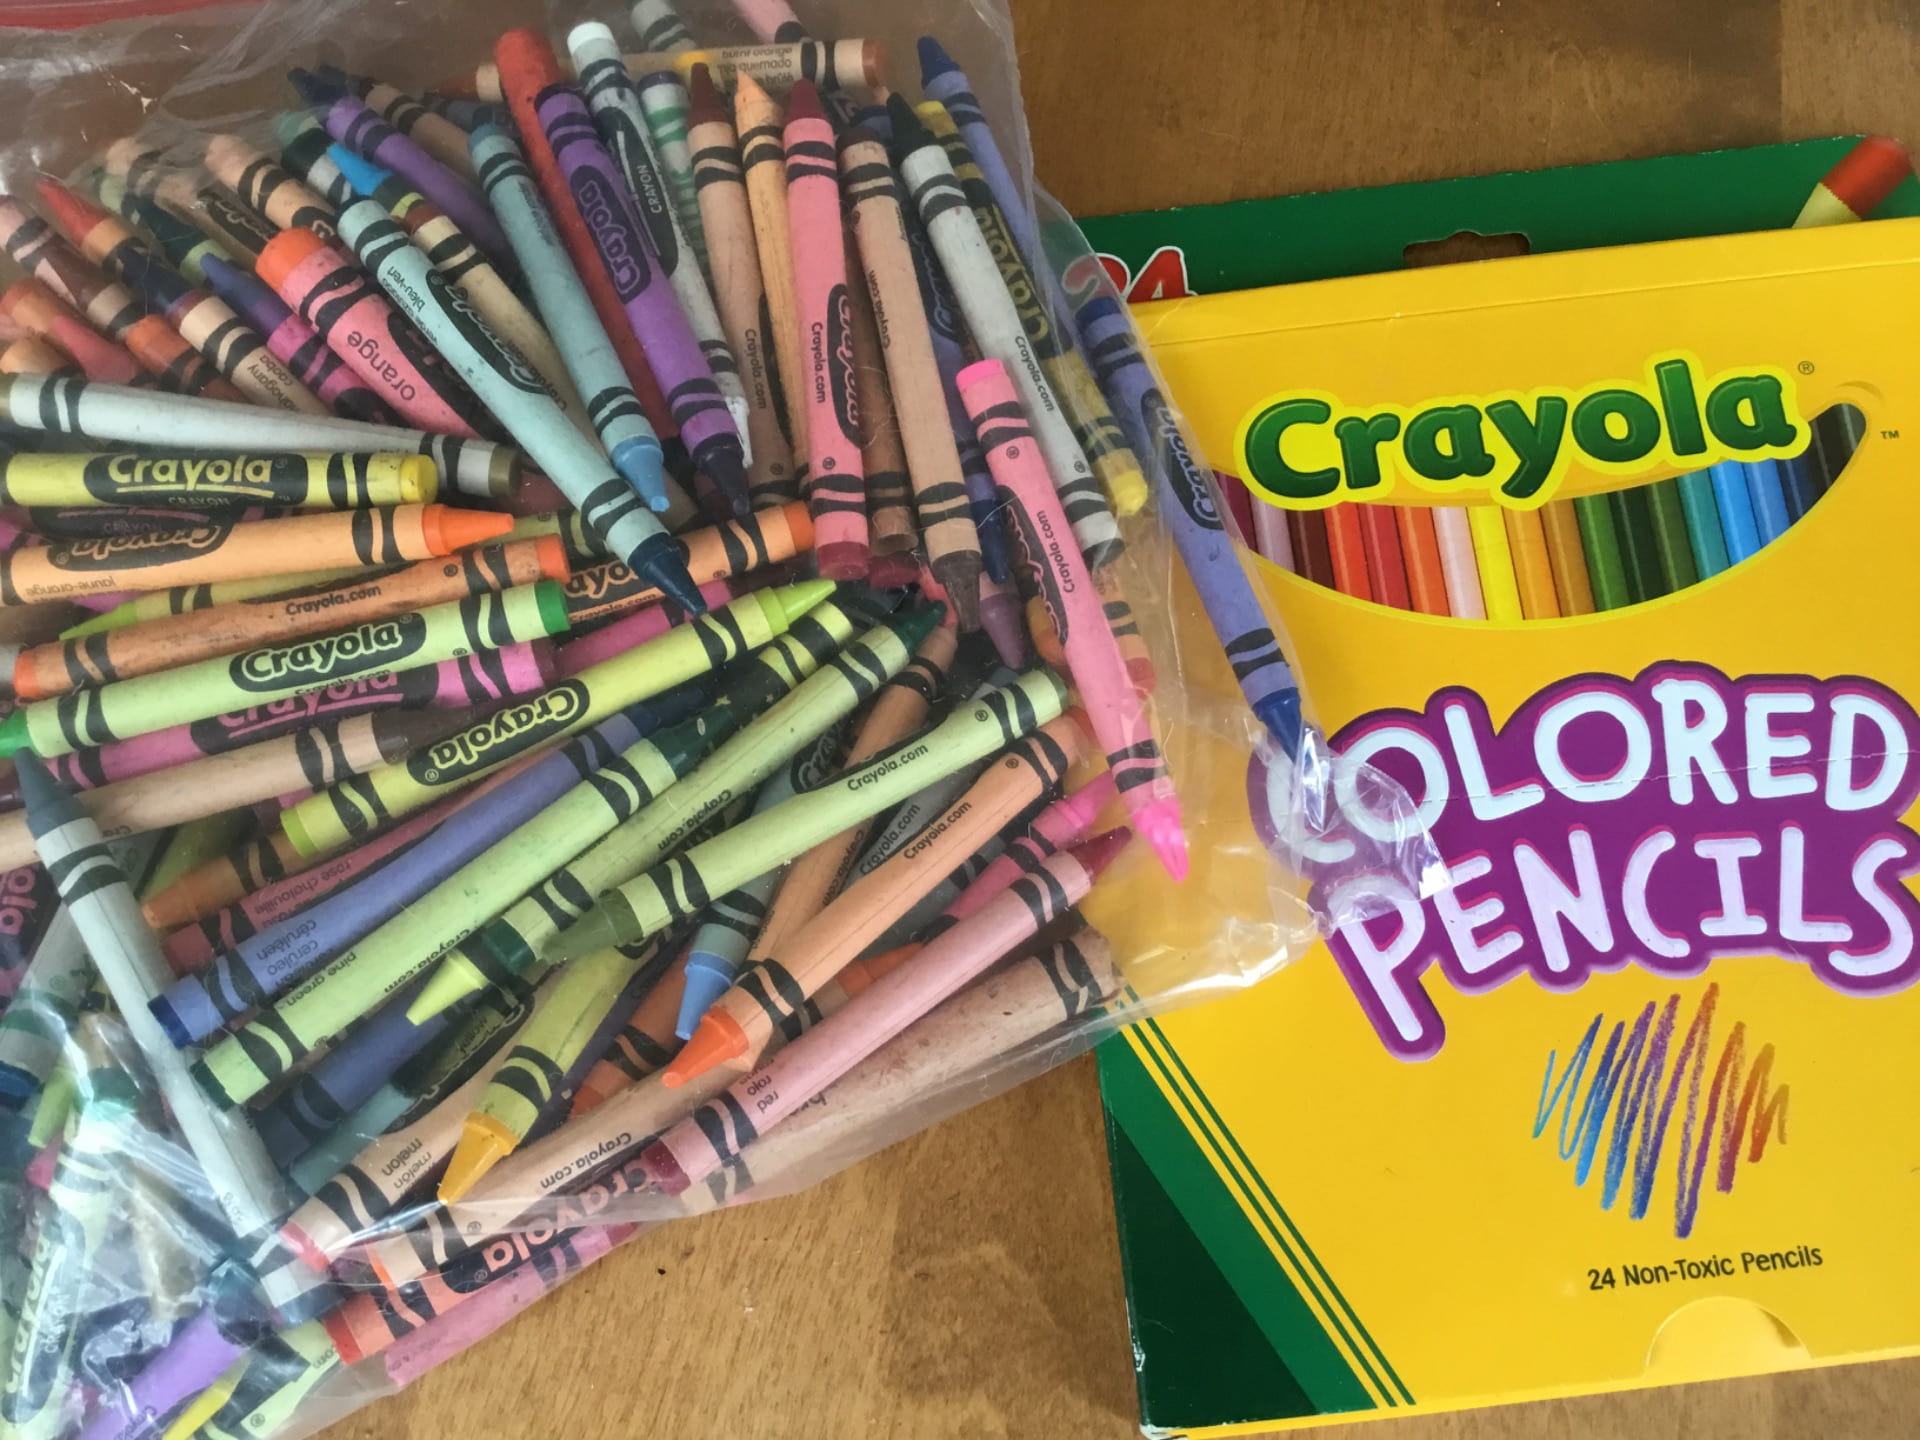
Crayons, colored pens or markers
Finally, I needed some way of sticking the decorations onto the containers. A speedy and effective way is with a hot glue gun, but not everyone has one and there is the danger of getting burned (they require supervision). So I looked some more and found some other things that could help get the job done.
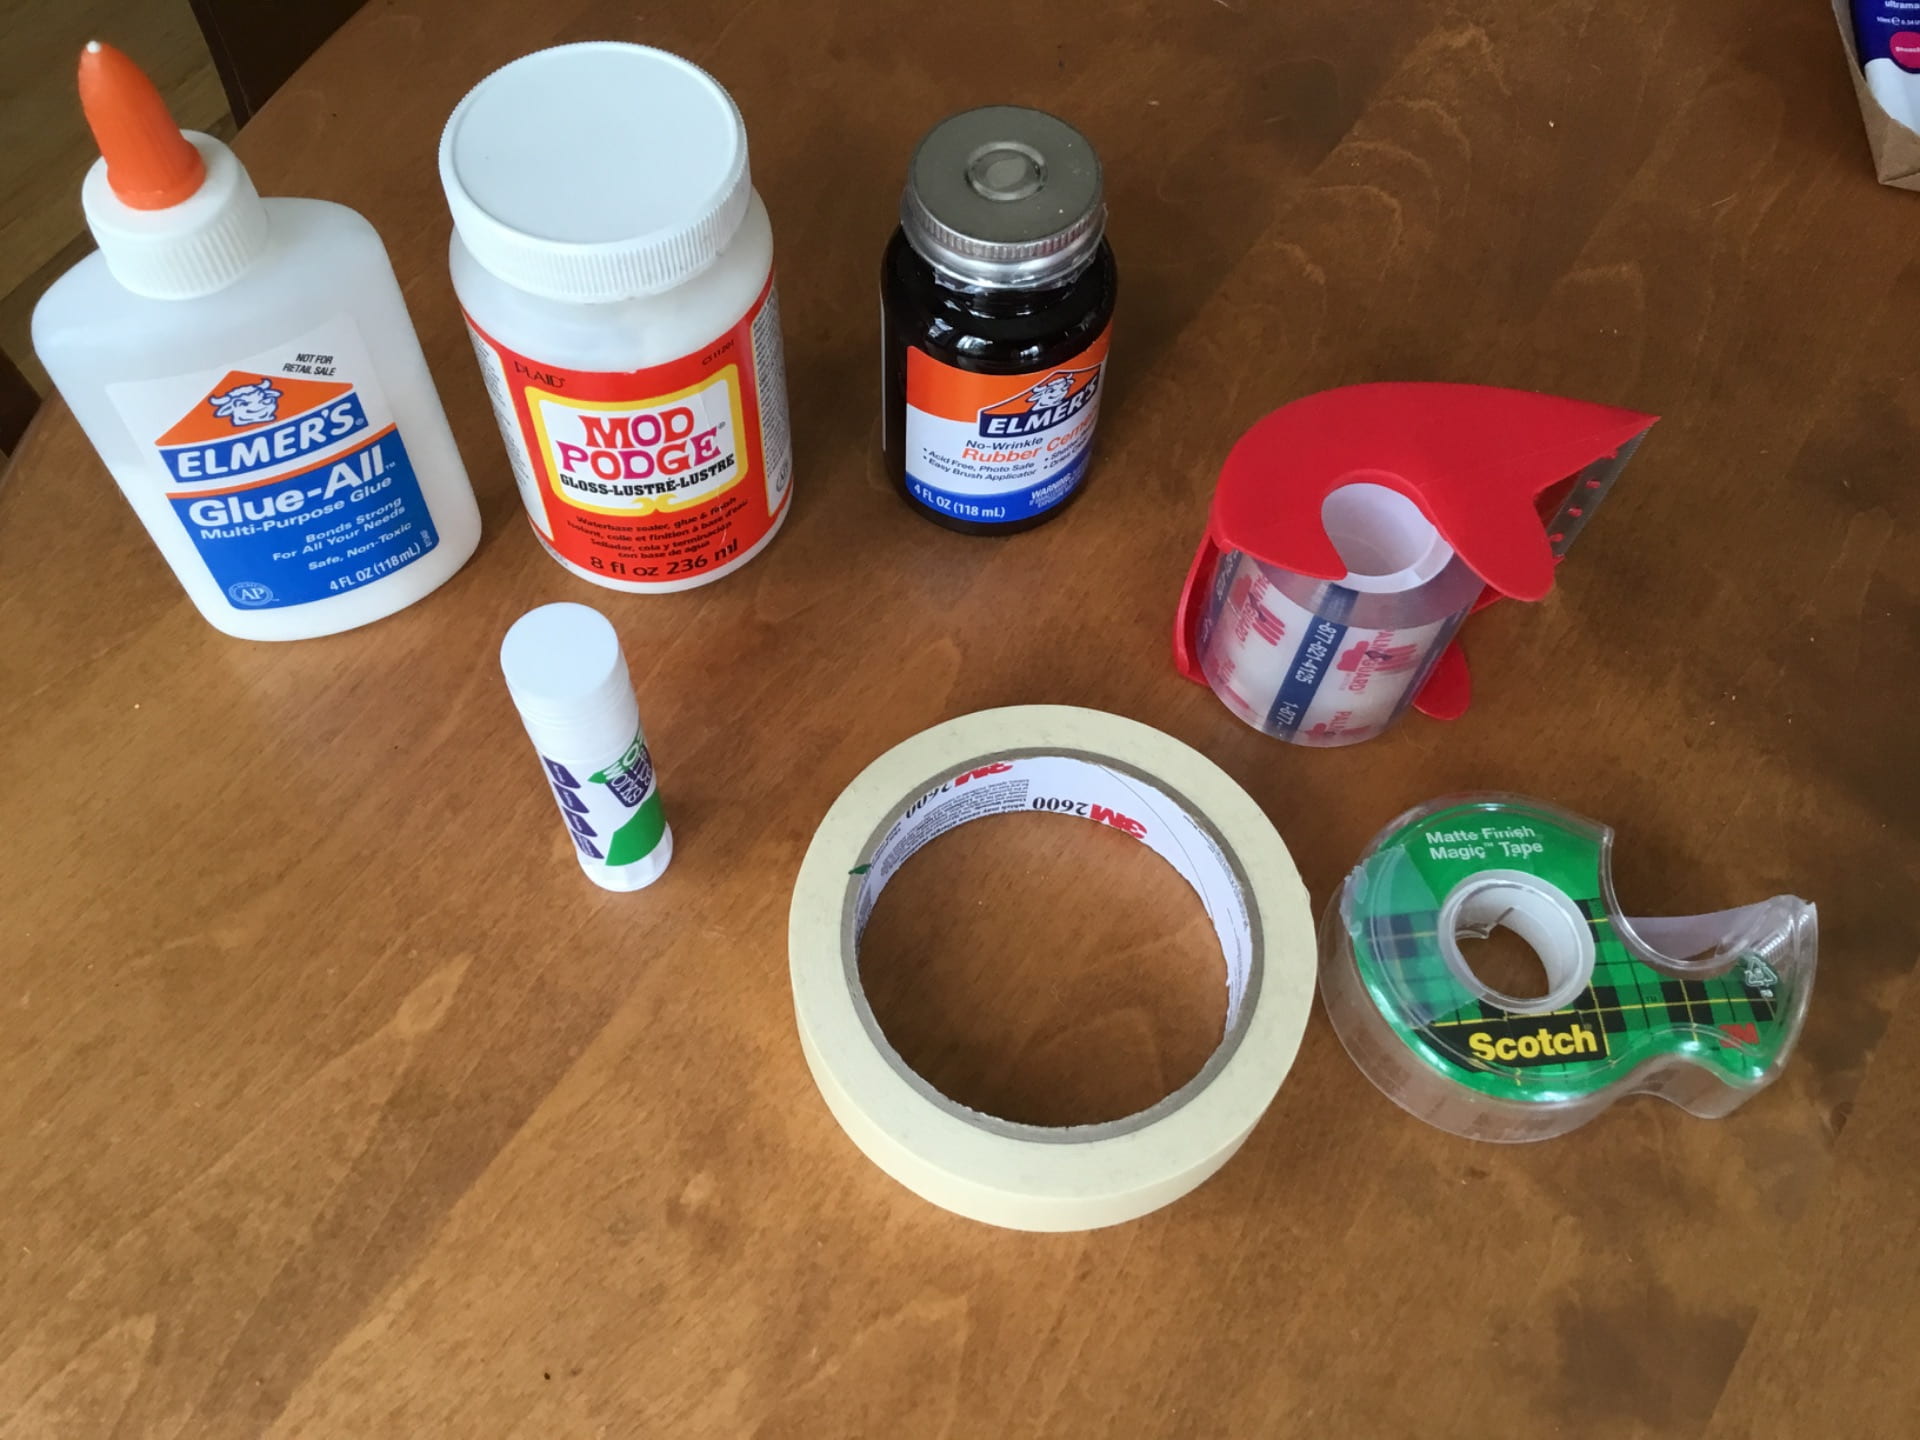
Glue, ModgePodge, rubber cement, gluesticks, tape
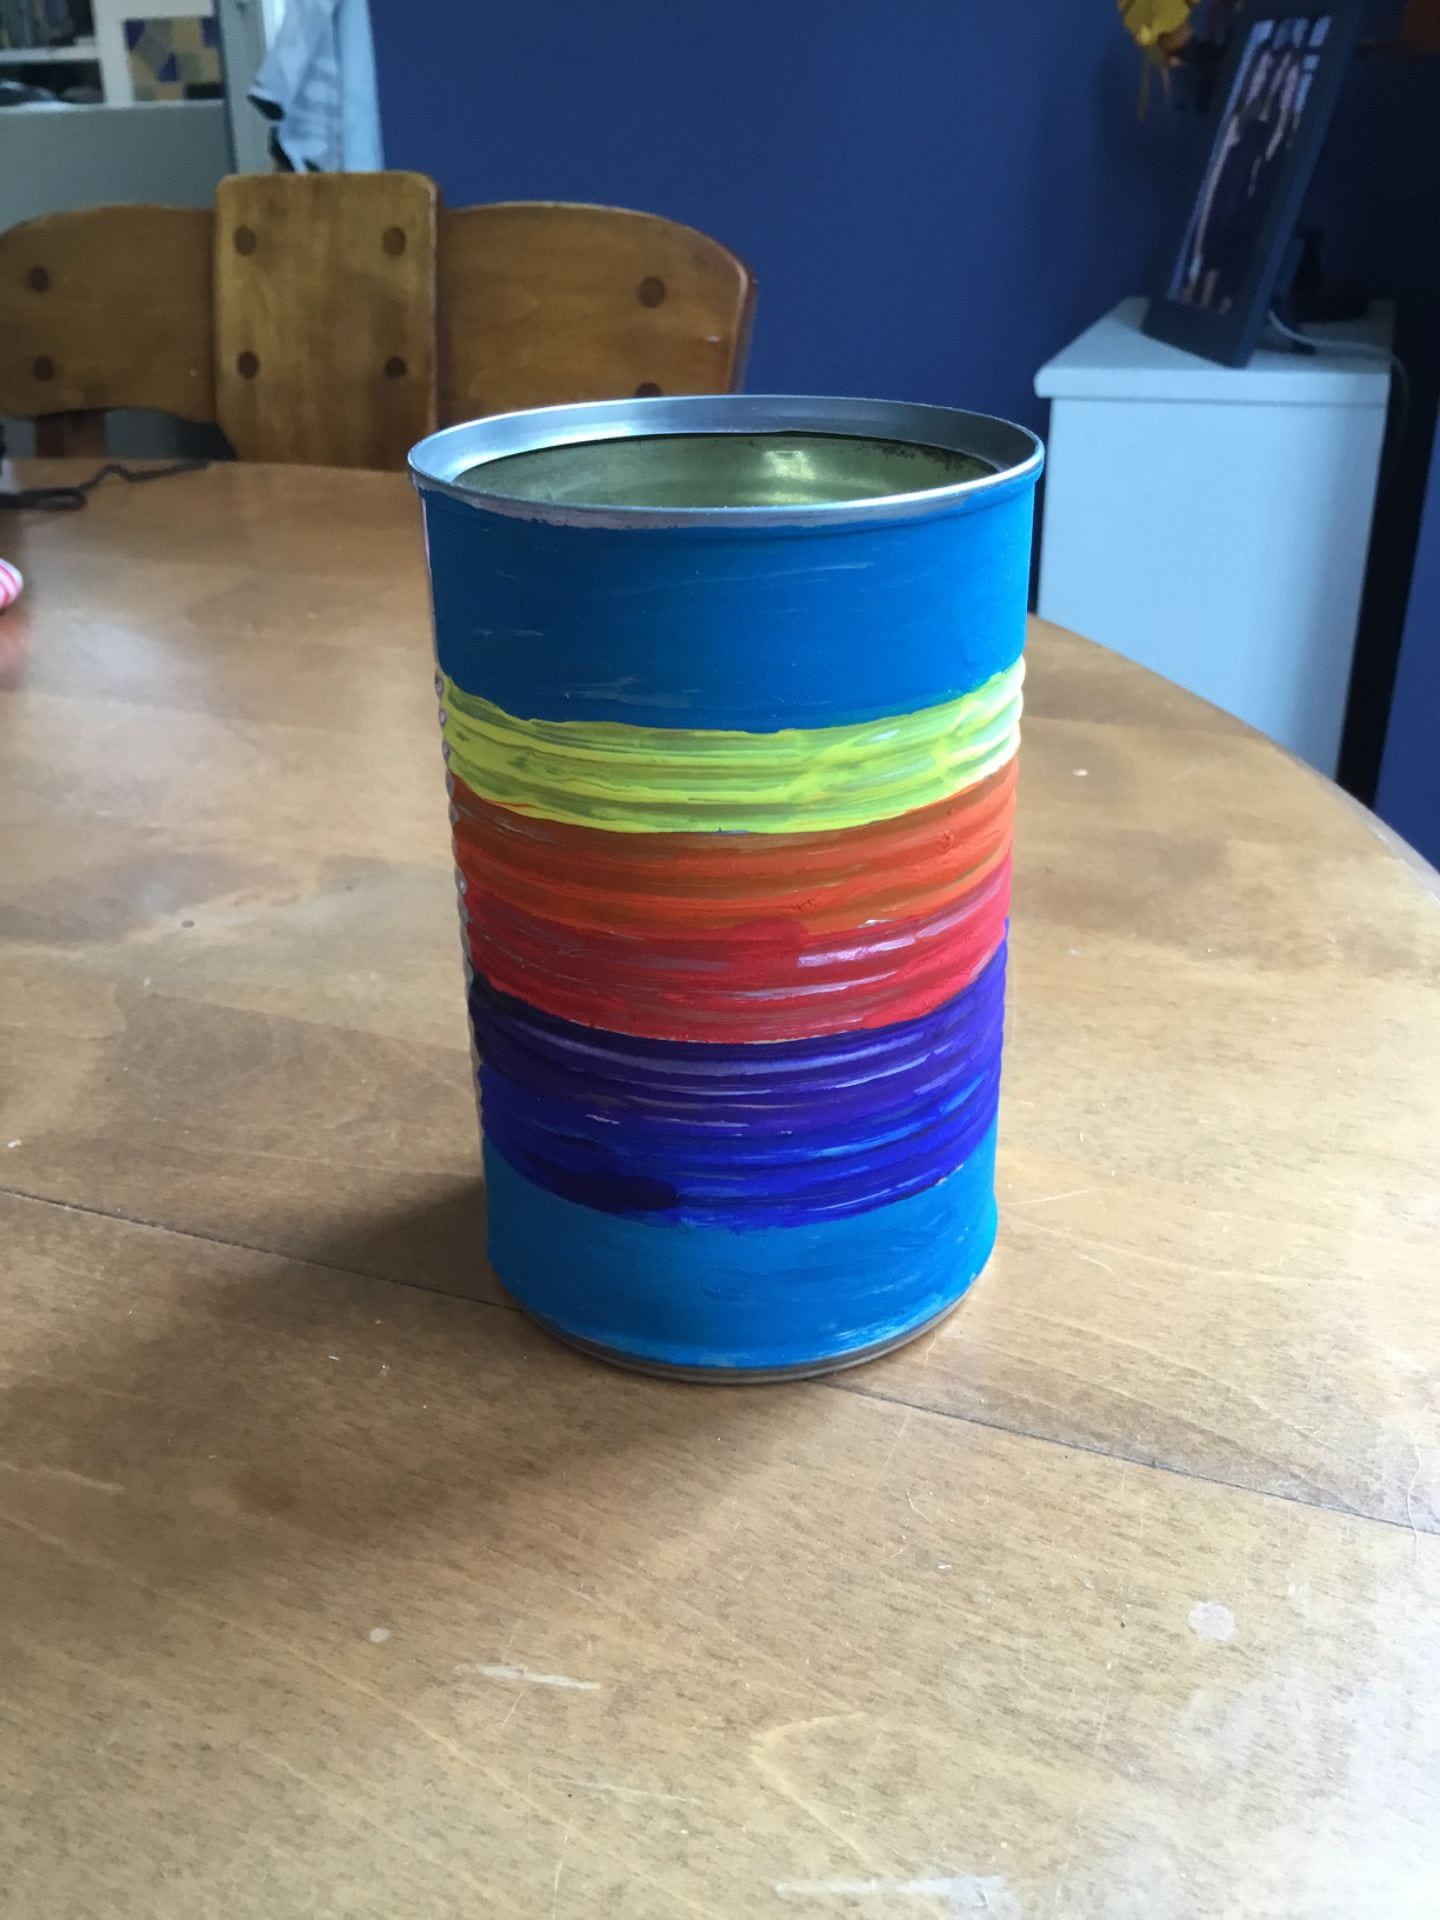
My first try was just painting an empty can. I did stripes, but you can do anything you want. I didn’t spend much time on this, but you could do some really cool designs with paint.
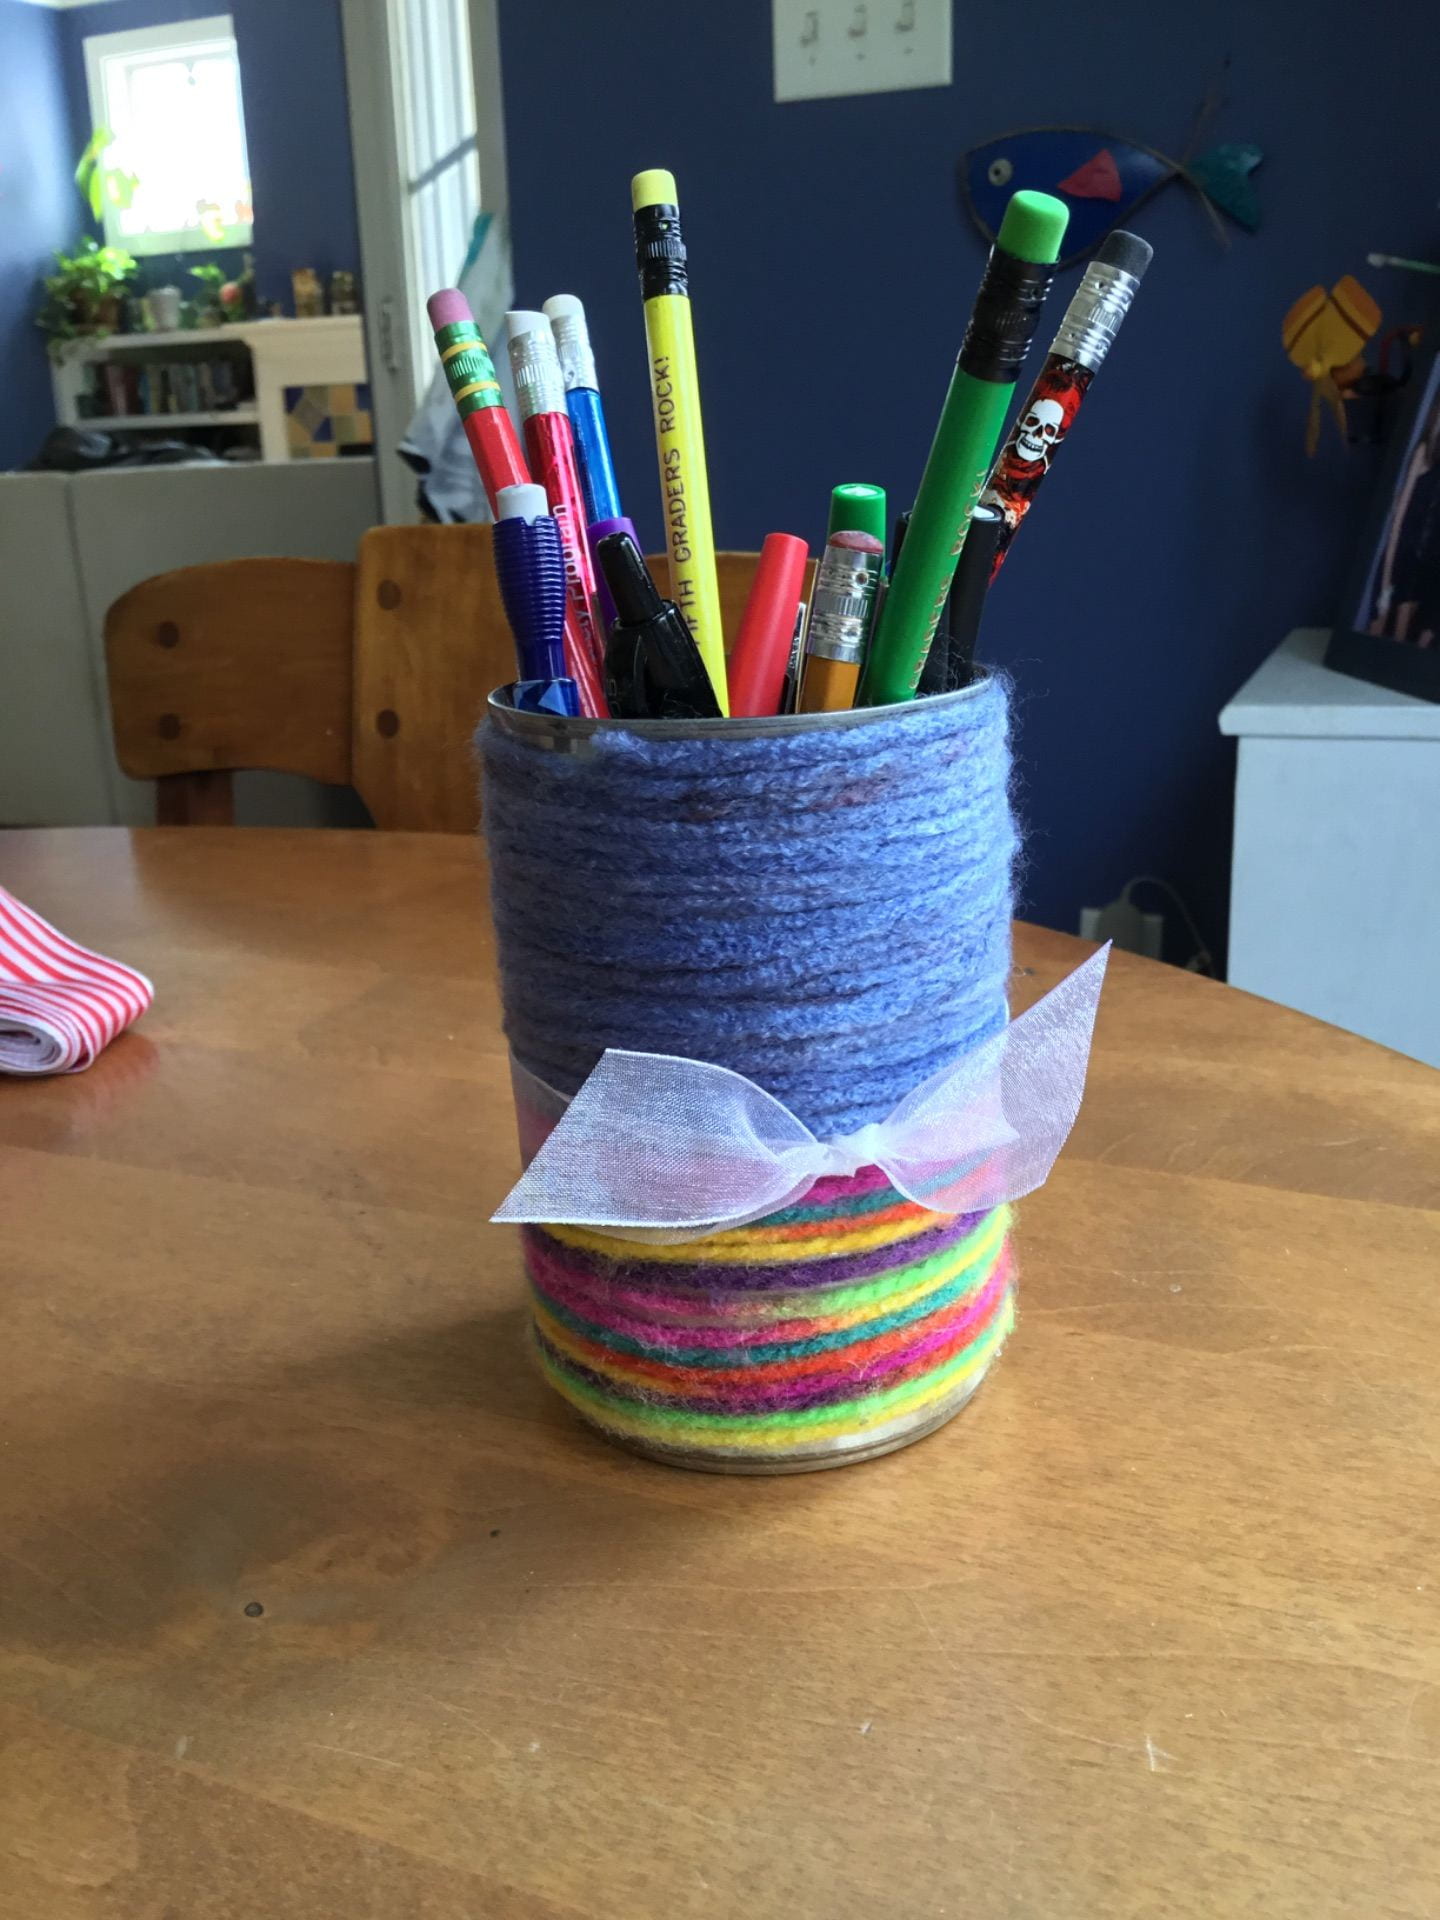
I decided to wrap the second can in yarn. Hot glue would be great for this, but I used loops of masking tape and packing tape (both seemed to work). I simply put loops of tape at intervals around the can and then wrapped the yarn snugly (you don’t need it super tight, but you don’t want it flopping around) around the can. You could “paint” the can with glue and then wrap the yarn. It works well, but can get a little messy.
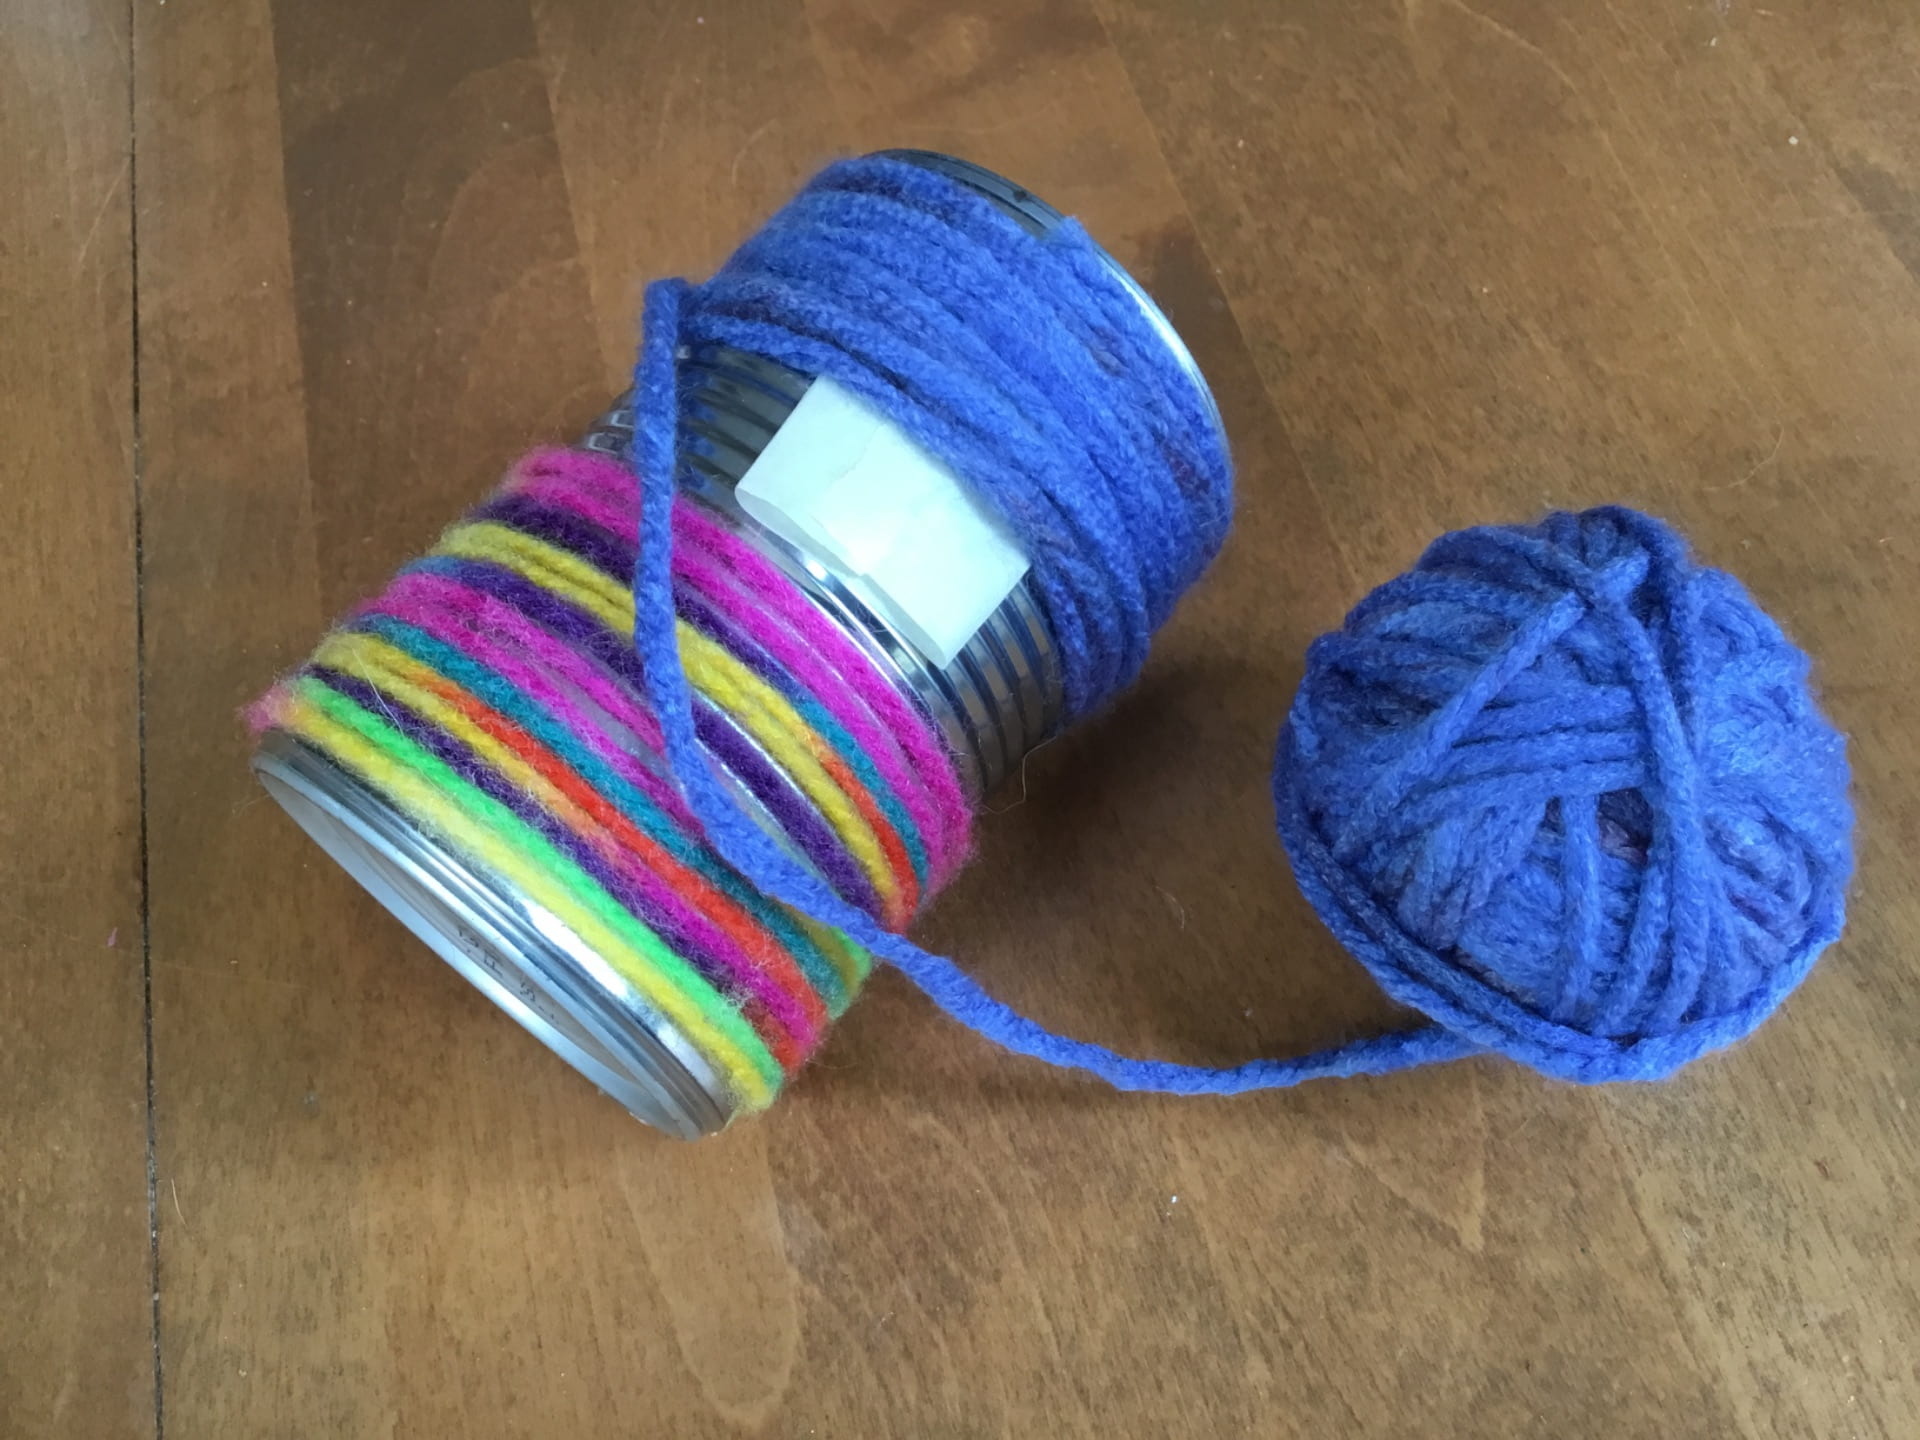
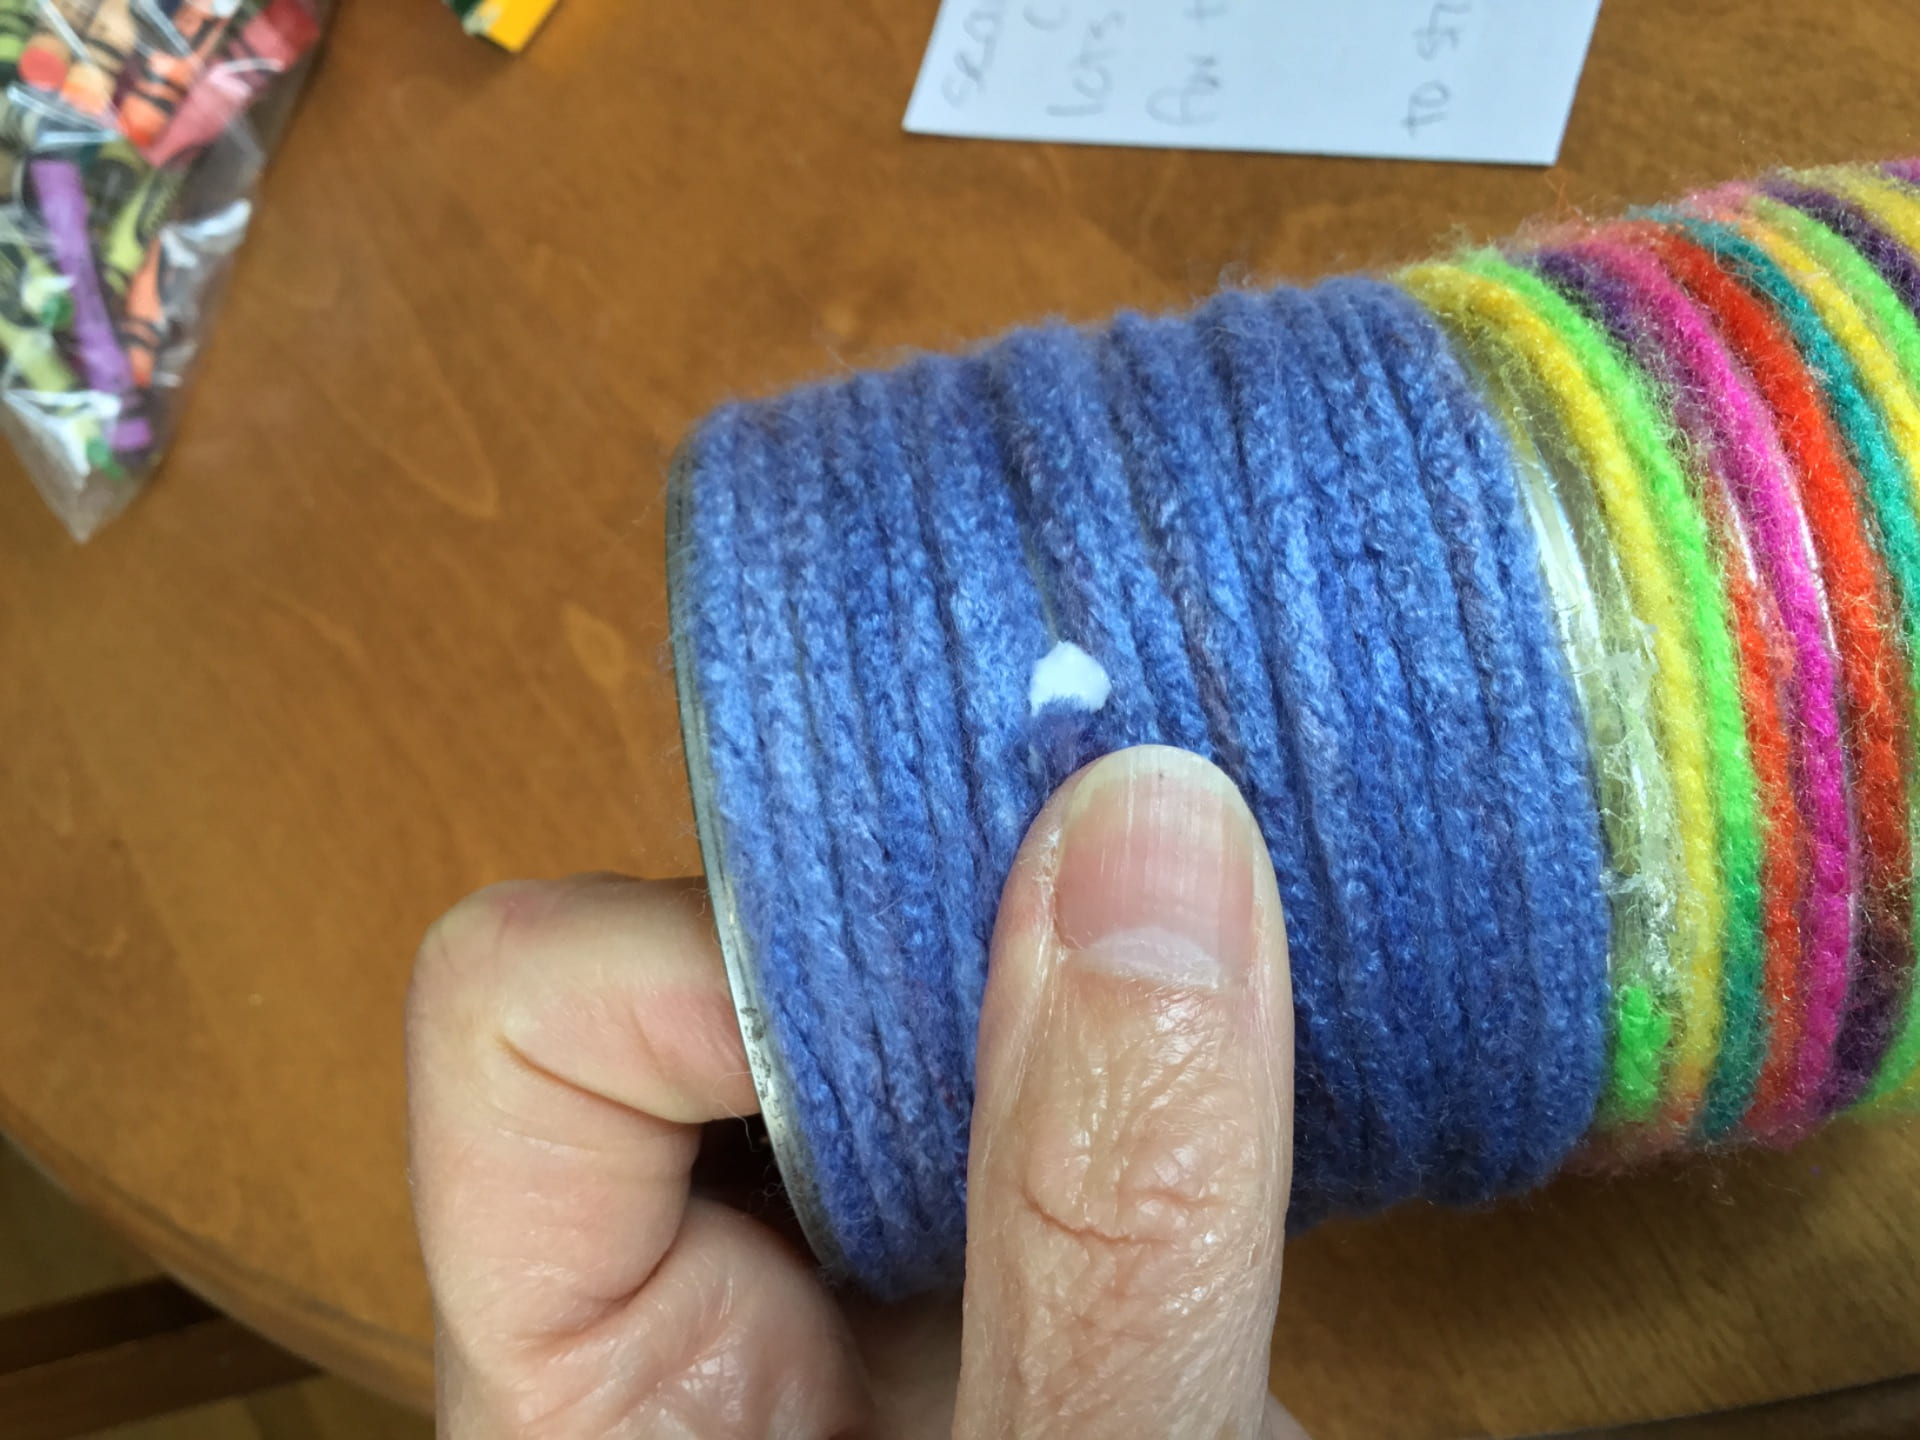
You can change yarns, and/or change to string or twine, and/or use ribbon. Just make sure the ends where you change are centered on a tape loop so they hold. When you get to the end, you can secure it with a glob of glue.You can also wrap a second layer over the first to fill in any gaps. I did two types of yarn and then tied a ribbon around the middle where they met.
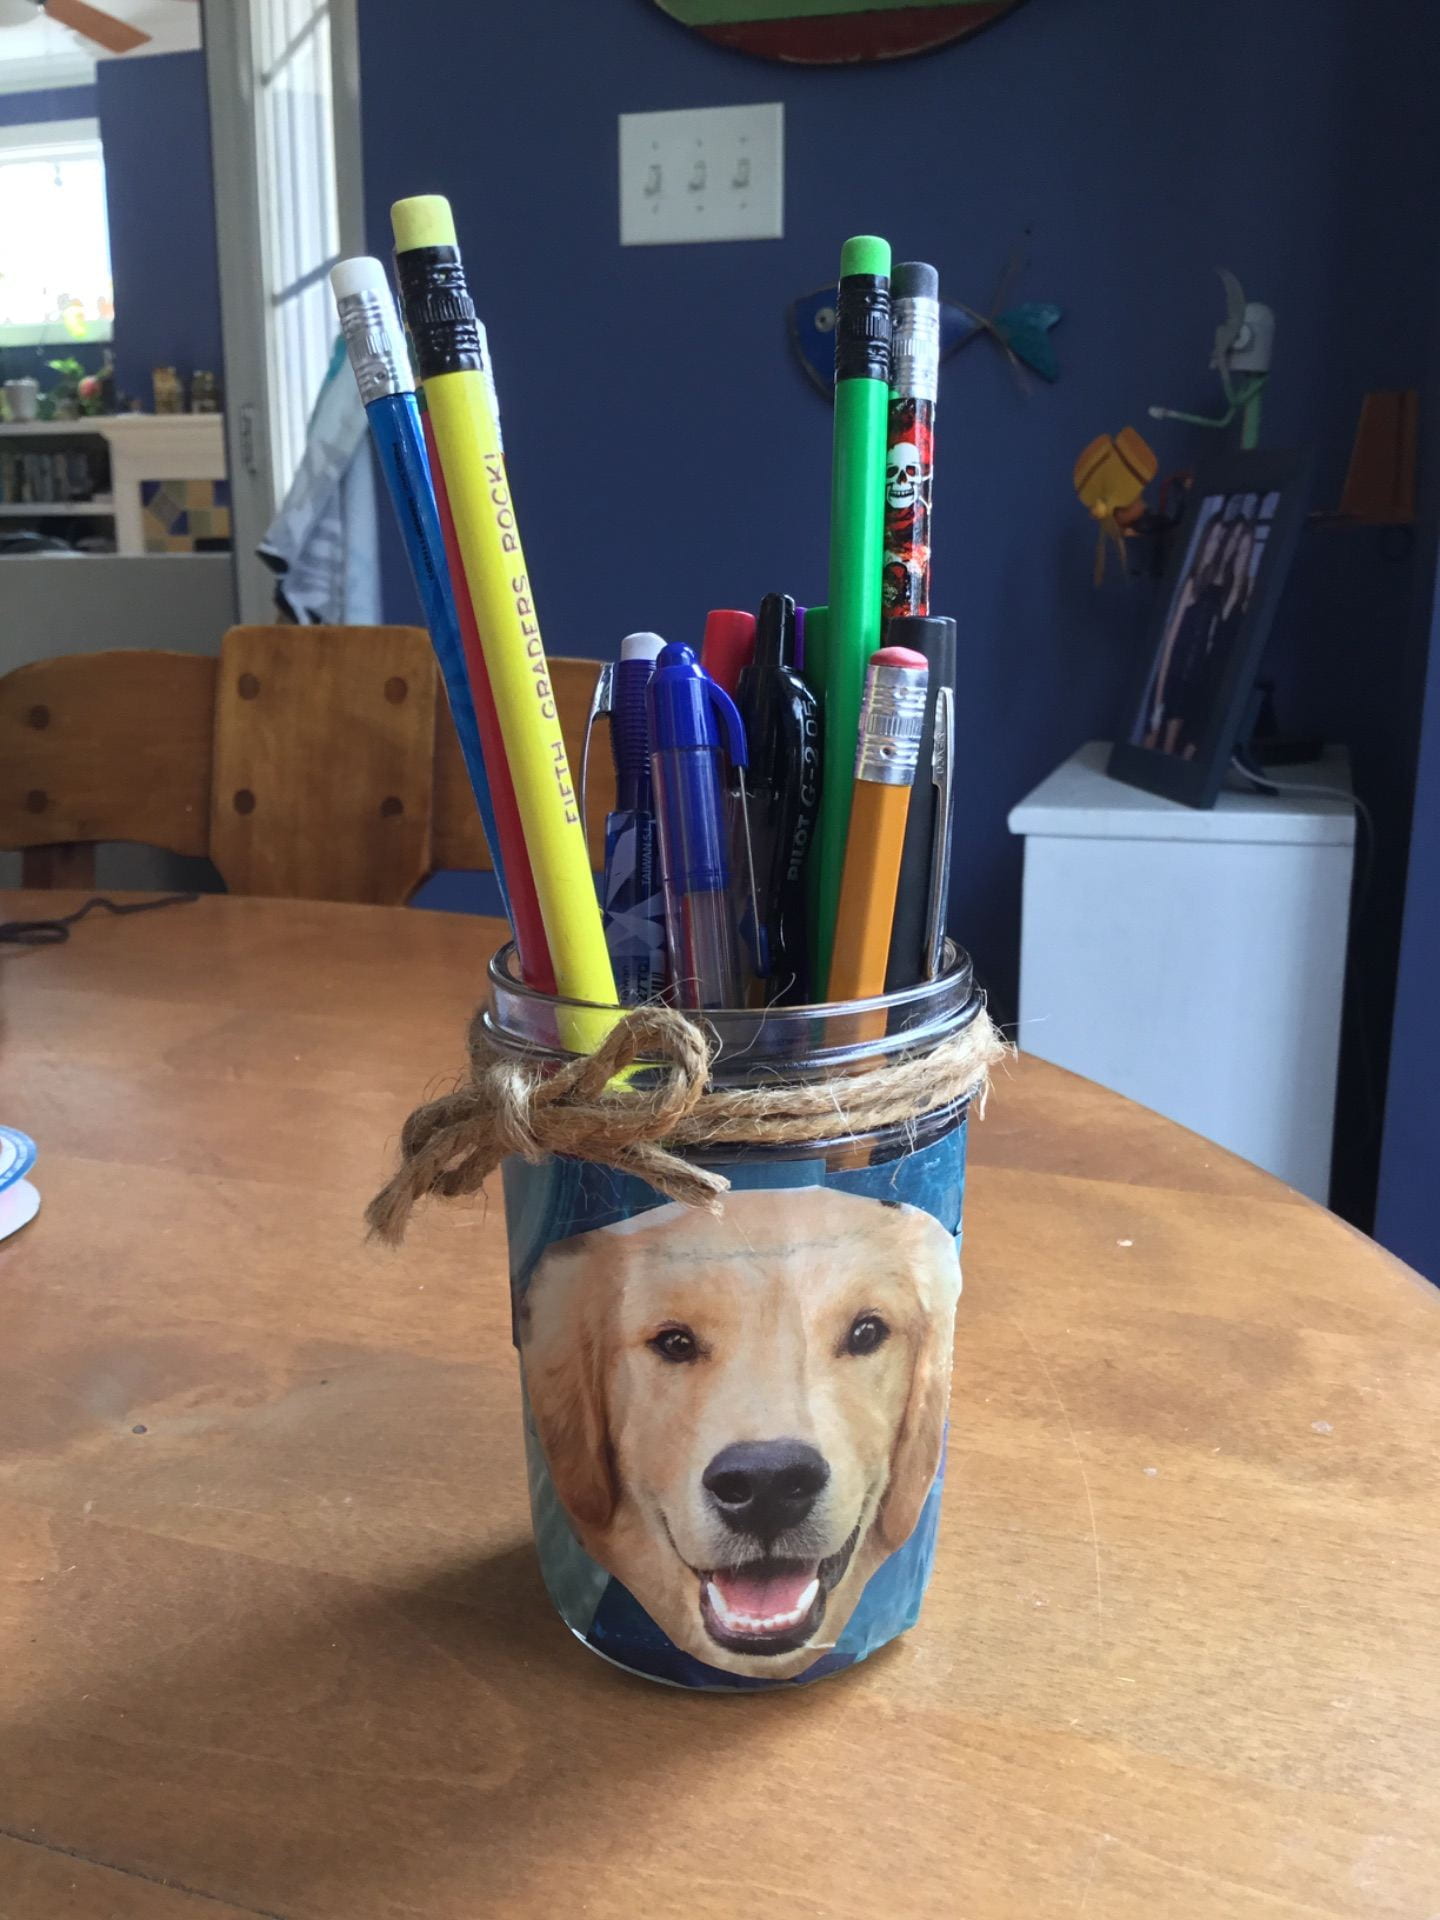
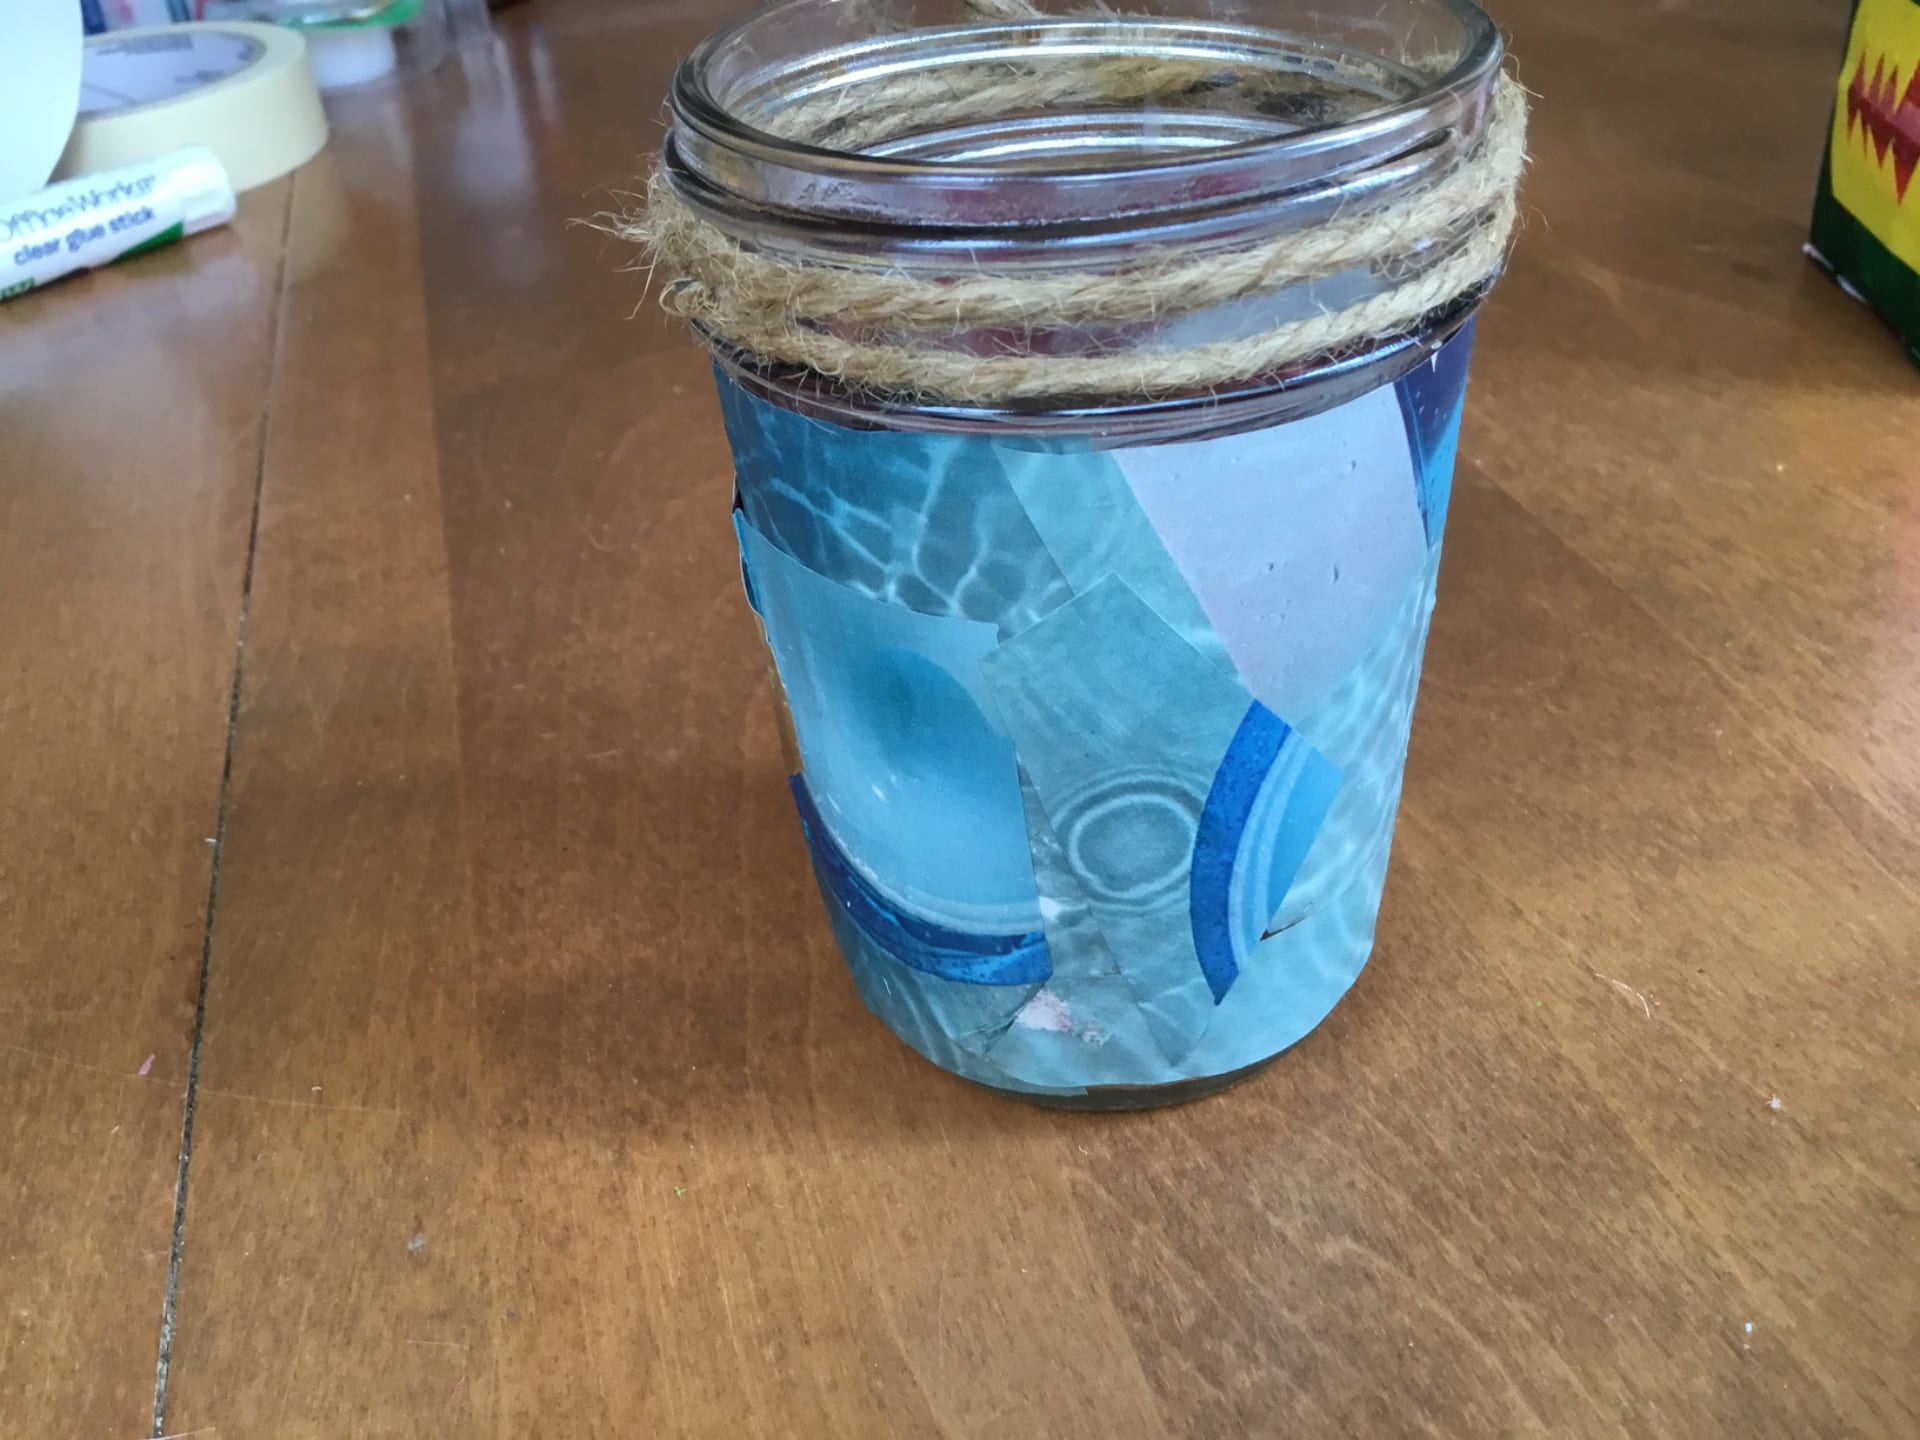
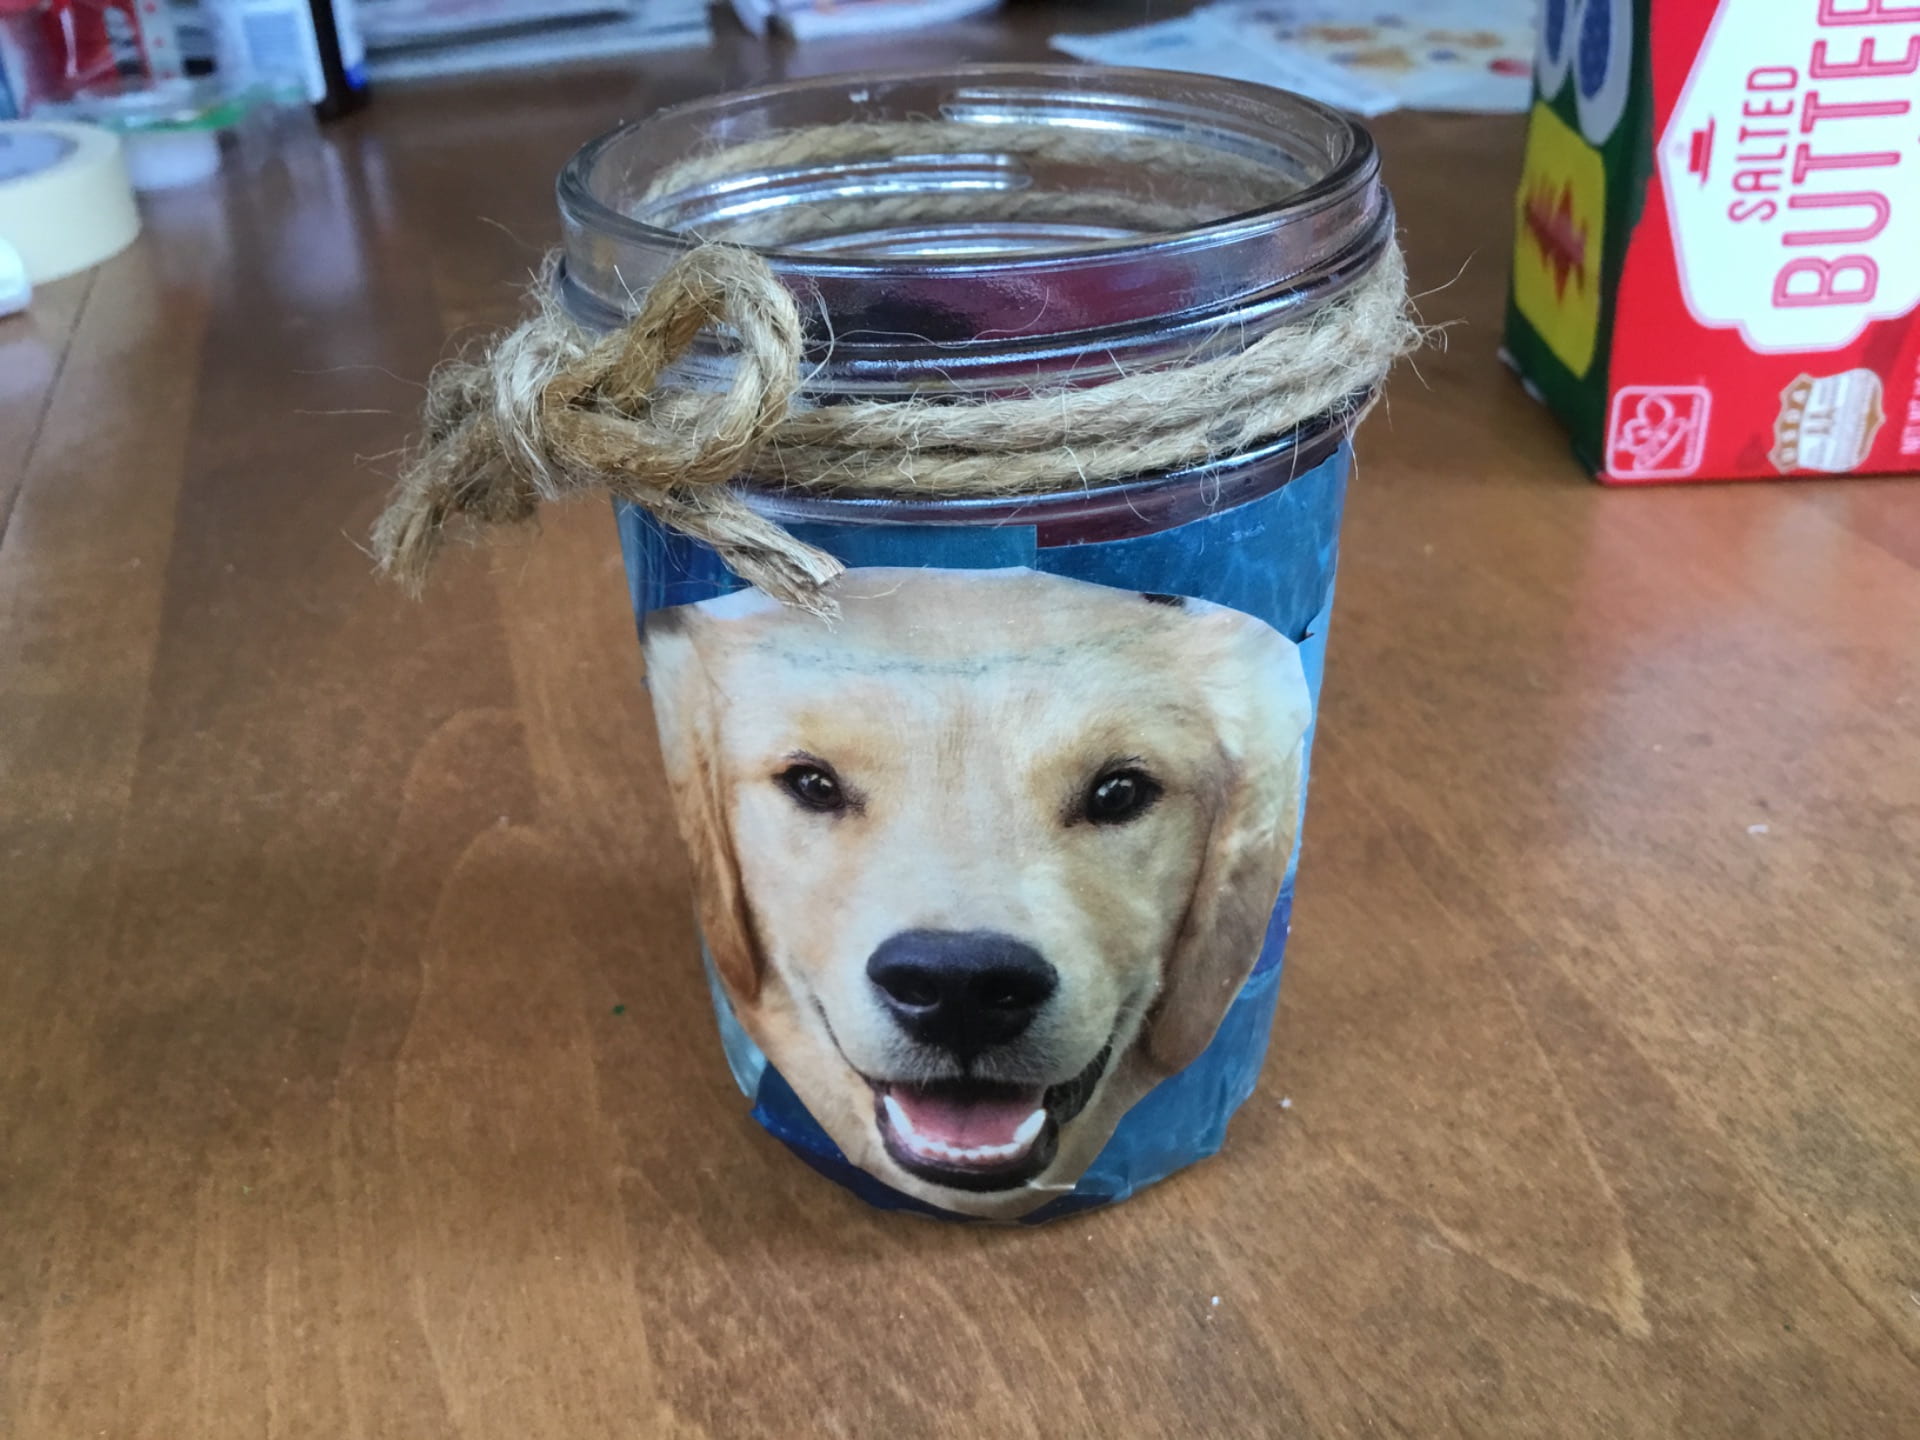
Next, I tried gluing magazine pictures and shapes I cut out onto a jar, a can, and a breadcrumb canister. For the jar, I glued pieces straight onto the sides until it was covered and then “painted” over the whole thing (just the sides) with ModgePodge (you can use regular Elmers-type white glue). This seals the paper down and gives it a slightly shiny look. To jazz it up a bit more, I tied some twine around the top.
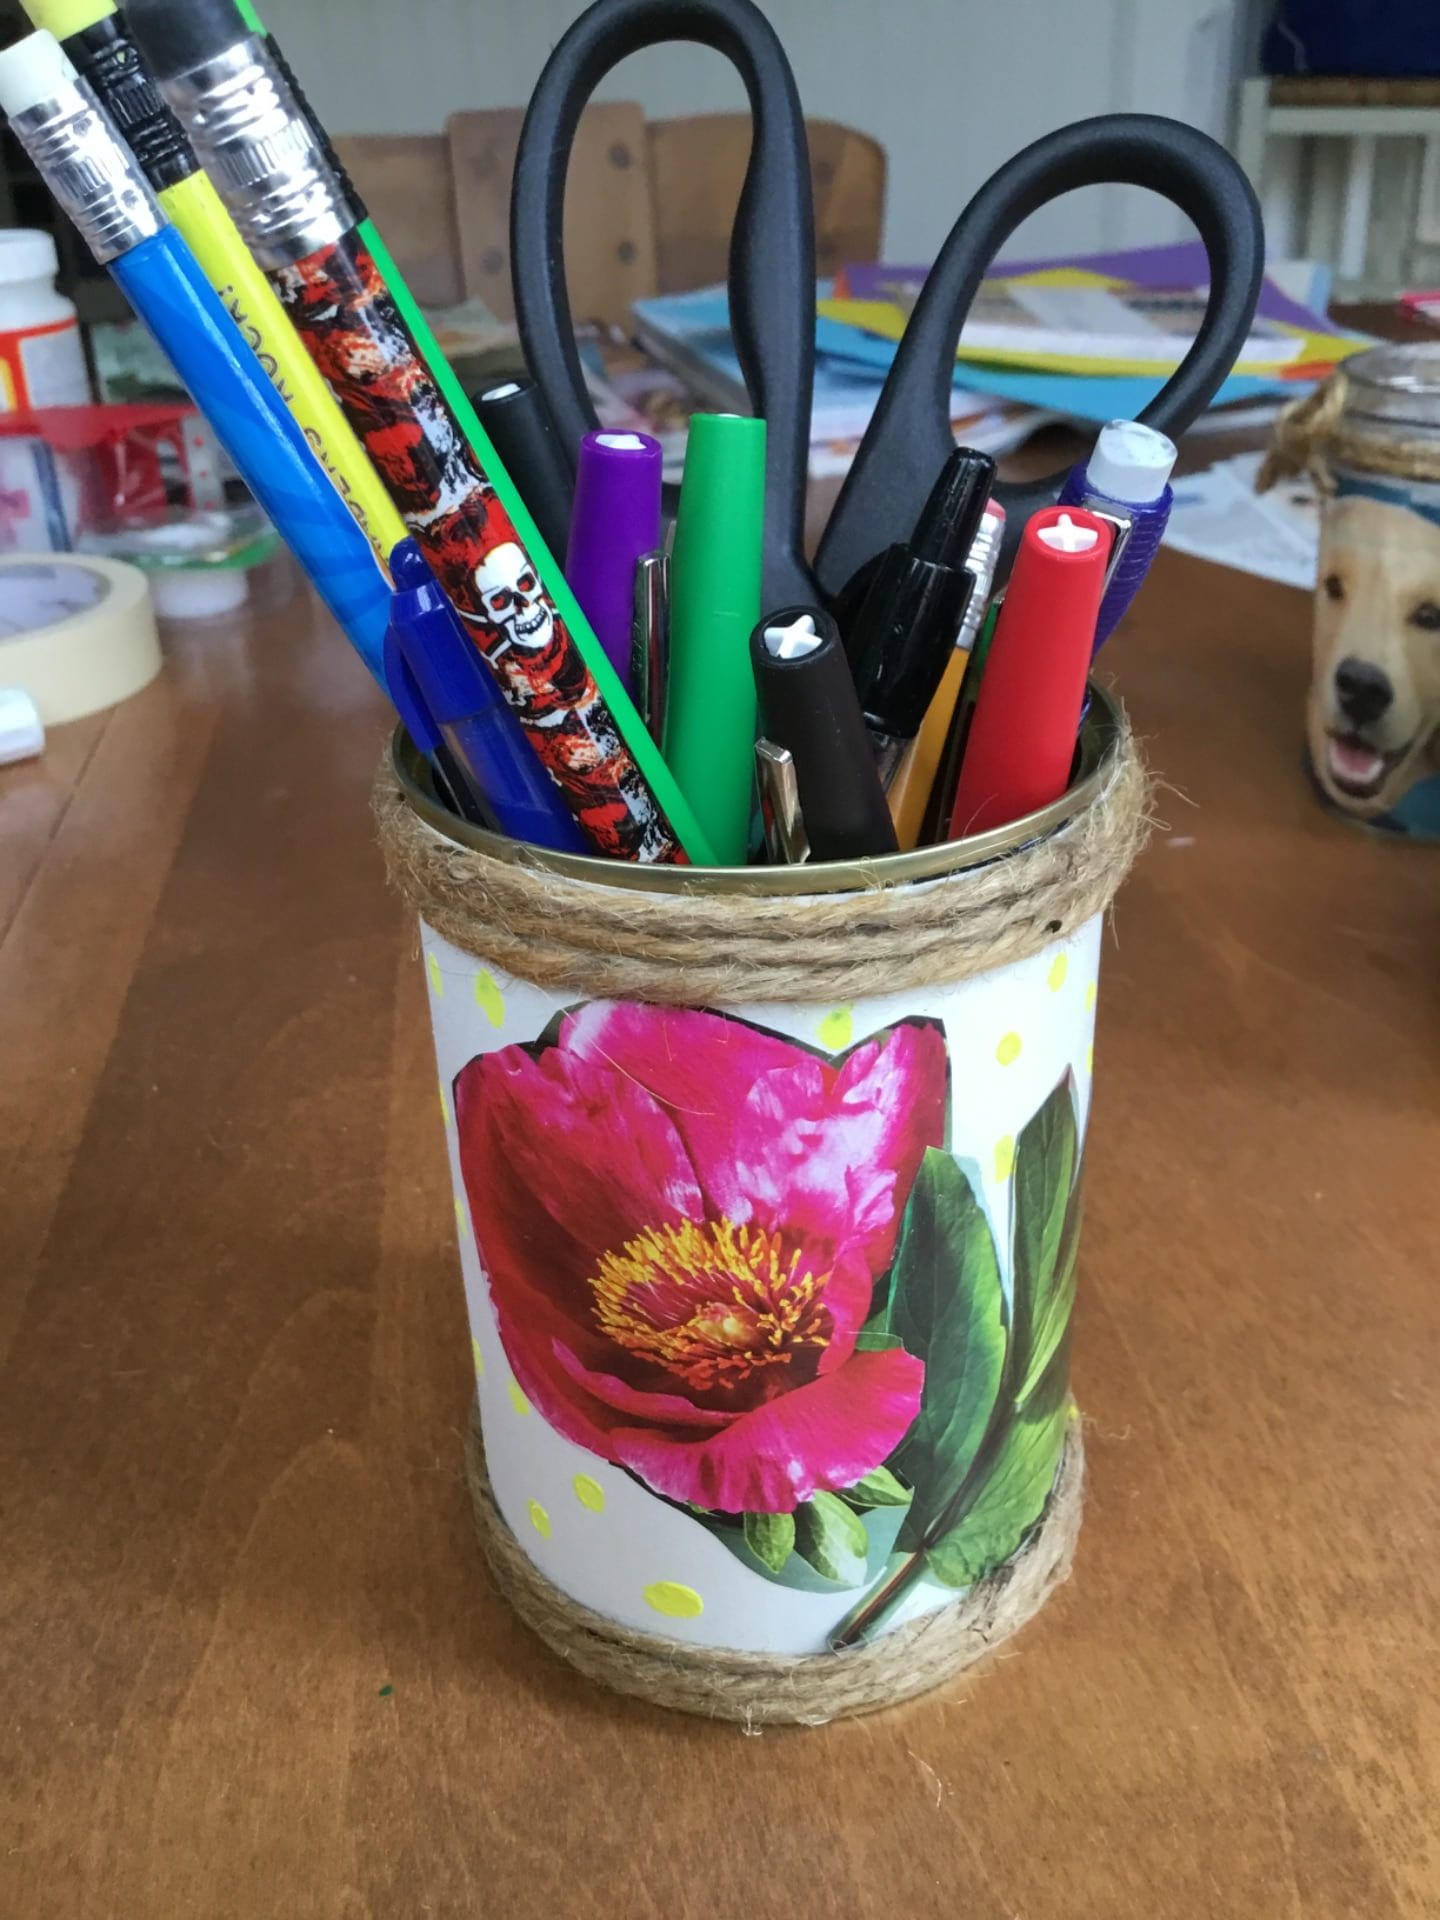
For the can, I cut white paper to fit all the way around the outside and glued it on to cover the little “ridges” in the metal can. I then cut out pictures from a magazine and glued them on. I decided to wrap twine a few times around the top and bottom to spruce it up a lit more.
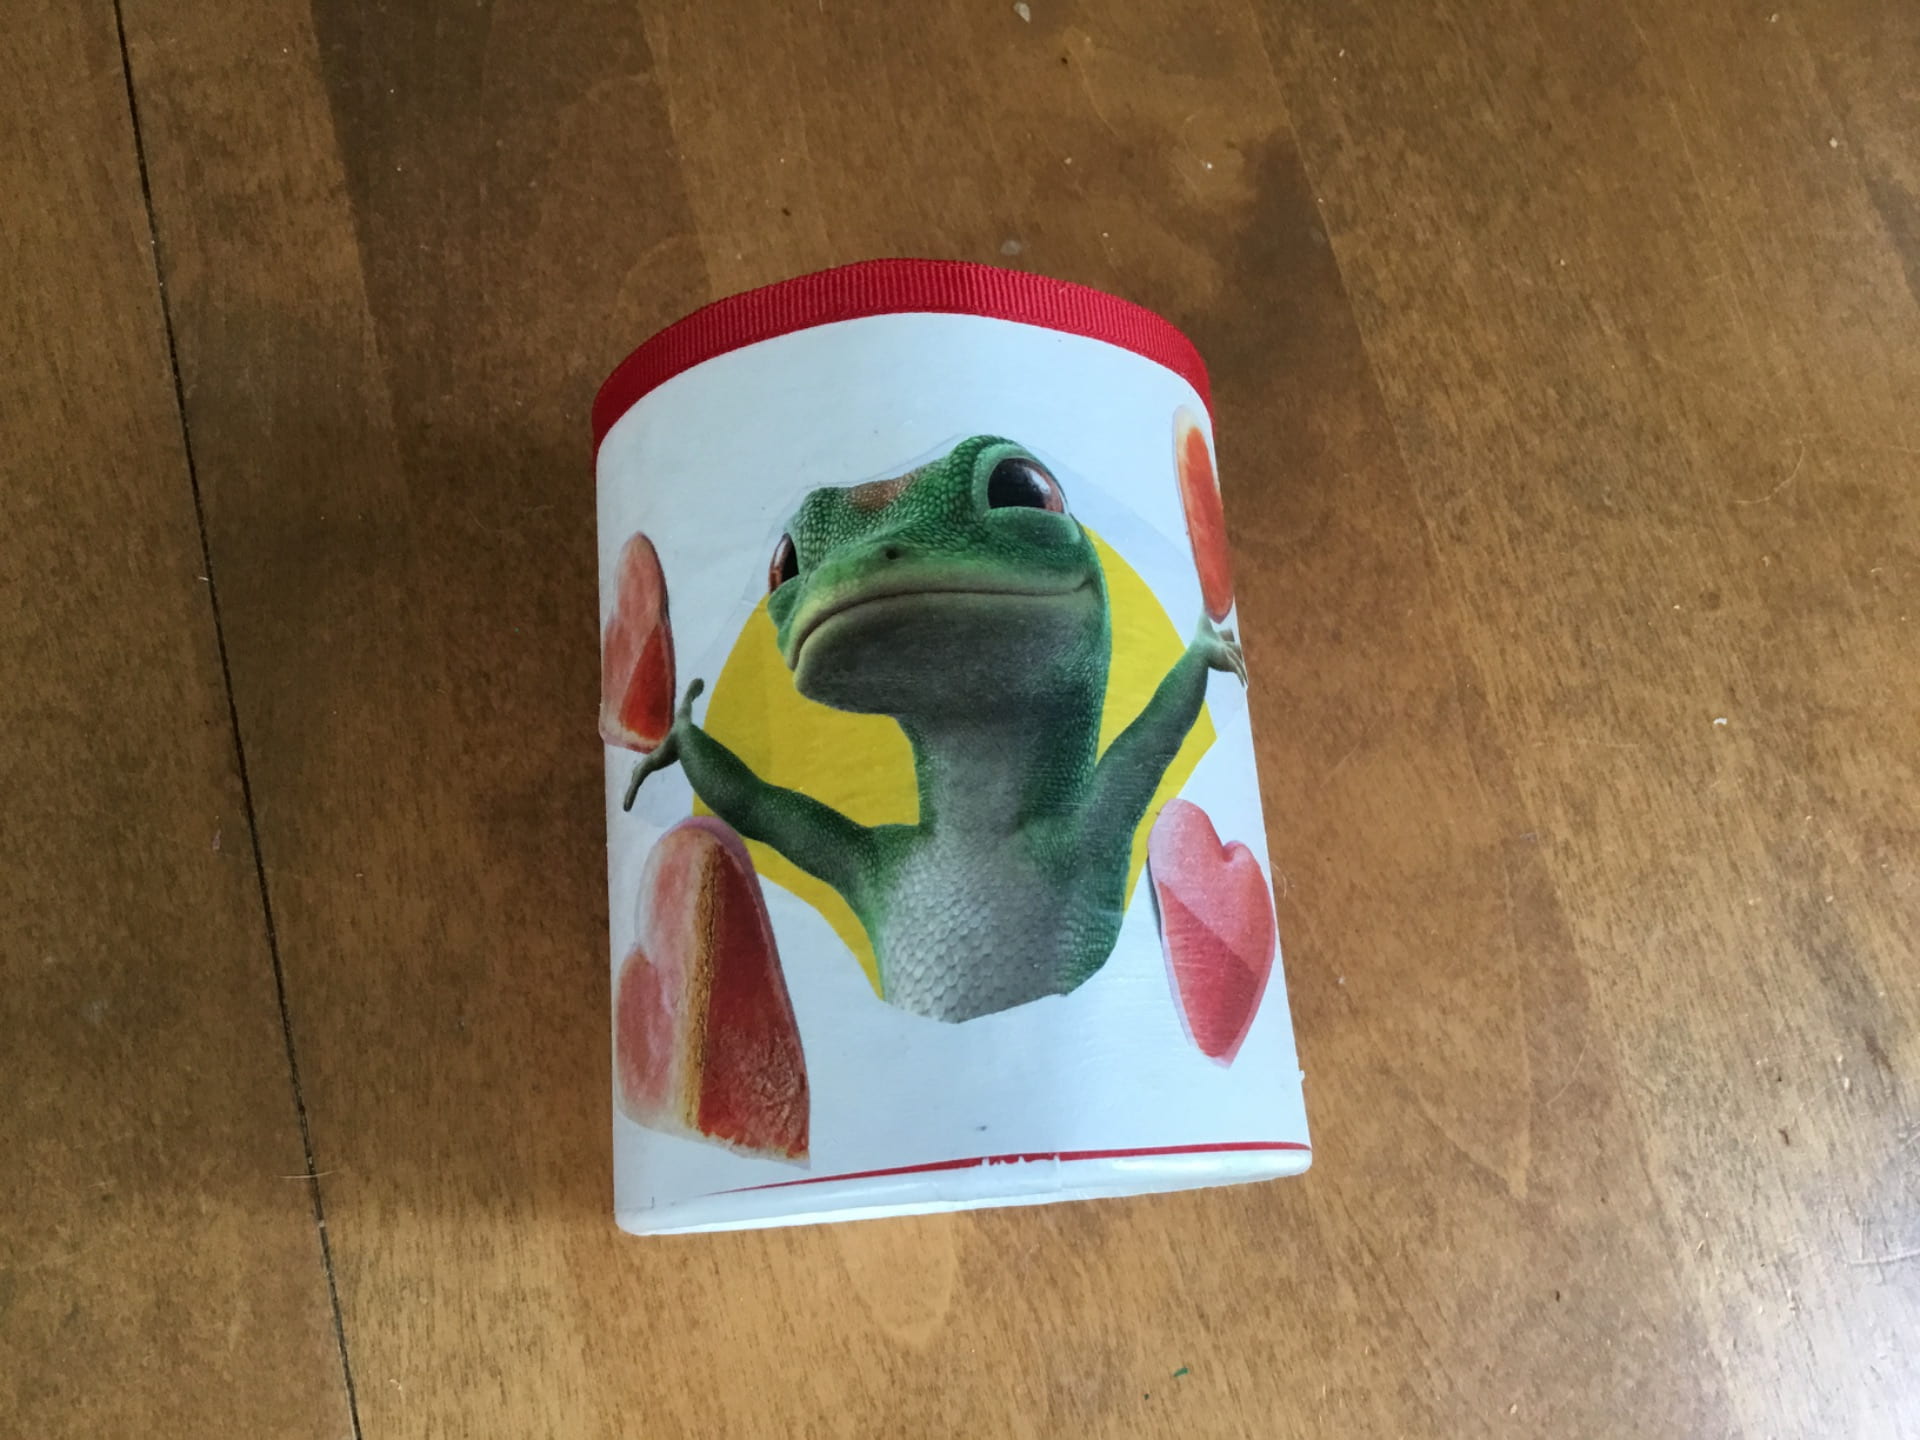
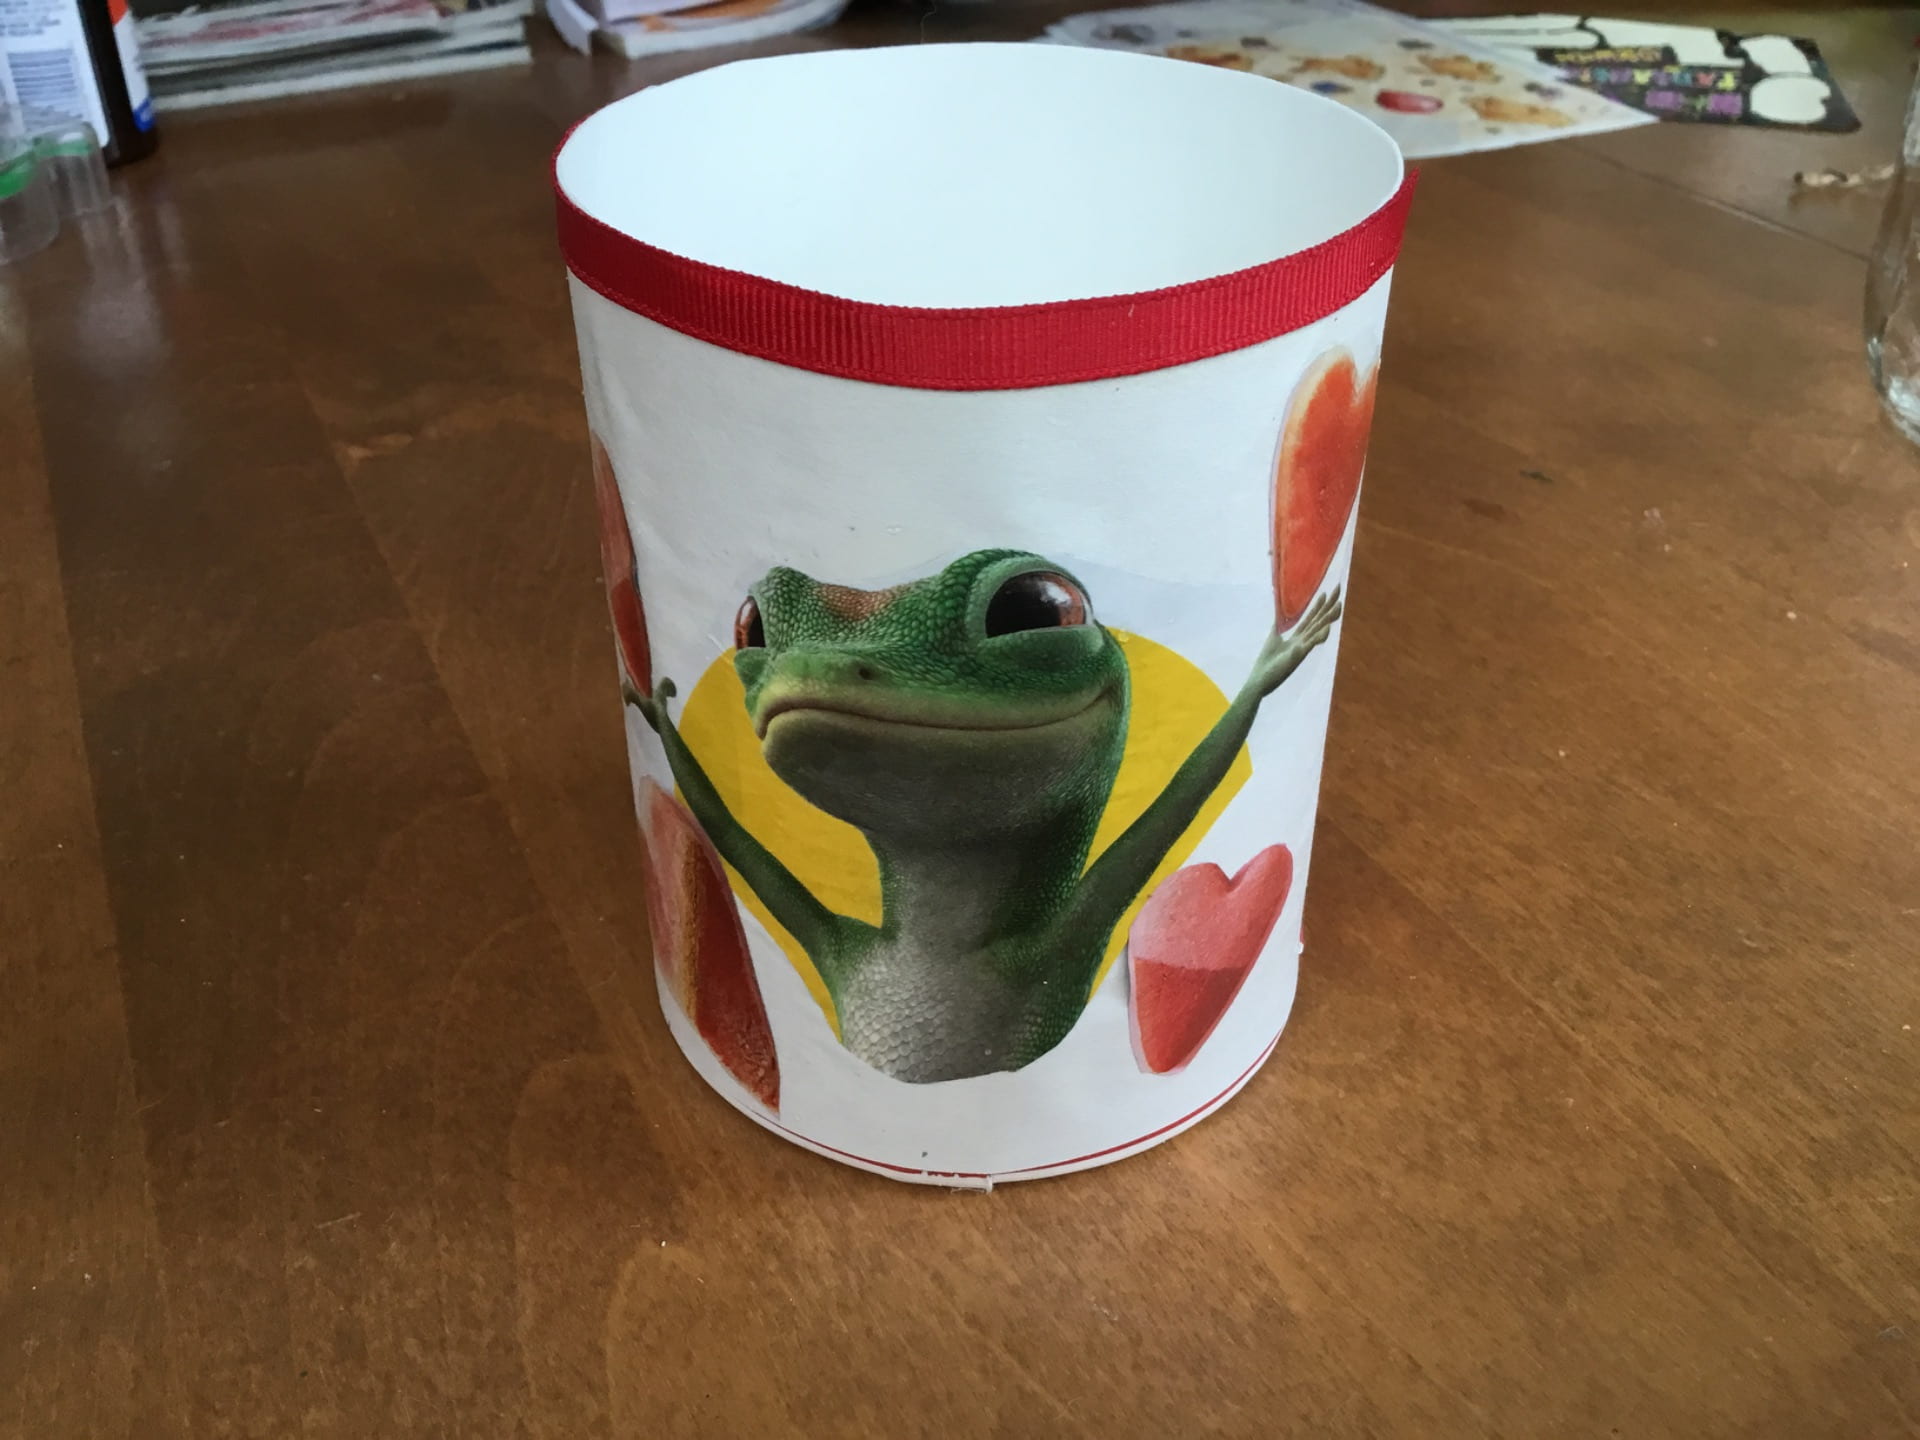
For the breadcrumb container, I cut off the top 1/3 so that it was a good height and then glued white paper all the way around just like I did with the can to cover the writing/label. I then glued magazine pictures on and glued a ribbon around the top.
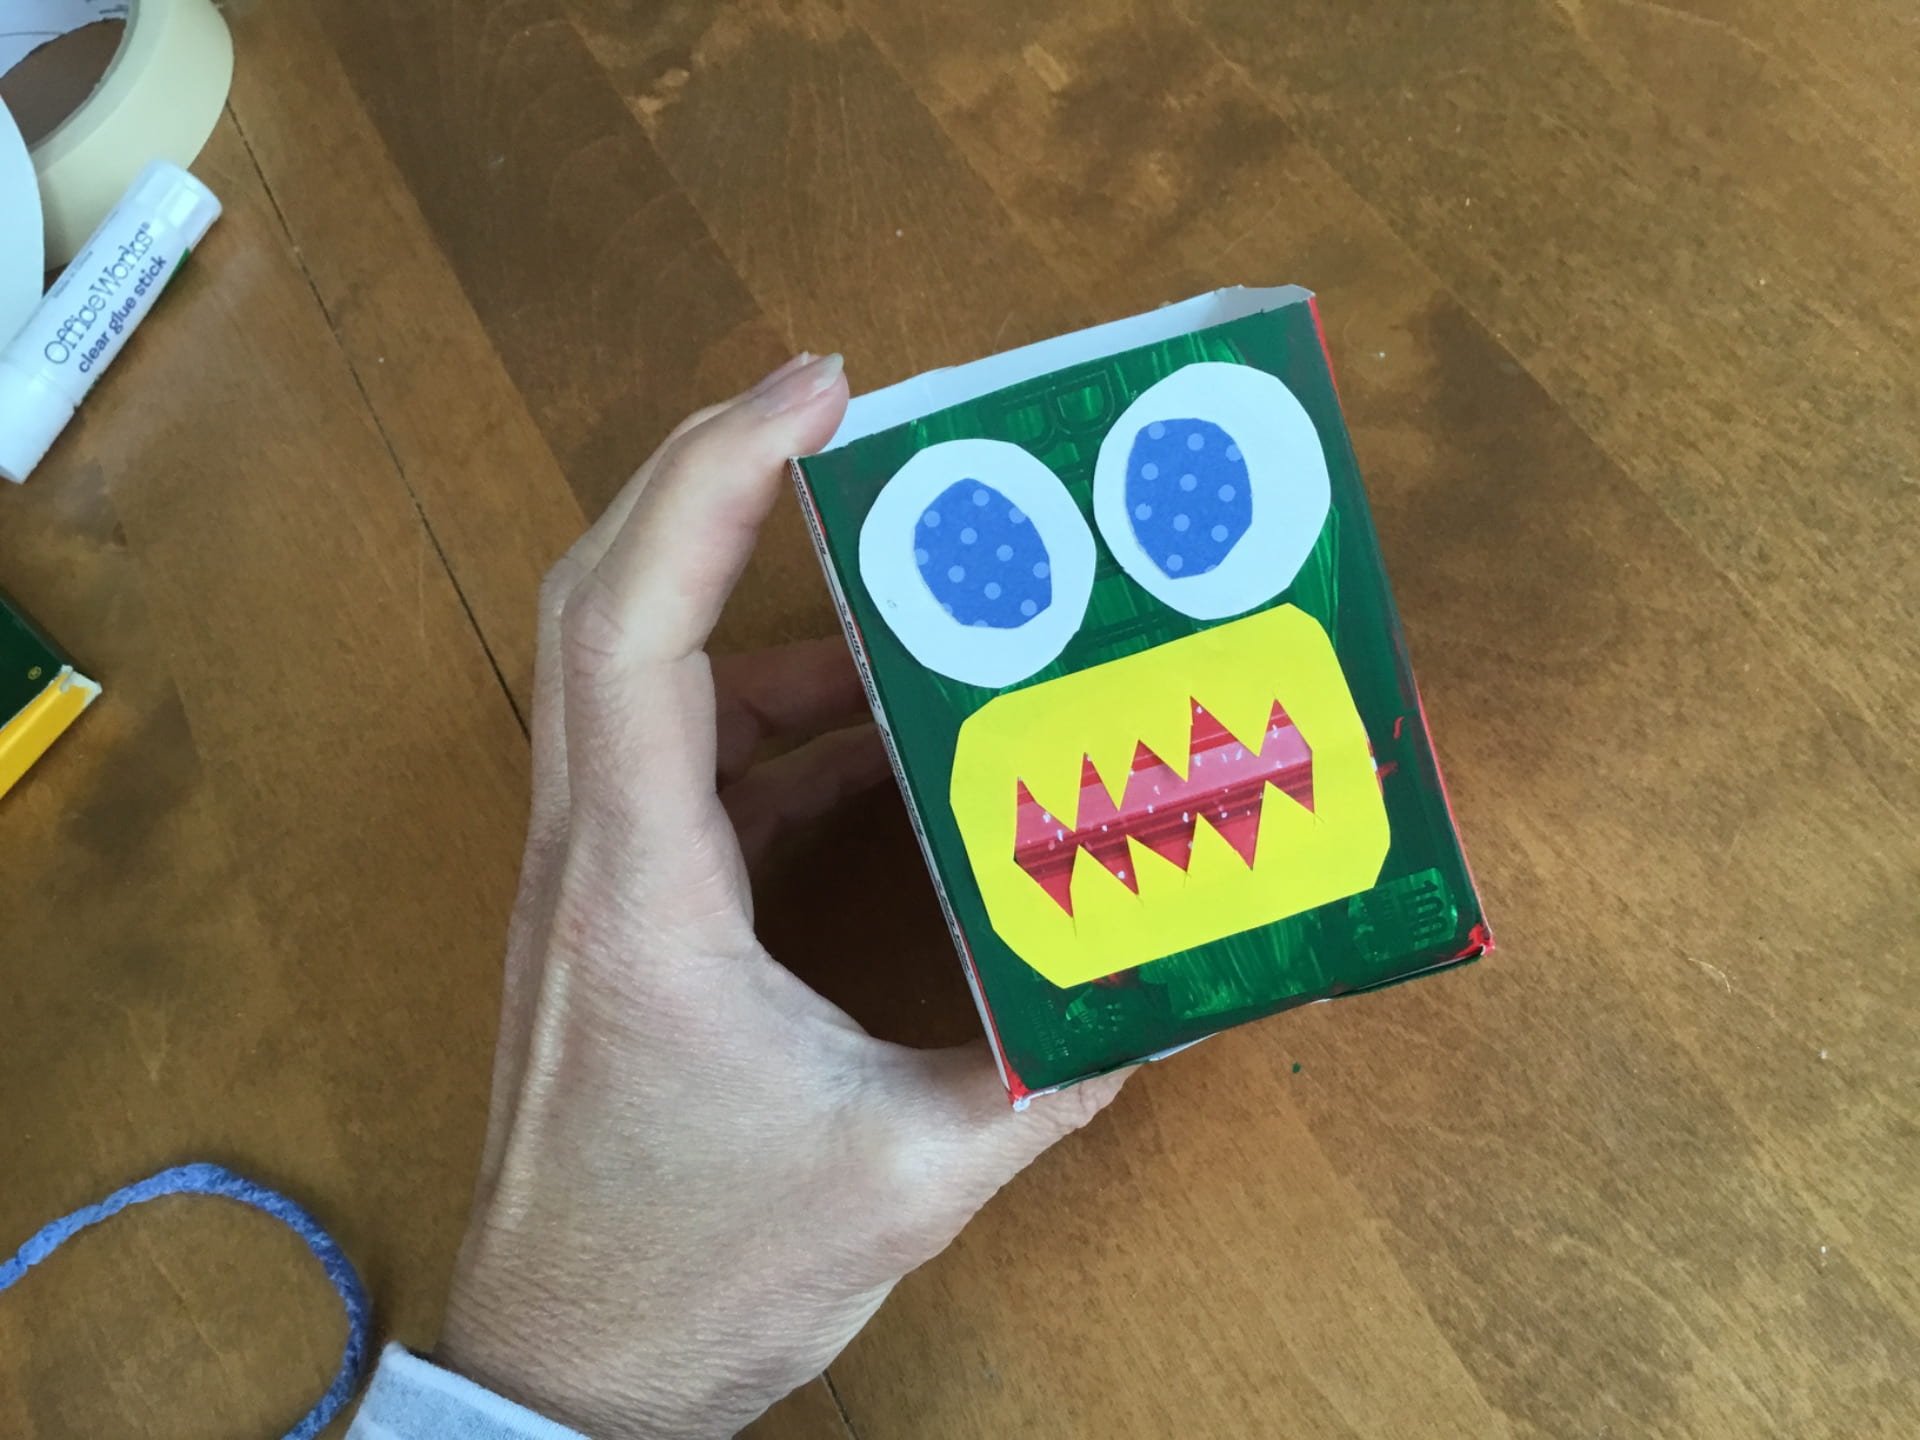
I was having so much fun, I just couldn’t stop myself. I grabbed the butter box and decided to paint it after I had cut off the top. While it was drying, I cut out shapes from colored construction paper and pieces of magazines to make a funny monster face. You could do just about anything here. I arranged the pieces on the table to make sure I had it the way I wanted and then I glued them on the painted box . Voila…

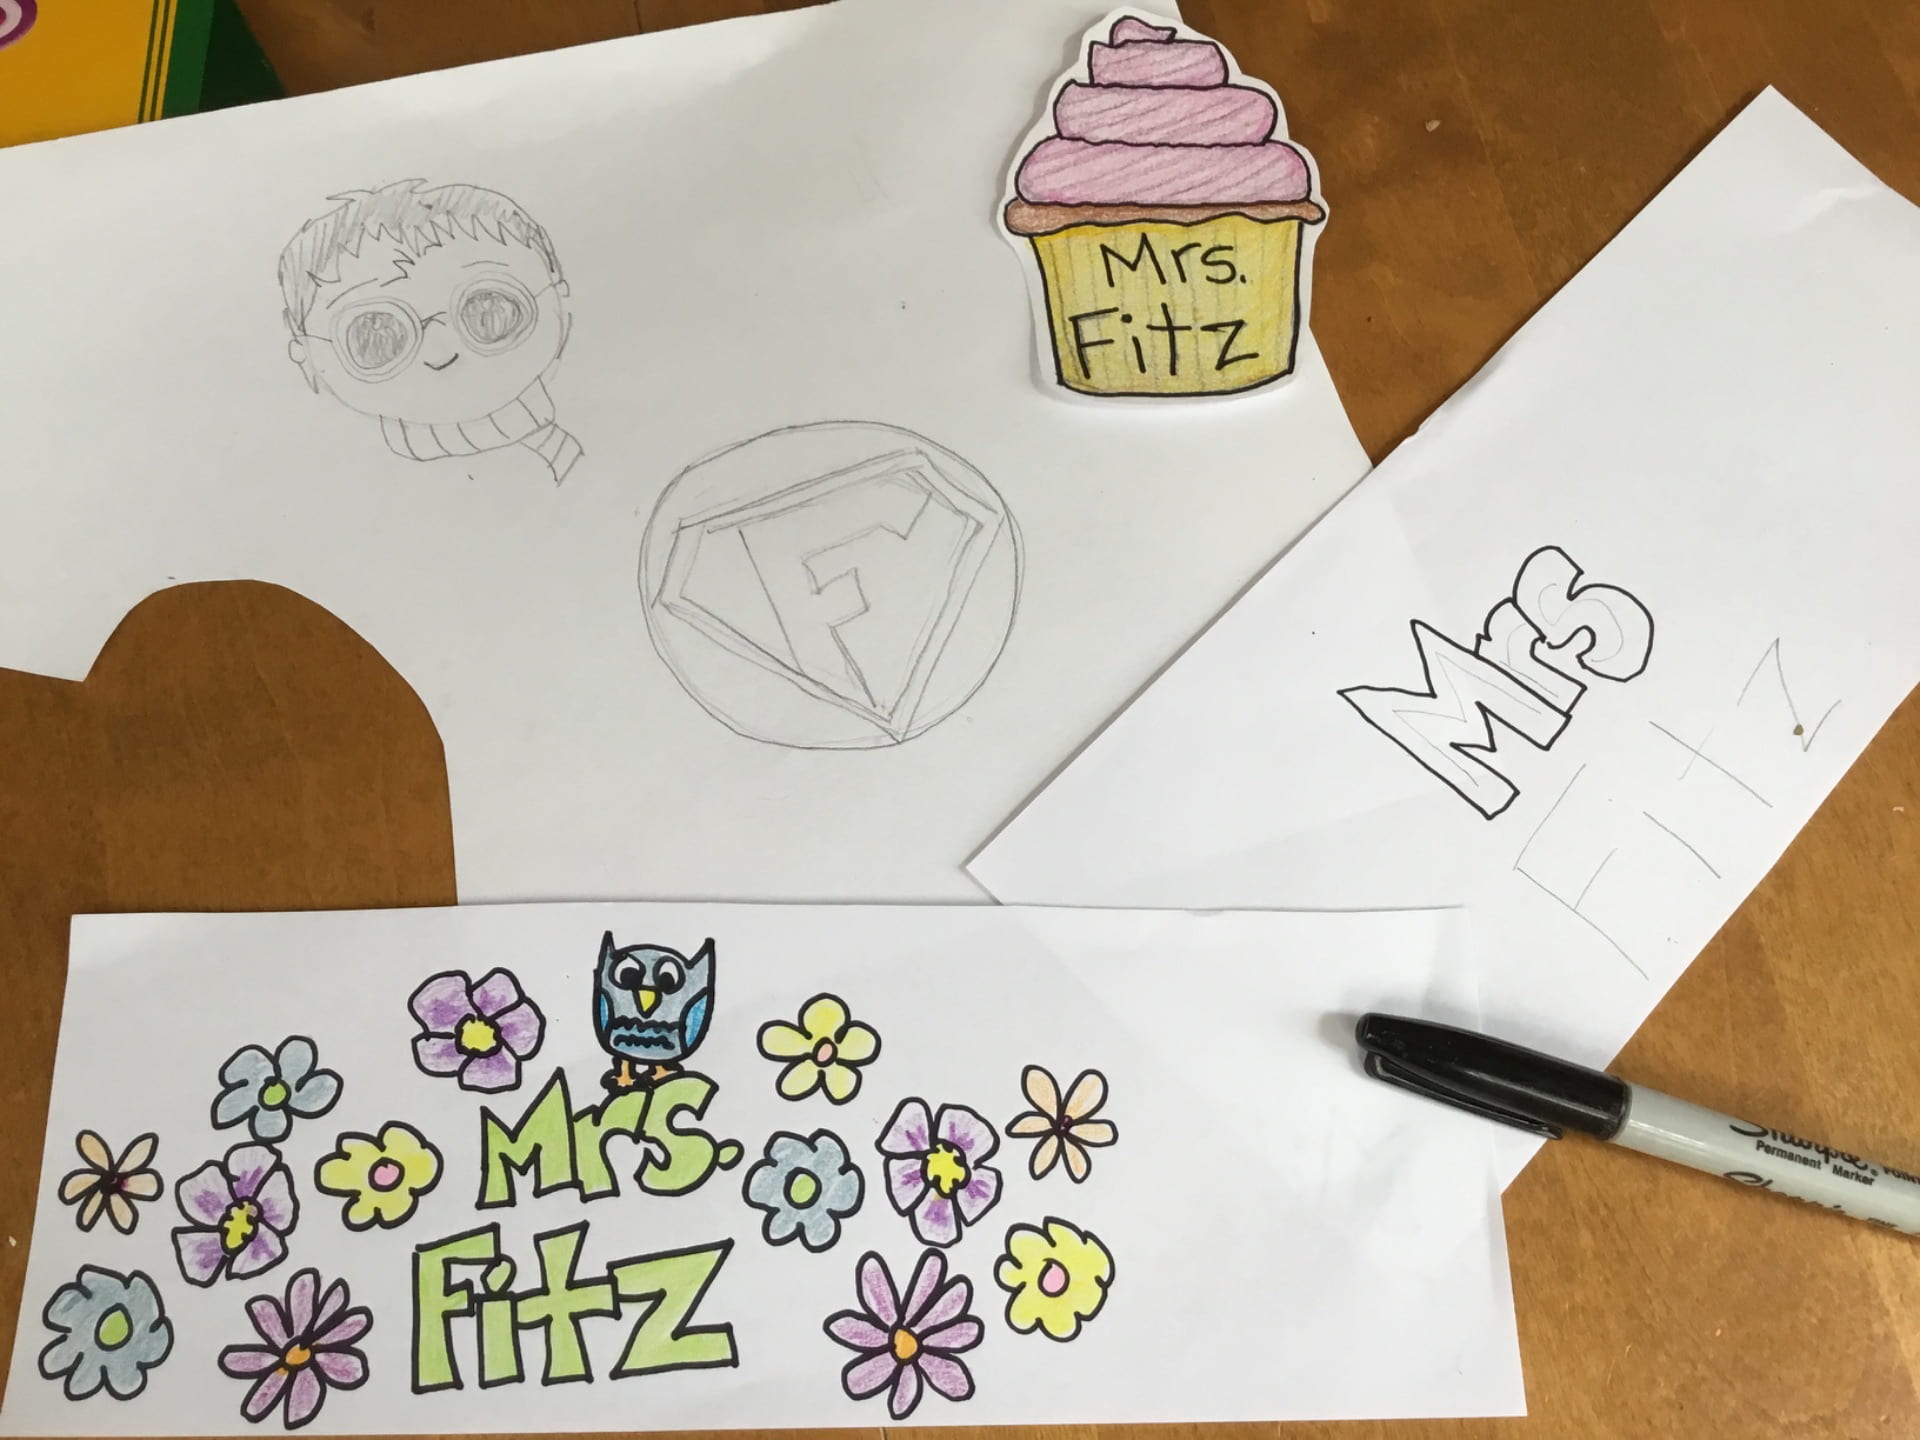
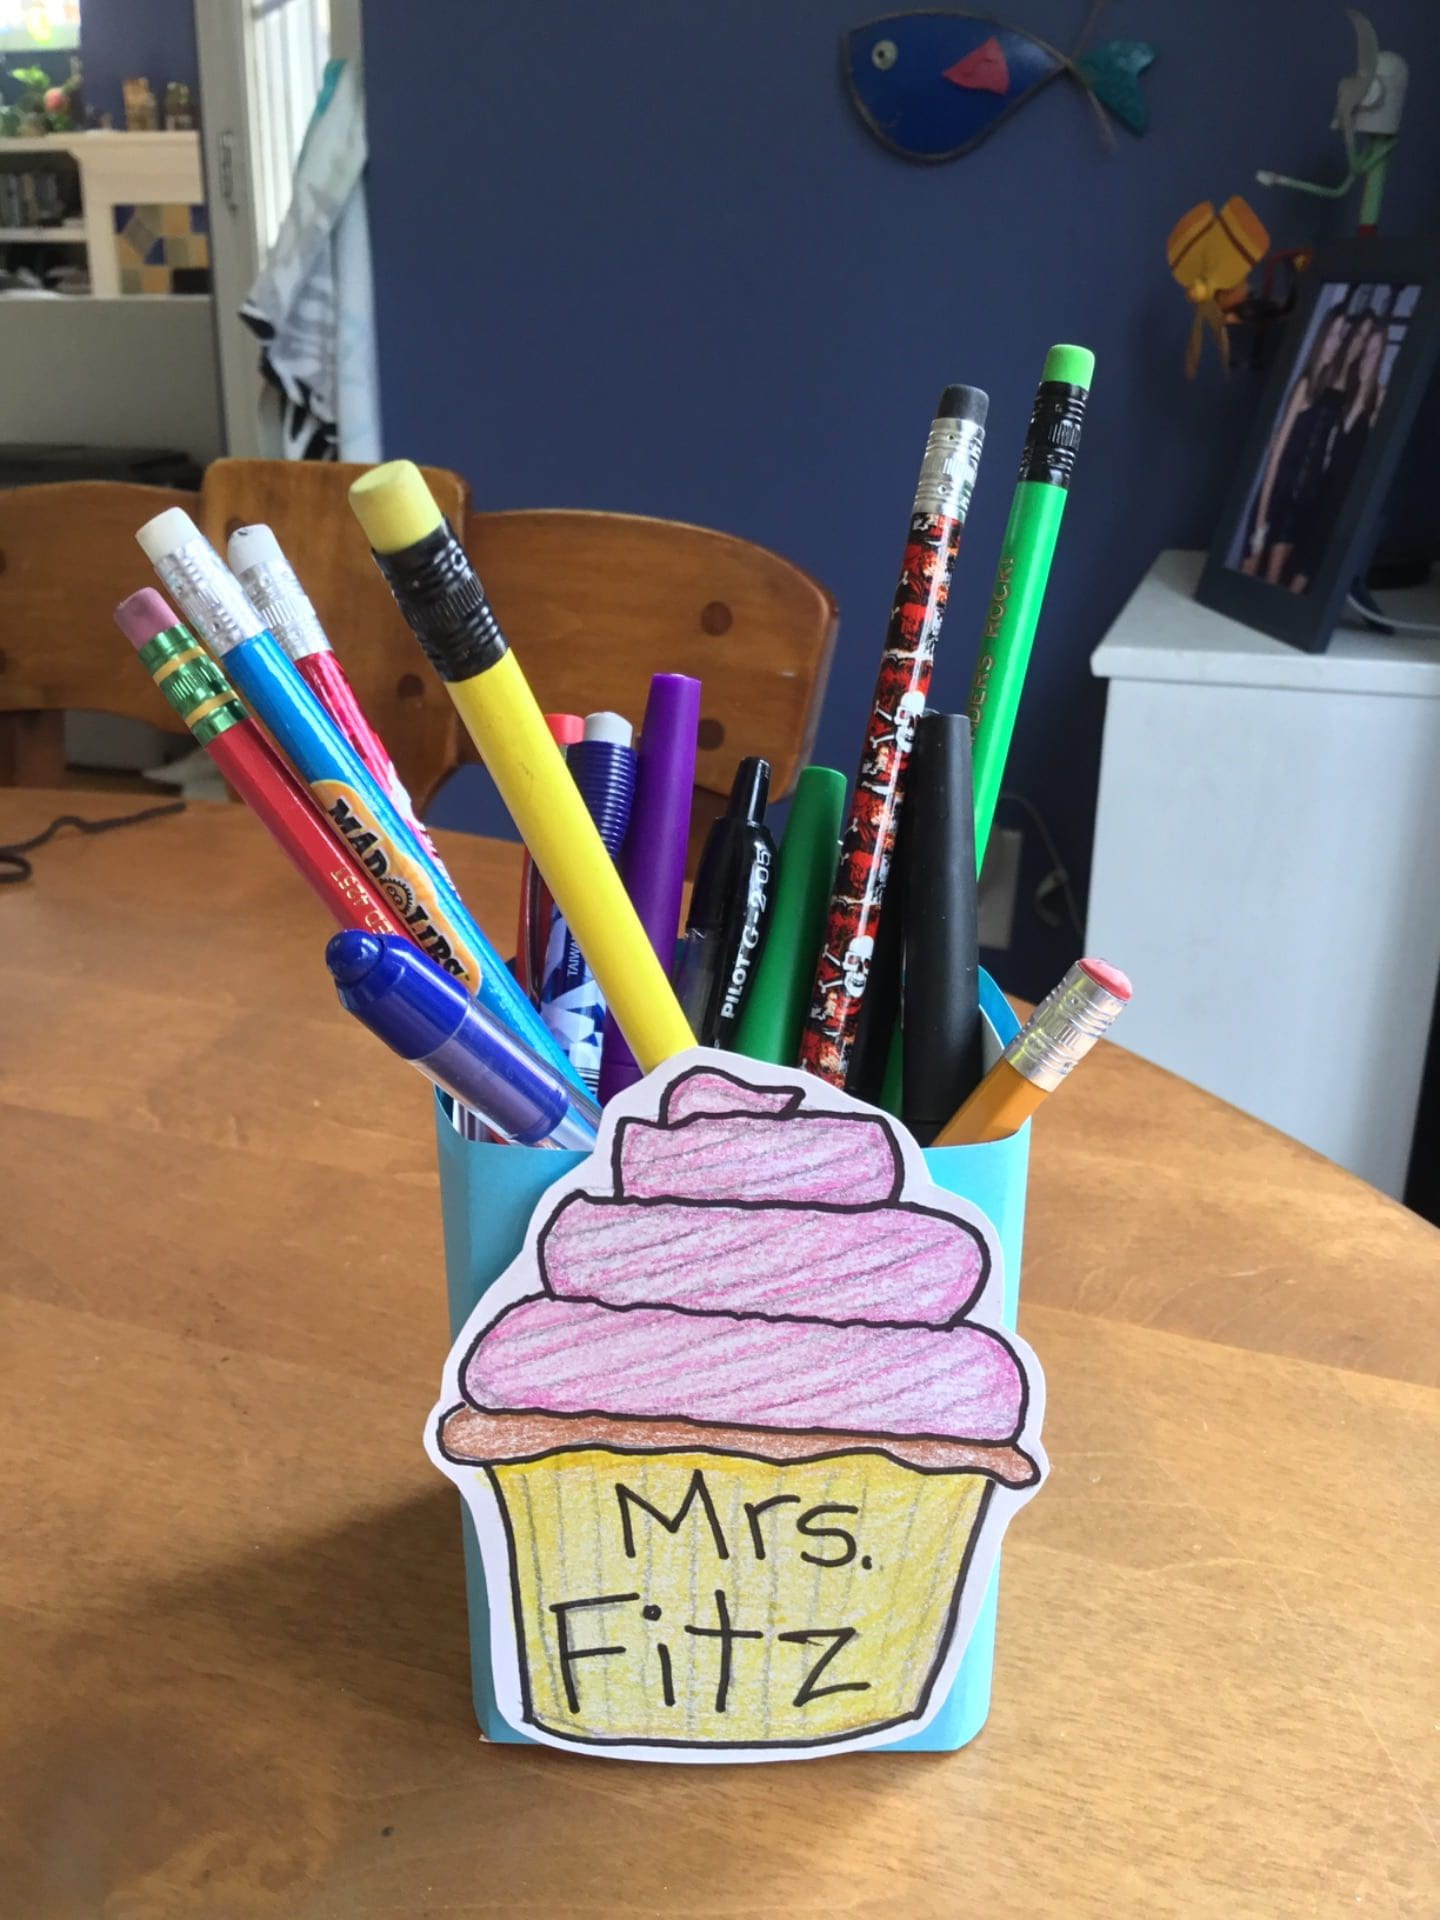
But I wasn’t done. Even if you don’t have magazines, colored paper or lots of yarn/string, you can still make a fun personalized pencil cup. I took some plain white paper and some crayons (colored pencils or markers would work too) and began to doodle. You could do you name and decorate around it. You can draw something you like and color it in. Anything! Then you just need to cut it out and glue or tape it around your container.

So…Have I sparked any ideas? Is anyone feeling an urge to create a unique, special pencil can to decorate their at home school space? If you do, I really want to see it!