These little guys are fun in a puddle, in a stream, in a pool, in a tub or in a container. Make one for fun. Or make a whole bunch and hold a cork boat regatta (that’s a boat race). All you need are a few corks, two rubber bands (I used some that came on the celery I brought home from the grocery store), a toothpick, and some foam or card stock. Watch this little video to see how!
Collage Card Craft
So, I’ve been trying to think of fun, easy crafts that can be done with things around the house. Couple that with how much I miss school and my class, and I came up with a cool collage card craft. It’s not a totally new idea, because I have been making cards this way for a while using colorful, patterned scrapbook paper. But this time I thought I’d try it with something a little more widely available…magazines!
We have lots of magazines lying around our house, as well as lots of catalogs that arrive almost daily in the mail. Either works for this and it doesn’t matter what they’re about because we’re ripping them up! We just need lots of different colors and patterns.
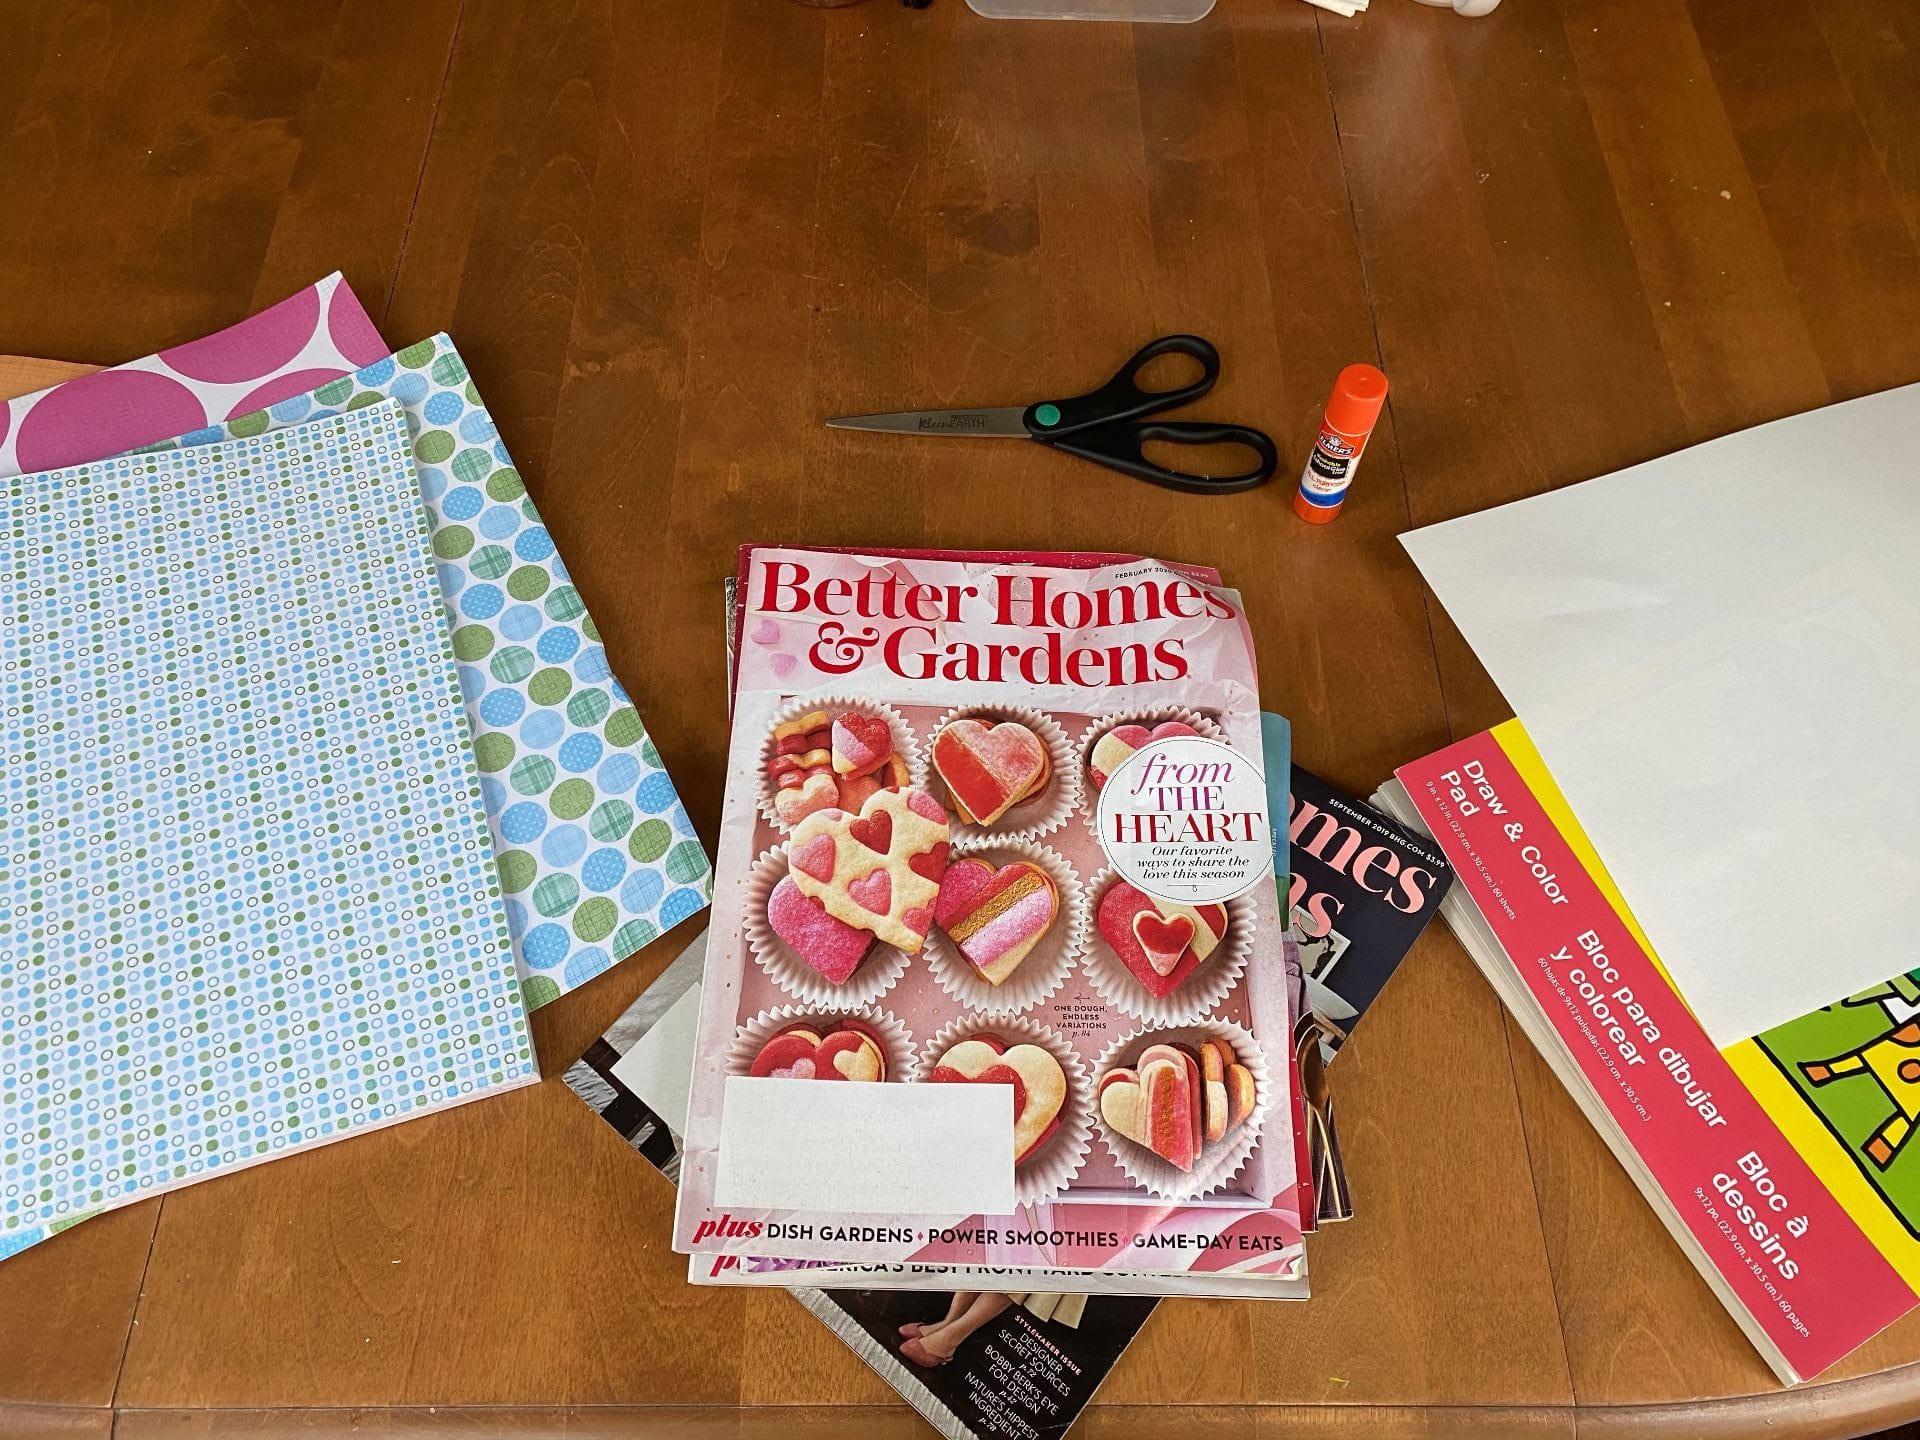
First, I gathered what I would need which was only paper, magazines and/or catalogs, glue stick and scissors.
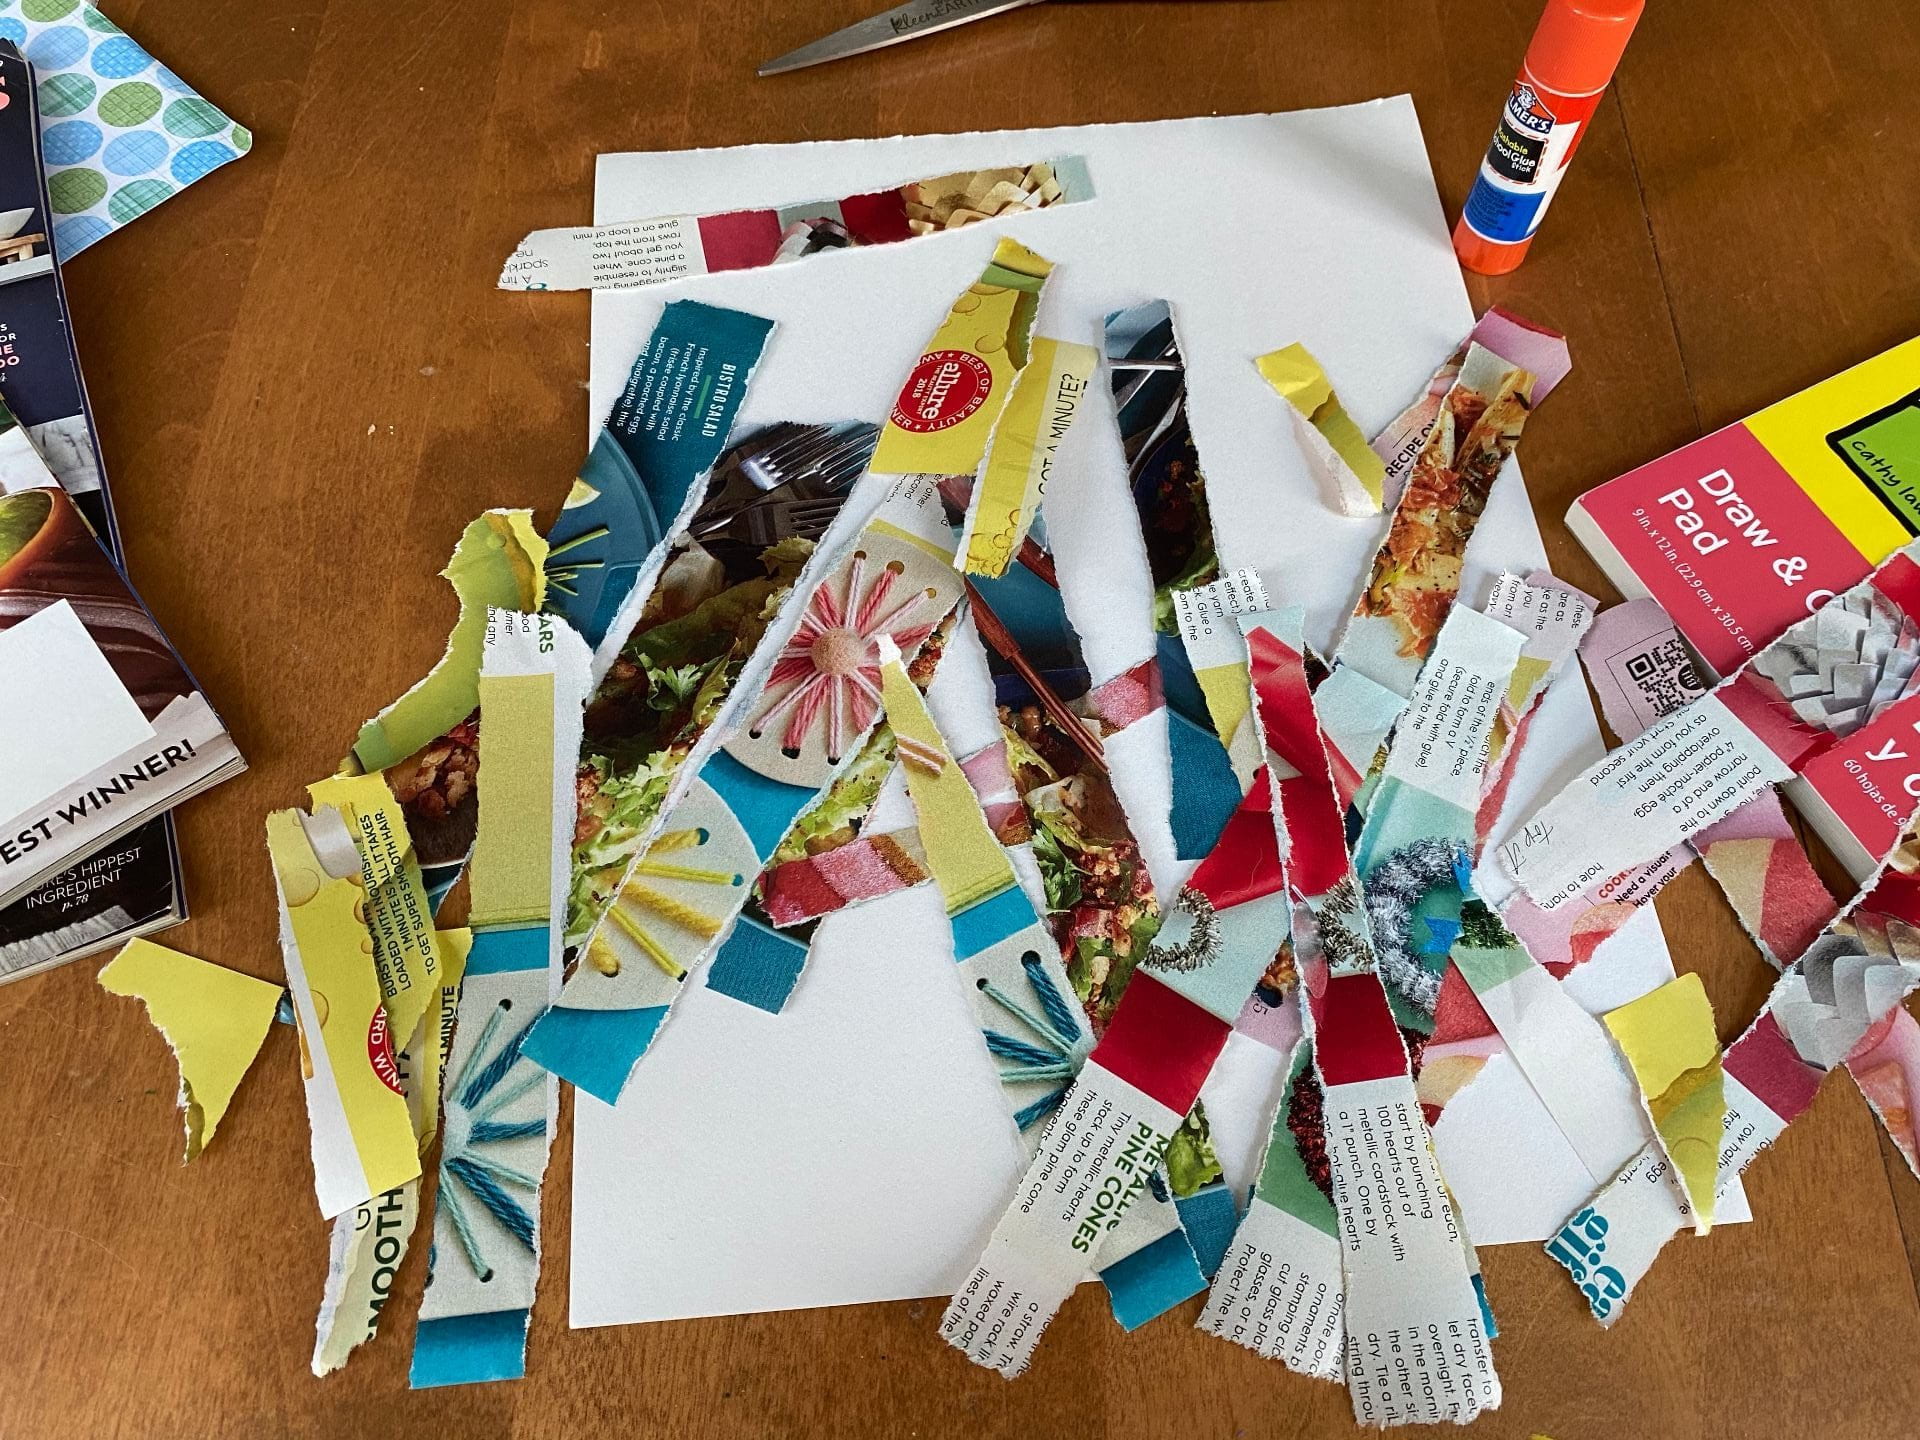
I tore out some colorful pages and ripped them into 1/4″-3/4″ strips until I had a good pile to work with.
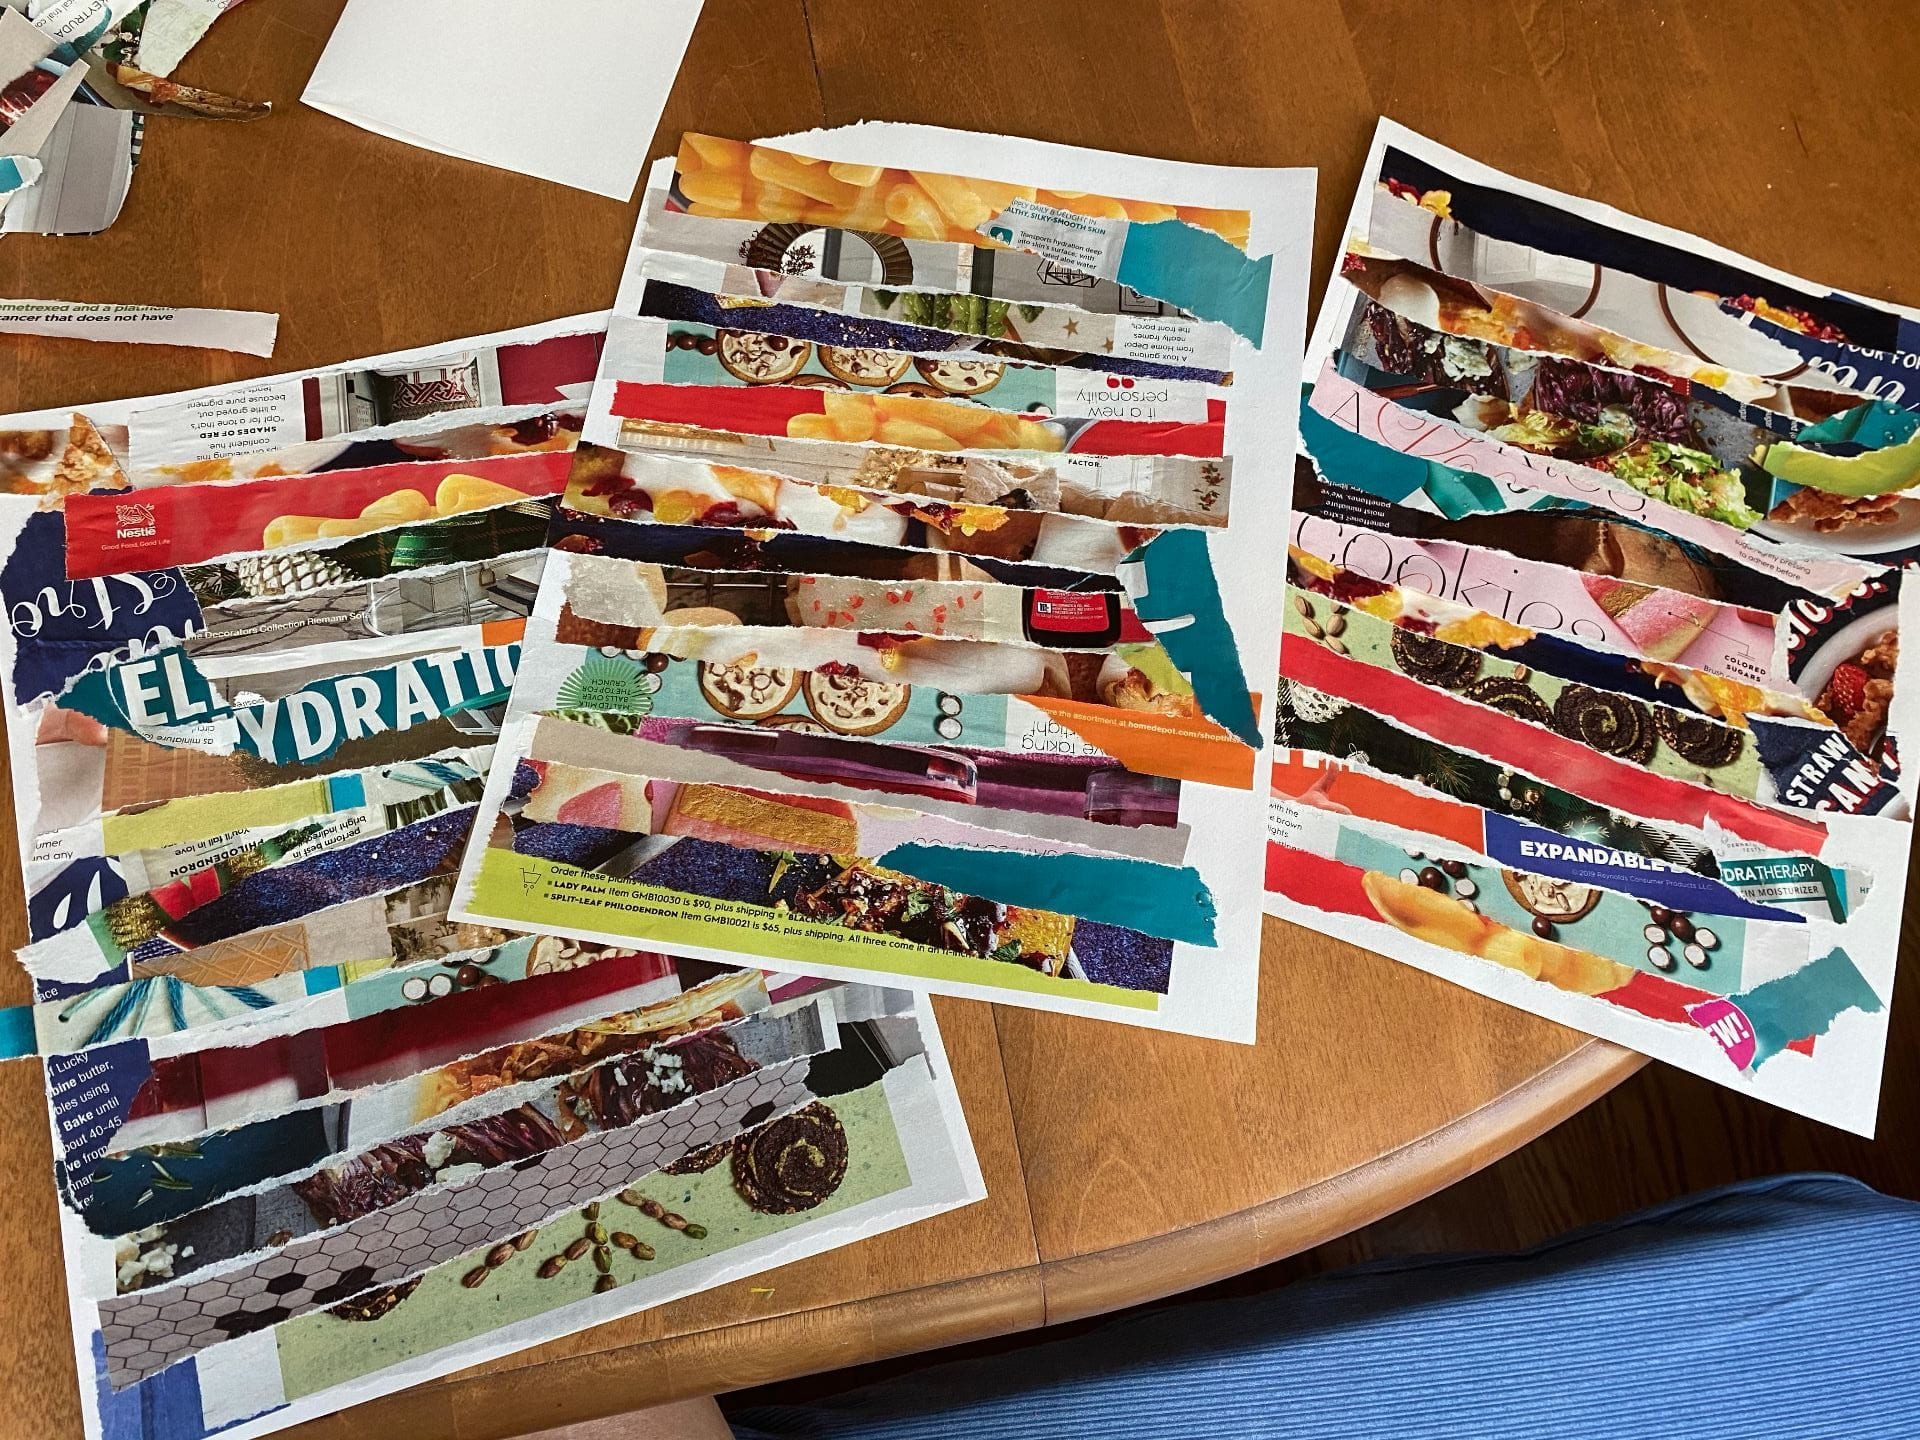
I then glued the strips onto a plain piece of white paper, overlapping them a little bit as I went.

I flipped over my finished sheets and drew shapes on the back. Any shapes work! I was feeling spring-y, so I started with flowers and a butterfly.
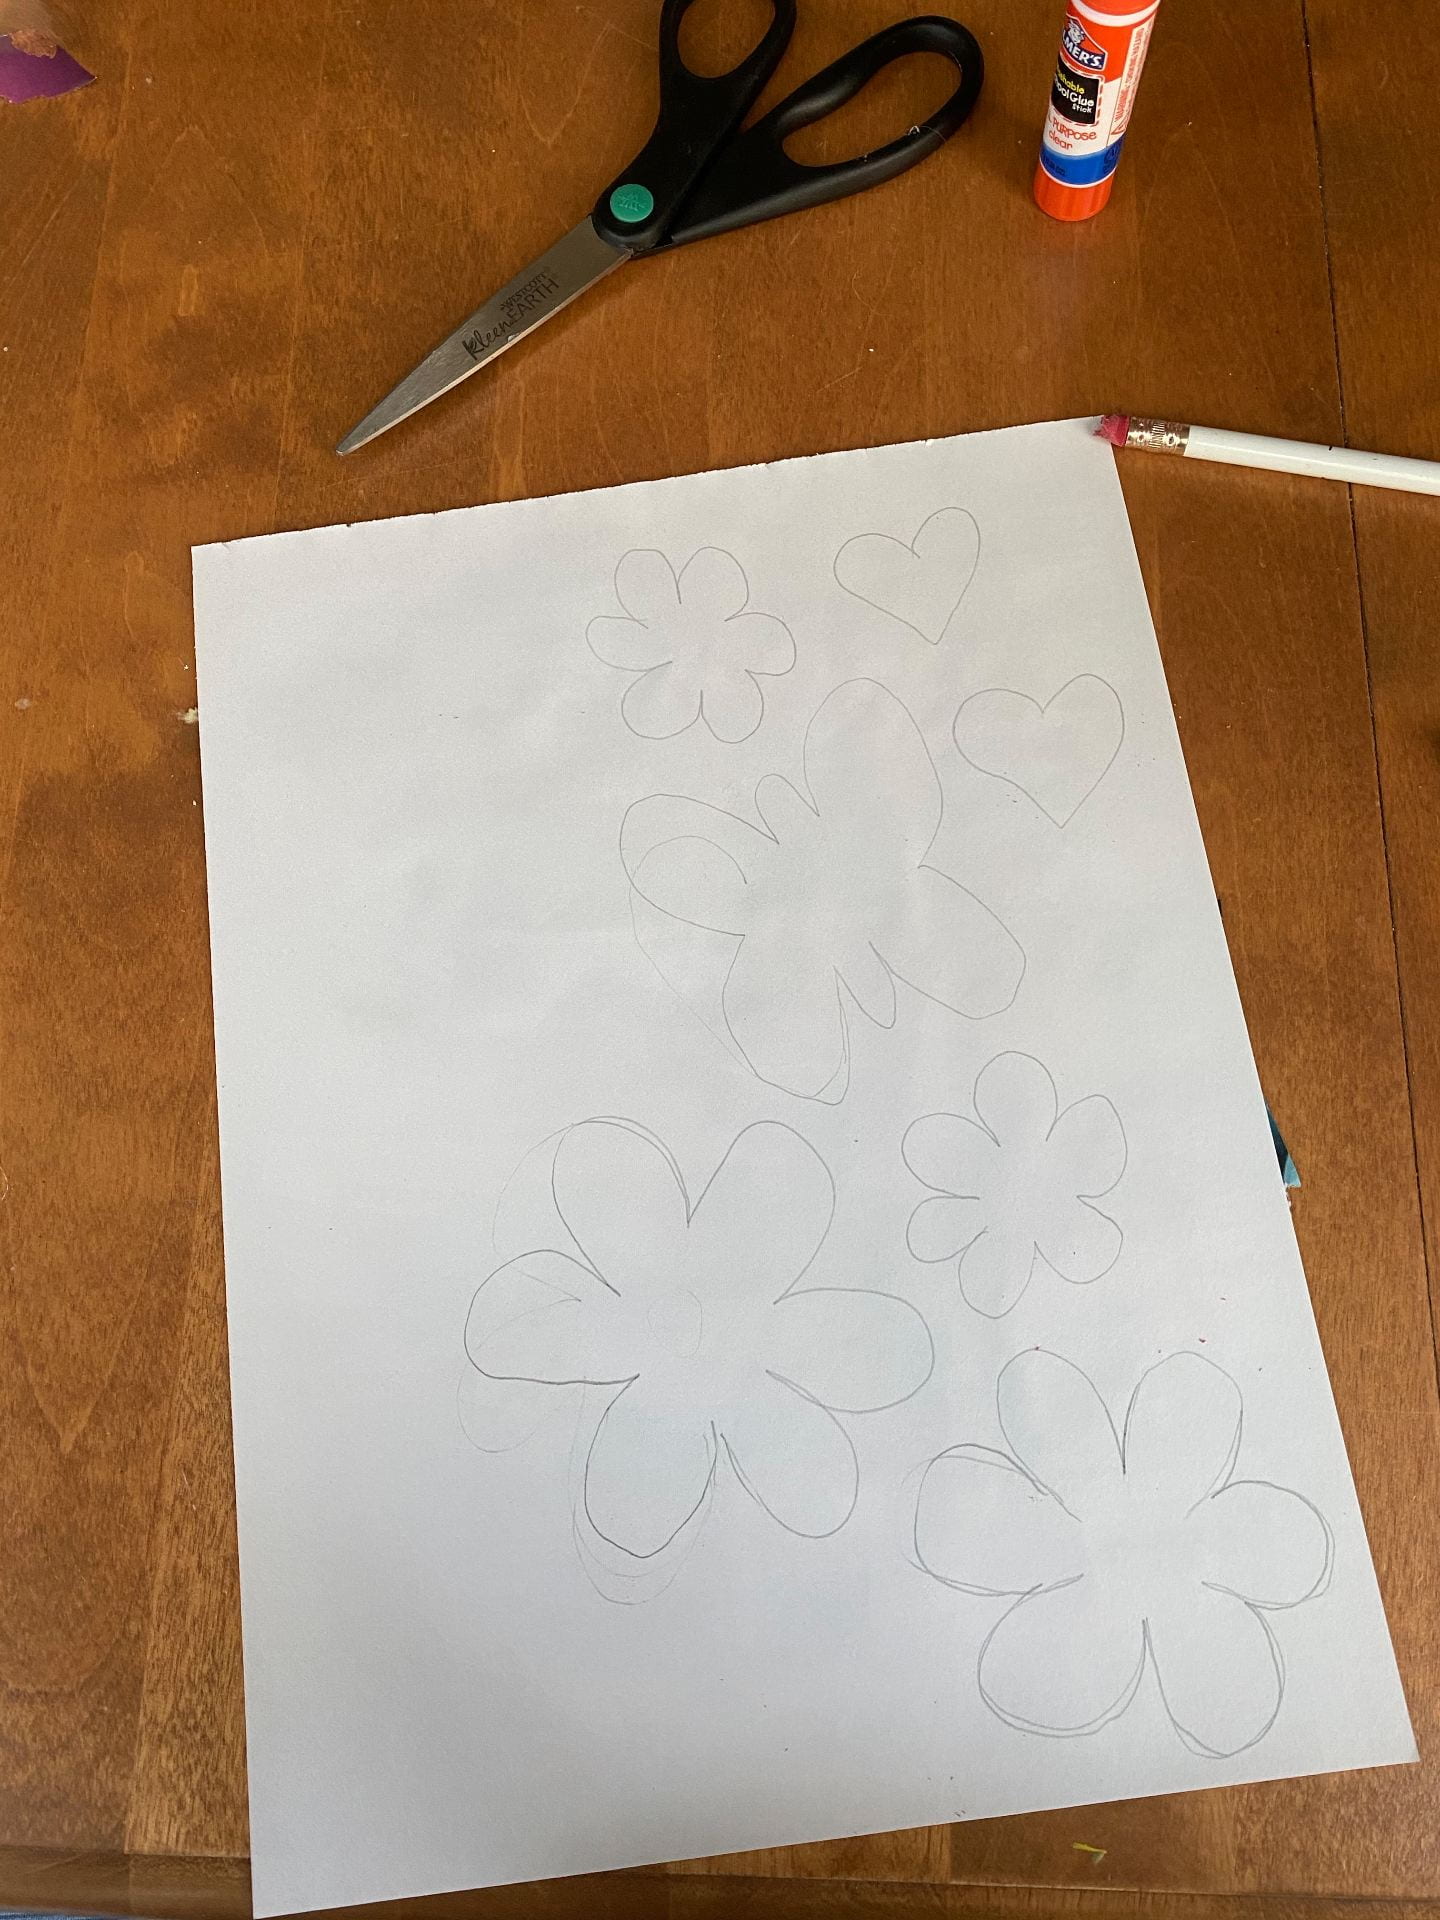
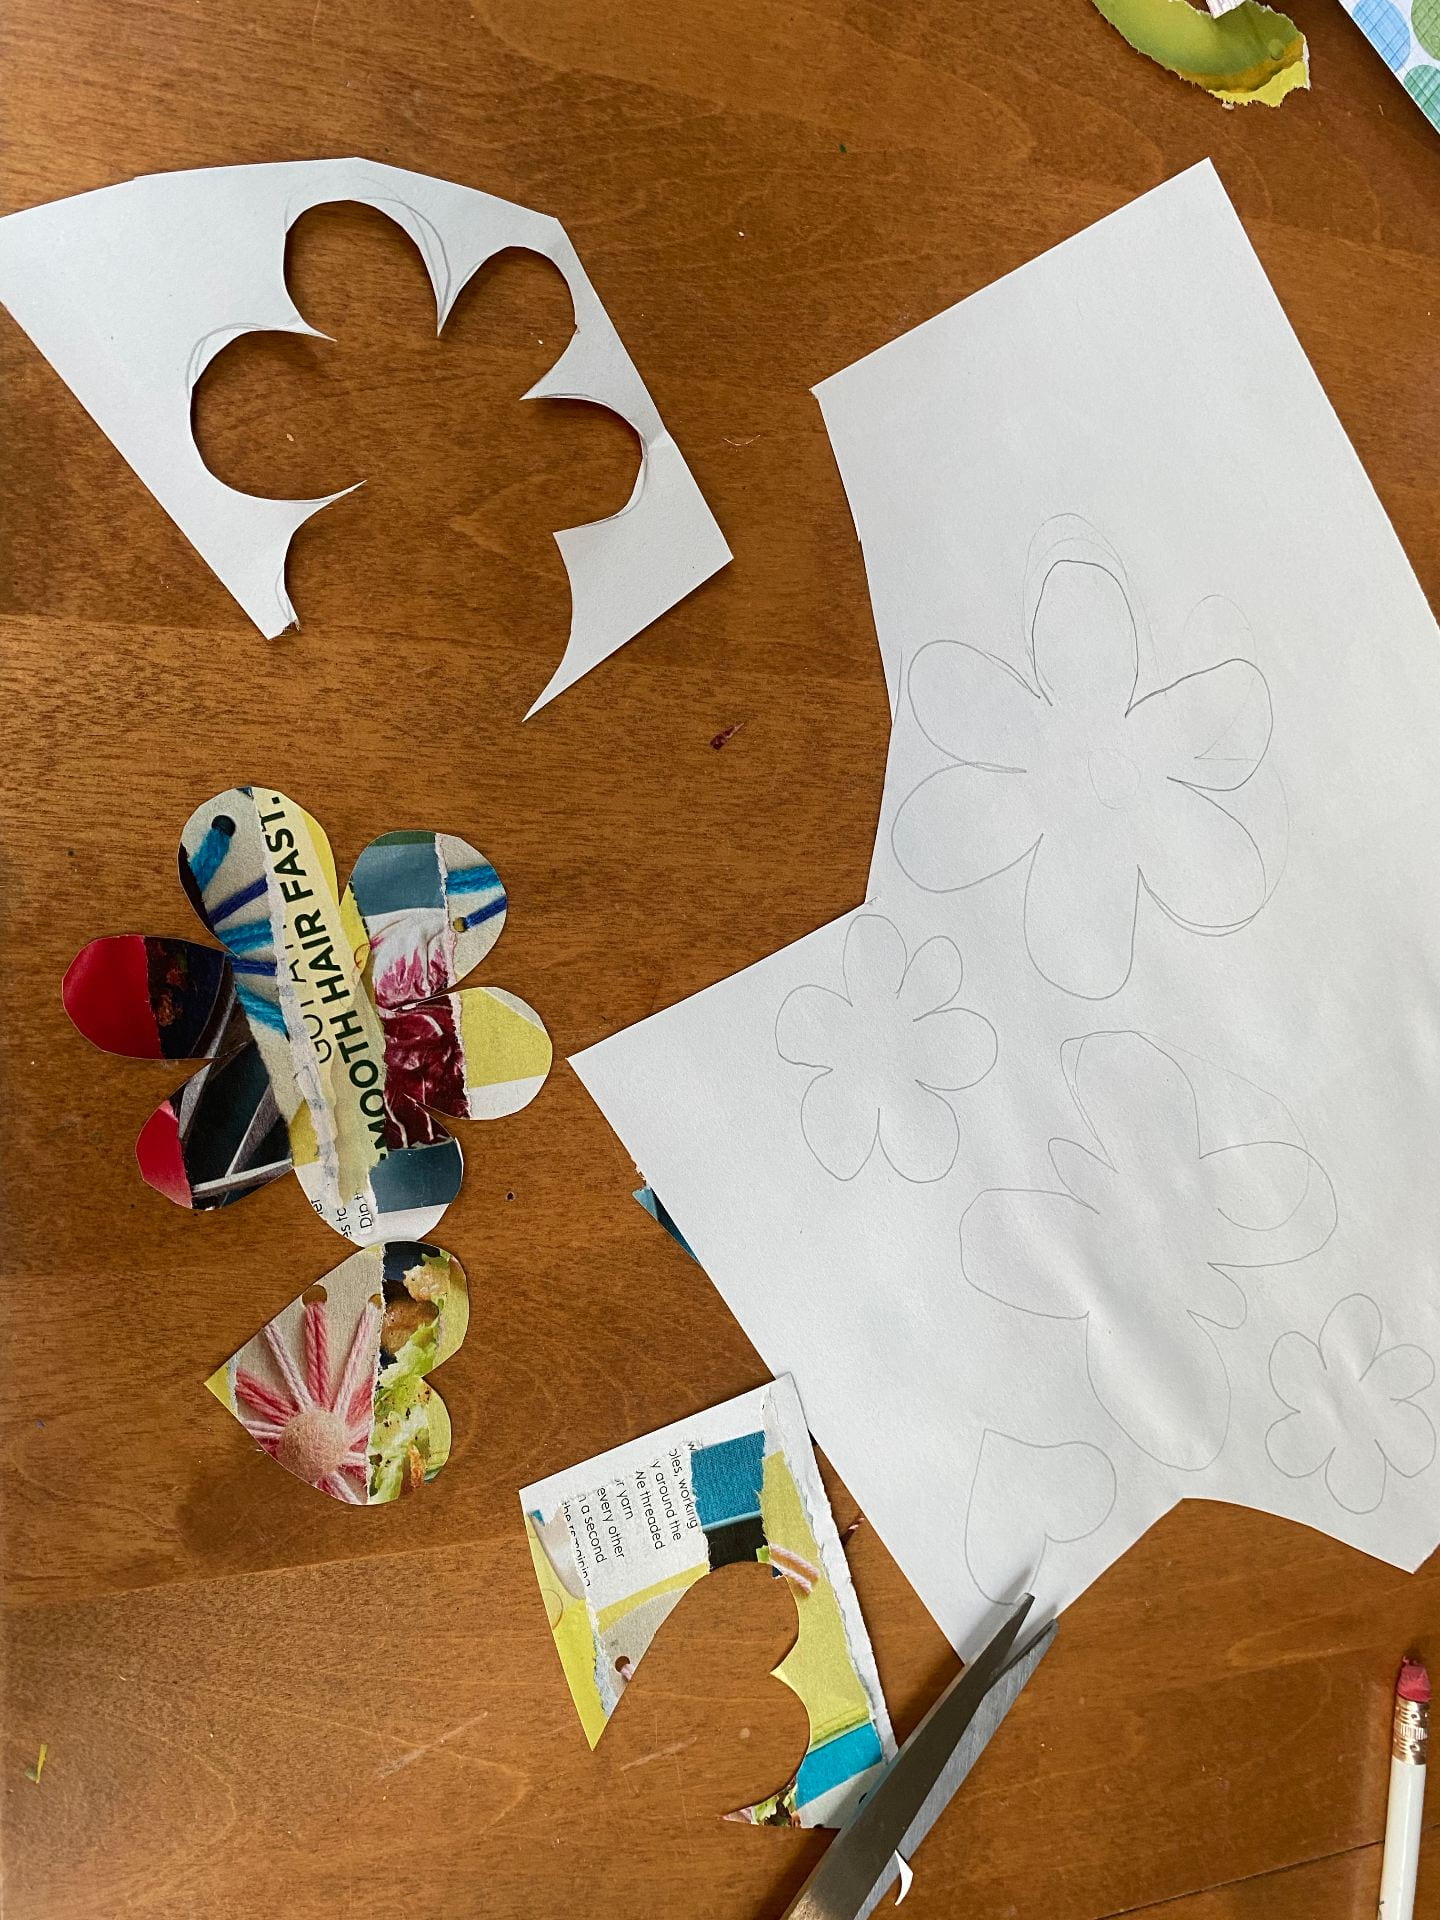
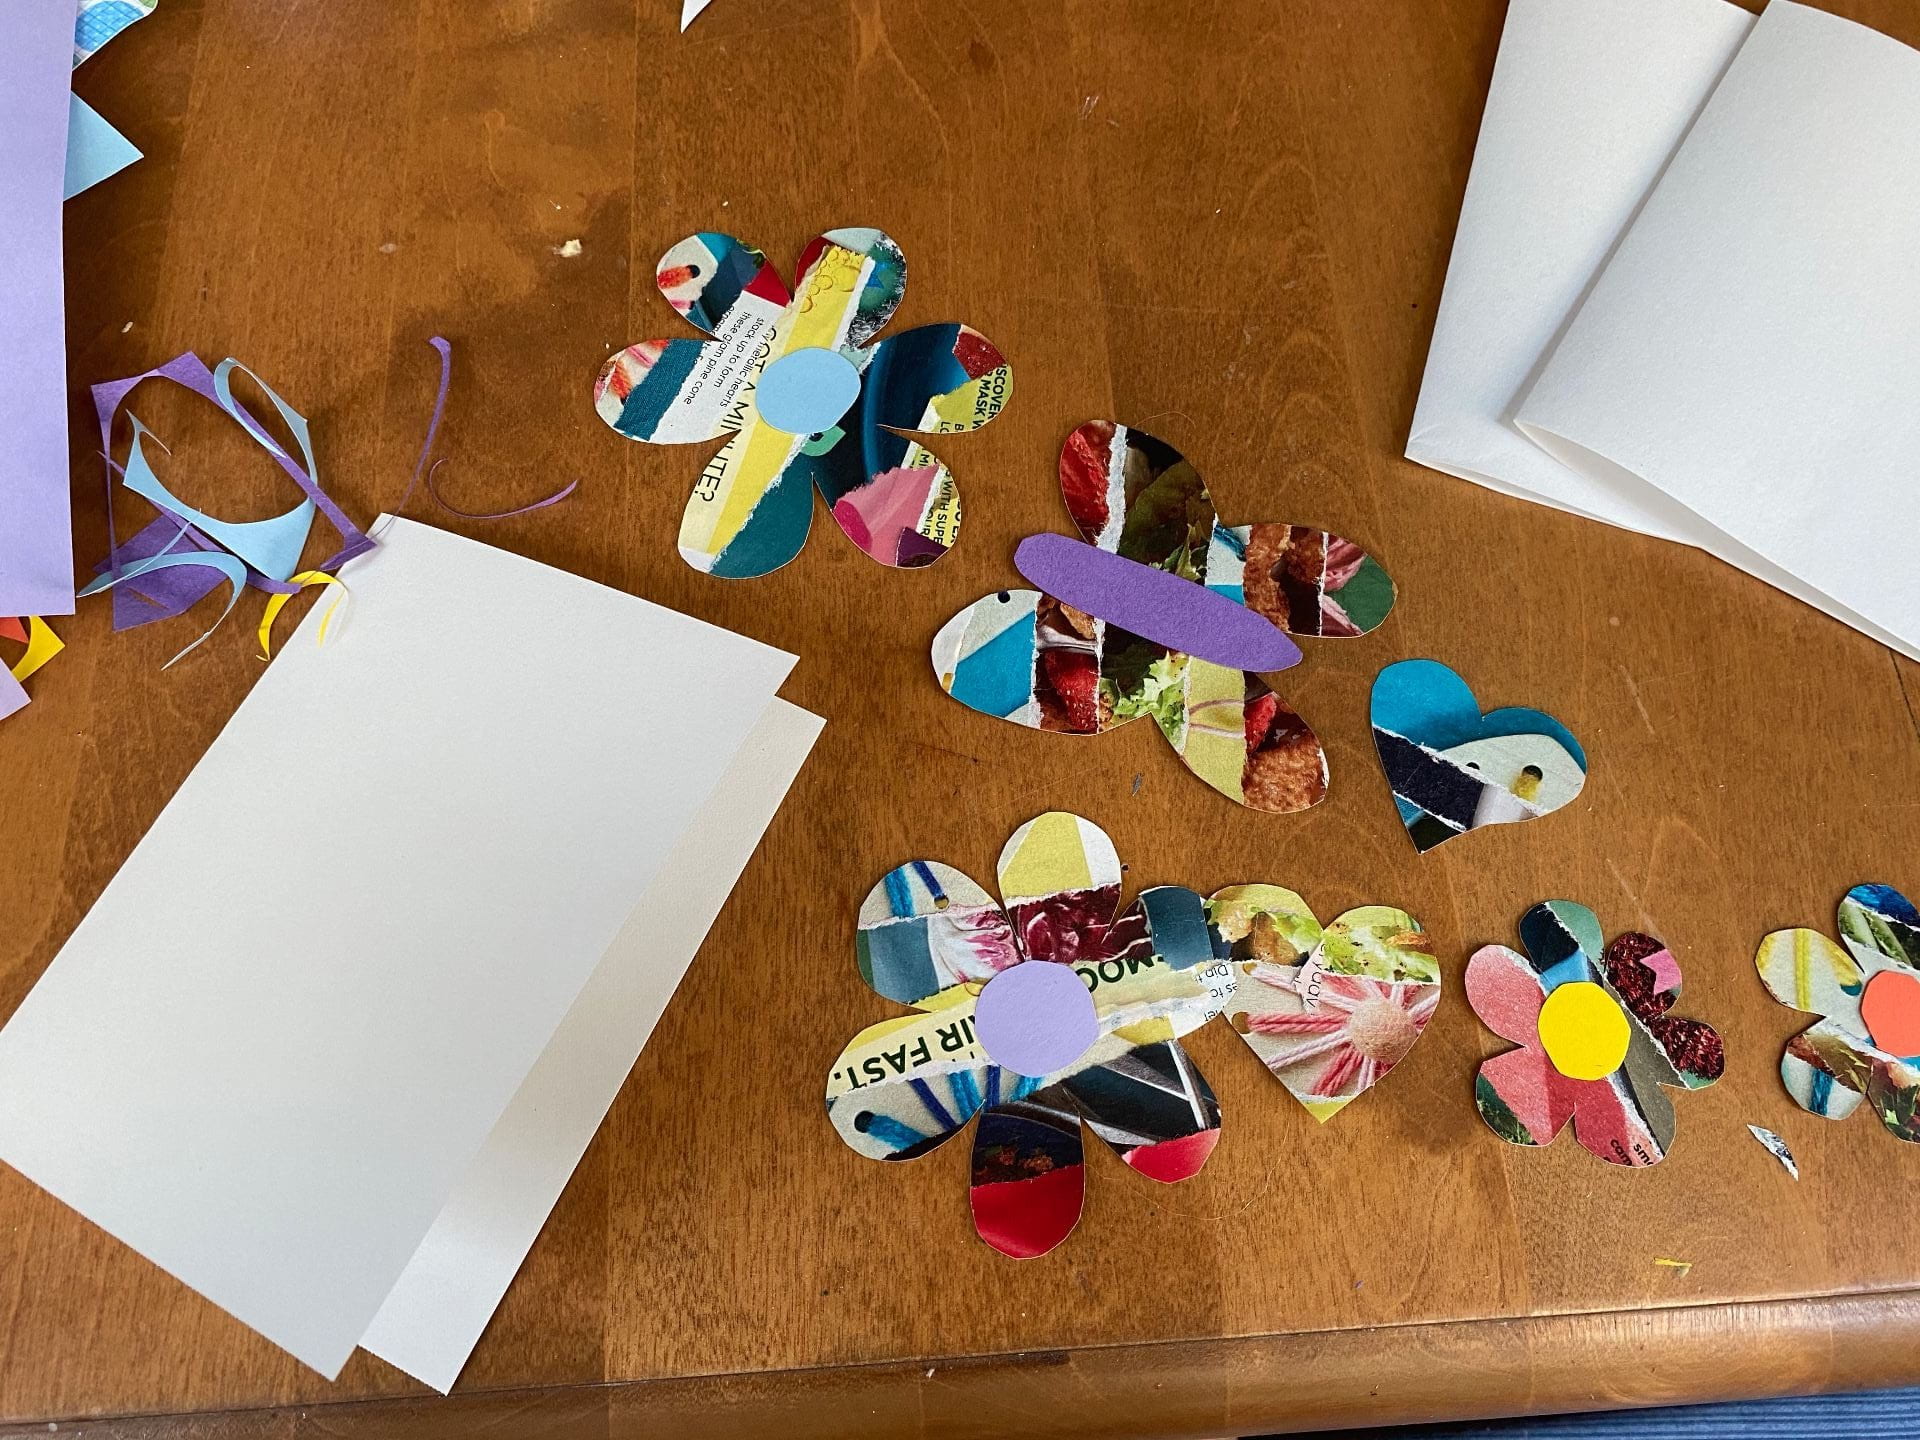
I cut out the shapes and flipped them back over. They seemed to need a little more detail, so I added some shapes cut out of colored construction paper. I’d probably get even fancier and use buttons for the flowers and pipe cleaner pieces for the butterfly, but I’m trying to stick with common household items that are readily available to all.
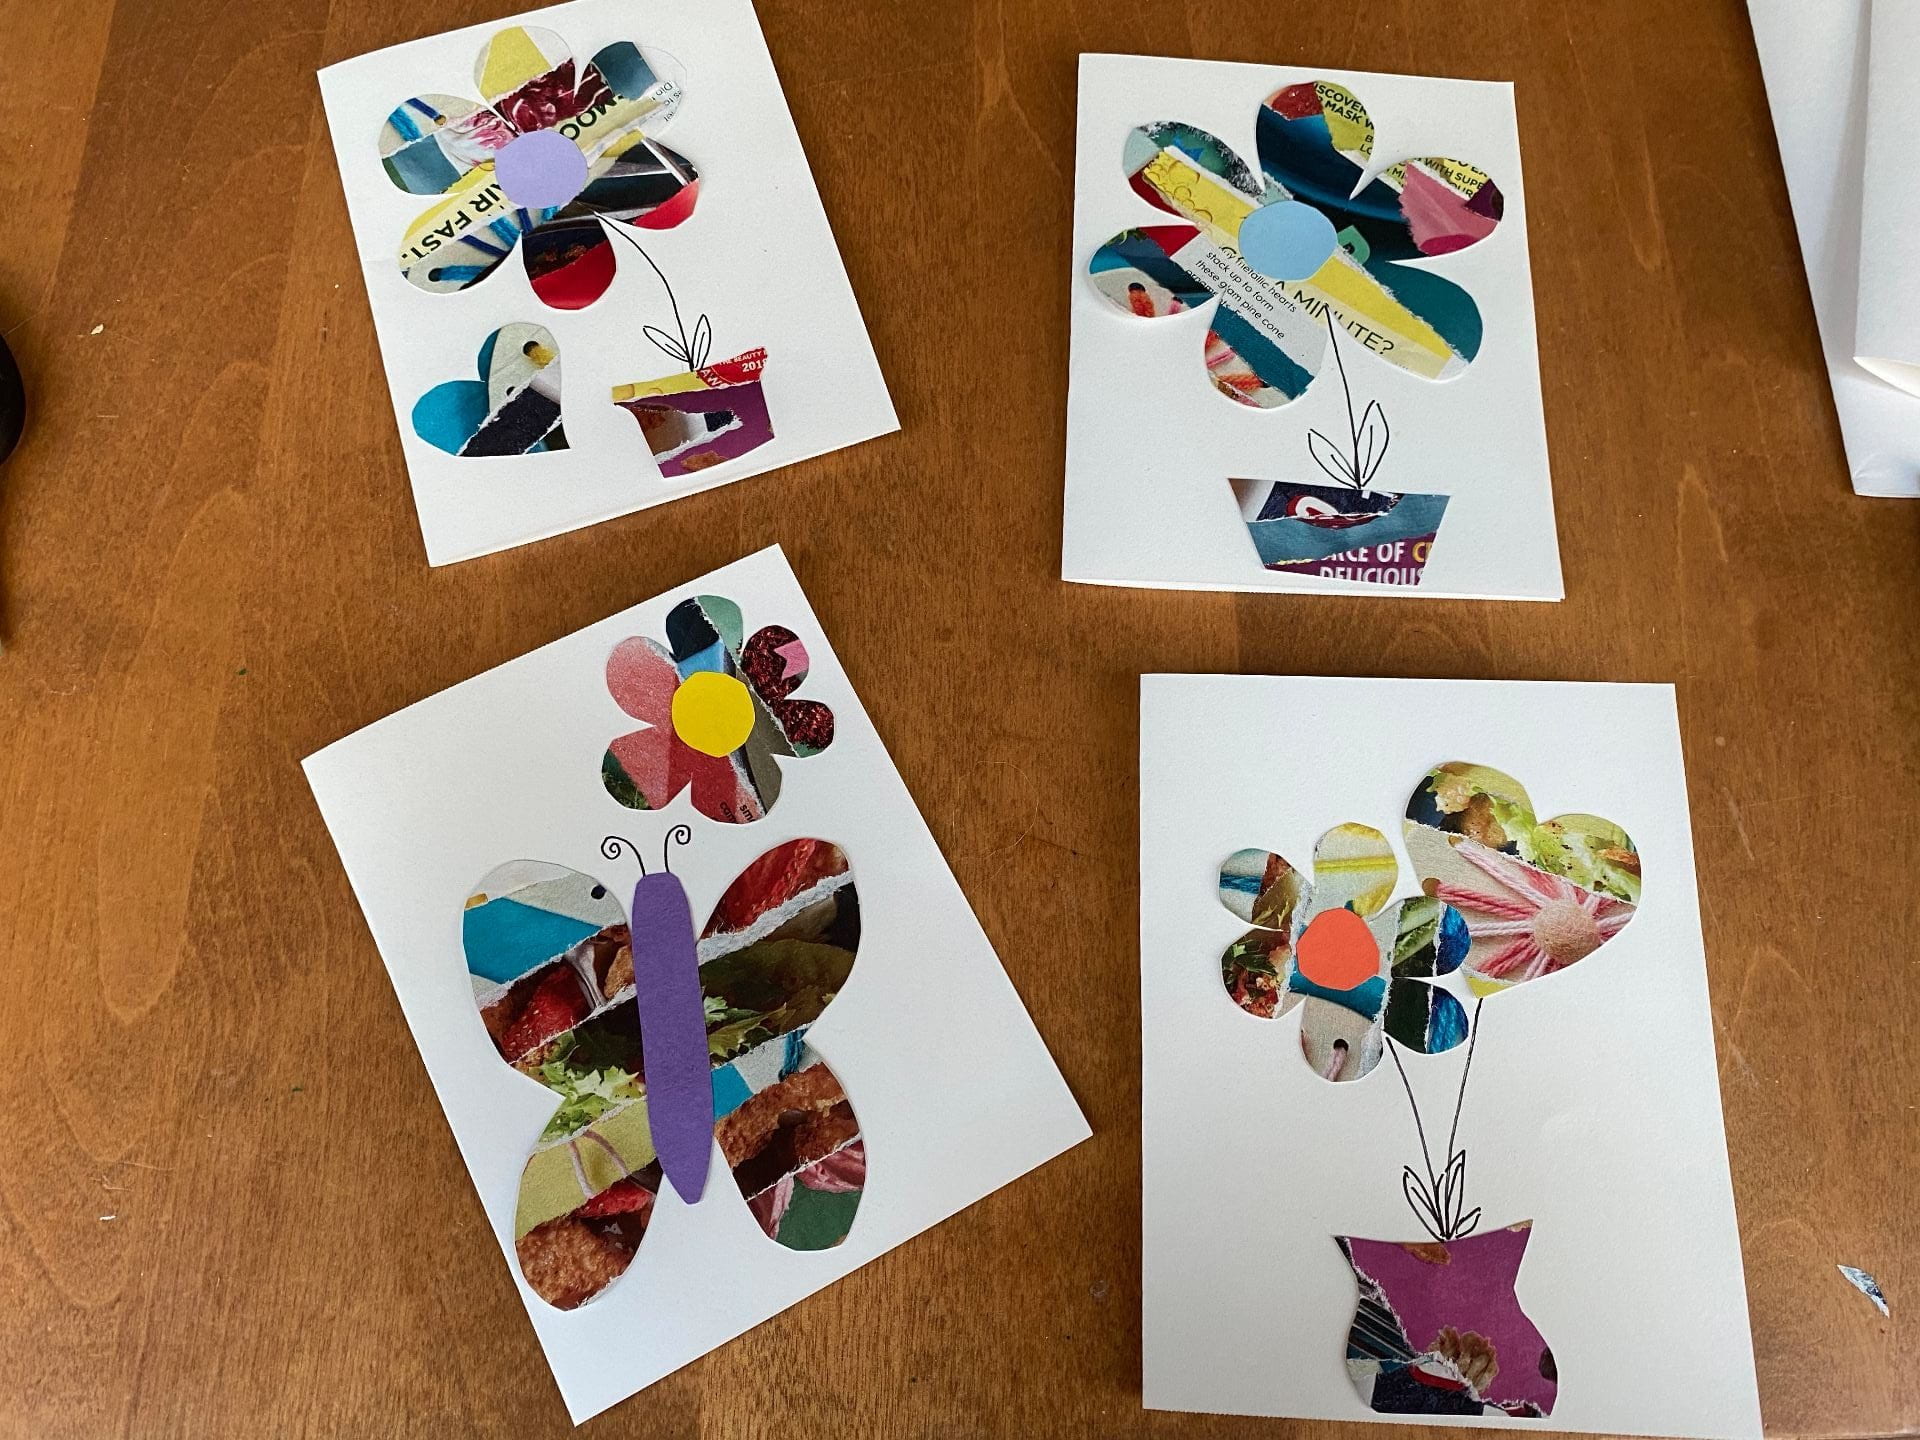
I then folded a piece of white paper (a larger sheet cut in half) to make a card and glued my collage shapes on the front. I drew some details in with a pen and my cards were done!
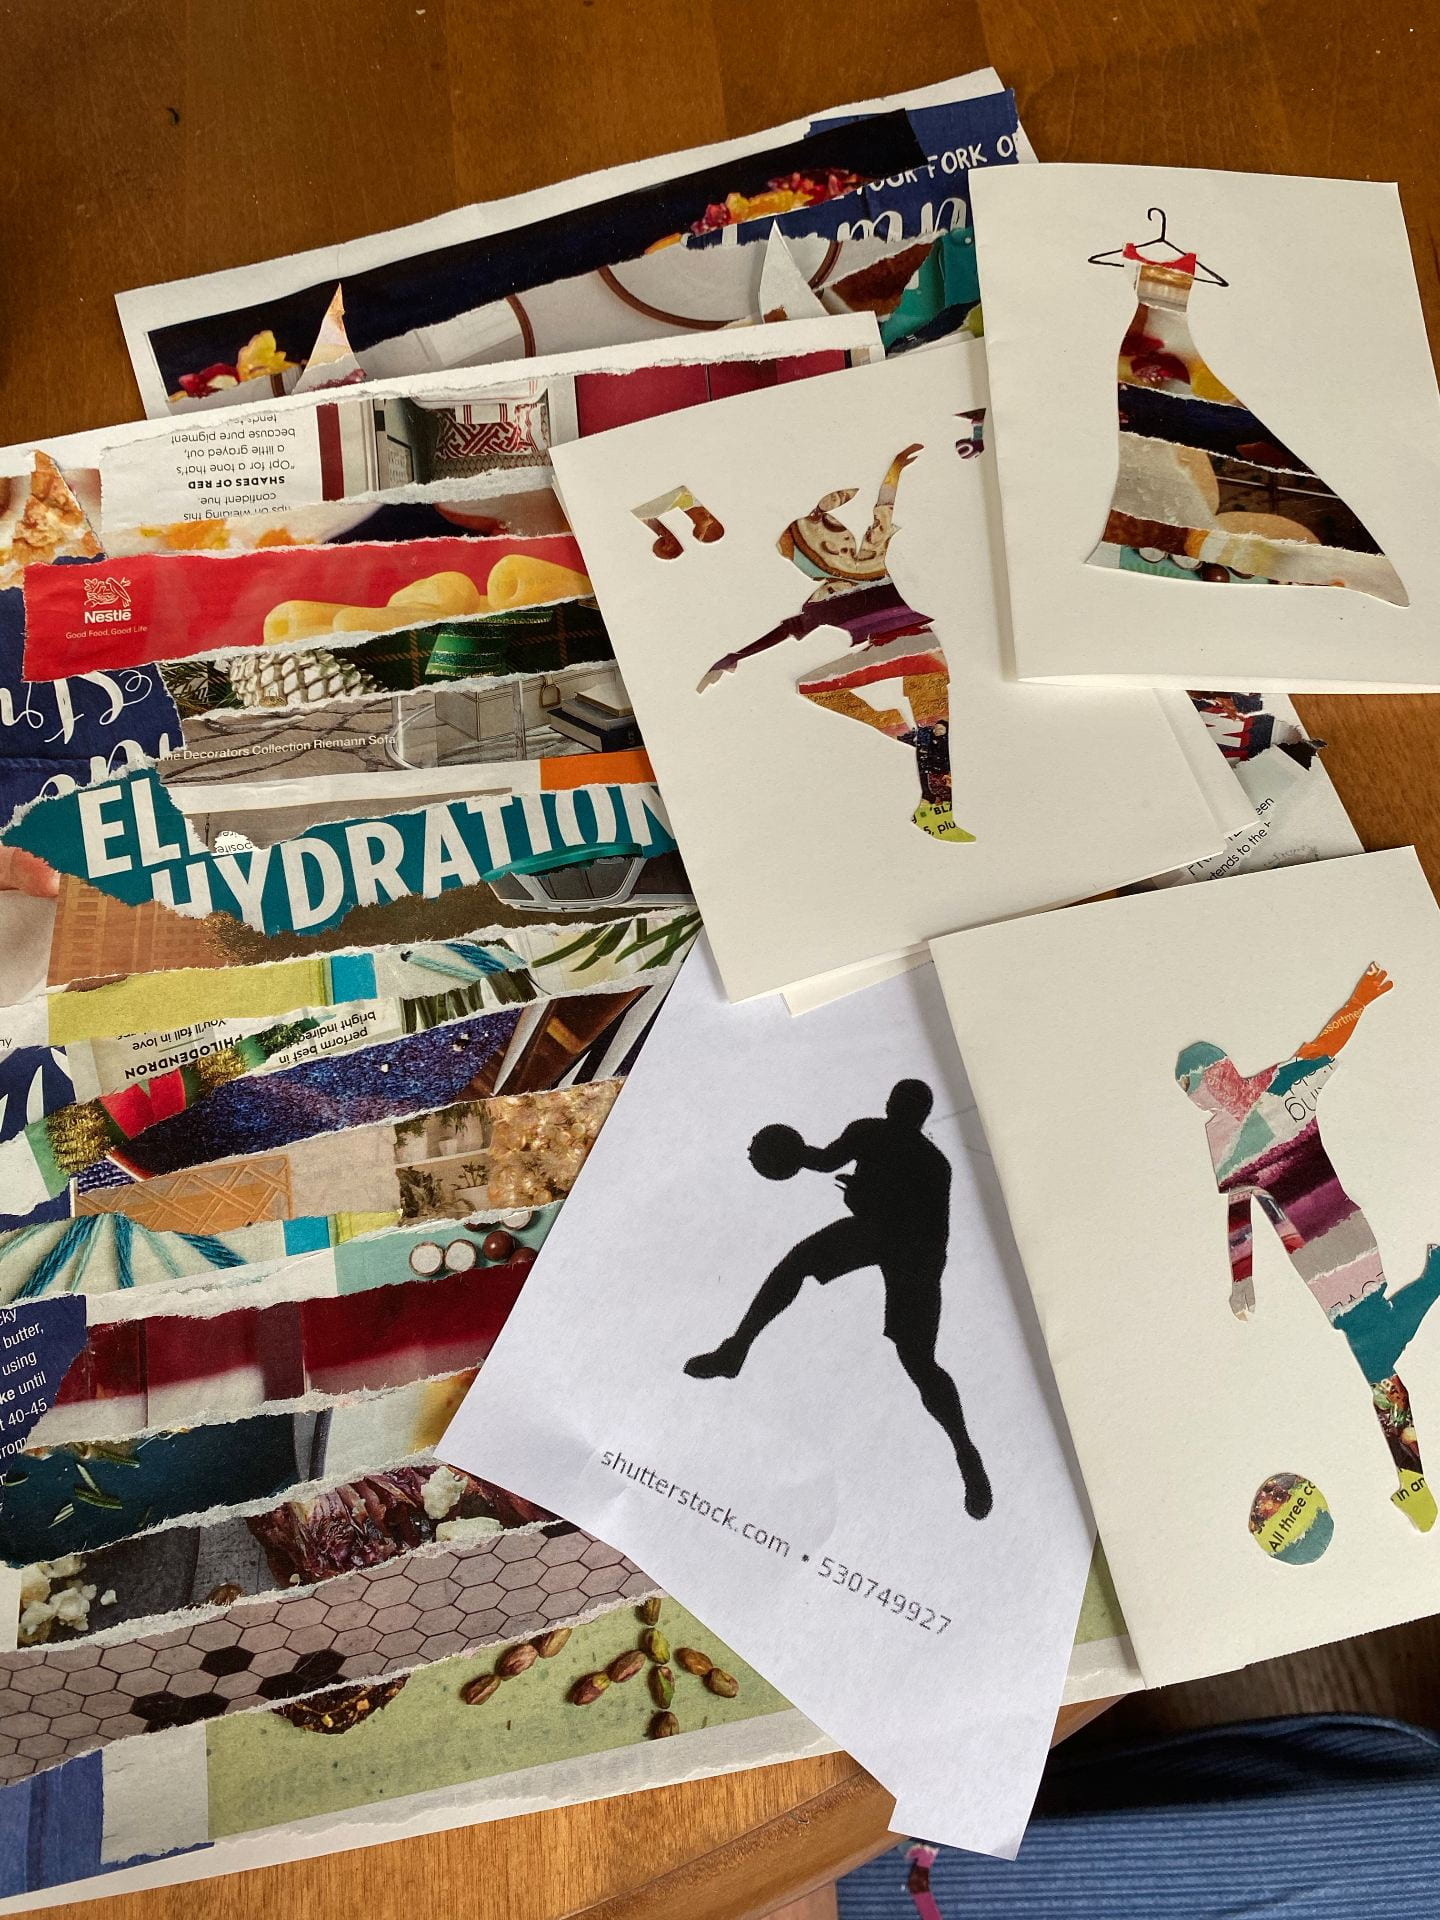
To get even fancier and more personal, I printed some “silhouettes” I found on the internet. I glued a soccer player, a dancer and a dress to the back of my collage sheet and then cut out around the edge of the silhouette. Little, thin areas like arms, fingers and ponytails were tricky, but I managed. I then glued my collage “silhouettes” onto folded paper and I had special cards just right for people I knew loved soccer, dancing and fashion design.
I’ve made holiday cards, birthday cards and thank you cards this way. You can make them for any occasion and any person you want. You should give it a try!
April “Fowls” Day
Every year I do this and every year I post about it. Since my kids were very little, I have always made an April Fools Day meal. You can check out some of my past creations on my April Fools page under Edible Art in the page menu. It’s usually dinner when we are all together, but one year I did lunch. I sent some surprises to school in their lunch boxes which included Chips Ahoy cookie bags that I had filled with baby carrots and resealed! Every year we sit around the table and talk and laugh about these. Keep in mind, my children are 23, 20 and 17 now, and they still love this tradition. I was informed last night that I will be required to keep doing this for future grandchildren!
I’ve had successes and failures over the years. The most spectacular fail was a couple years ago when I, gasp…didn’t follow directions carefully, and baked my “cocktail weenies” at 375° instead of 325°. Look at the pictures below to see how important oven temps (AND following directions) are!
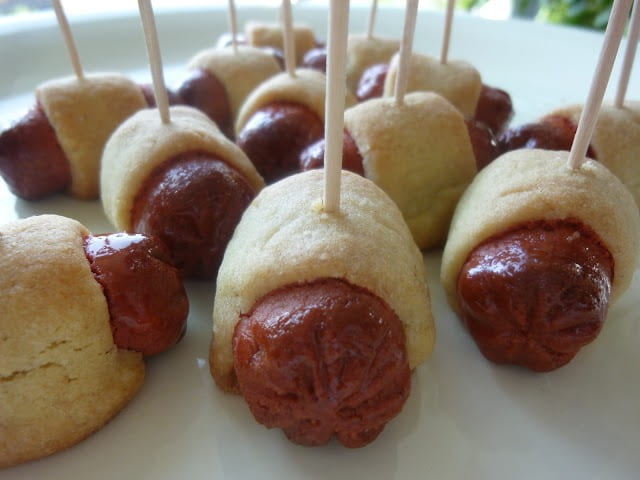
What I was going for.
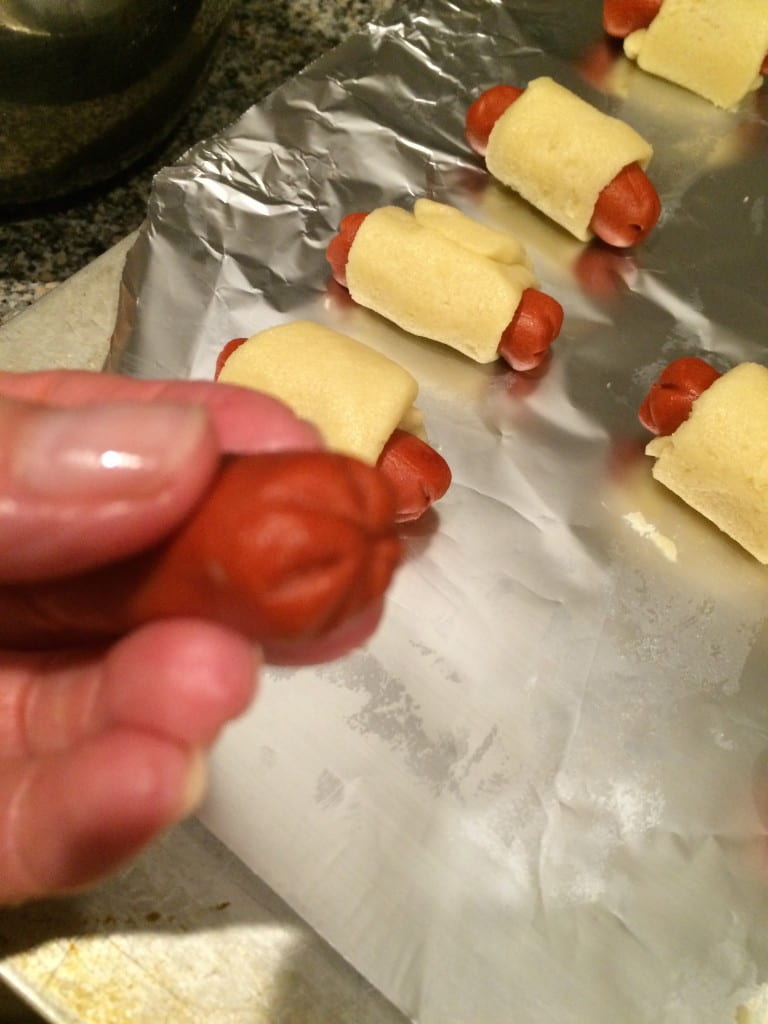
My “cocktail weenies” were looking good! It’s marzipan logs wrapped in sugar cookie dough by the way.
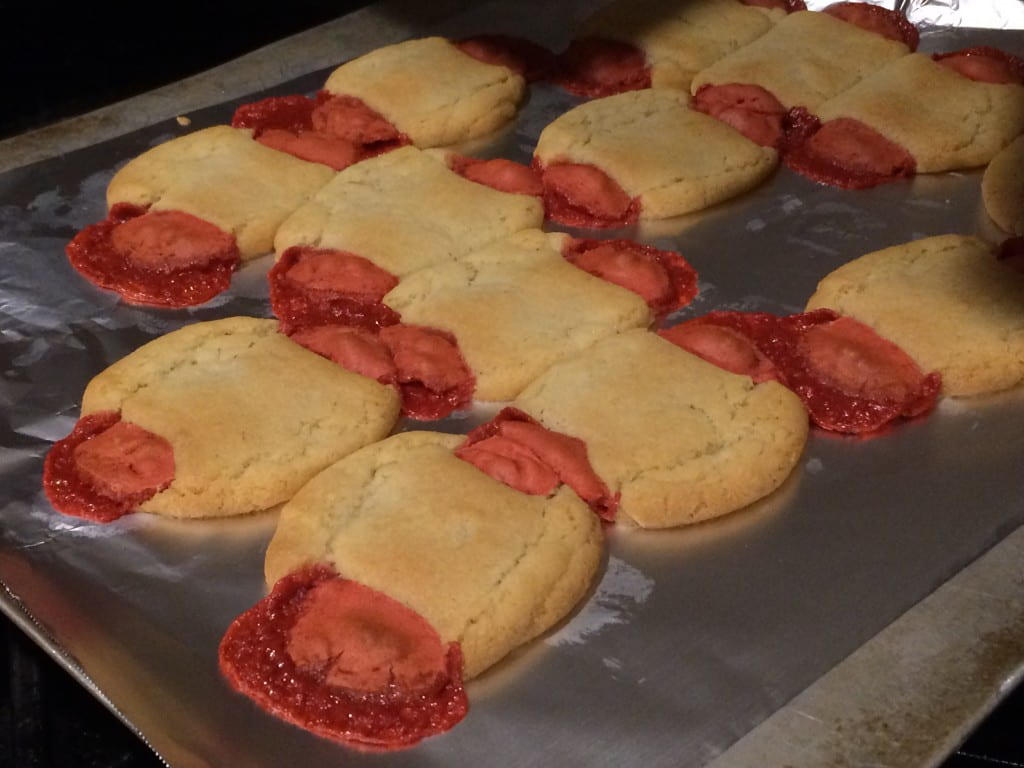
This is what I got. Directions, directions, directions!
So a couple days ago I began to think about it, searched on the internet, and came up with this year’s April Fools Day meal…buffalo chicken wings. What really grabbed me were the small number of ingredients necessary AND the fact that I had them in my house already. This is what I needed:
Rice Krispies
marshmallows
butter
marshmallow creme or Fluff
brown sugar
orange juice
orange or red food coloring optional
And this is what I did:
1. I whipped up a batch of Rice Krispies treats according to microwave directions on the marshmallow bag. Basically it’s just a few tablespoons butter and a bag of marshmallows melted in microwave for 45 seconds, then 6 cups of cereal messily mixed in.
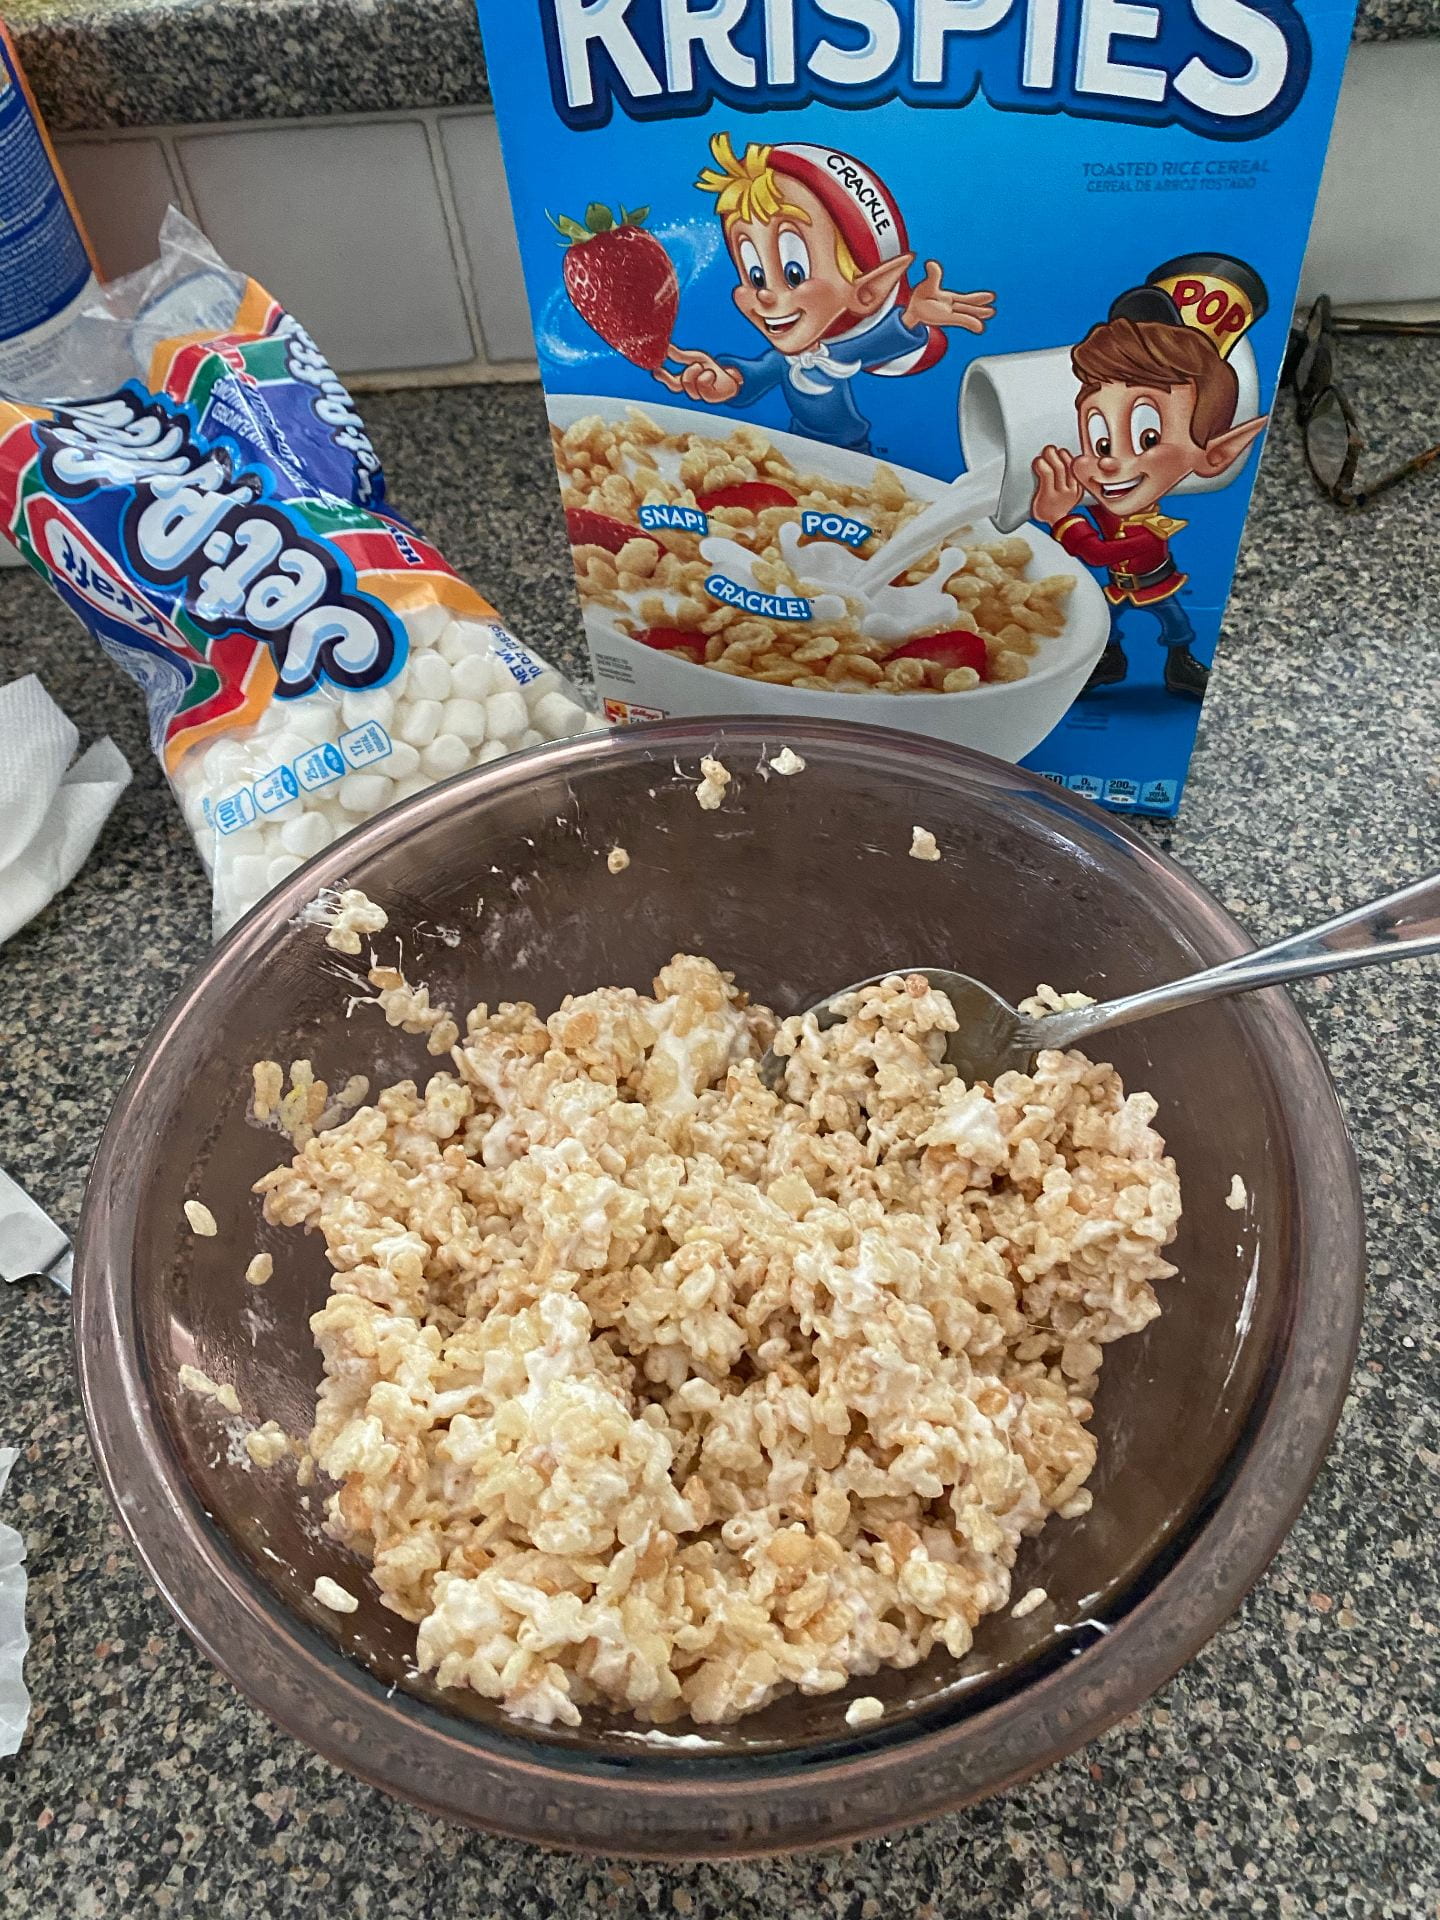
2. I then buttered my washed hands (important because this stuff is sticky) and began pressing handfuls of the mixture into balls and then shaped them into “chicken wings”.

3. I let the “wings” set for about an hour.
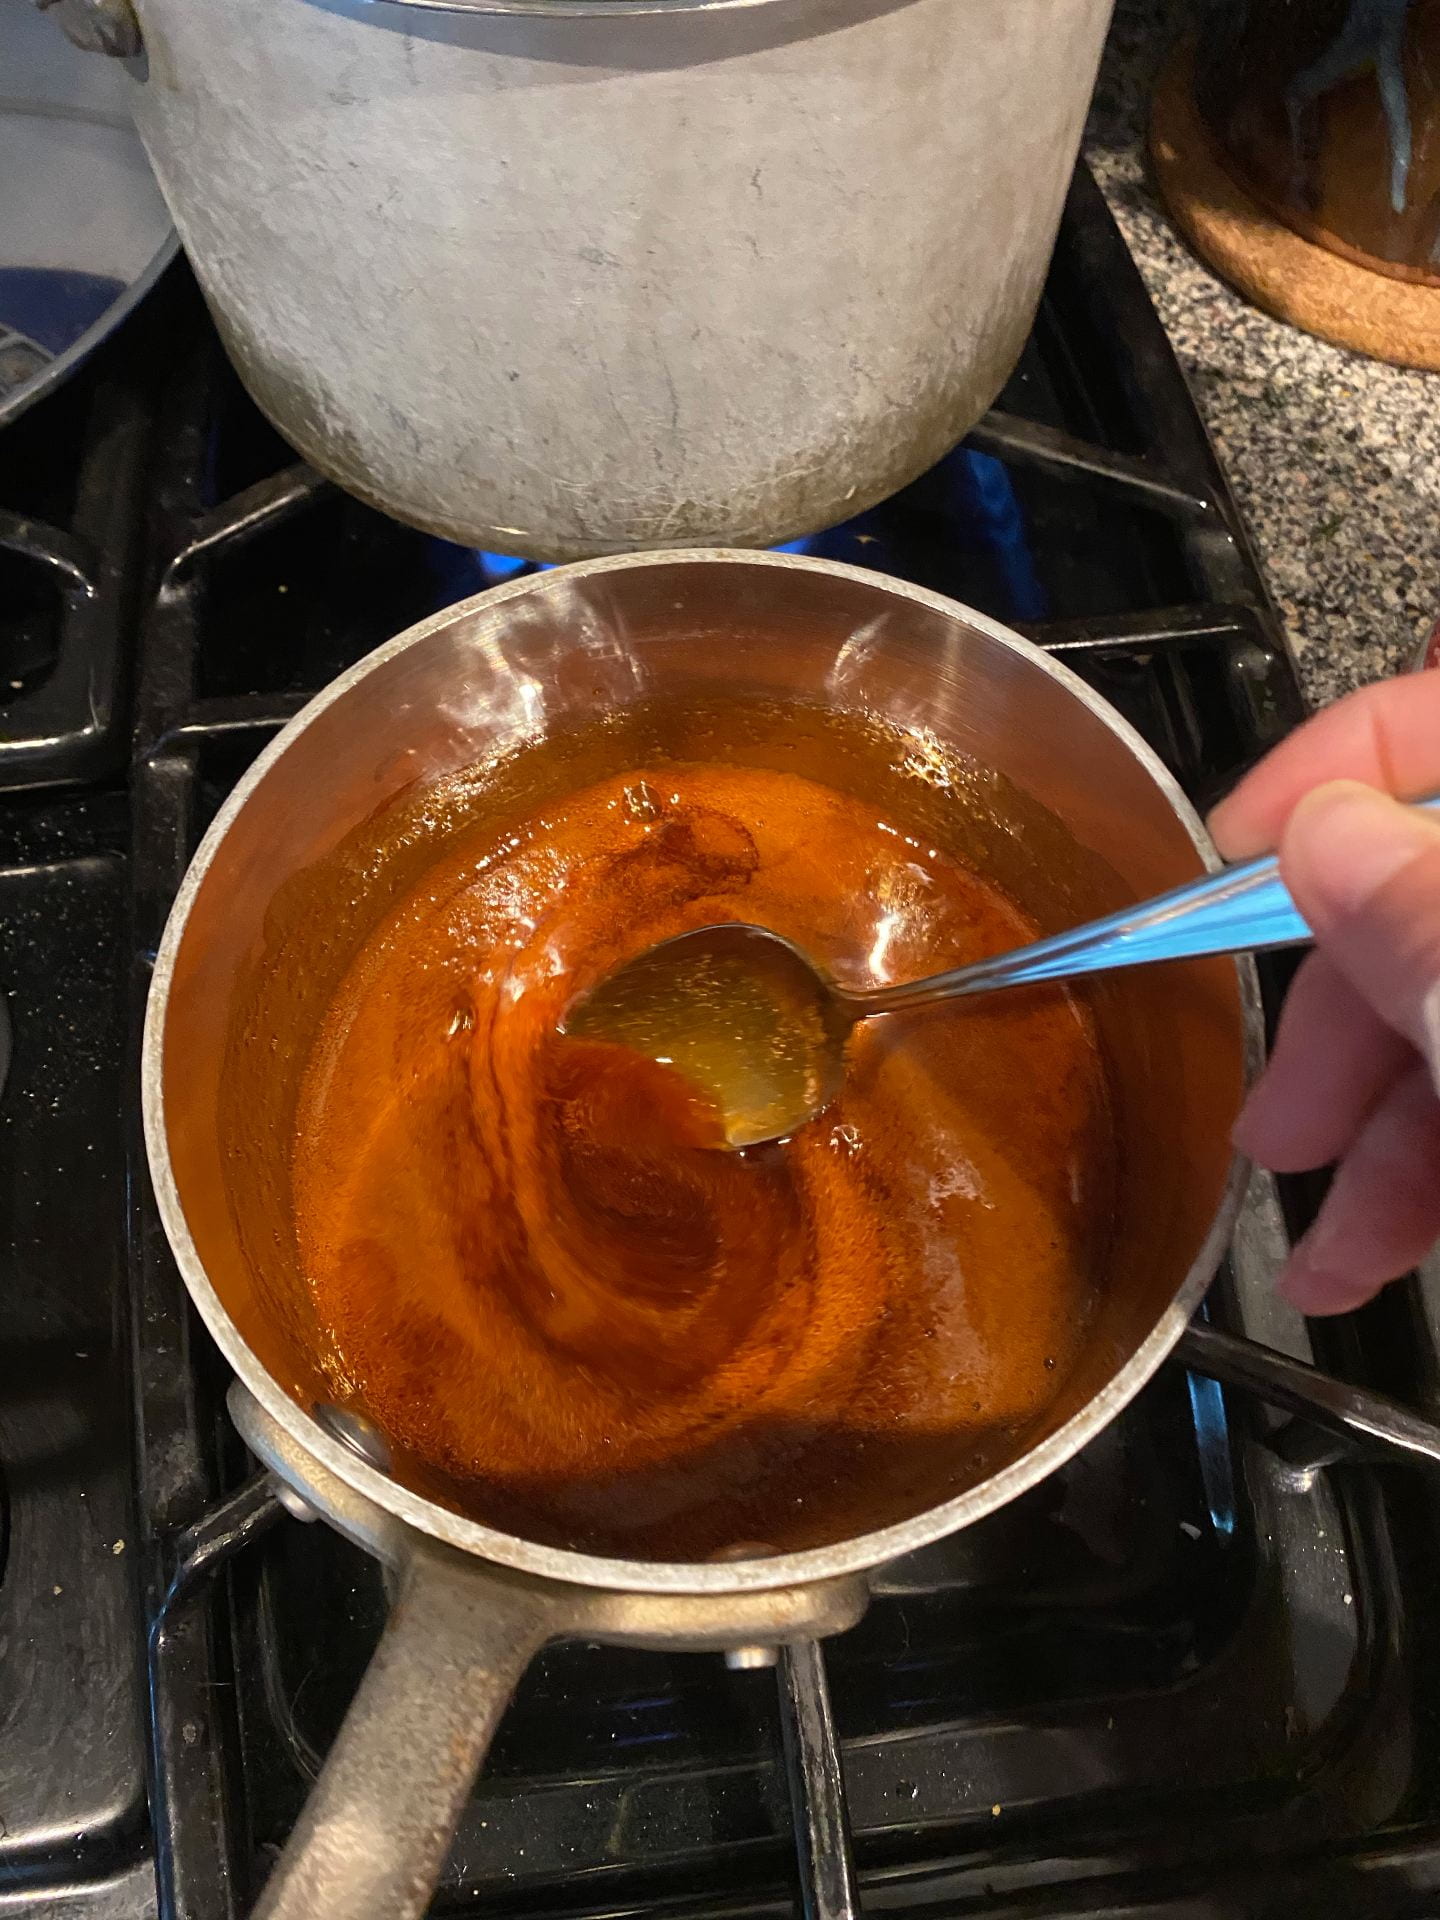
4. I made a “buffalo” glaze by mixing 1 cup of firmly packed brown sugar and 3 tablespoons orange juice in a pot on the stove. I stirred it for about 5 minutes as it gently bubbled and thickened up a bit. I then added a little food coloring to make it more buffalo-saucy.
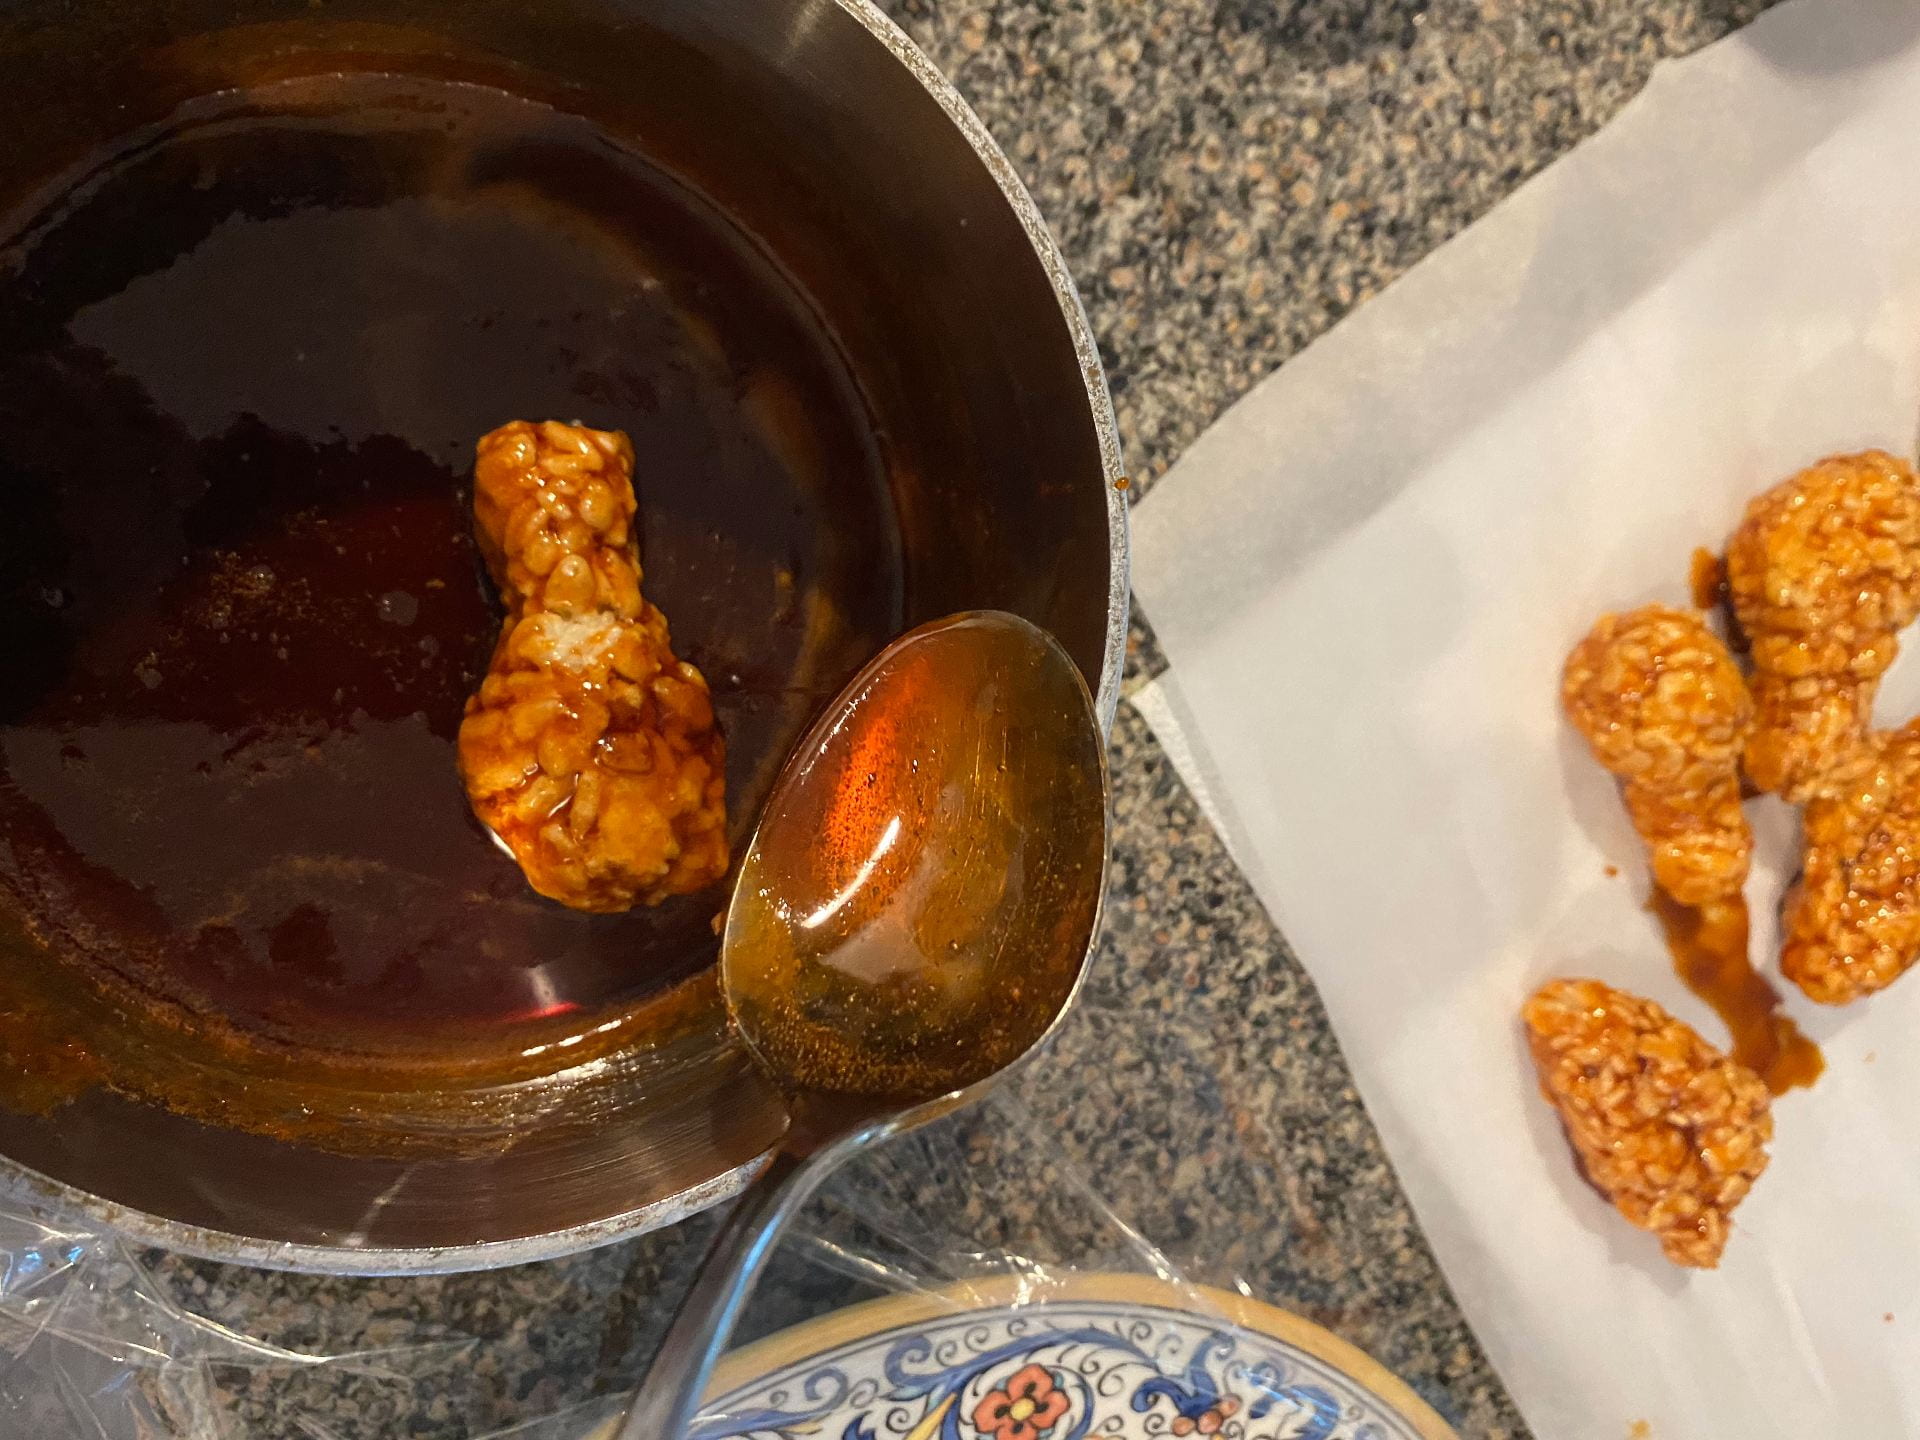
5. I then rolled each “wing” in the glaze and set it on parchment paper to cool and set. Careful! The glaze is hot, especially at first. You have to also be quick because the heat of the sauce begins to re-melt the marshmallow in the Krispies treats and they’ll fall apart. It began to get too thick when it had cooled down some, so I warmed it on the stove again to make it a little easier to work with.
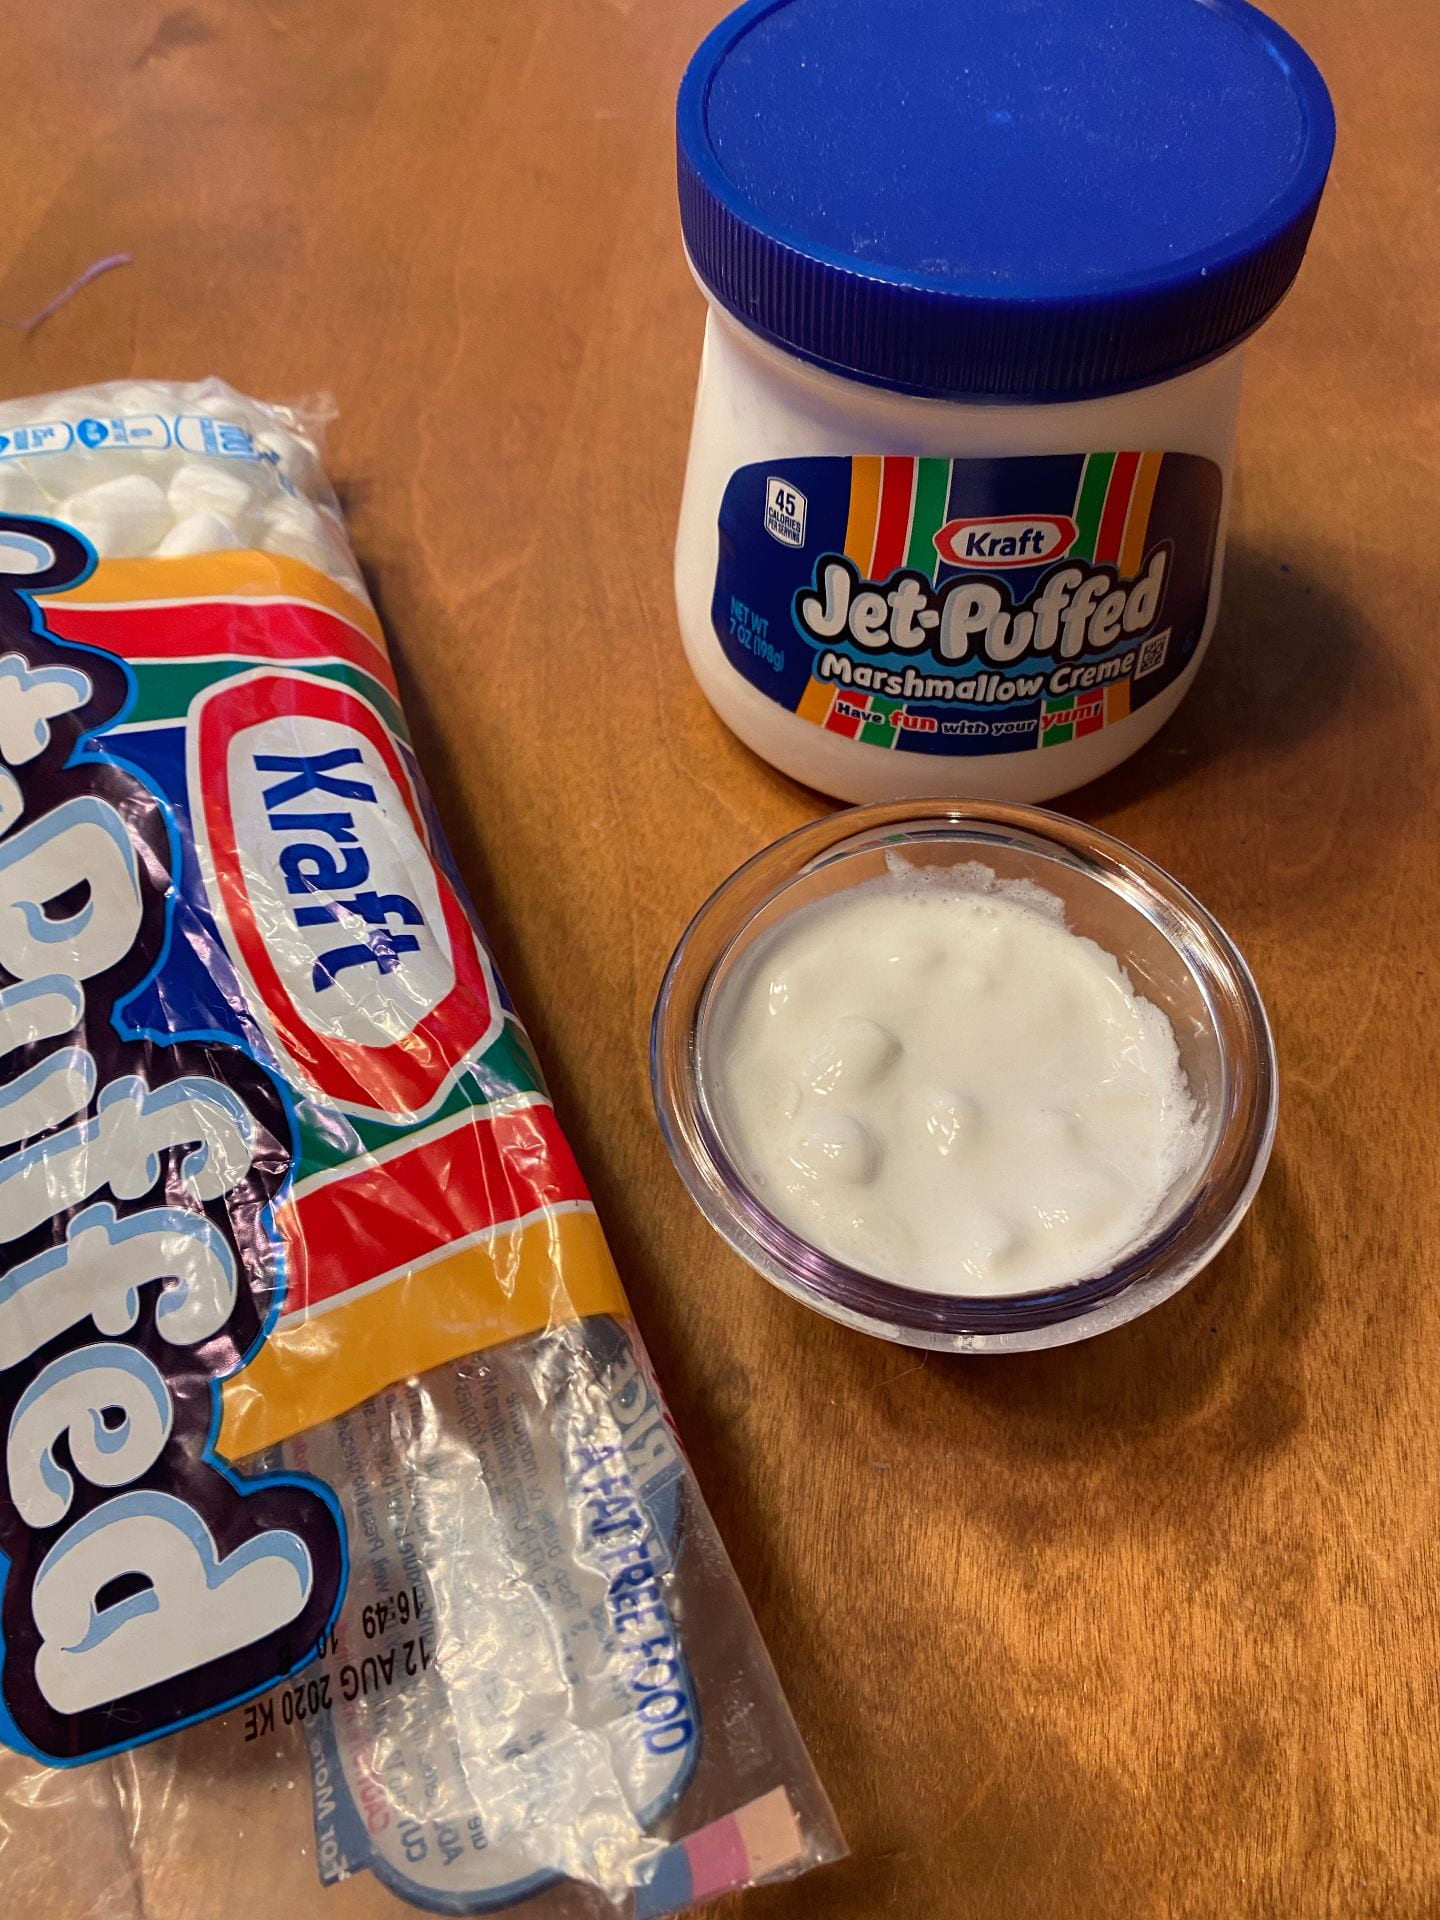
6. While they sat, I made my “blue cheese dressing” by mixing marshmallow creme with a little water and added cut up marshmallow pieces to make it look chunky.
7. I put everything on plates for the family and called them to the table. I was going to make celery with green fondant, but gave up on that idea because of time and added a couple stalks of the real stuff for garnish.
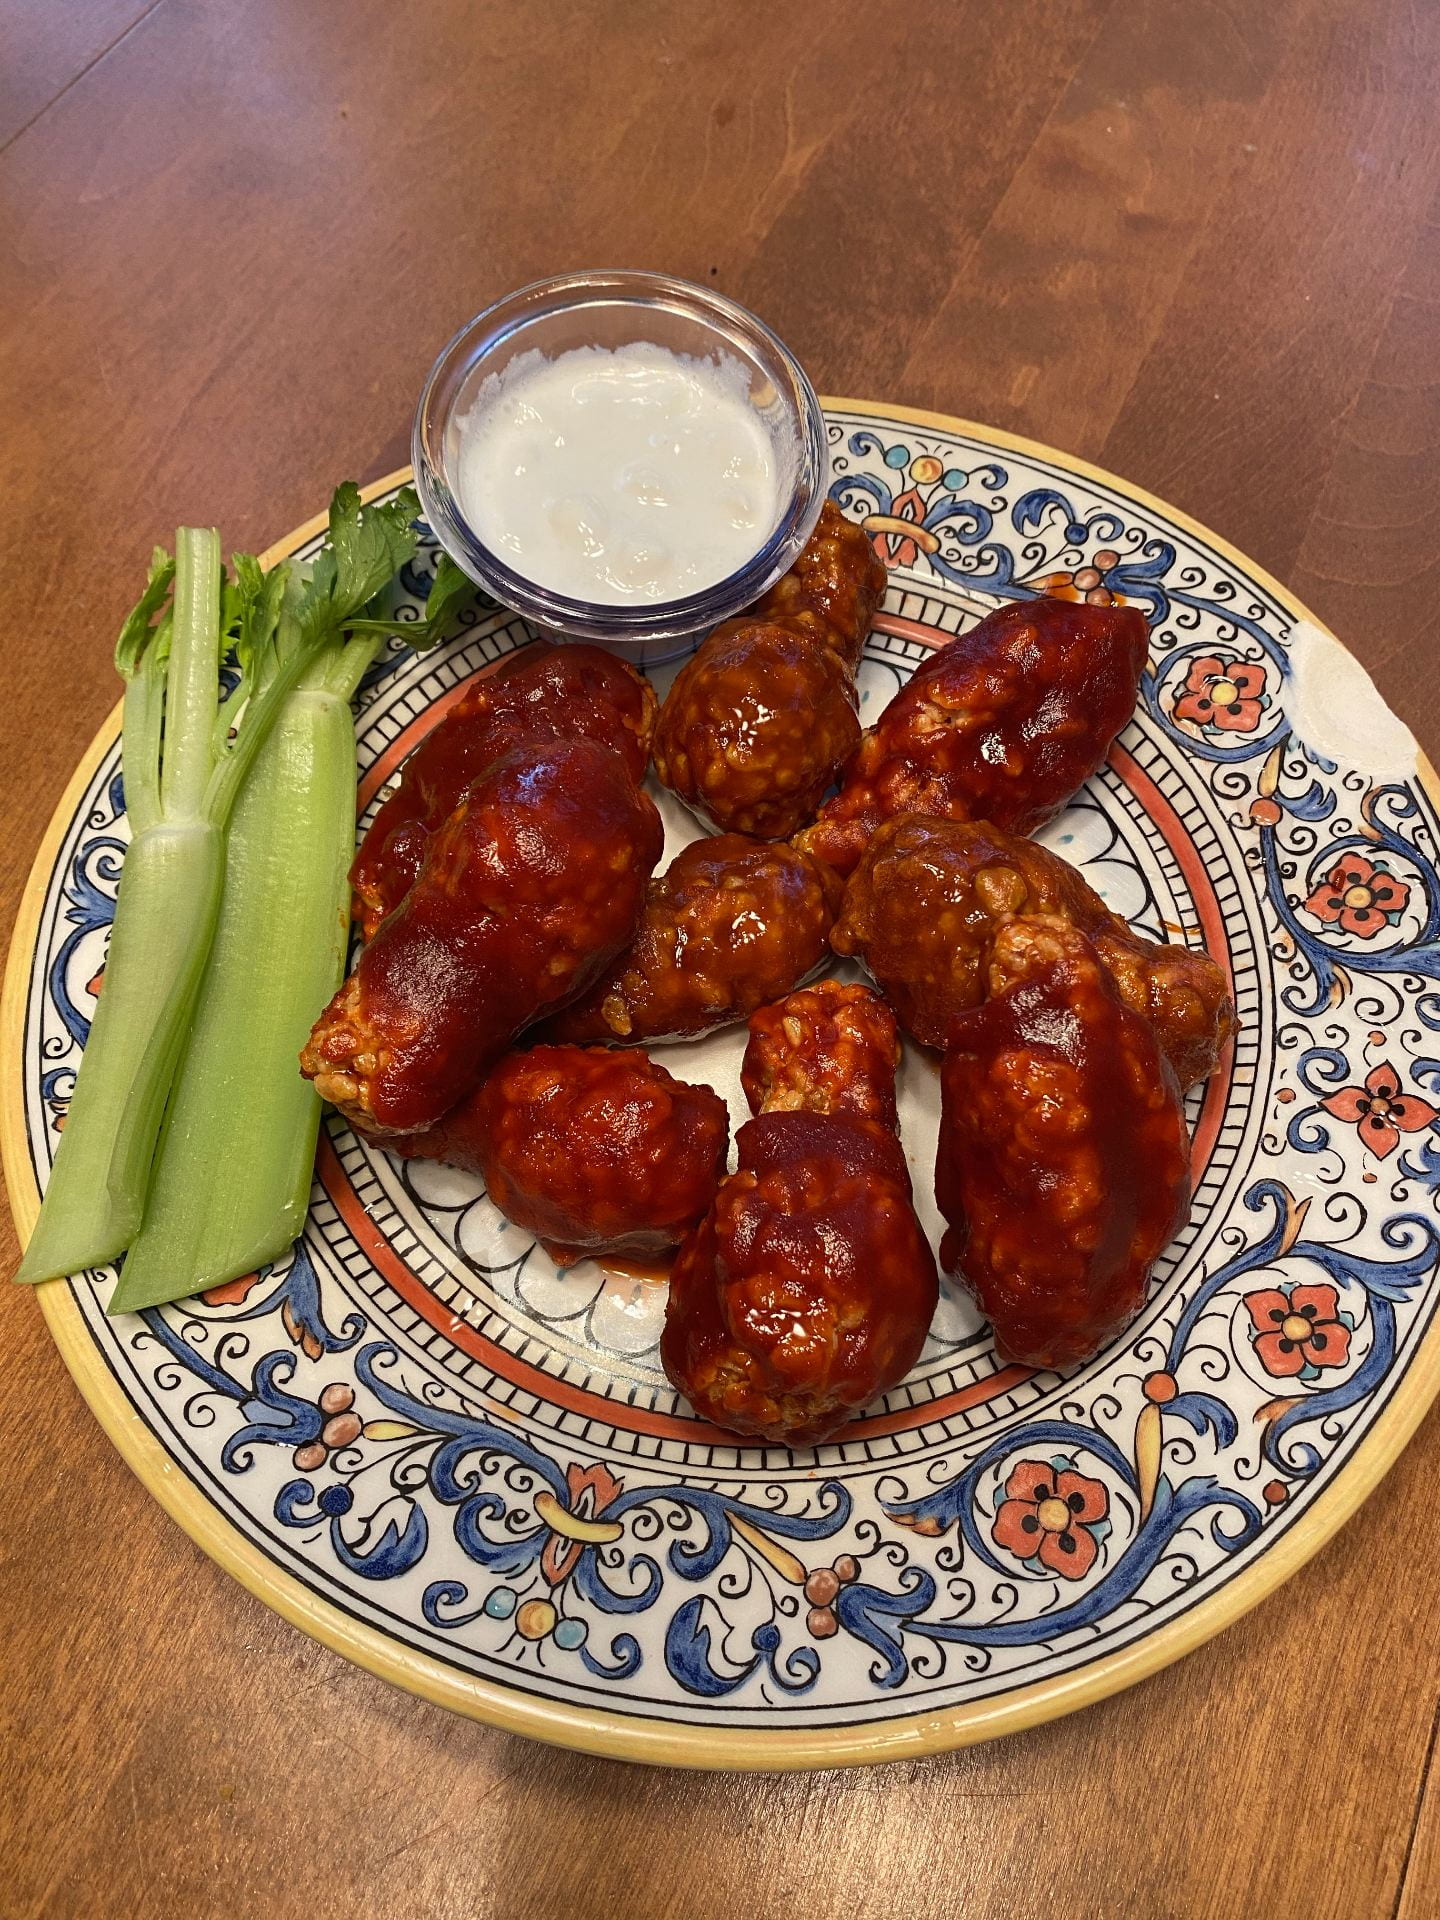
As always, we all laughed and enjoyed another April Fools Day meal!
Pencil Cup Craft
Hello all! I’ve had to switch gears a little bit for this post. I was originally planning on finishing a side table I am making with clear epoxy resin and rocks we collected over the years from lakes in northern Michigan. I was happily lugging all my supplies out onto our screened porch (the epoxy has strong fumes/odors so I need to do it out of the house) when I looked around and saw that layer of pollen dust on every surface. It would settle into my freshly poured epoxy and make it all I cloudy. Sooo….onto something else for now until the dust clears!
Having just set up school work spaces in our homes, I thought maybe they could use a little pizzazz.
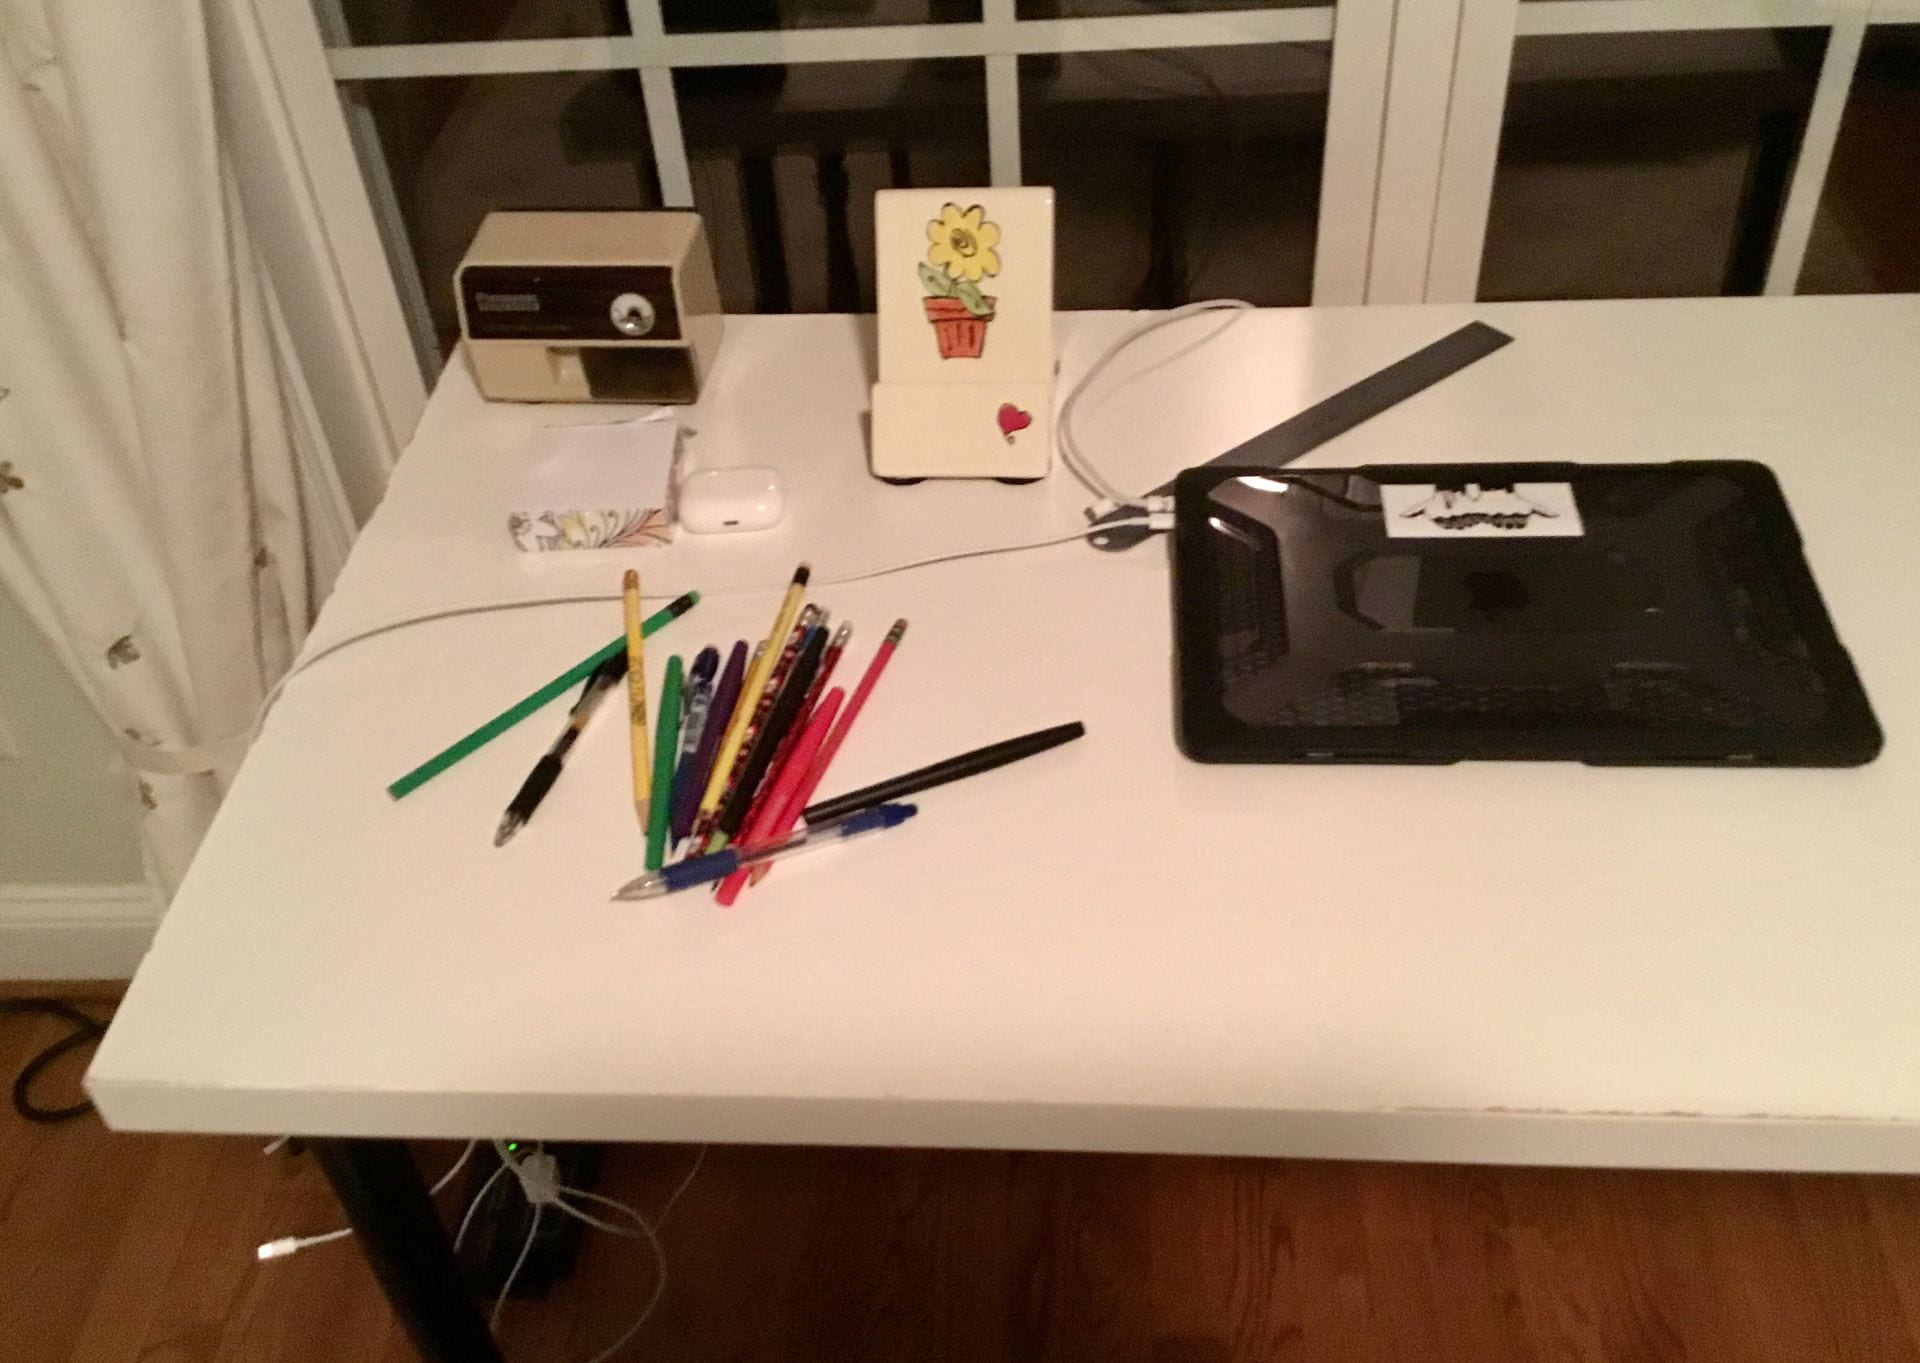
How about an awesome cup to hold all those pens, pencils, scissors and stuff? So I set off to do a pencil cup craft! Now I have LOADS of craft supplies, scraps of this and that, and tons of odds and ends because I love to do projects AND I never throw anything away. But that’s not true for everyone. So I tried to think of things that many people might have around their houses for this project. No running out to the stores. This is what I came up with…
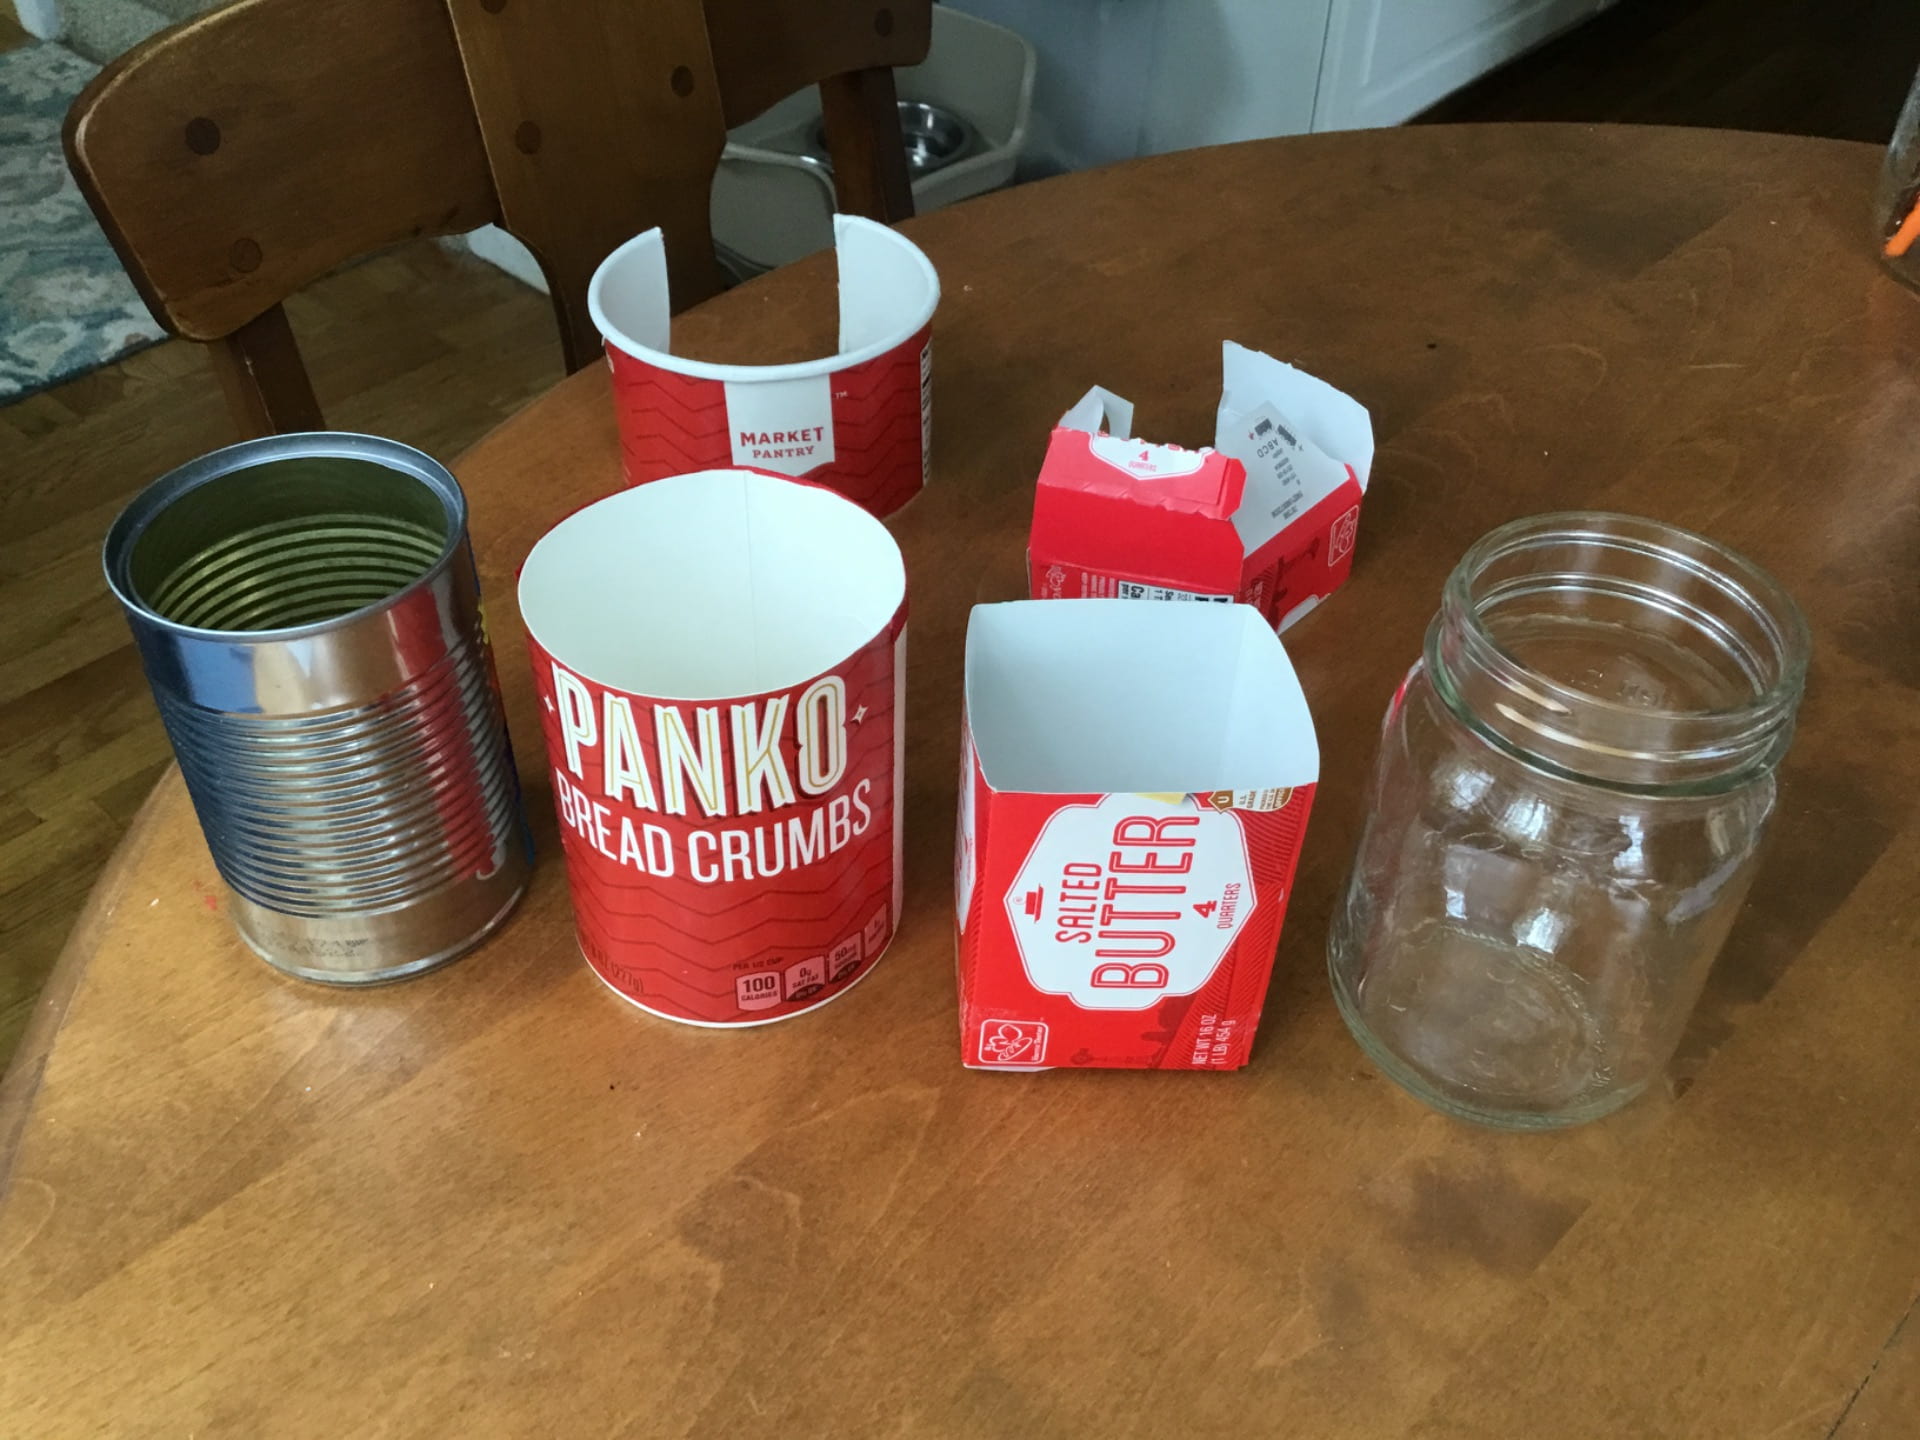
First, I needed something for the actual container that could neatly hold my supplies. I looked in my craft closet and dug through our recycling bin and found a few things I thought could work. Empty tin cans, mason jars or empty jelly jars, empty peanut butter jars, breadcrumb canisters or Pringles cans with tops cut off, or abutter box with top cut off. I’m sure there are other suitable things you could find. A few important warnings: 1. A parent or other adult must inspect edges of tin cans because they can be SHARP, 2. A parent or other adult MAY need to help cut of the tops of bottles or canisters that are plastic or more rigid cardboard, and 3. A parent or other adult needs to approve whatever you choose to use (no dumping a new can of beans in the trash or eating an entire can of Pringles in one sitting to get the container). I also need to point out that glass can break when tipped over or knocked to the floor, so jars may not be the best choice.
Containers chosen, I was off in search of things to use for decoration. Again, I’ve got pom poms, jewels, glass beads, glitter, shells, buttons, popsicle sticks, feathers, pipe cleaners, etc. All of which could be fun to use, but not everyone has them. Here are some things I found that seemed more likely to be in someone’s home.
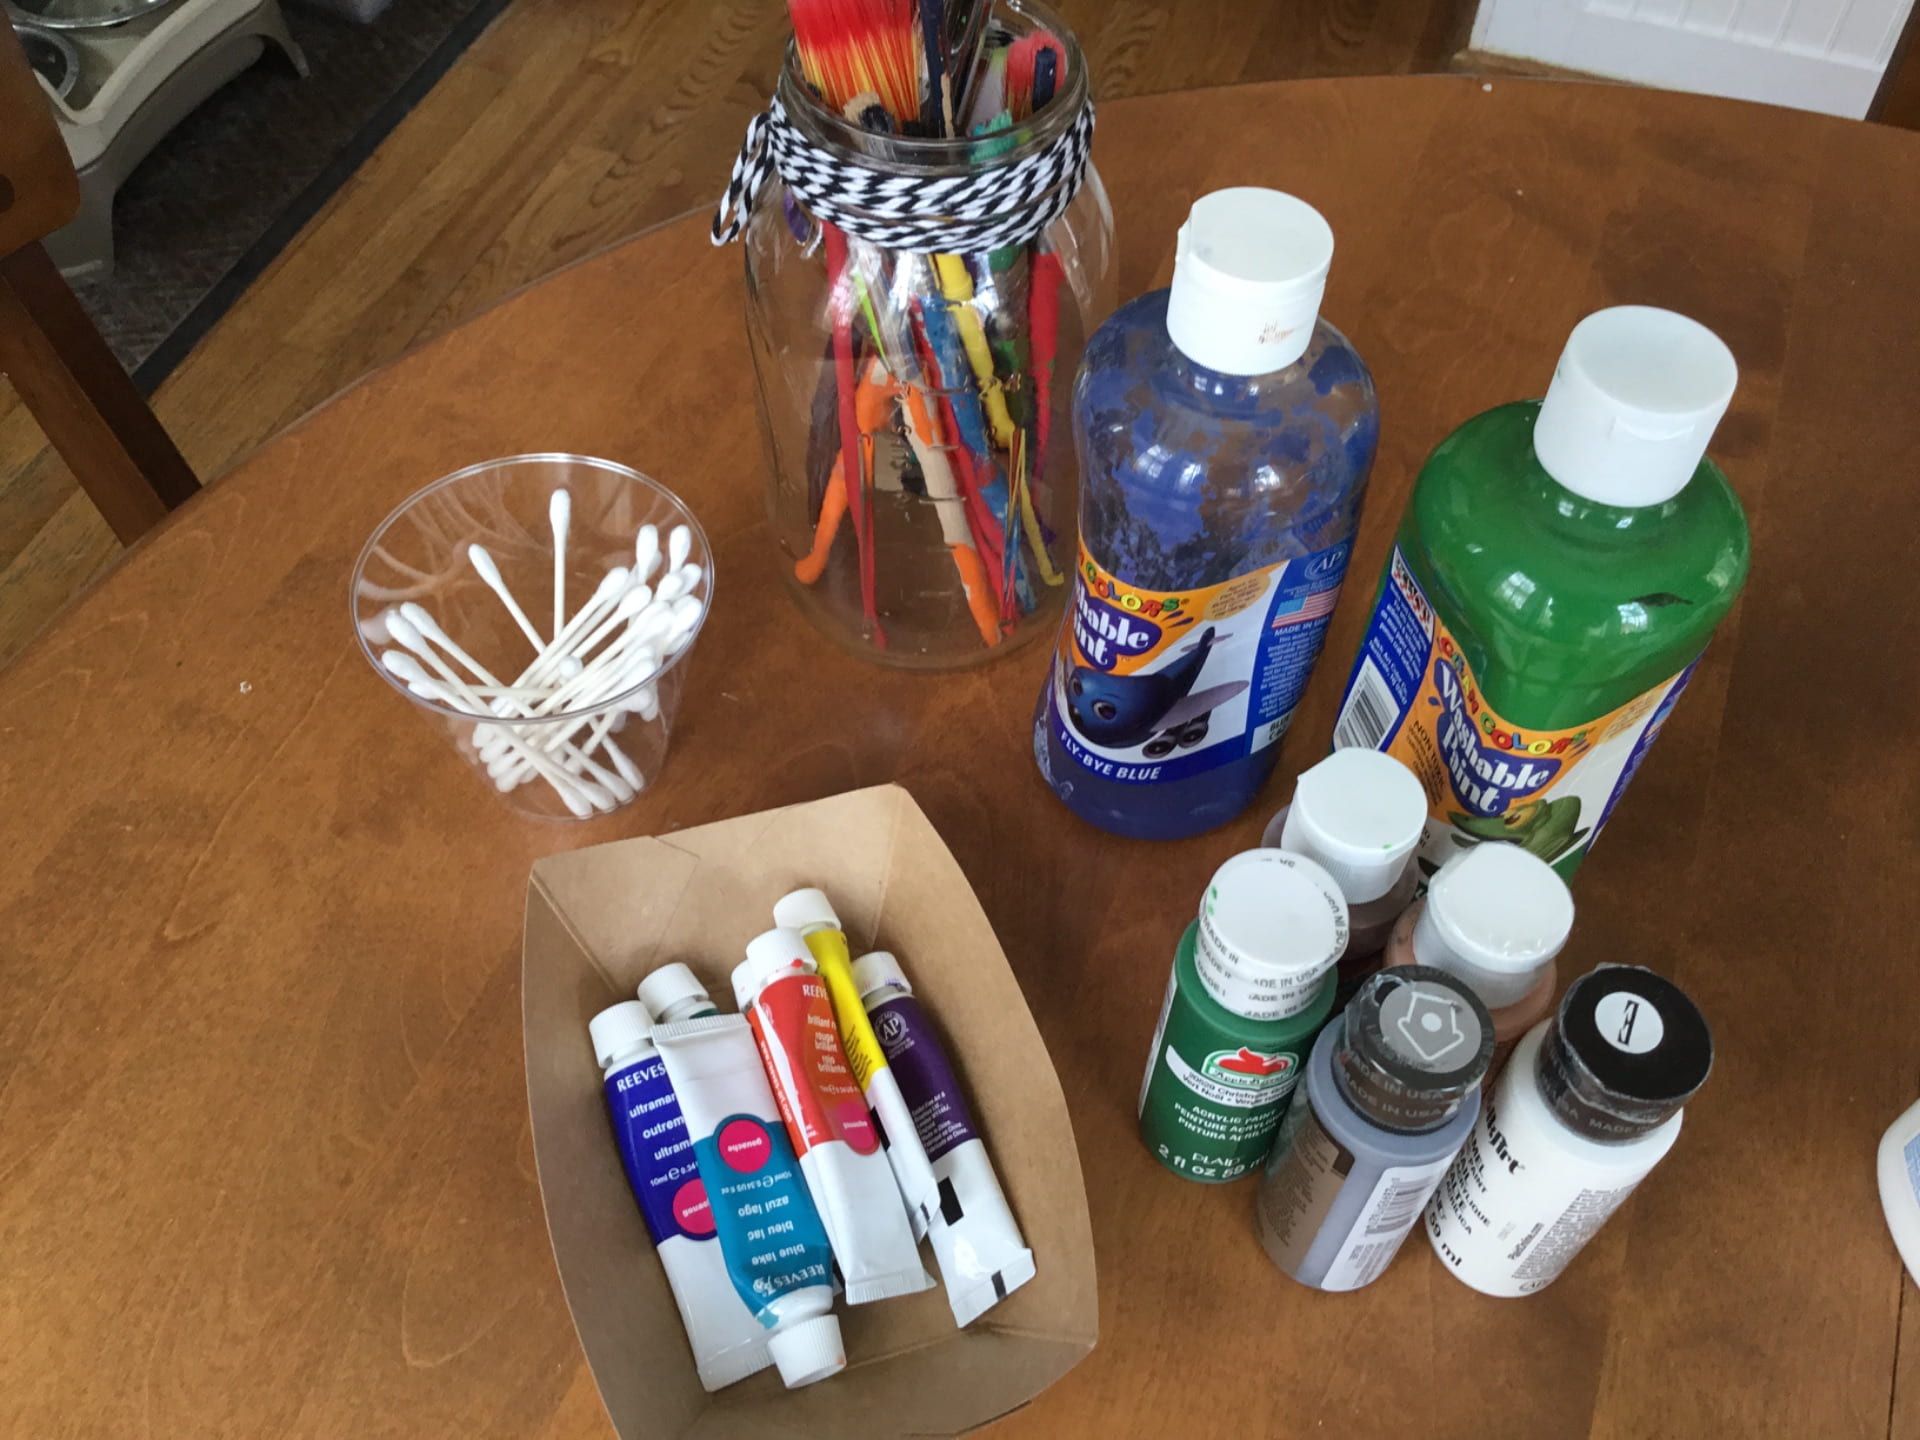
Paints and brushes or Q-tips
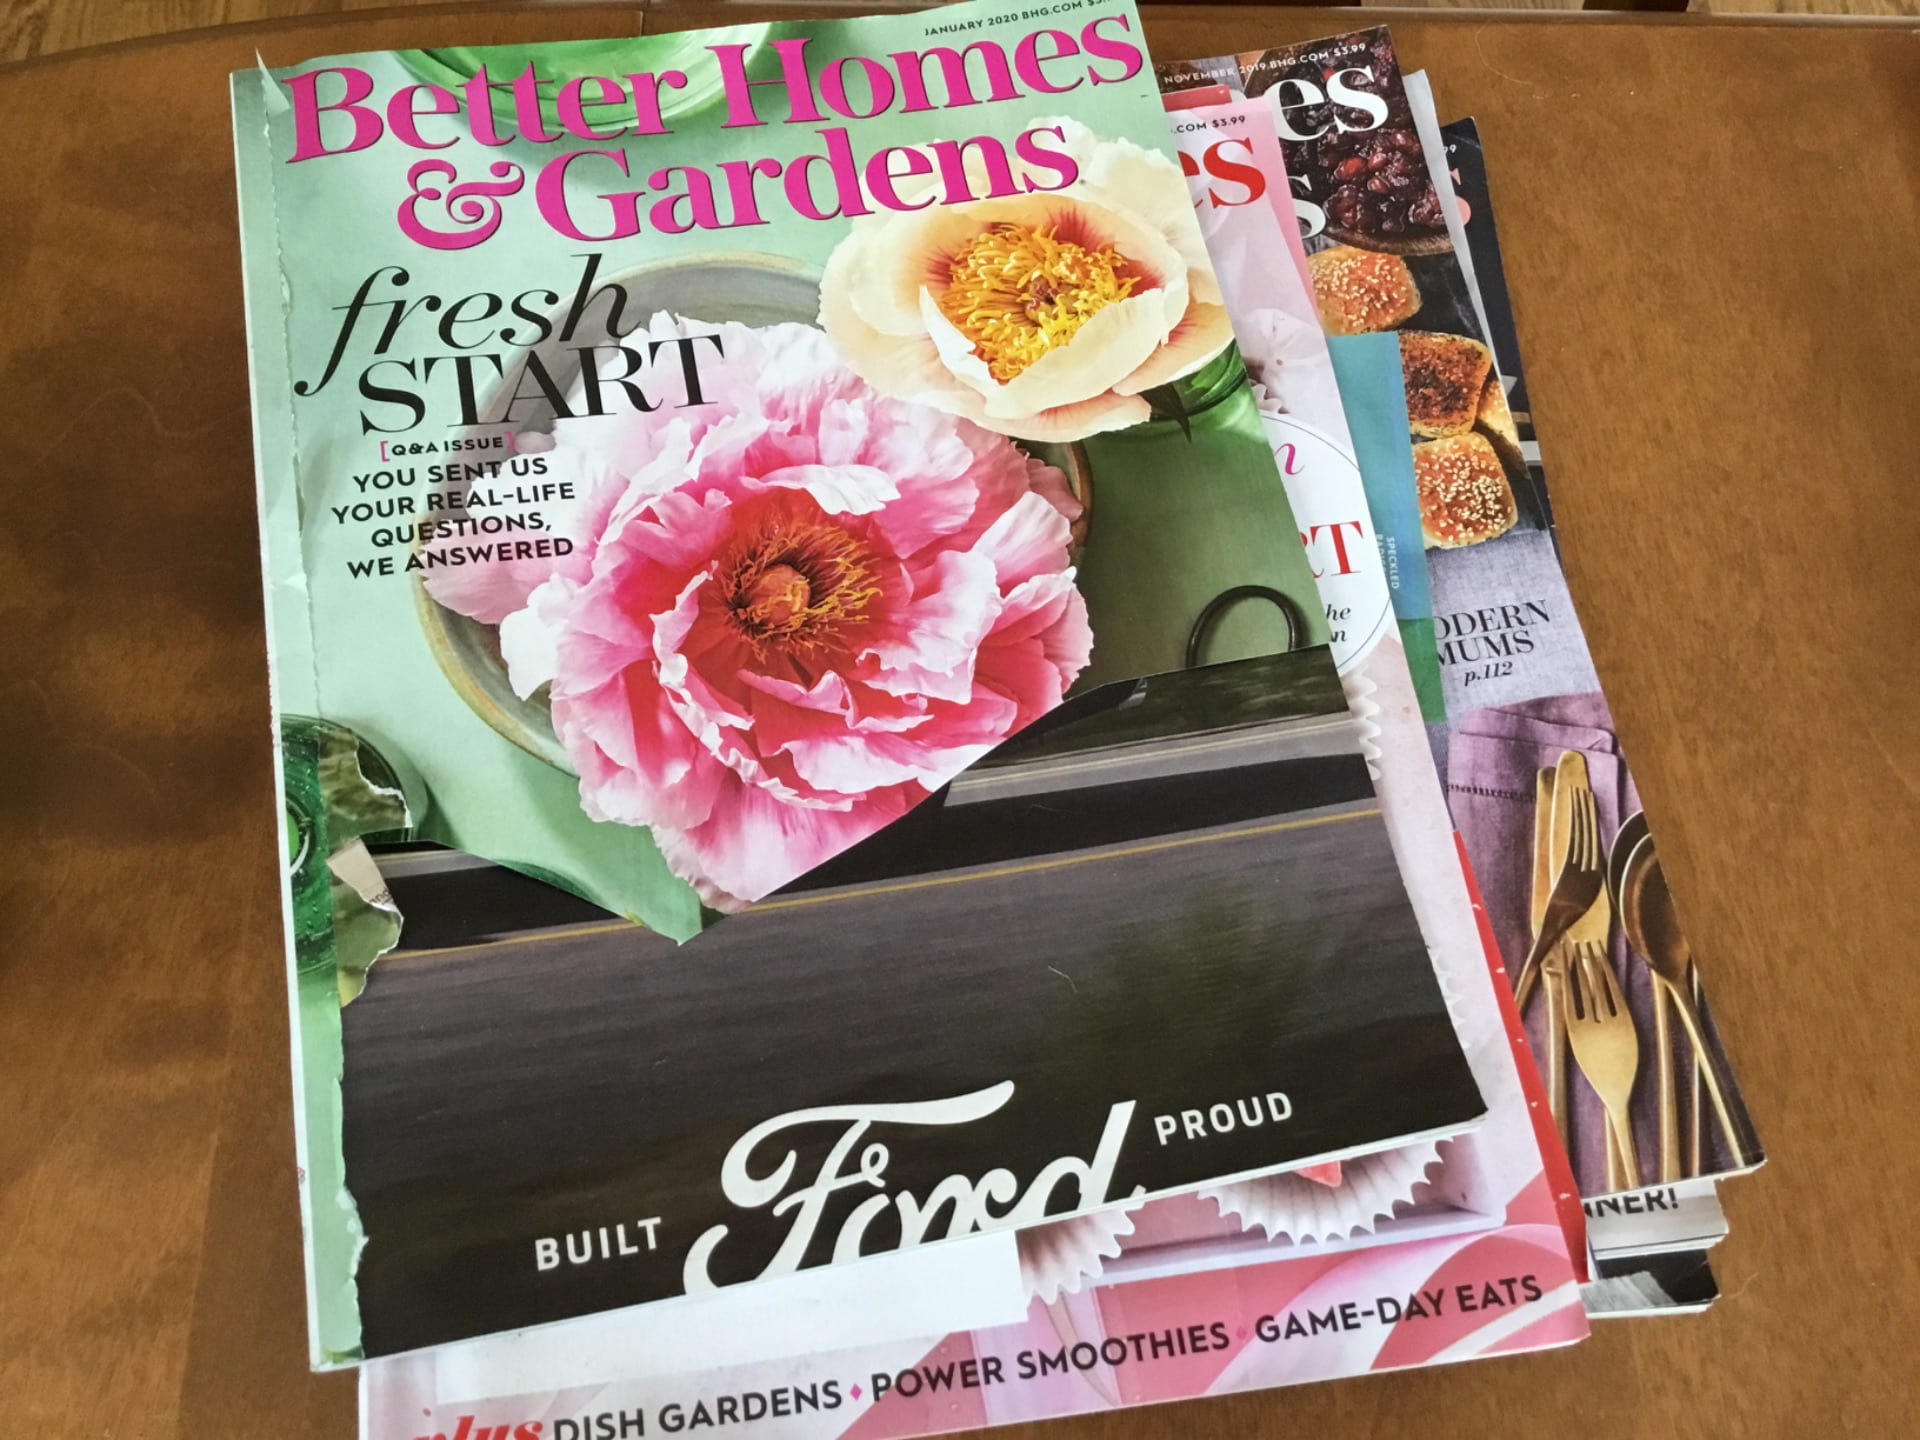
Old magazines
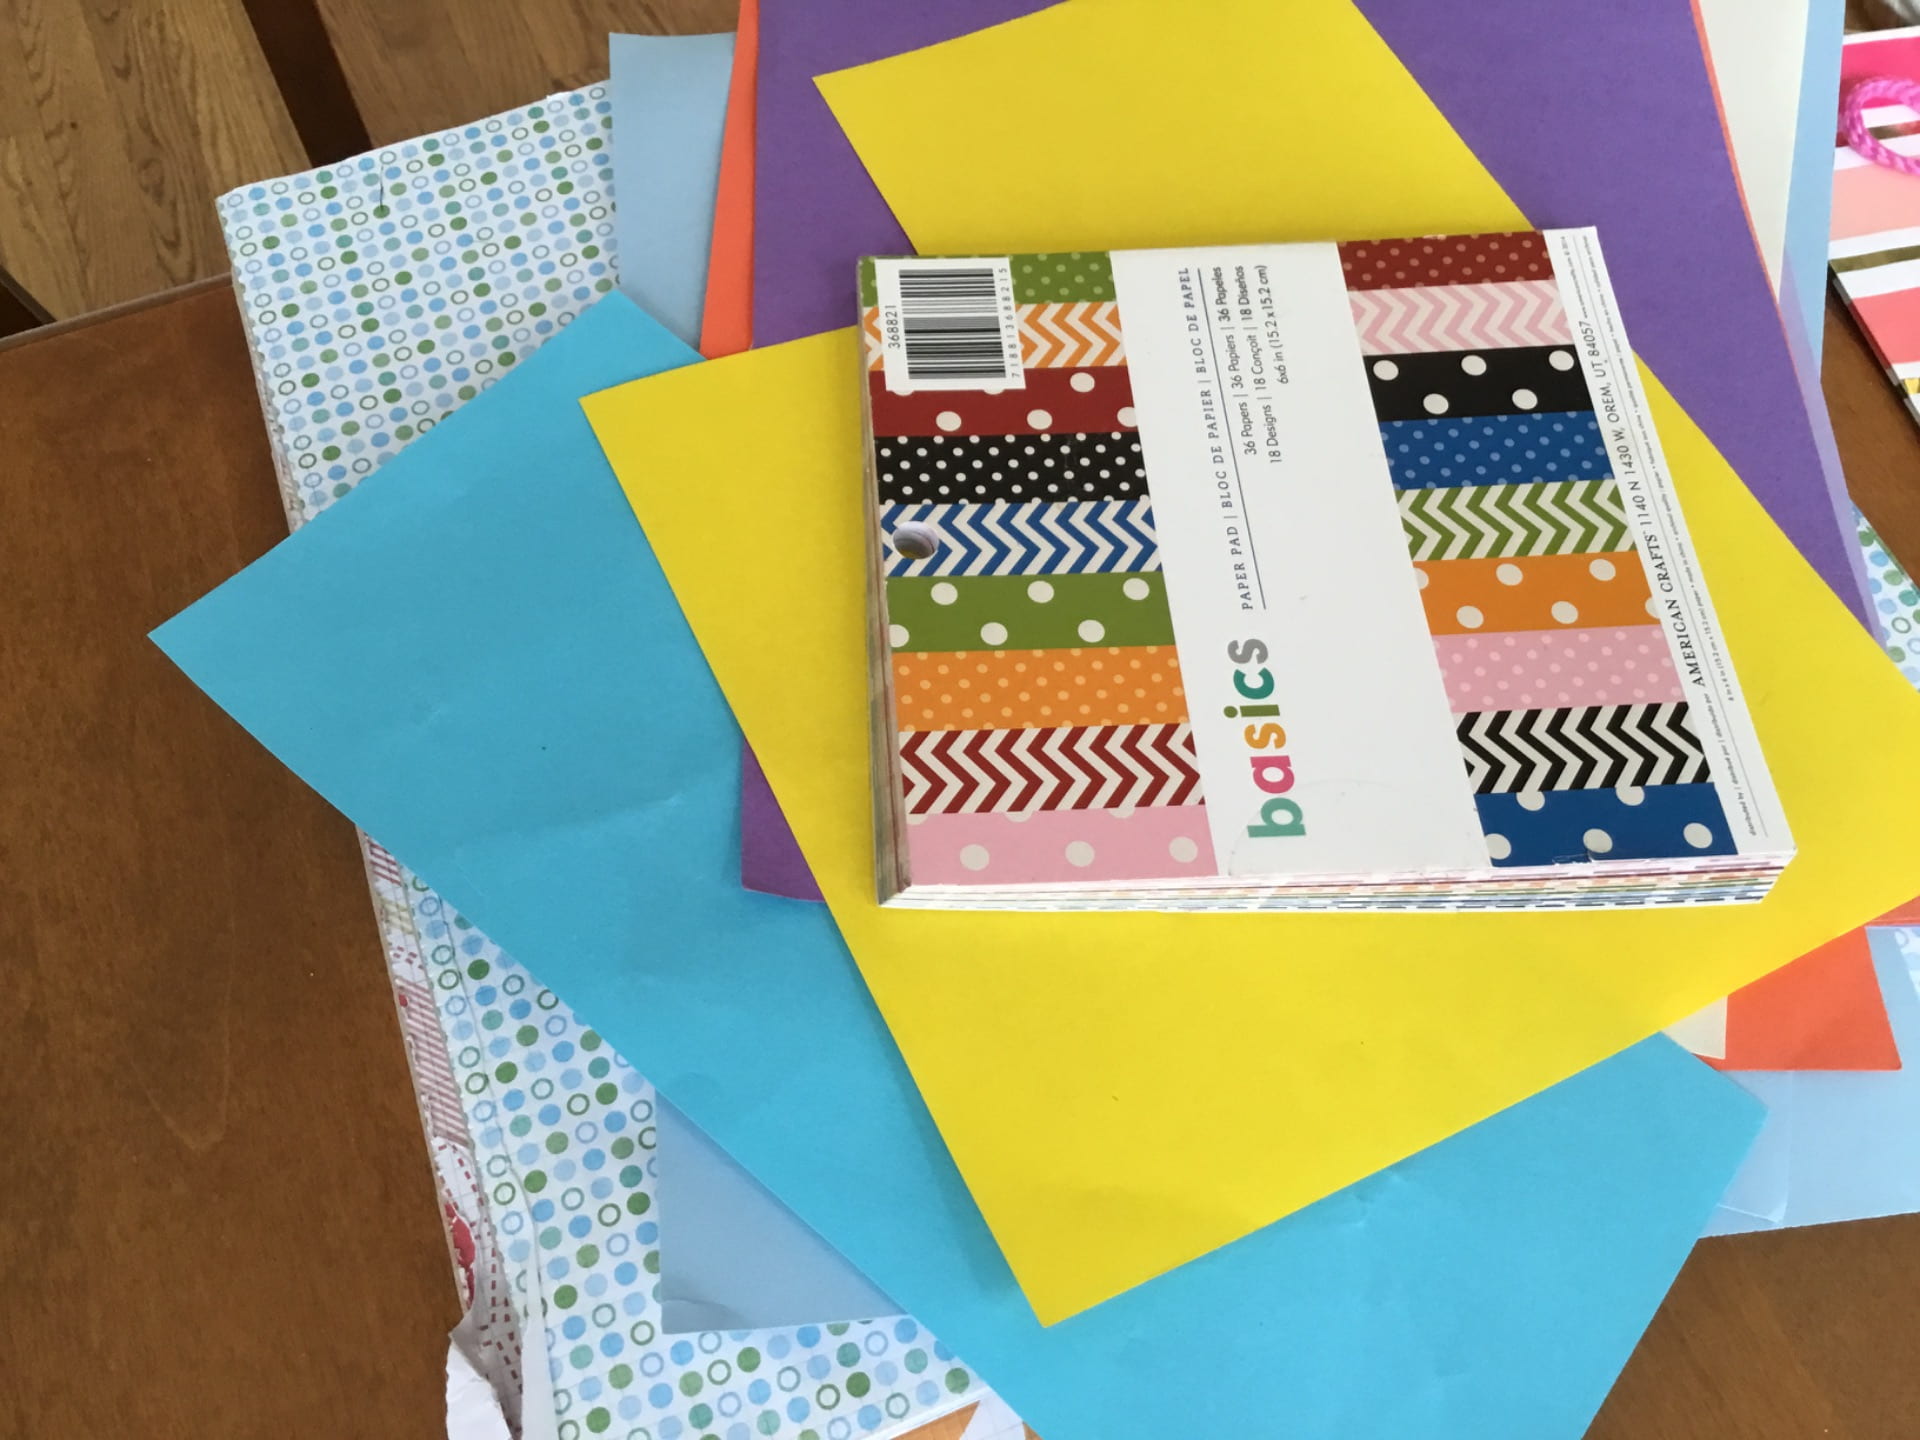
Paper – colors, patterns and/or white
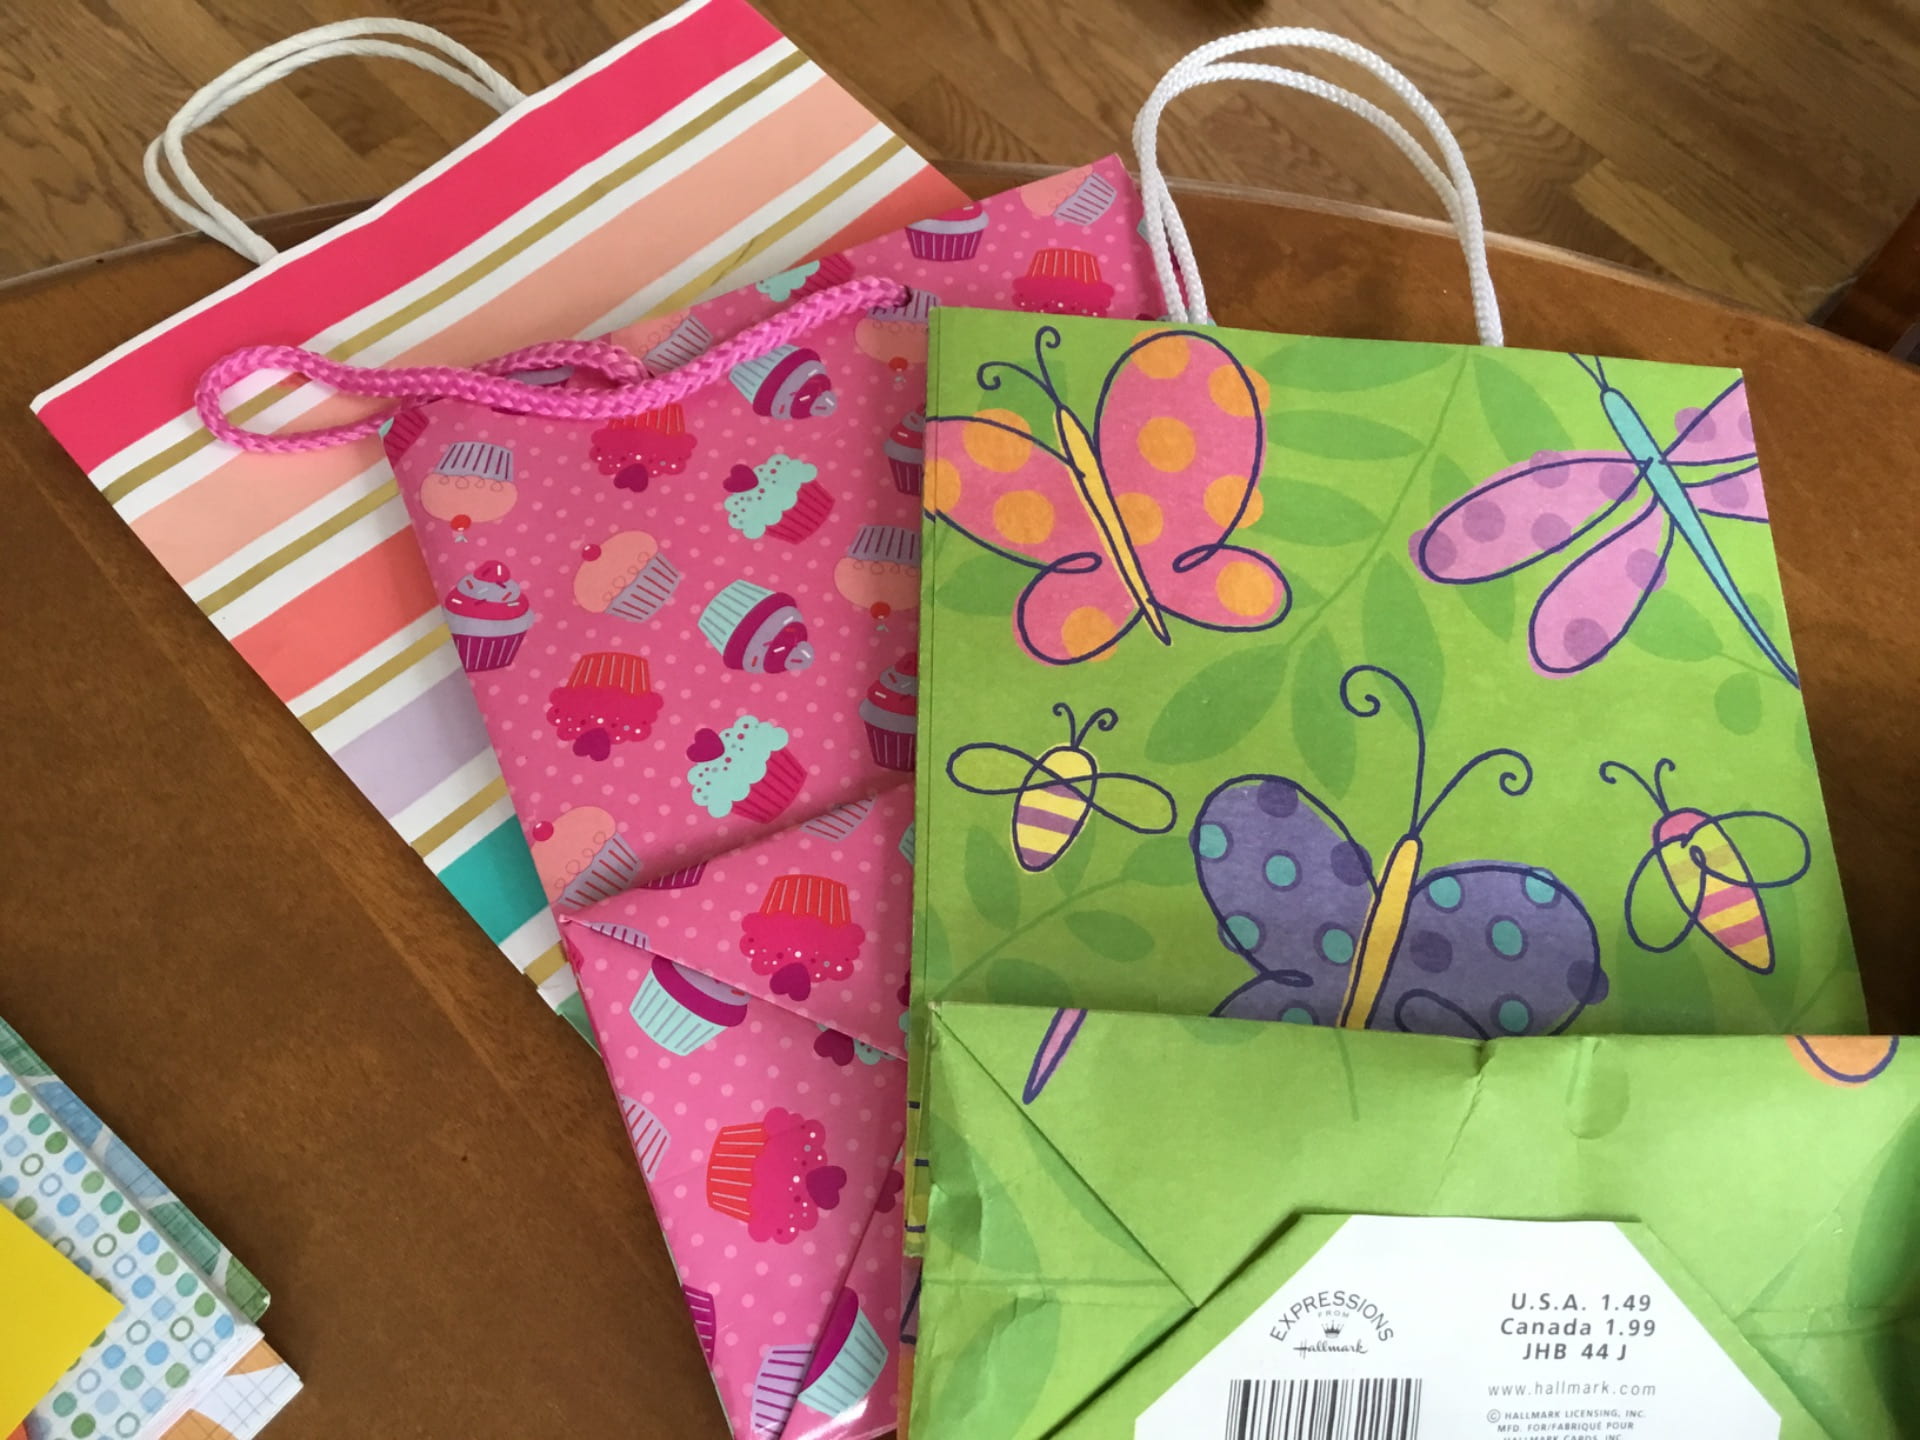
Old gift bags

Yarn, string, twine and ribbon
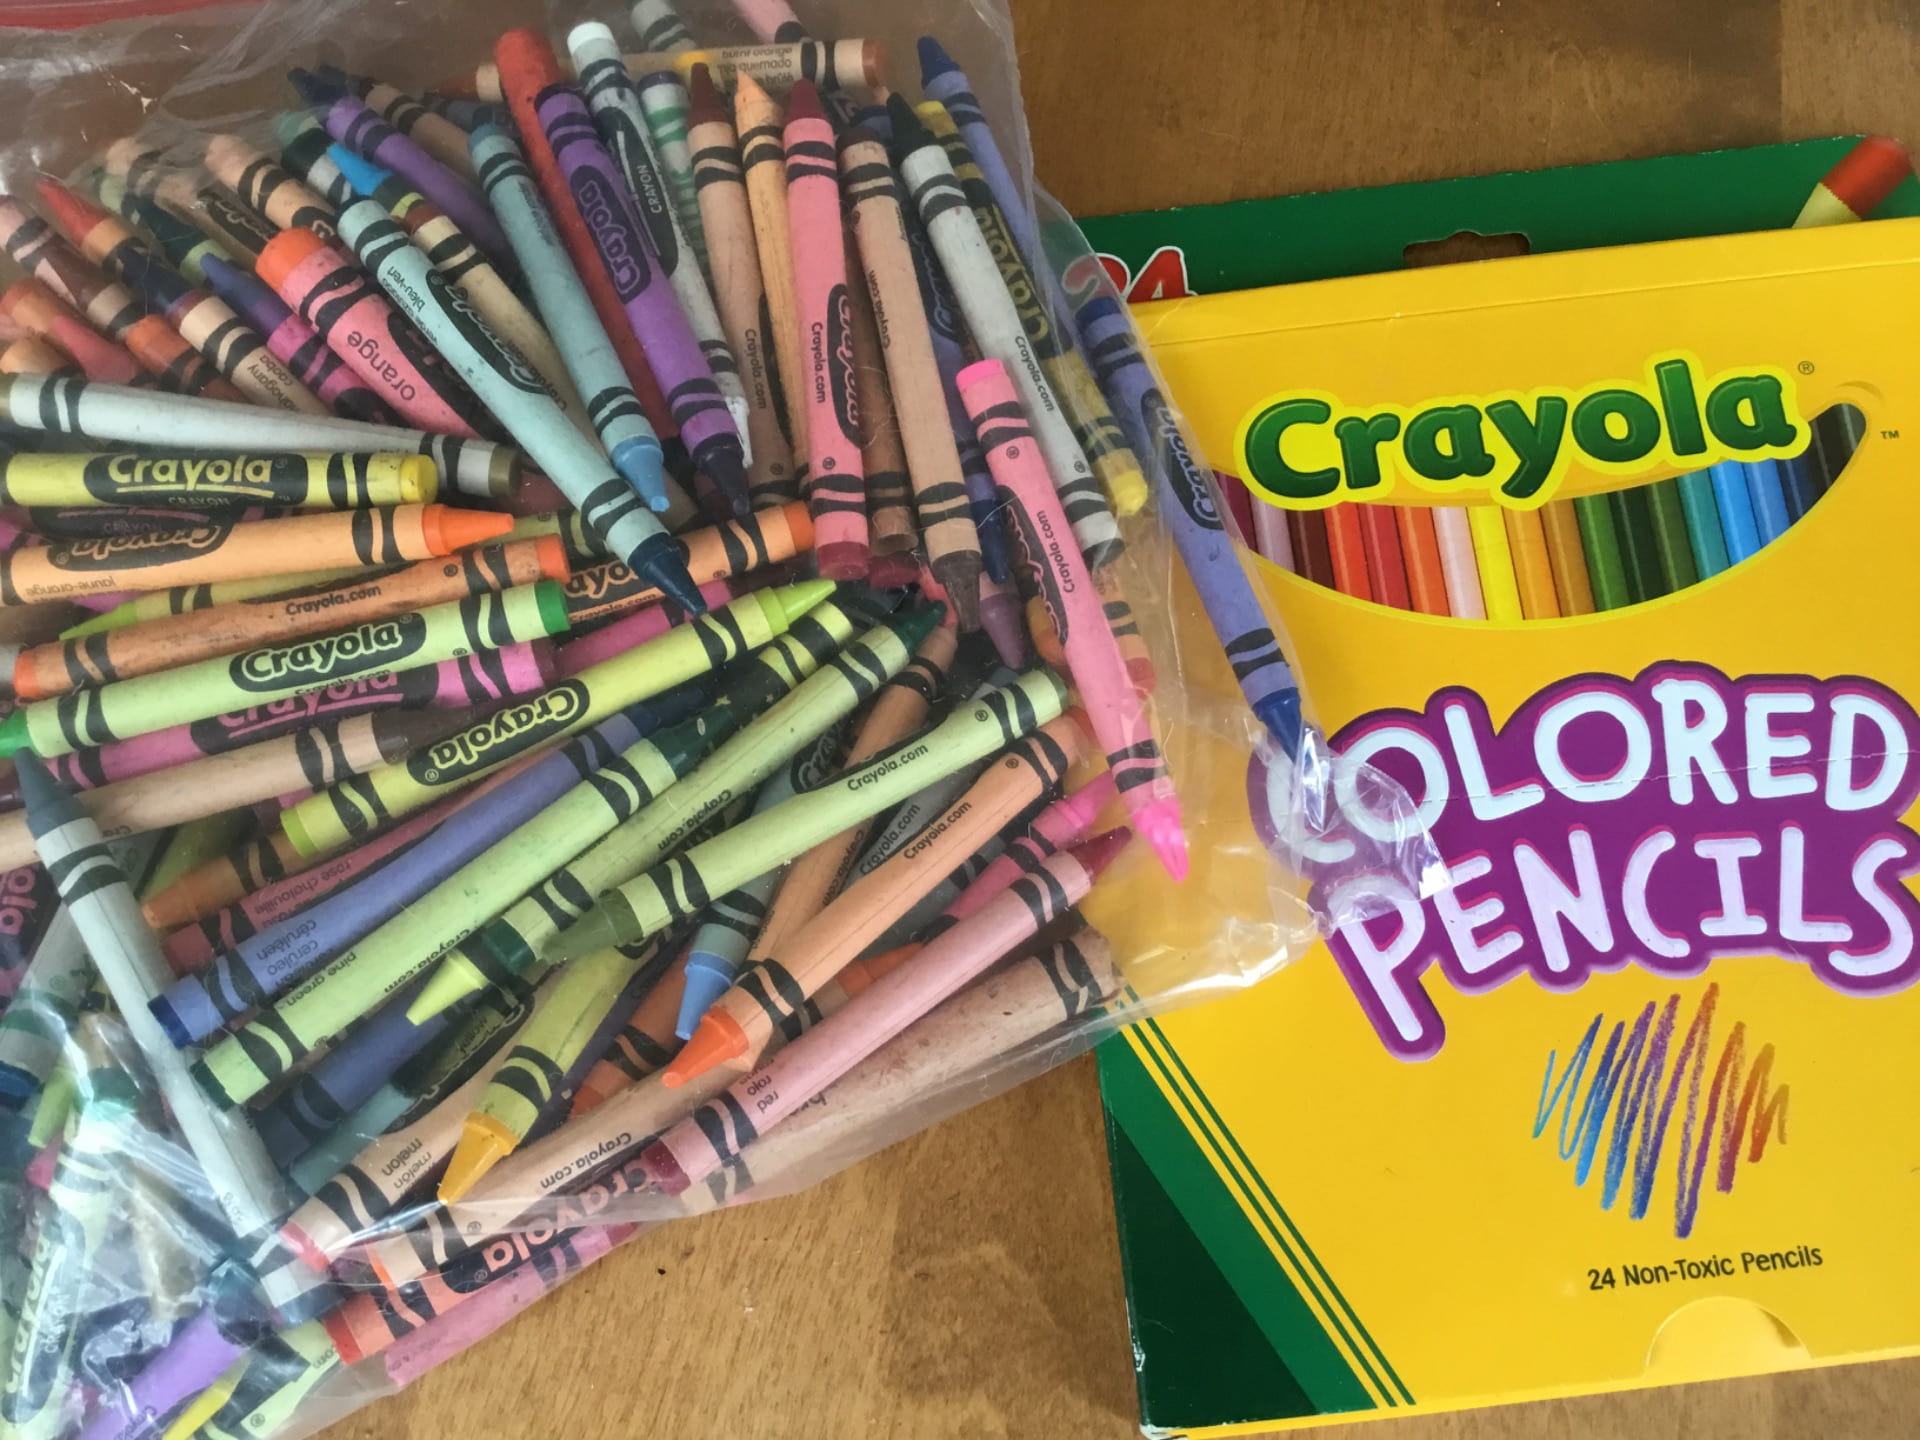
Crayons, colored pens or markers
Finally, I needed some way of sticking the decorations onto the containers. A speedy and effective way is with a hot glue gun, but not everyone has one and there is the danger of getting burned (they require supervision). So I looked some more and found some other things that could help get the job done.
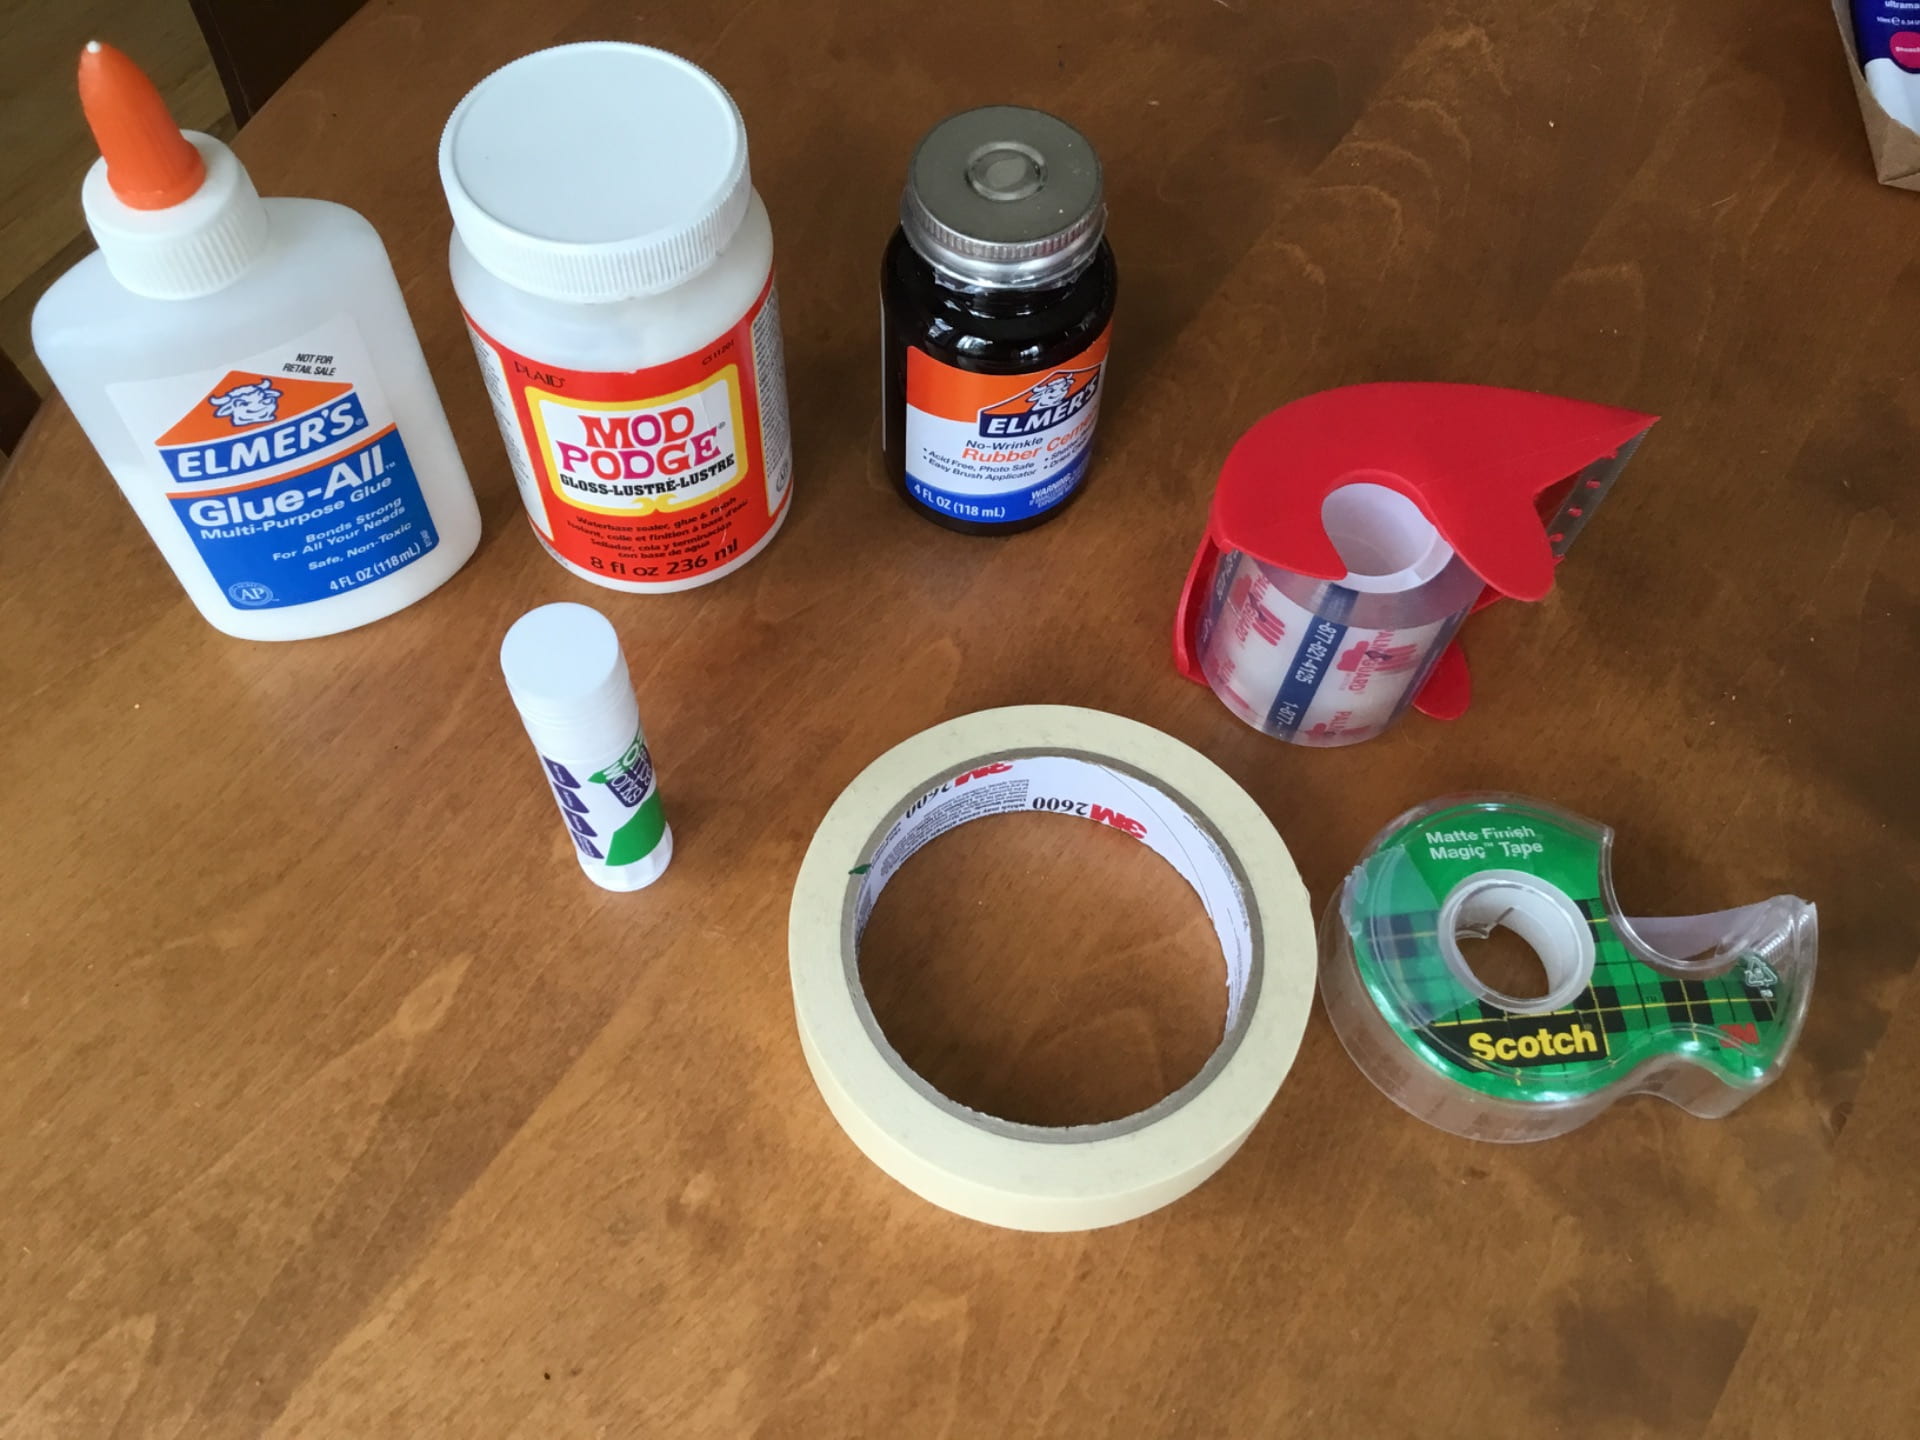
Glue, ModgePodge, rubber cement, gluesticks, tape
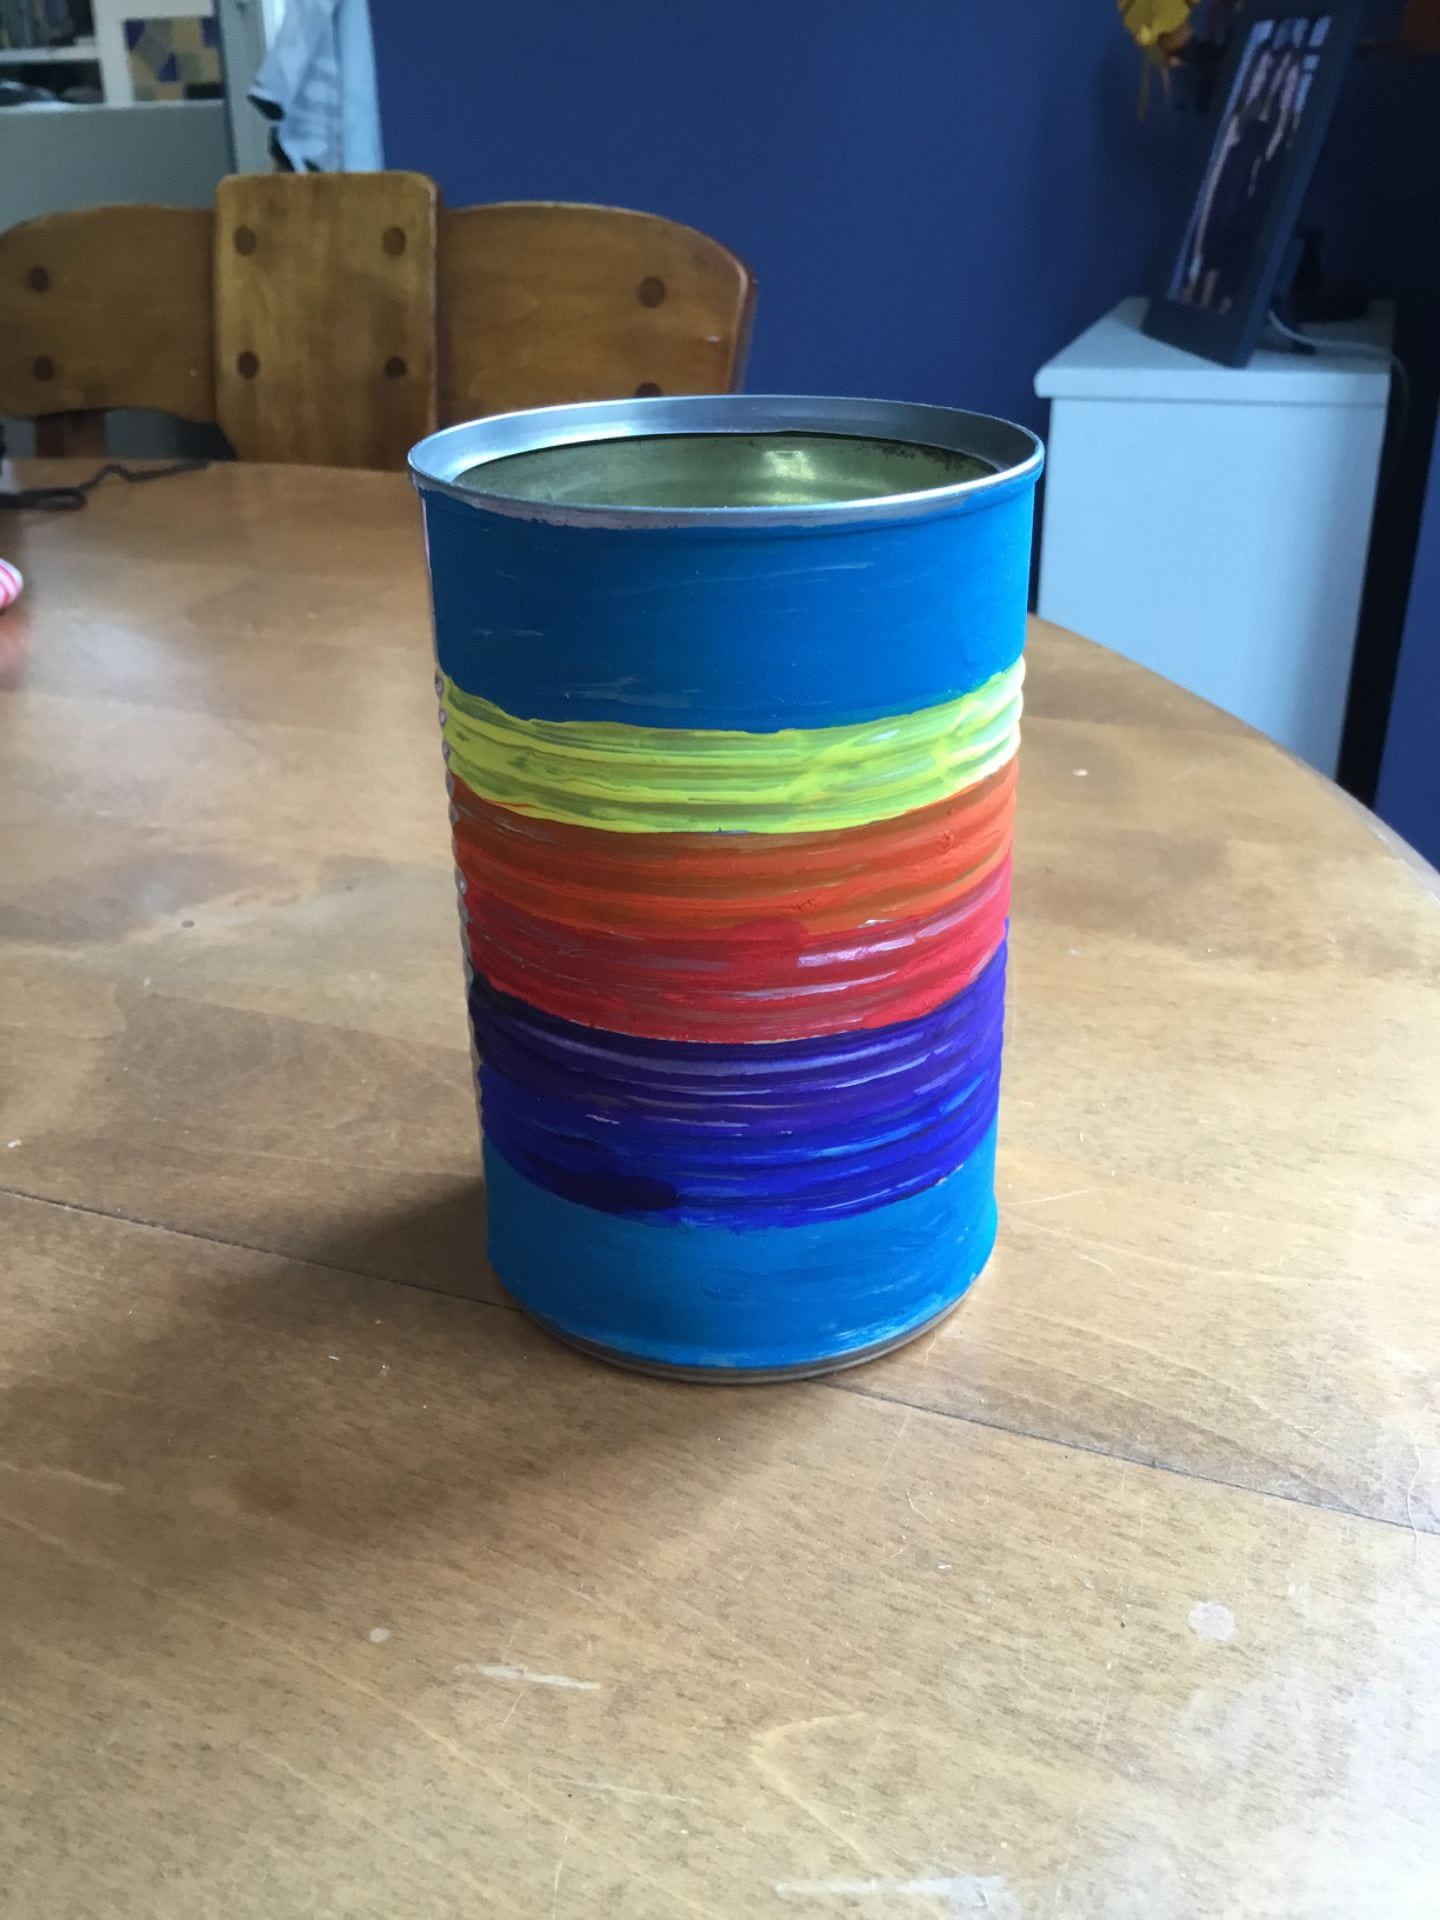
My first try was just painting an empty can. I did stripes, but you can do anything you want. I didn’t spend much time on this, but you could do some really cool designs with paint.
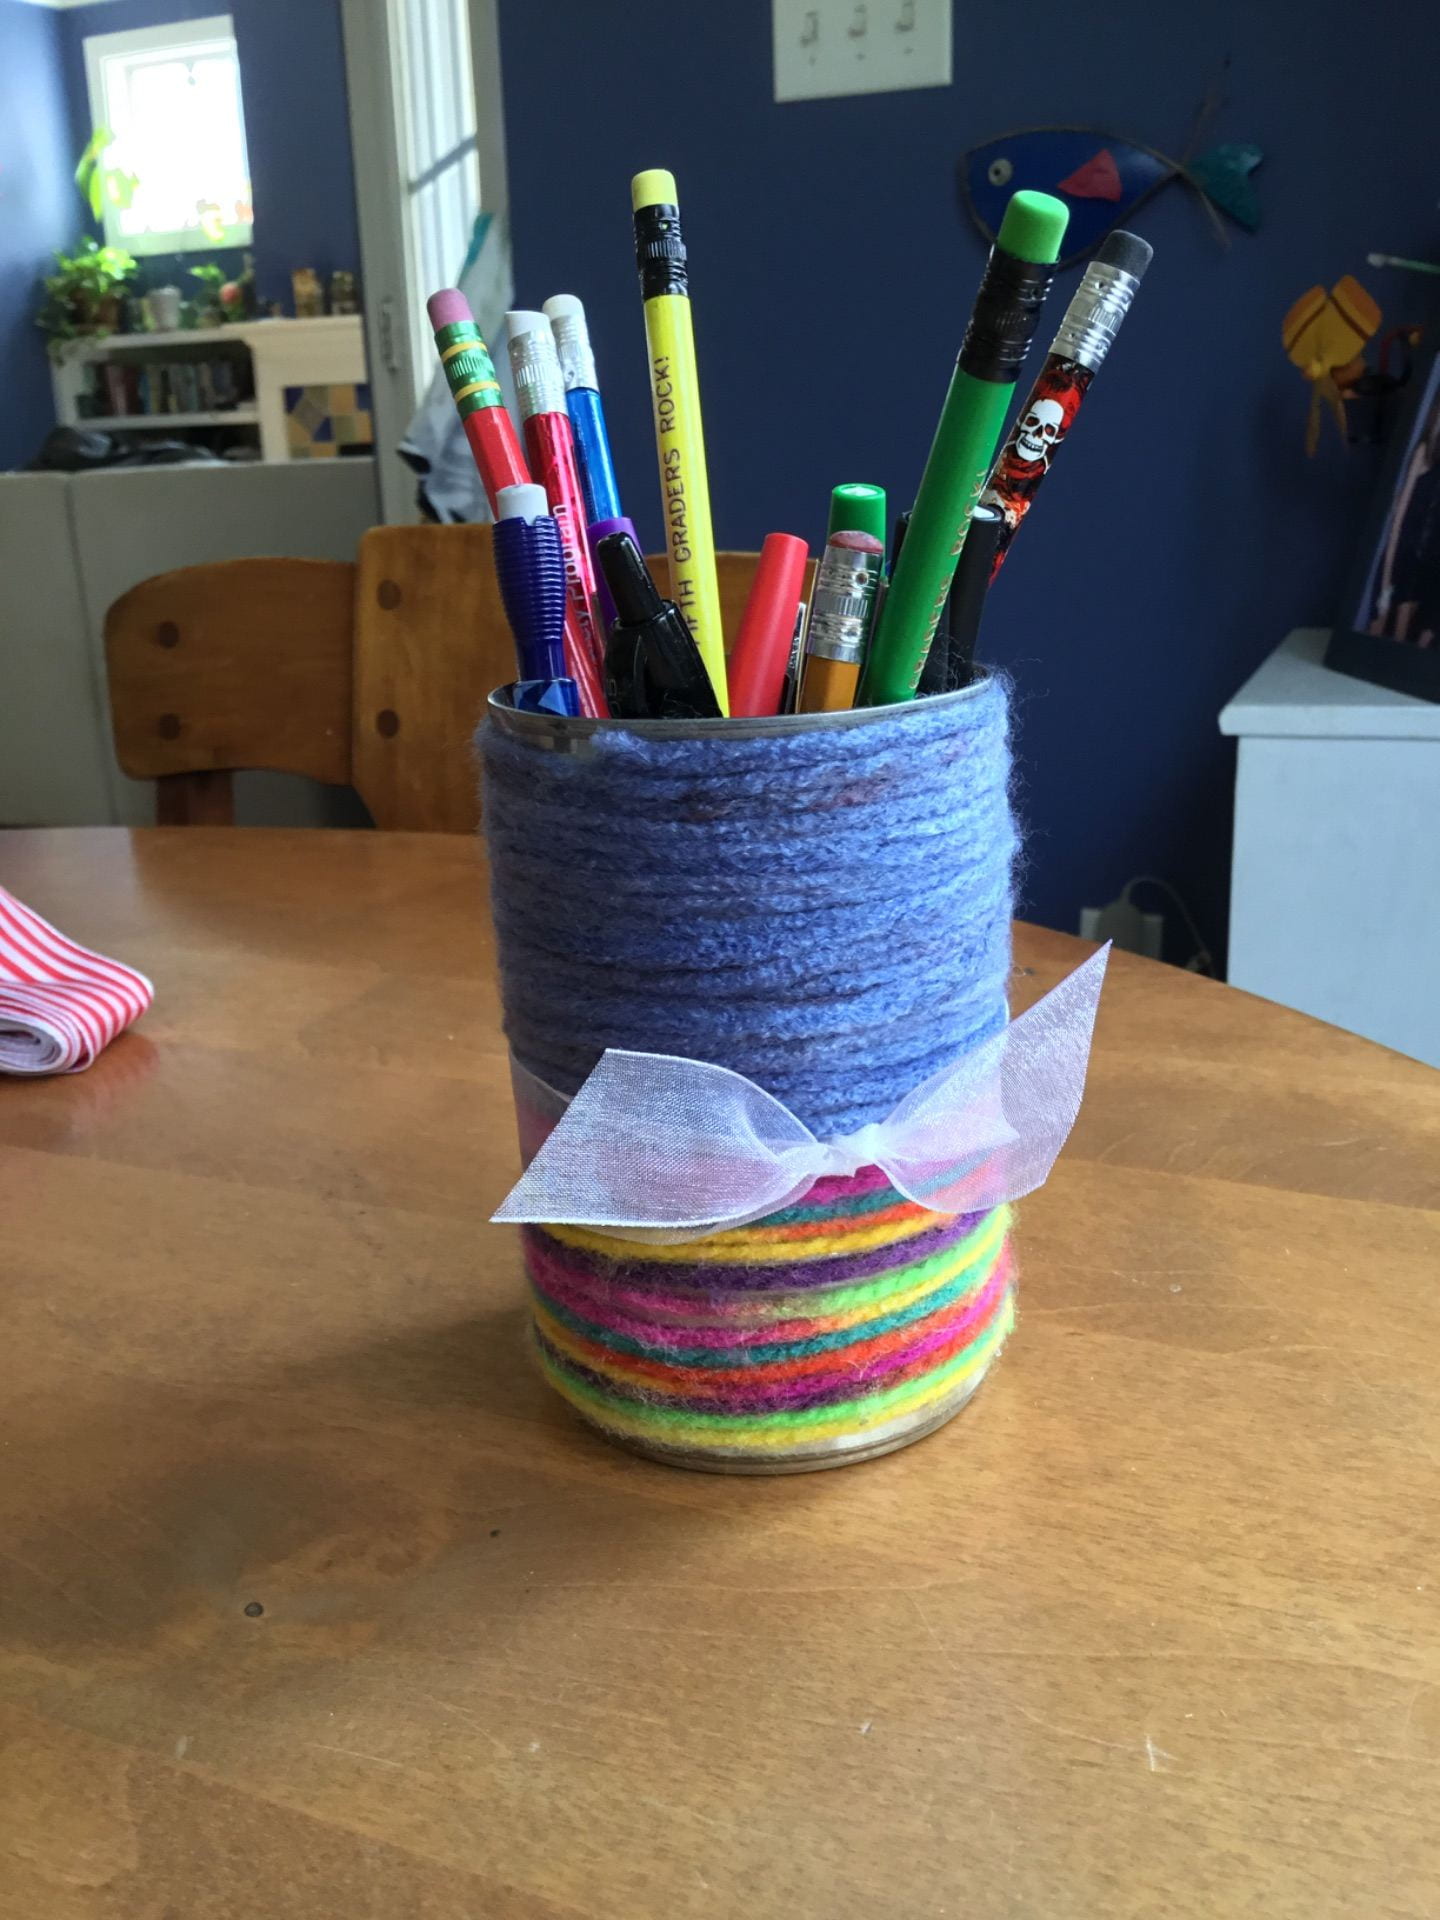
I decided to wrap the second can in yarn. Hot glue would be great for this, but I used loops of masking tape and packing tape (both seemed to work). I simply put loops of tape at intervals around the can and then wrapped the yarn snugly (you don’t need it super tight, but you don’t want it flopping around) around the can. You could “paint” the can with glue and then wrap the yarn. It works well, but can get a little messy.
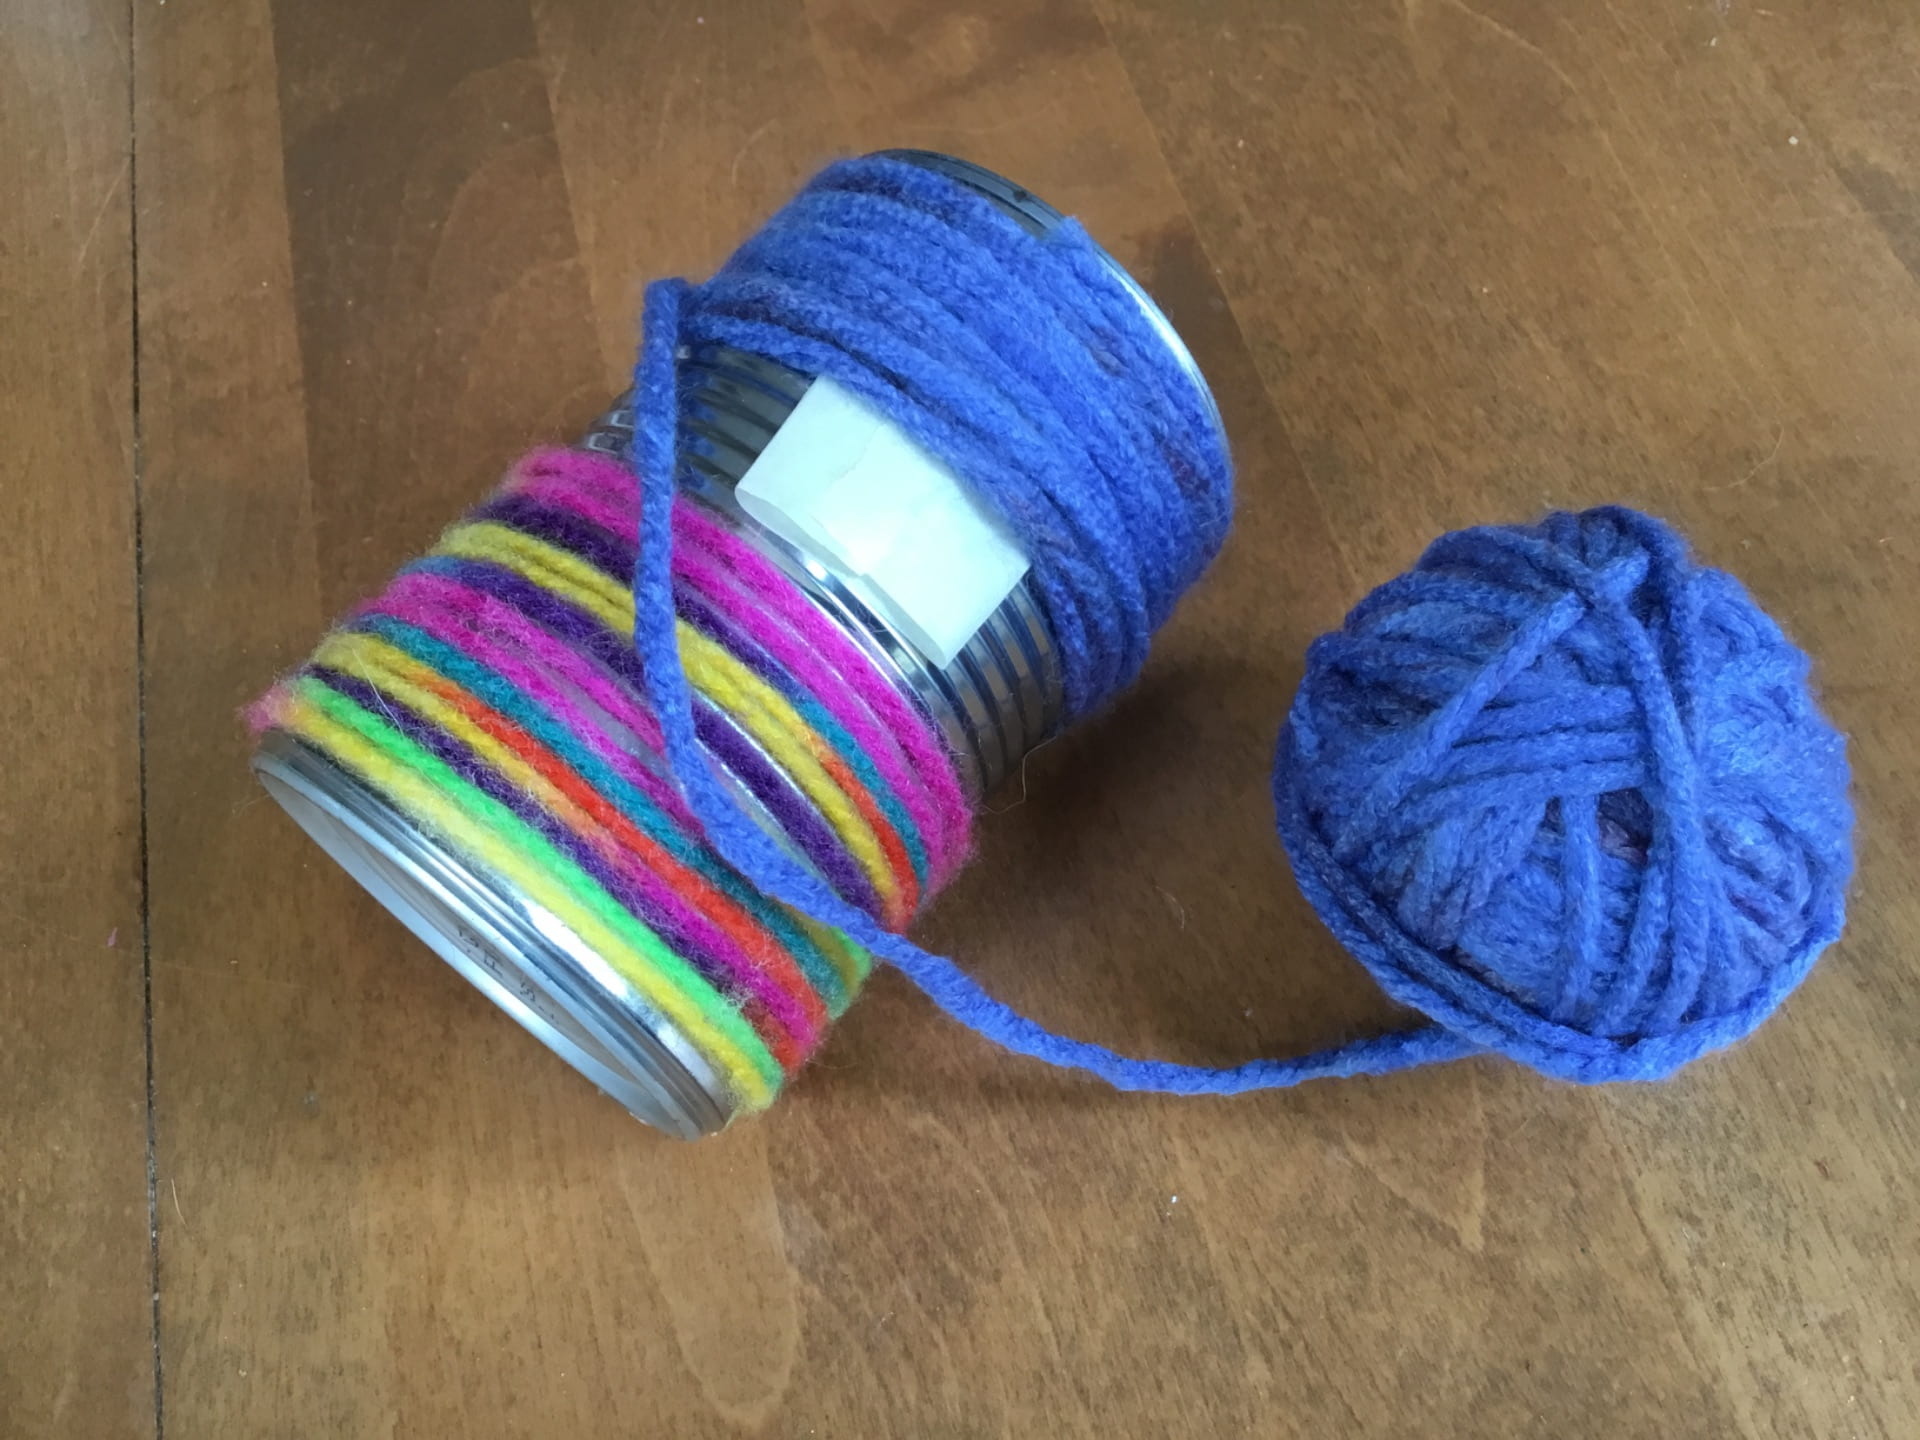
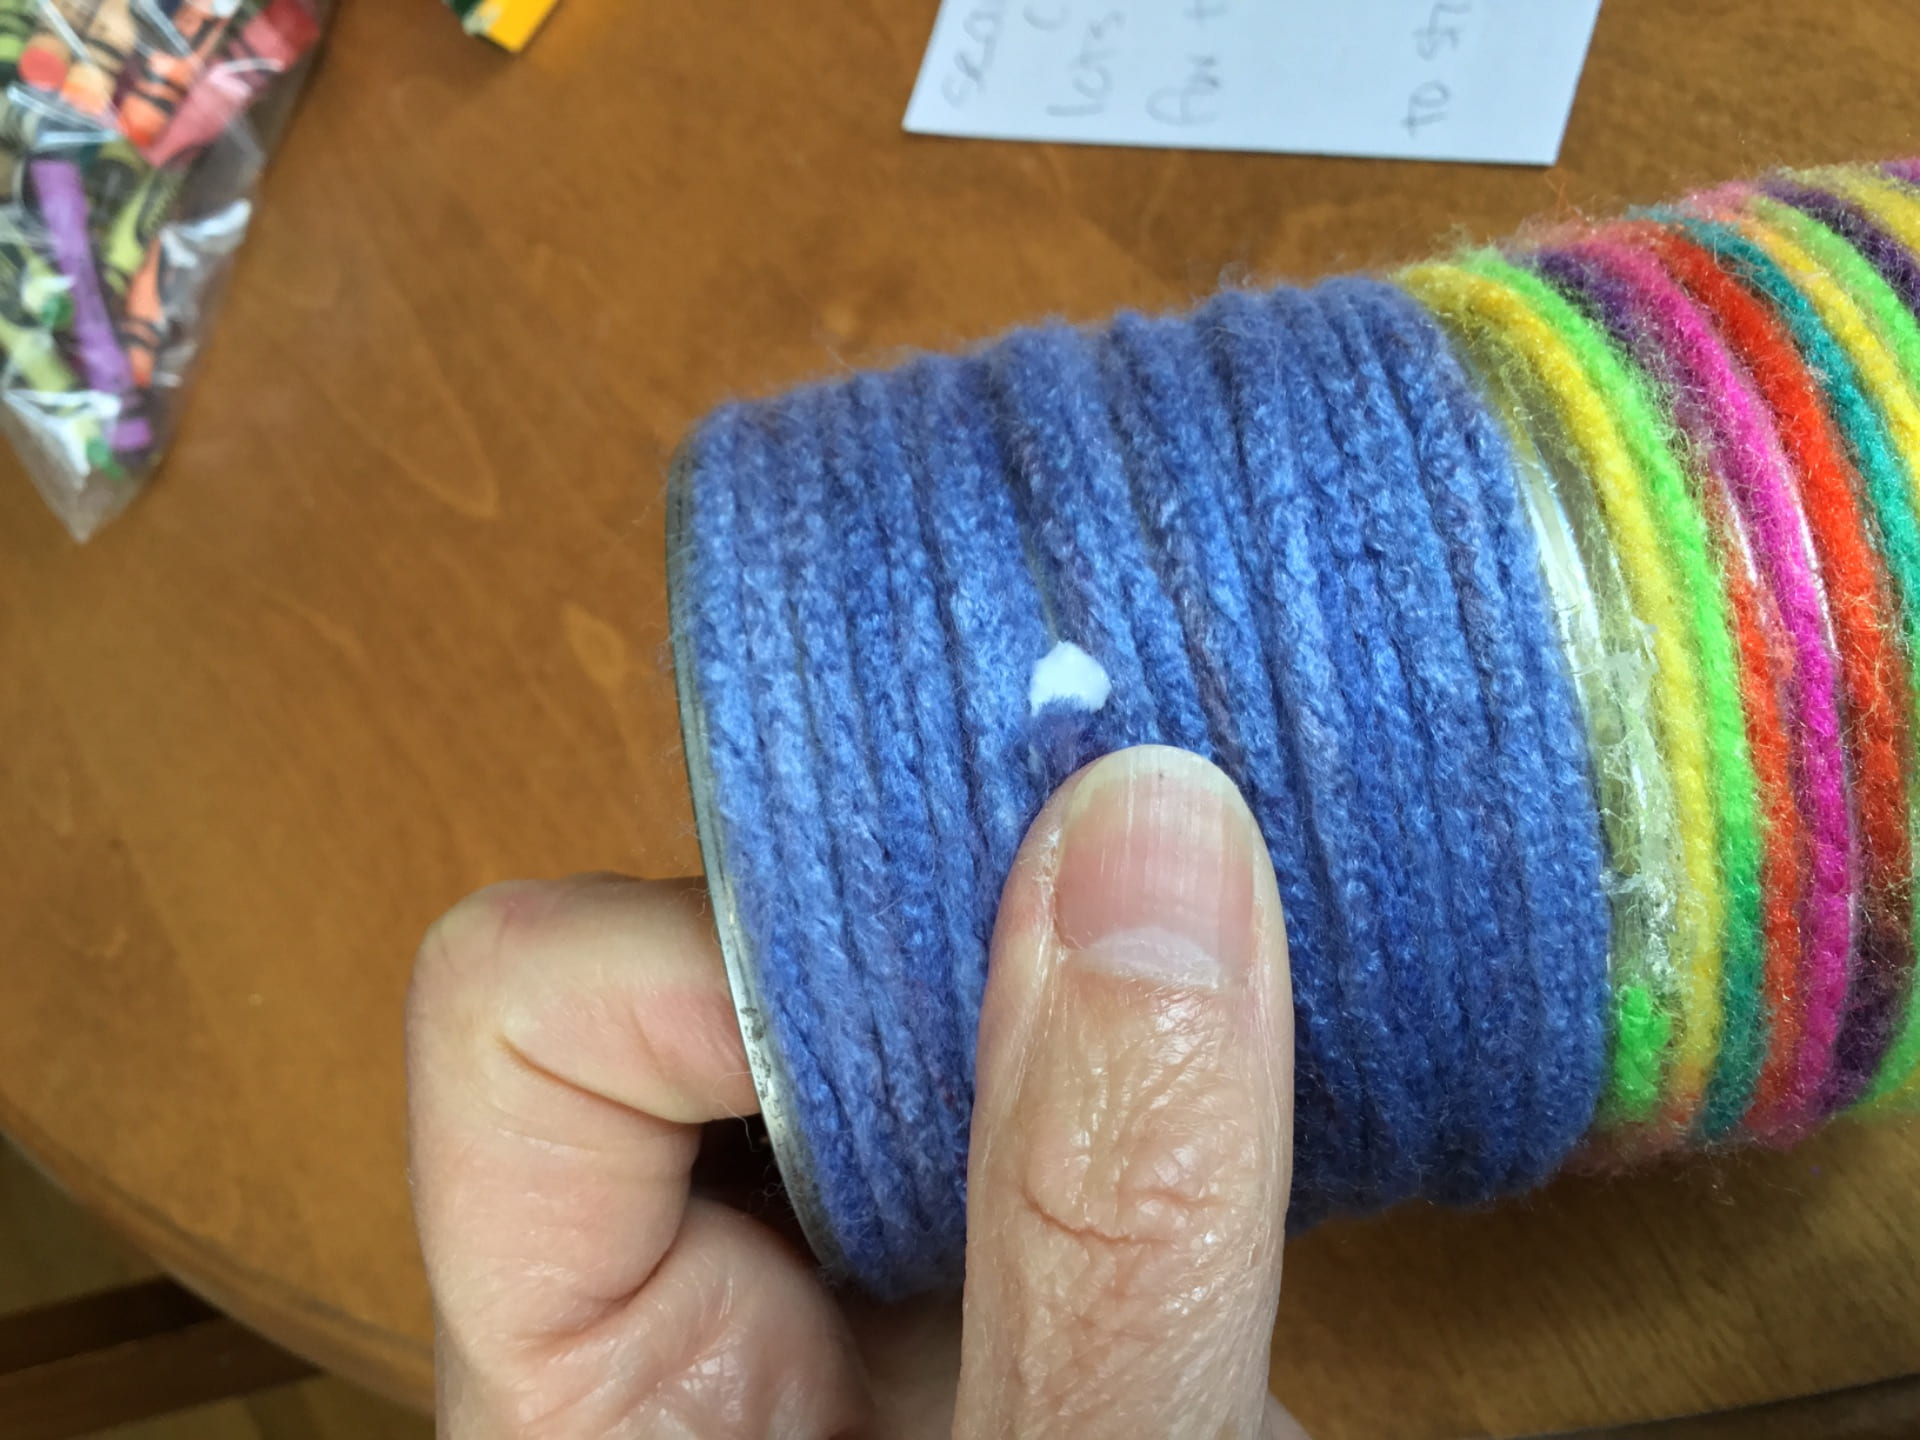
You can change yarns, and/or change to string or twine, and/or use ribbon. Just make sure the ends where you change are centered on a tape loop so they hold. When you get to the end, you can secure it with a glob of glue.You can also wrap a second layer over the first to fill in any gaps. I did two types of yarn and then tied a ribbon around the middle where they met.
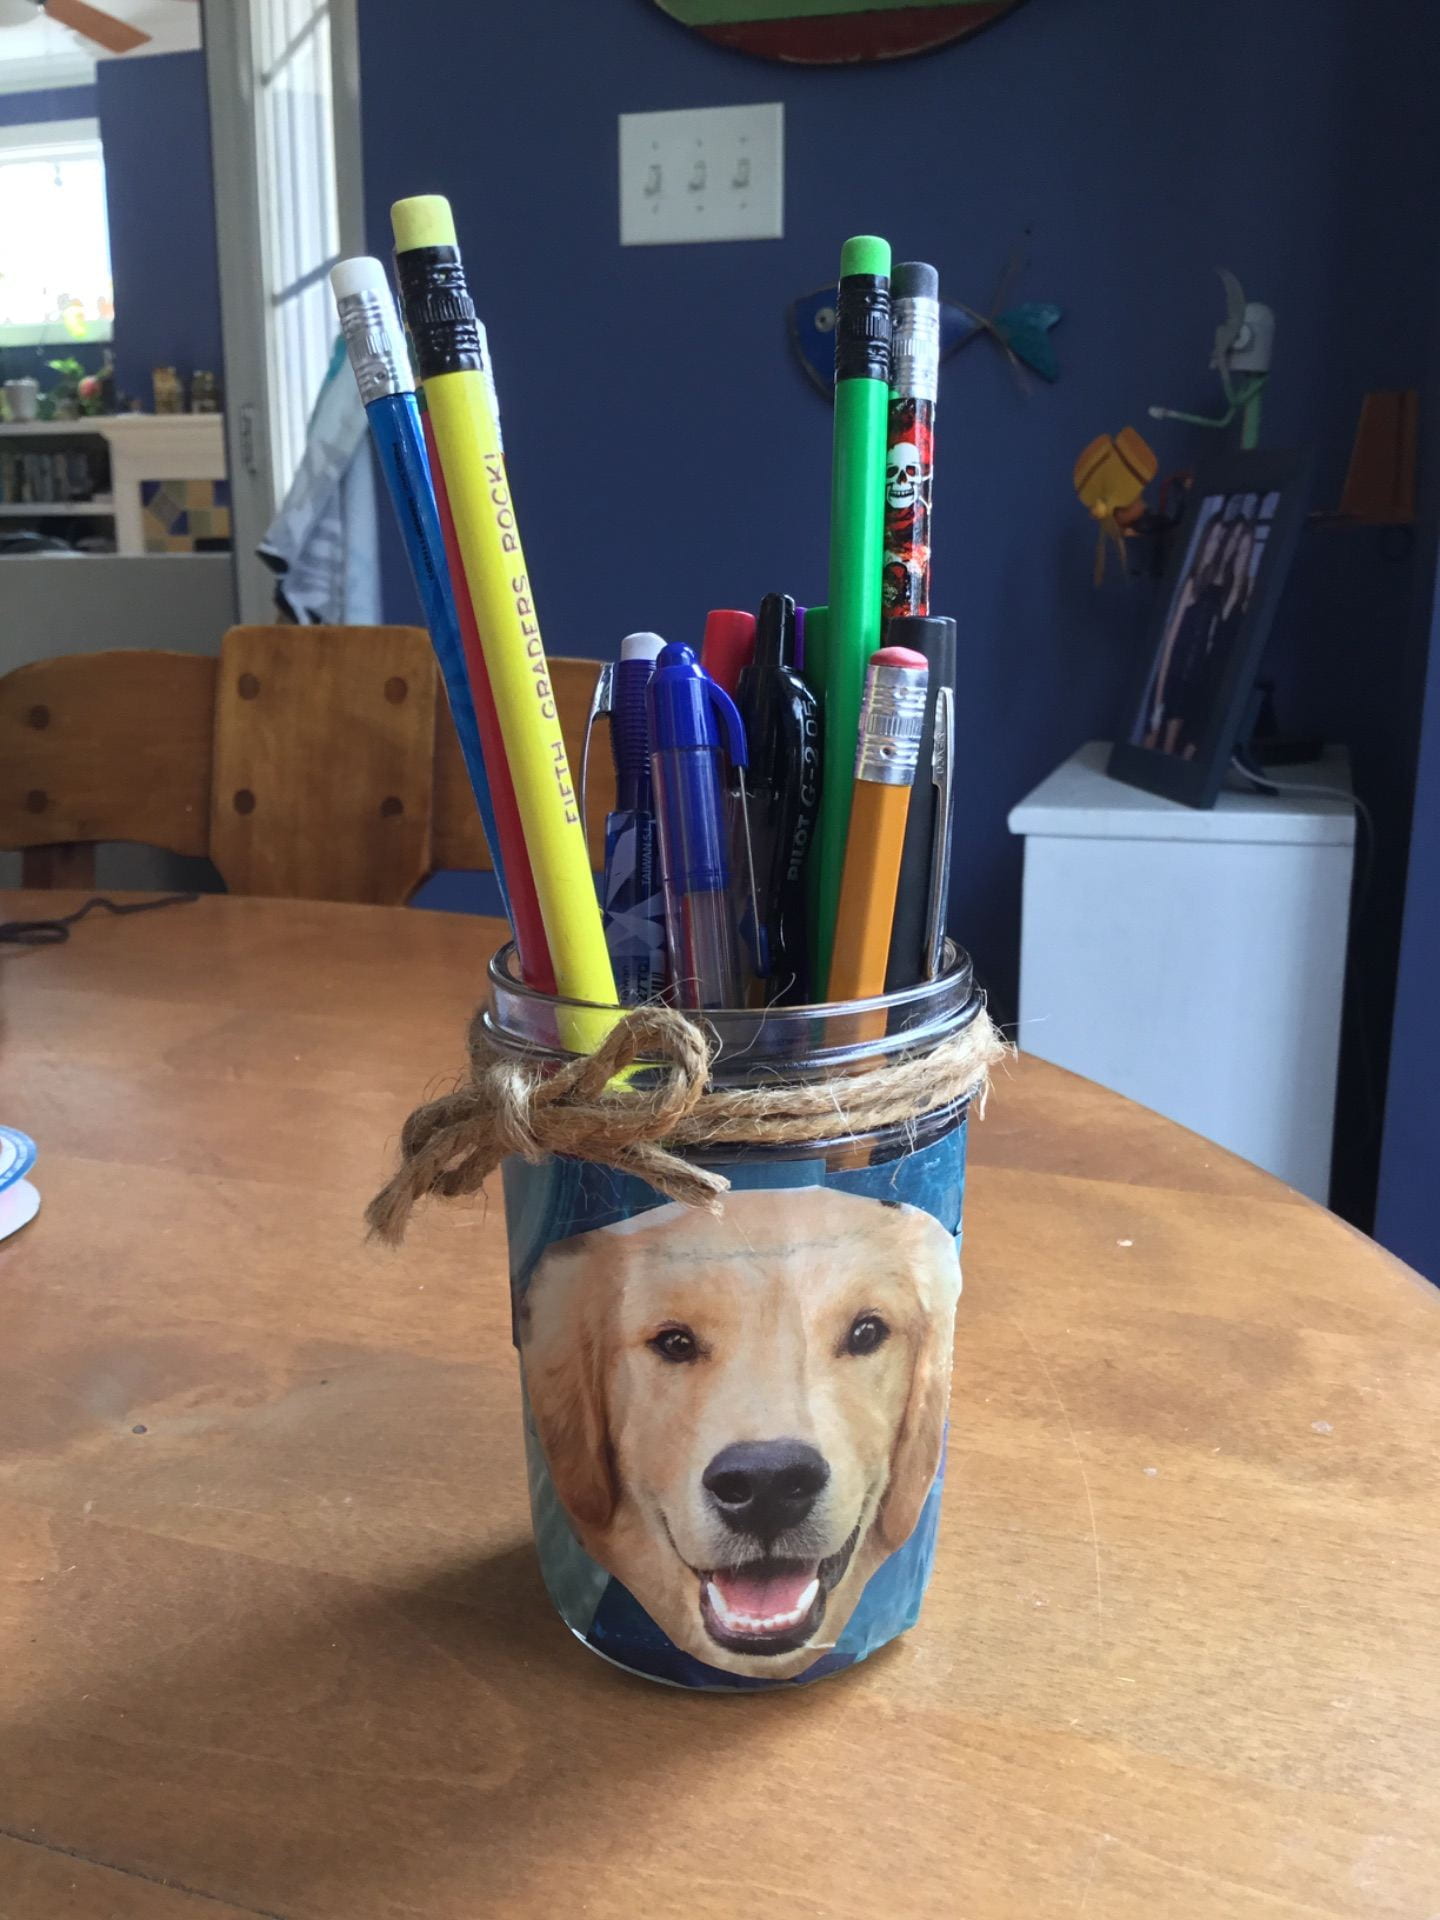
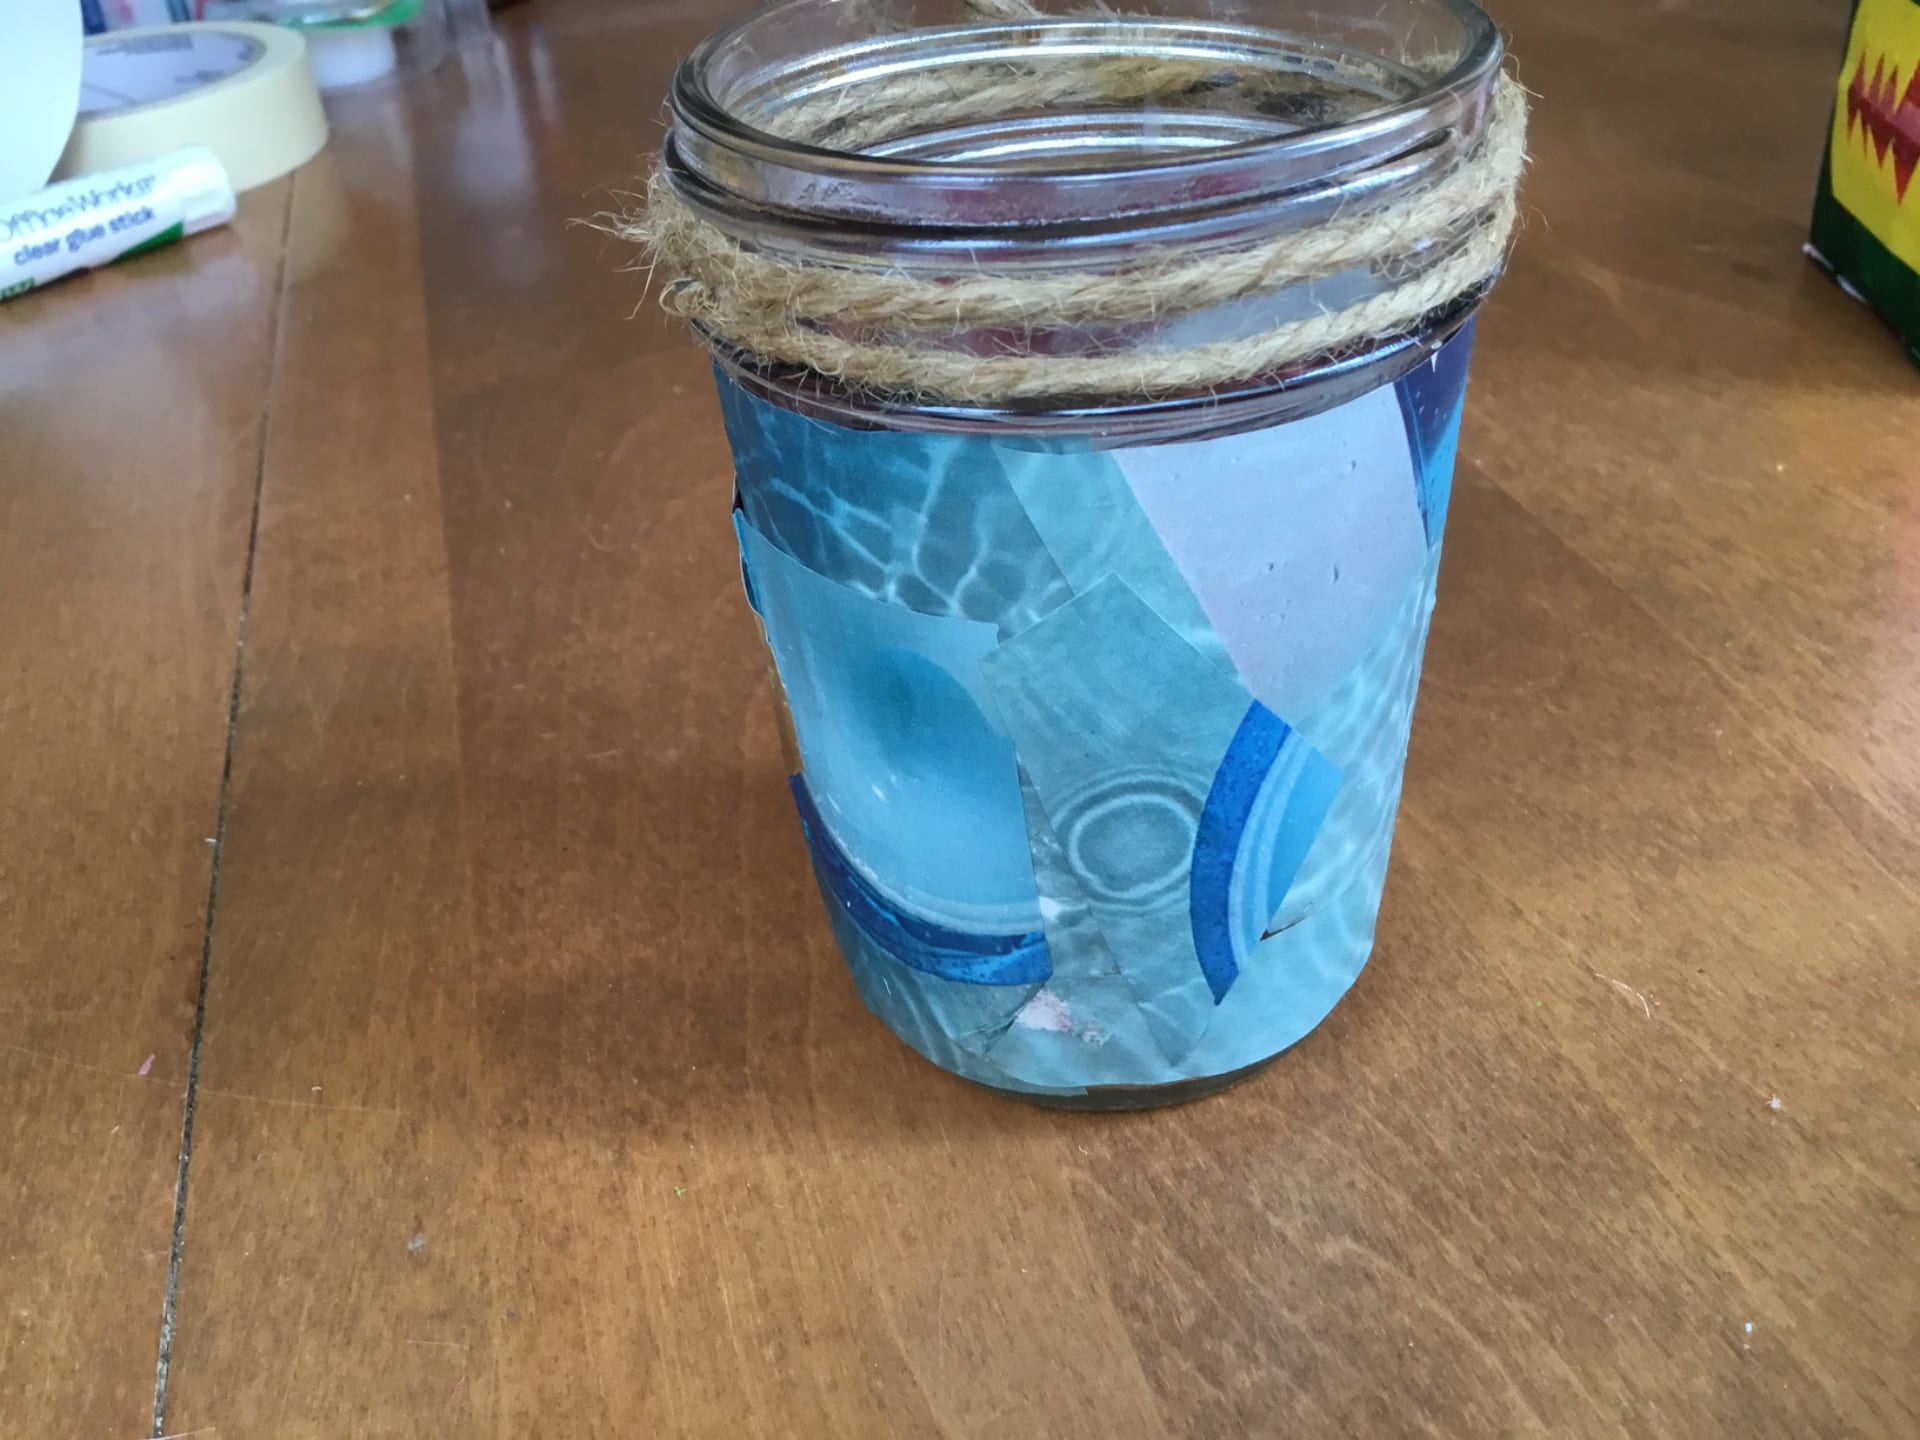
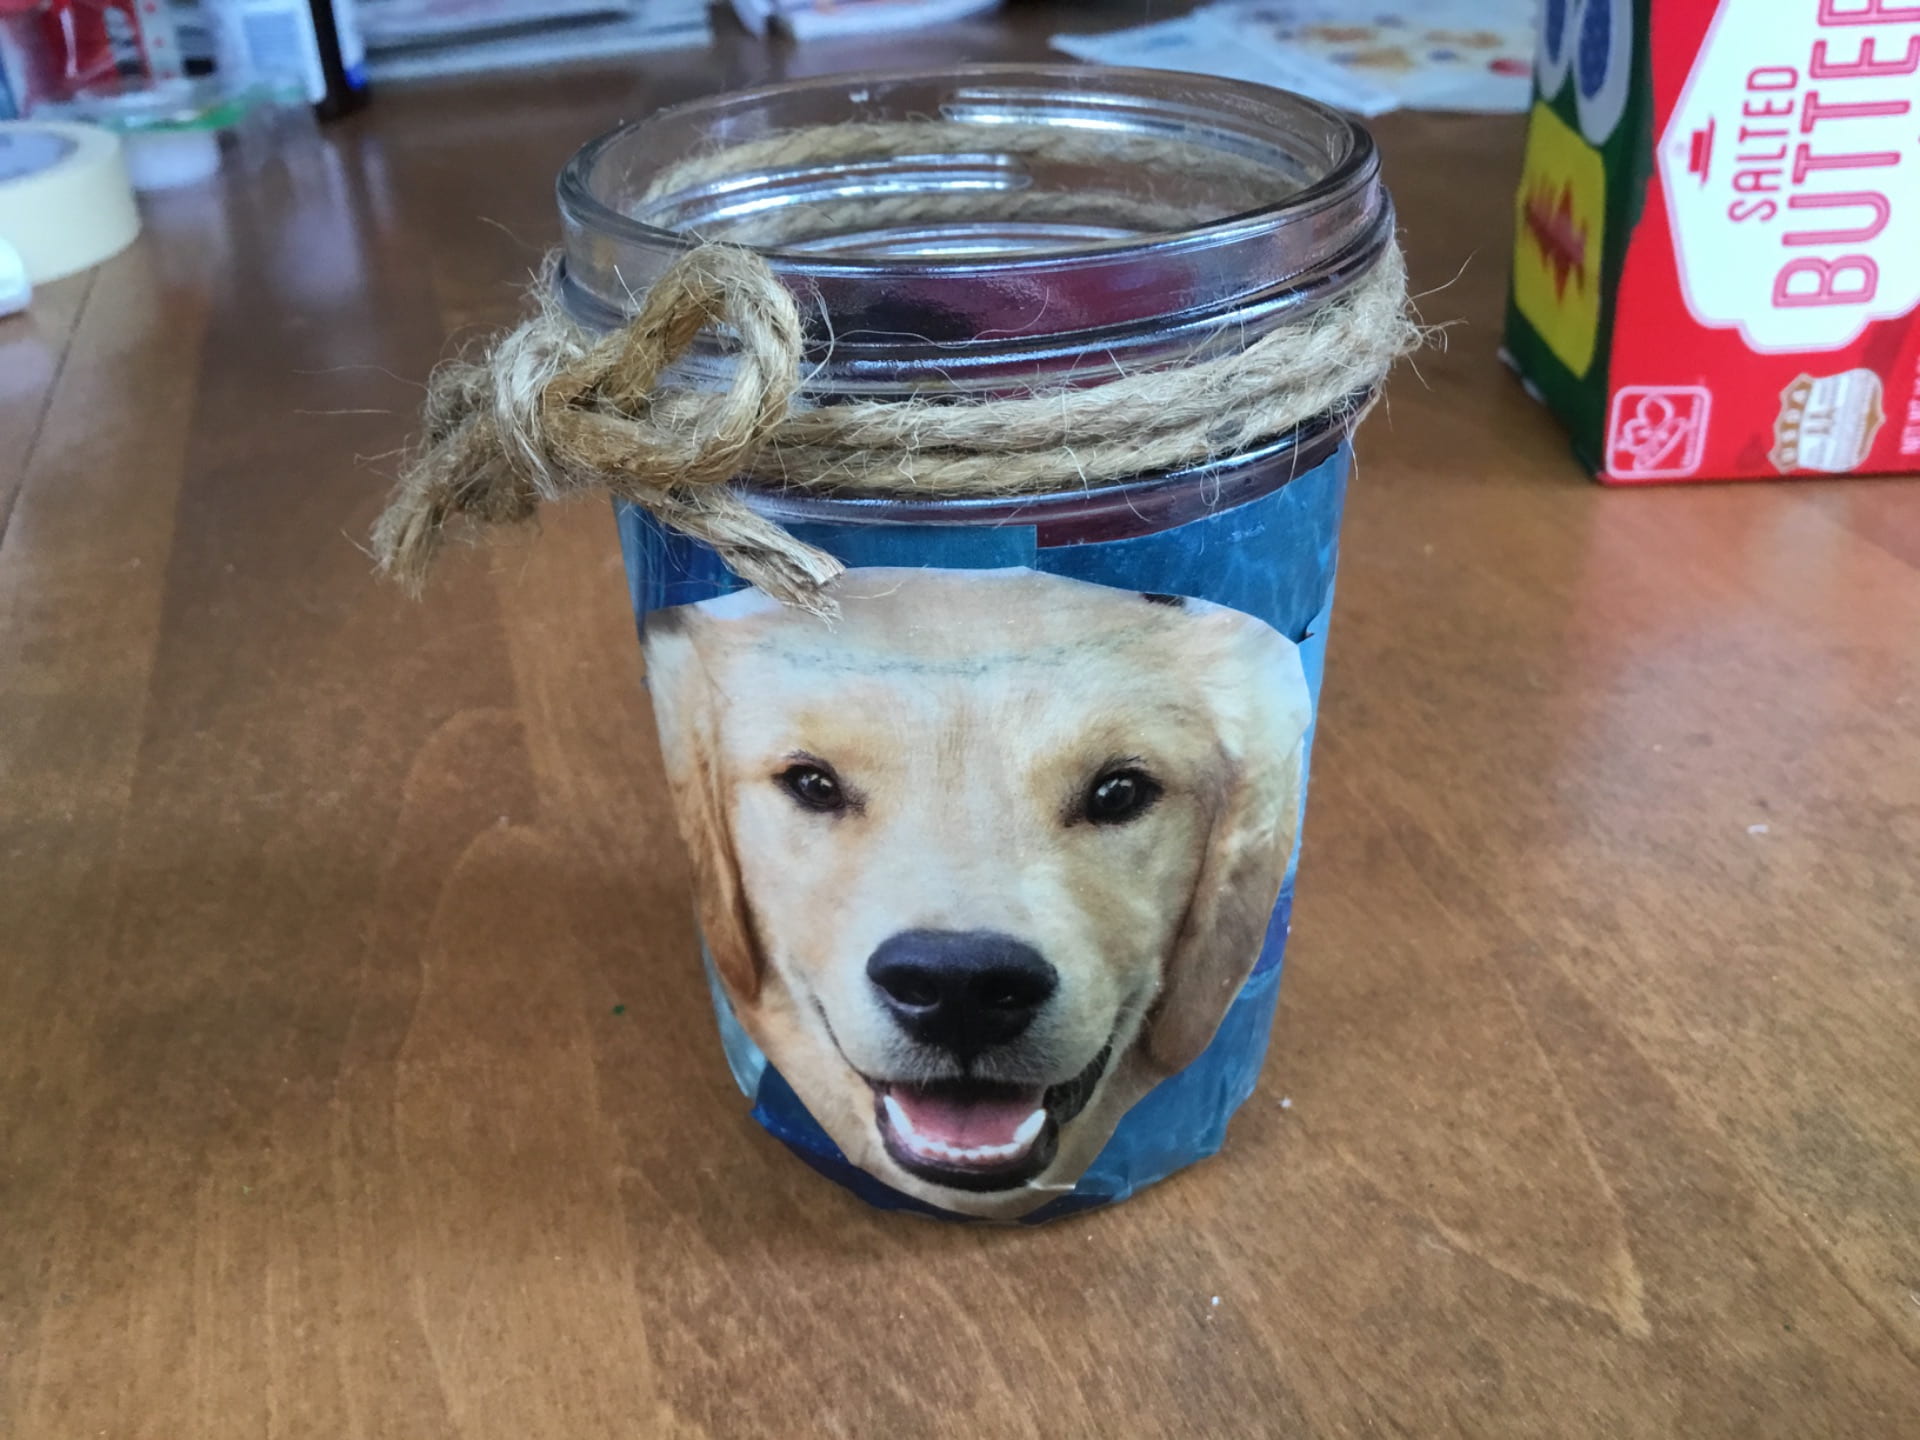
Next, I tried gluing magazine pictures and shapes I cut out onto a jar, a can, and a breadcrumb canister. For the jar, I glued pieces straight onto the sides until it was covered and then “painted” over the whole thing (just the sides) with ModgePodge (you can use regular Elmers-type white glue). This seals the paper down and gives it a slightly shiny look. To jazz it up a bit more, I tied some twine around the top.
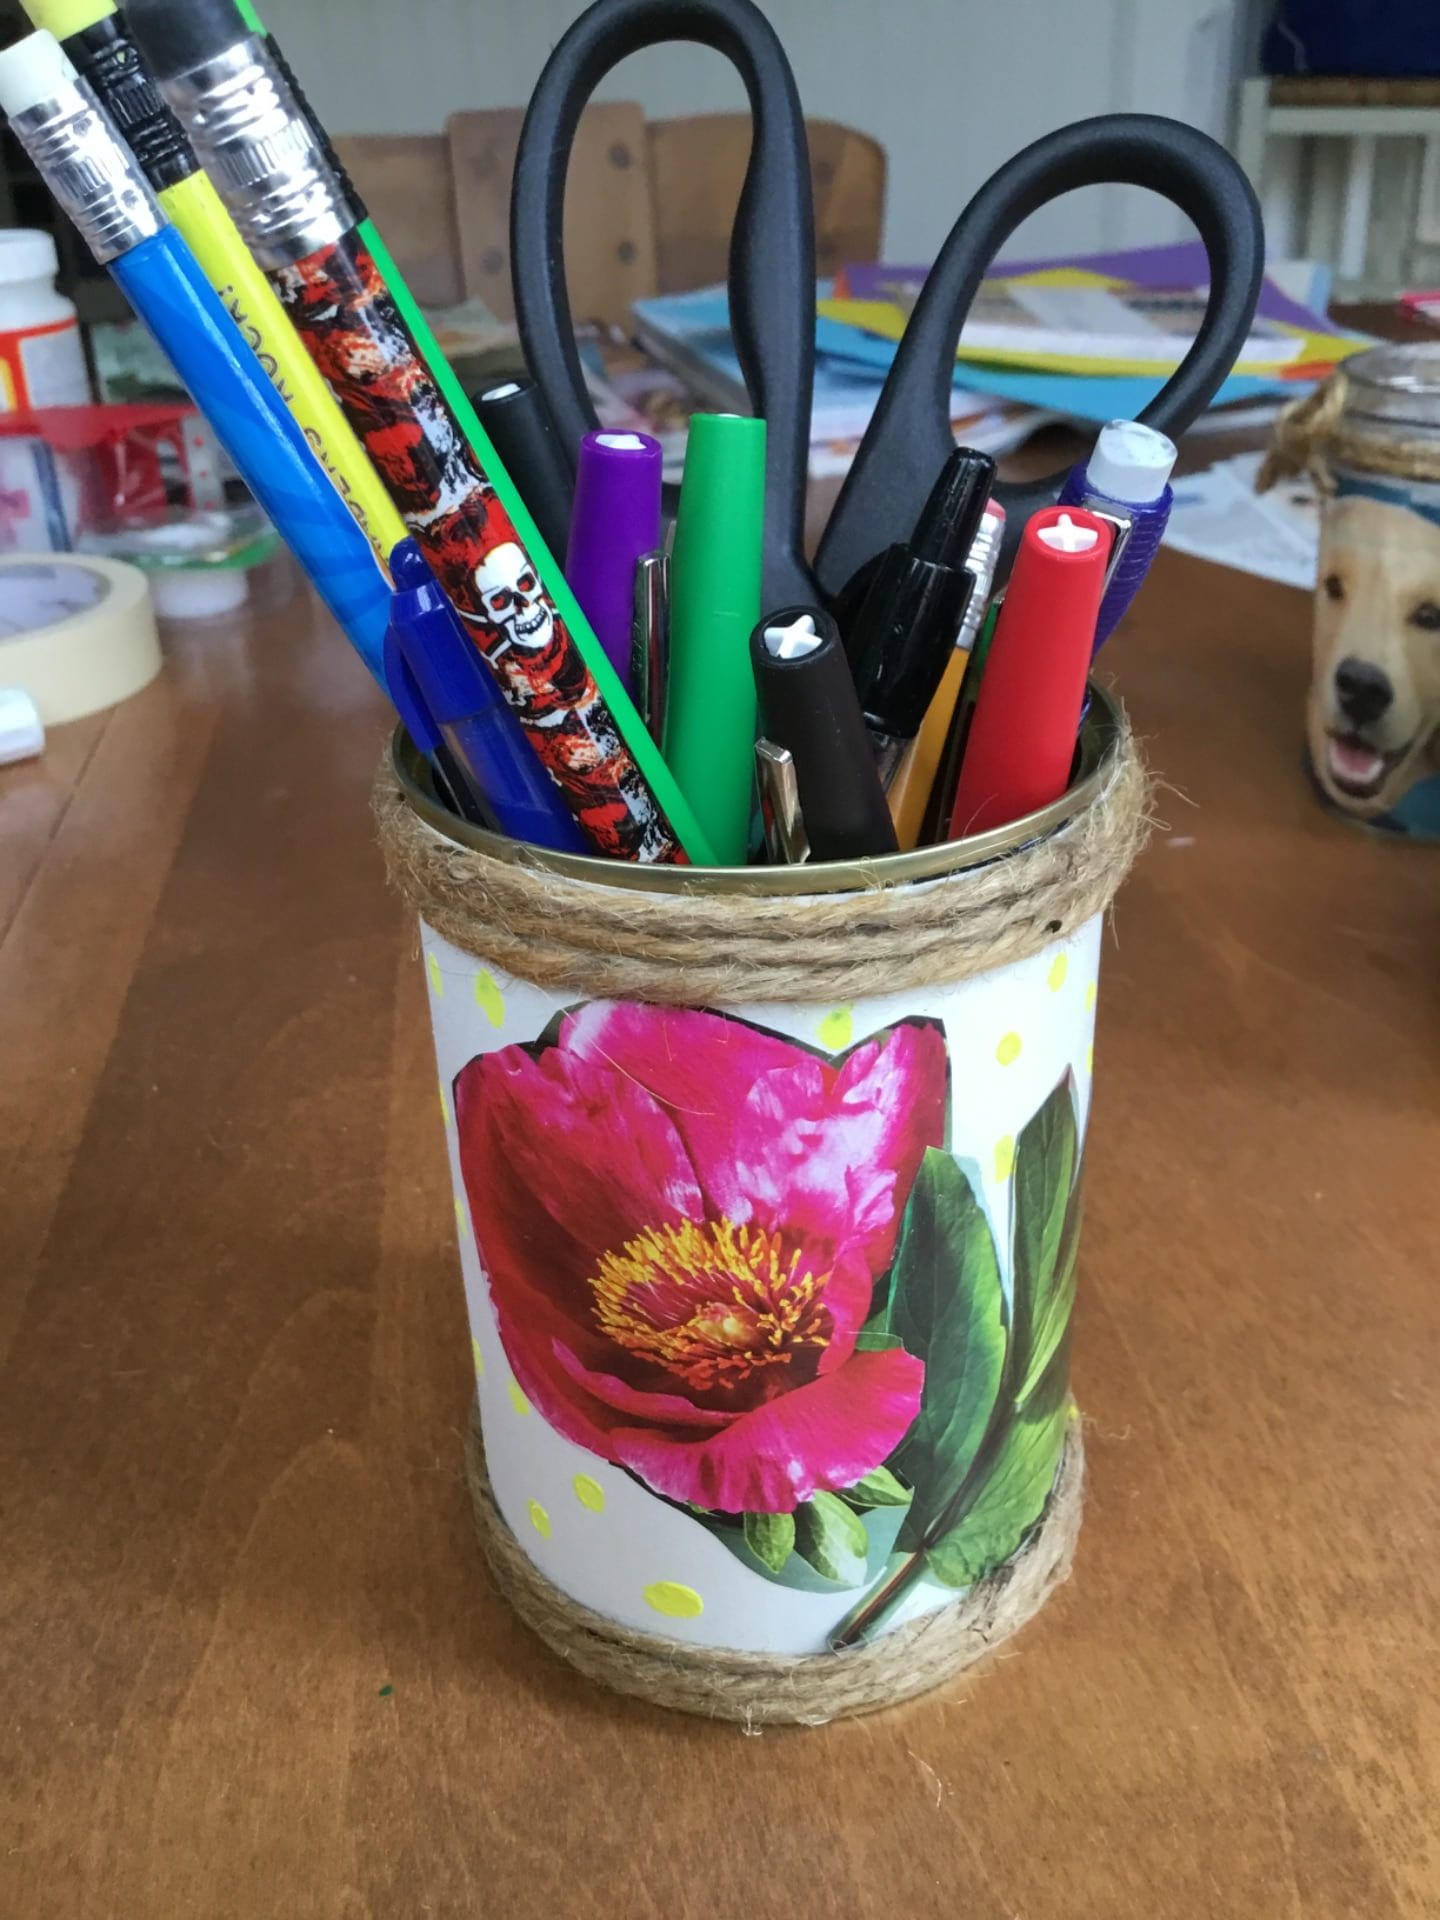
For the can, I cut white paper to fit all the way around the outside and glued it on to cover the little “ridges” in the metal can. I then cut out pictures from a magazine and glued them on. I decided to wrap twine a few times around the top and bottom to spruce it up a lit more.
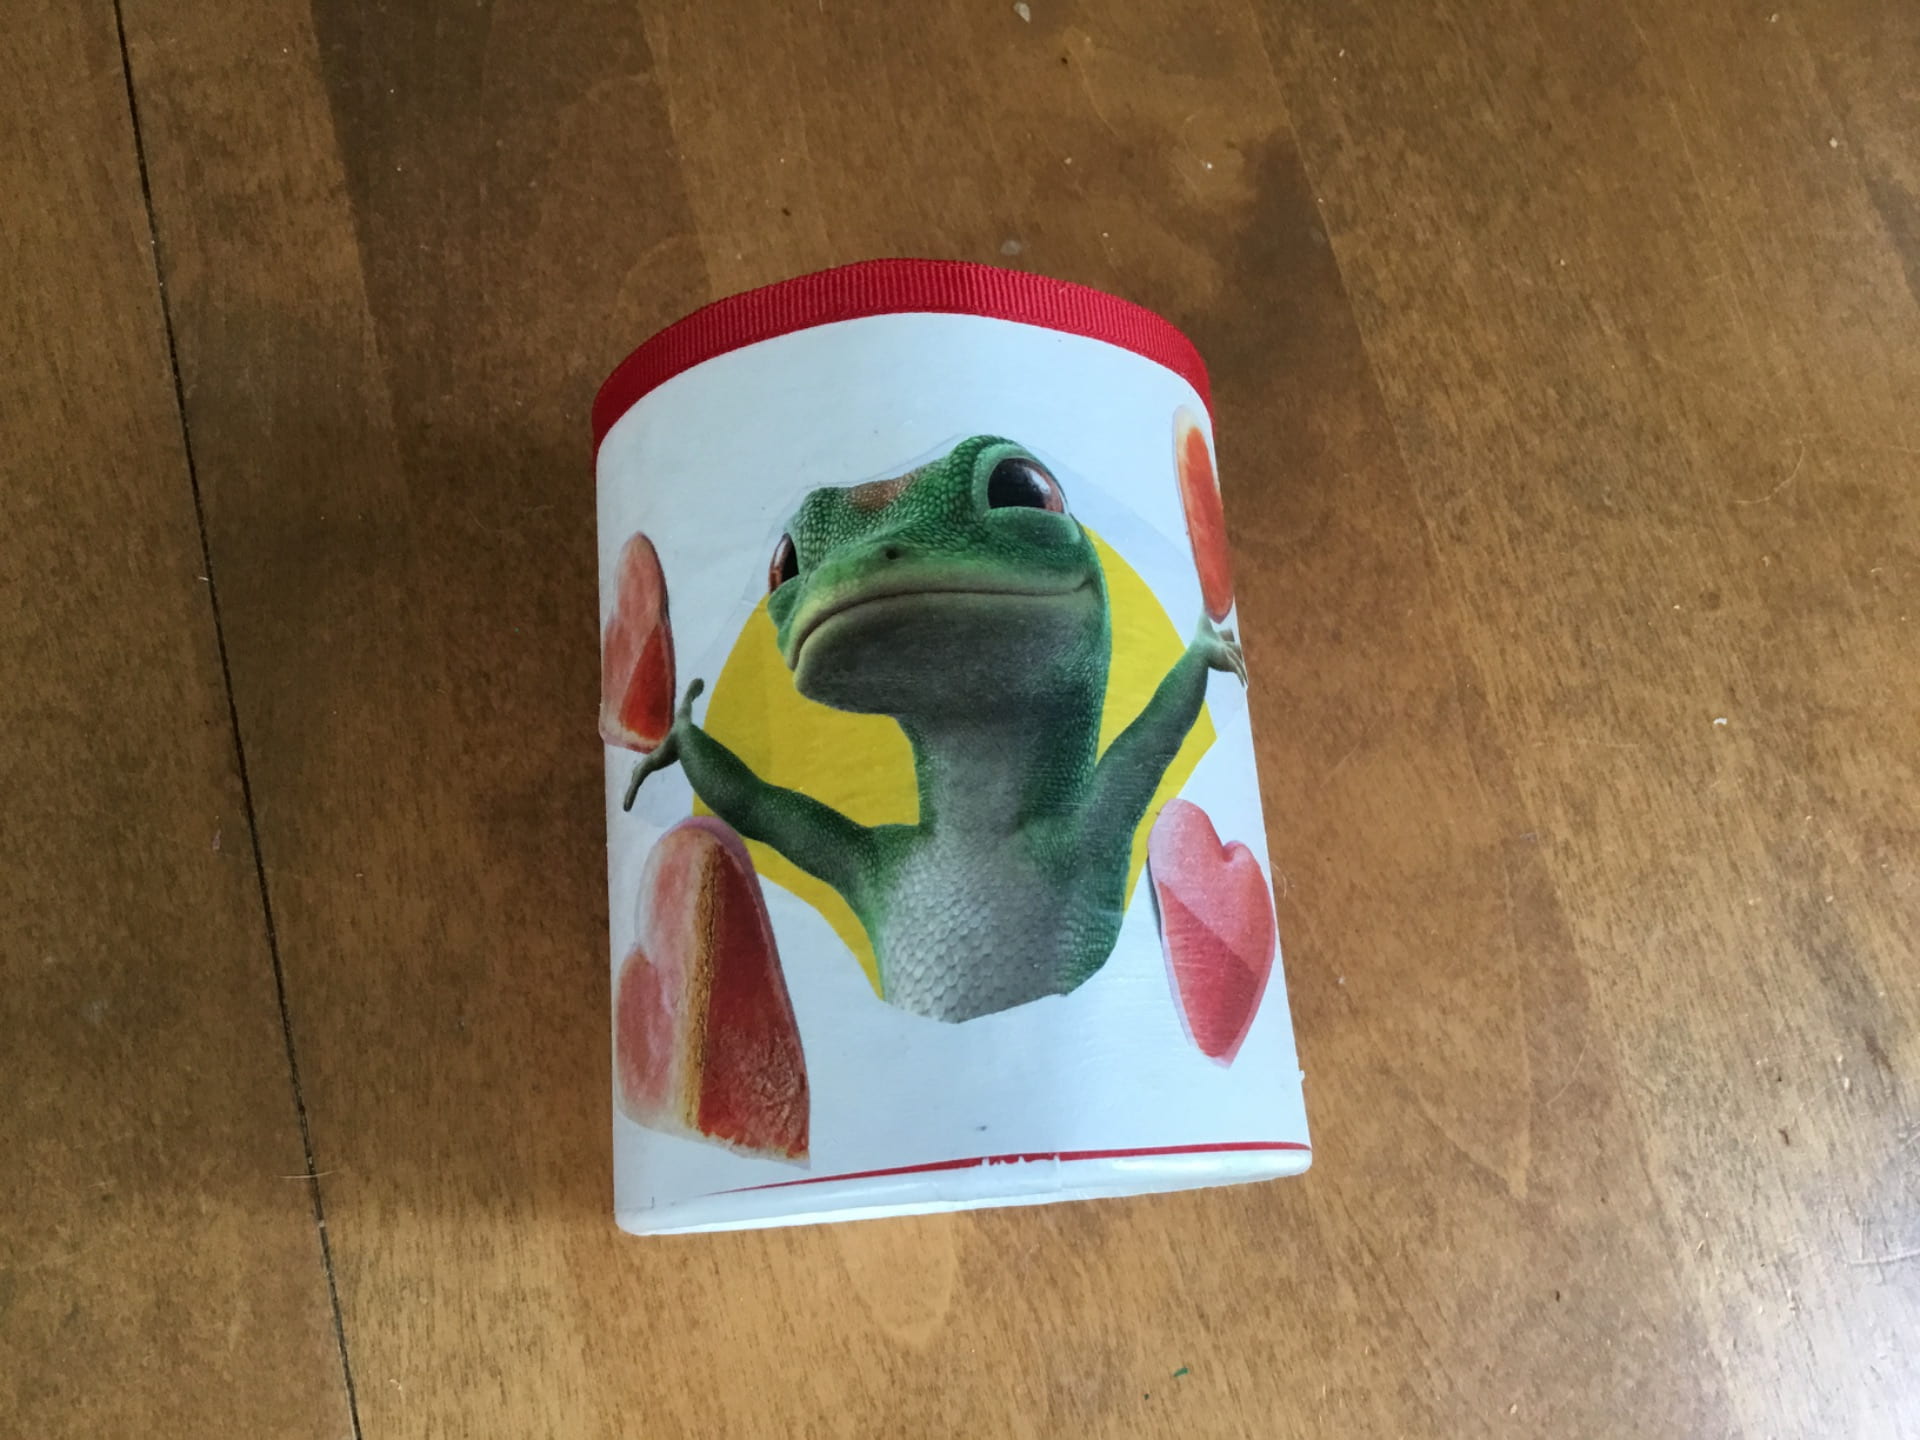
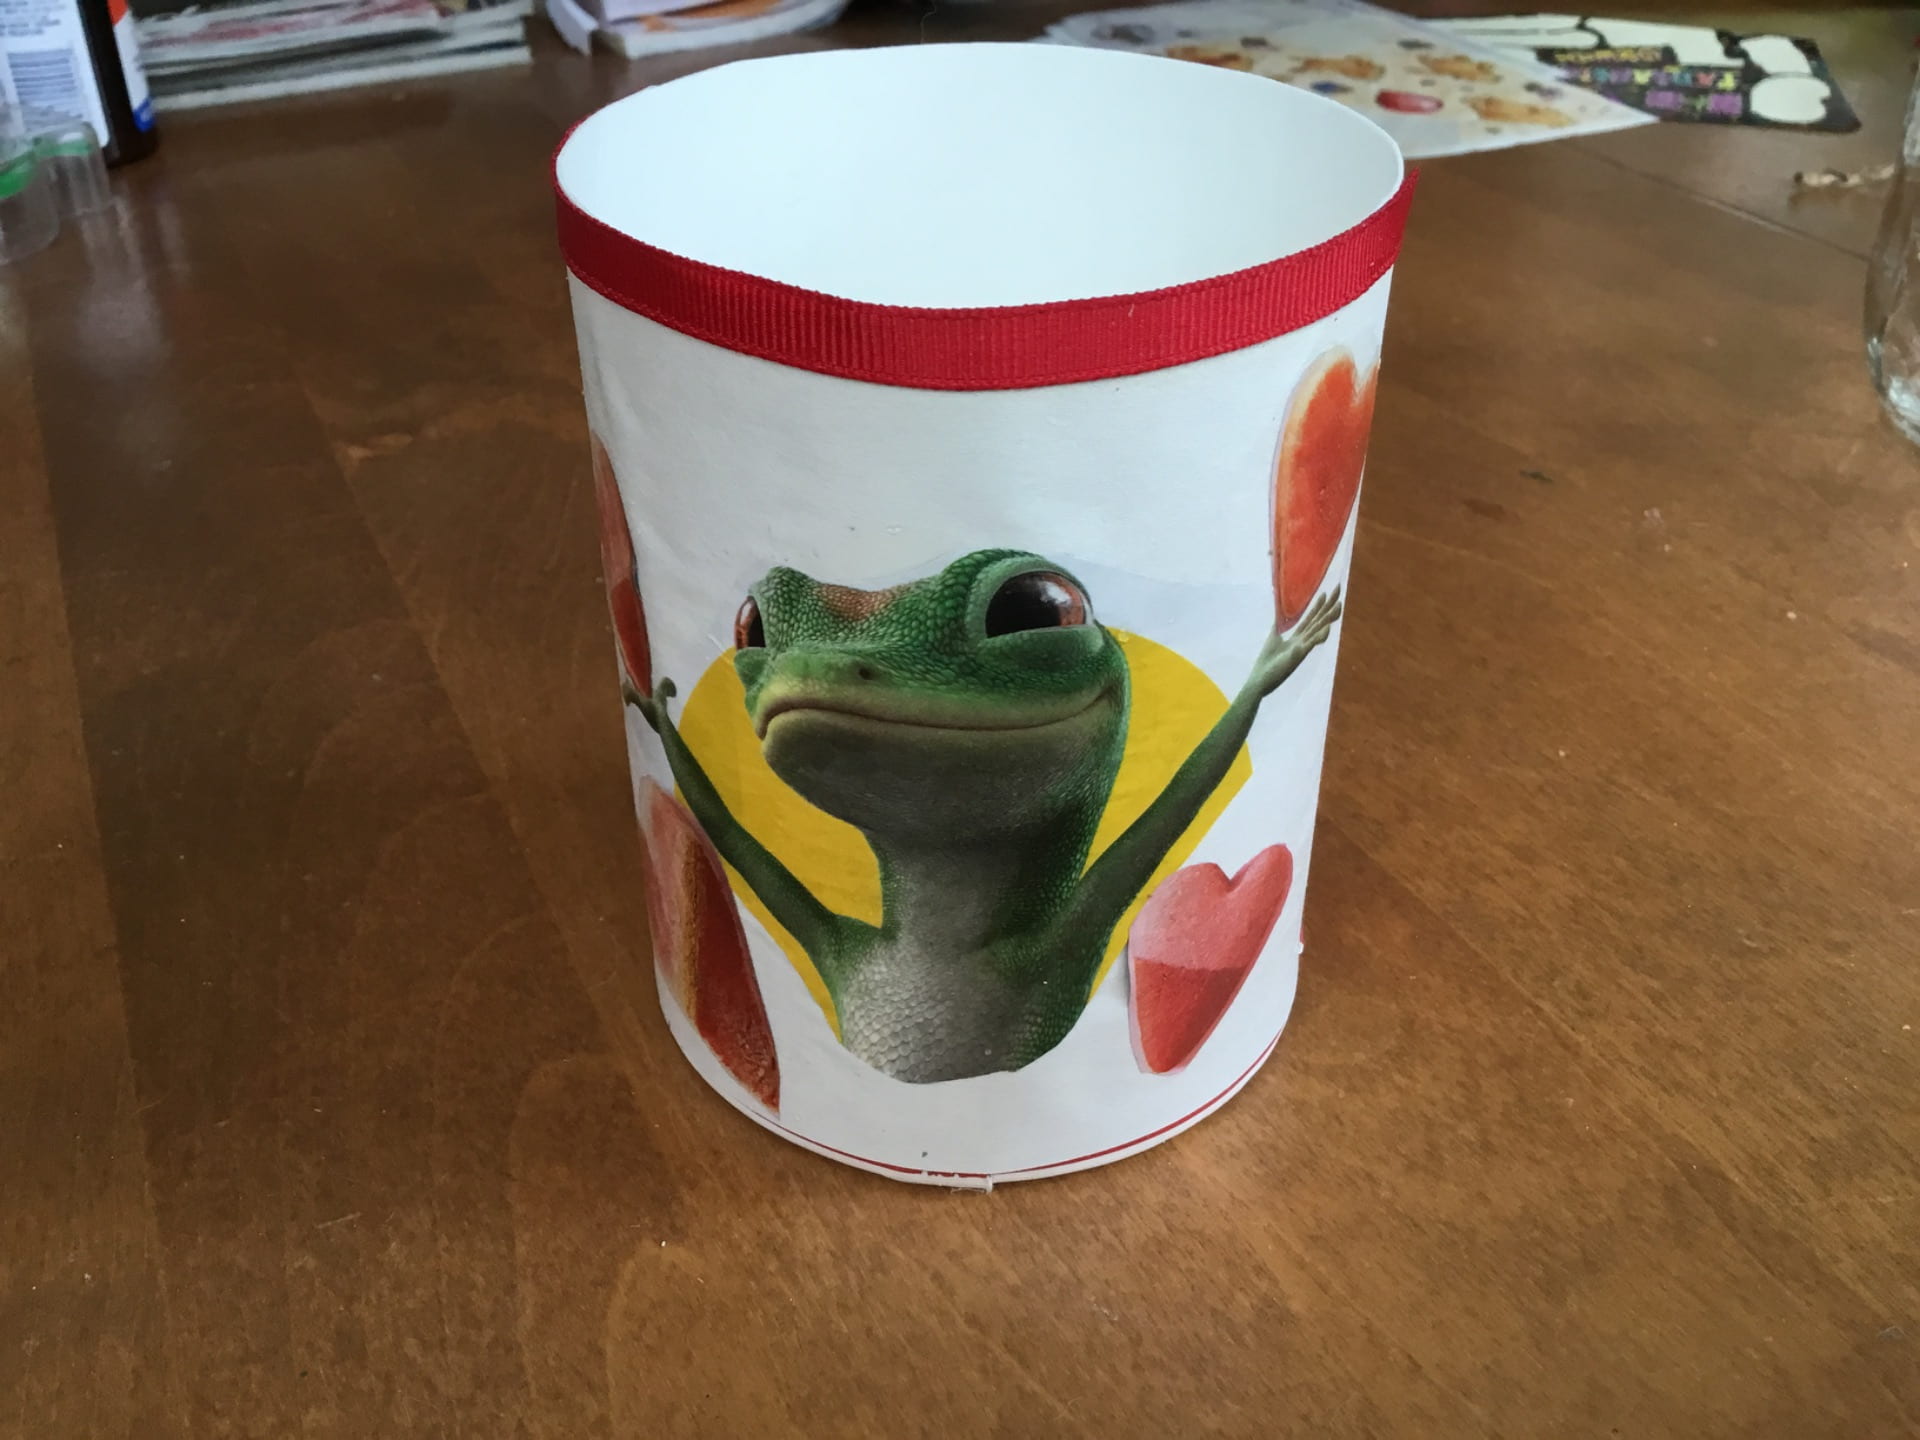
For the breadcrumb container, I cut off the top 1/3 so that it was a good height and then glued white paper all the way around just like I did with the can to cover the writing/label. I then glued magazine pictures on and glued a ribbon around the top.
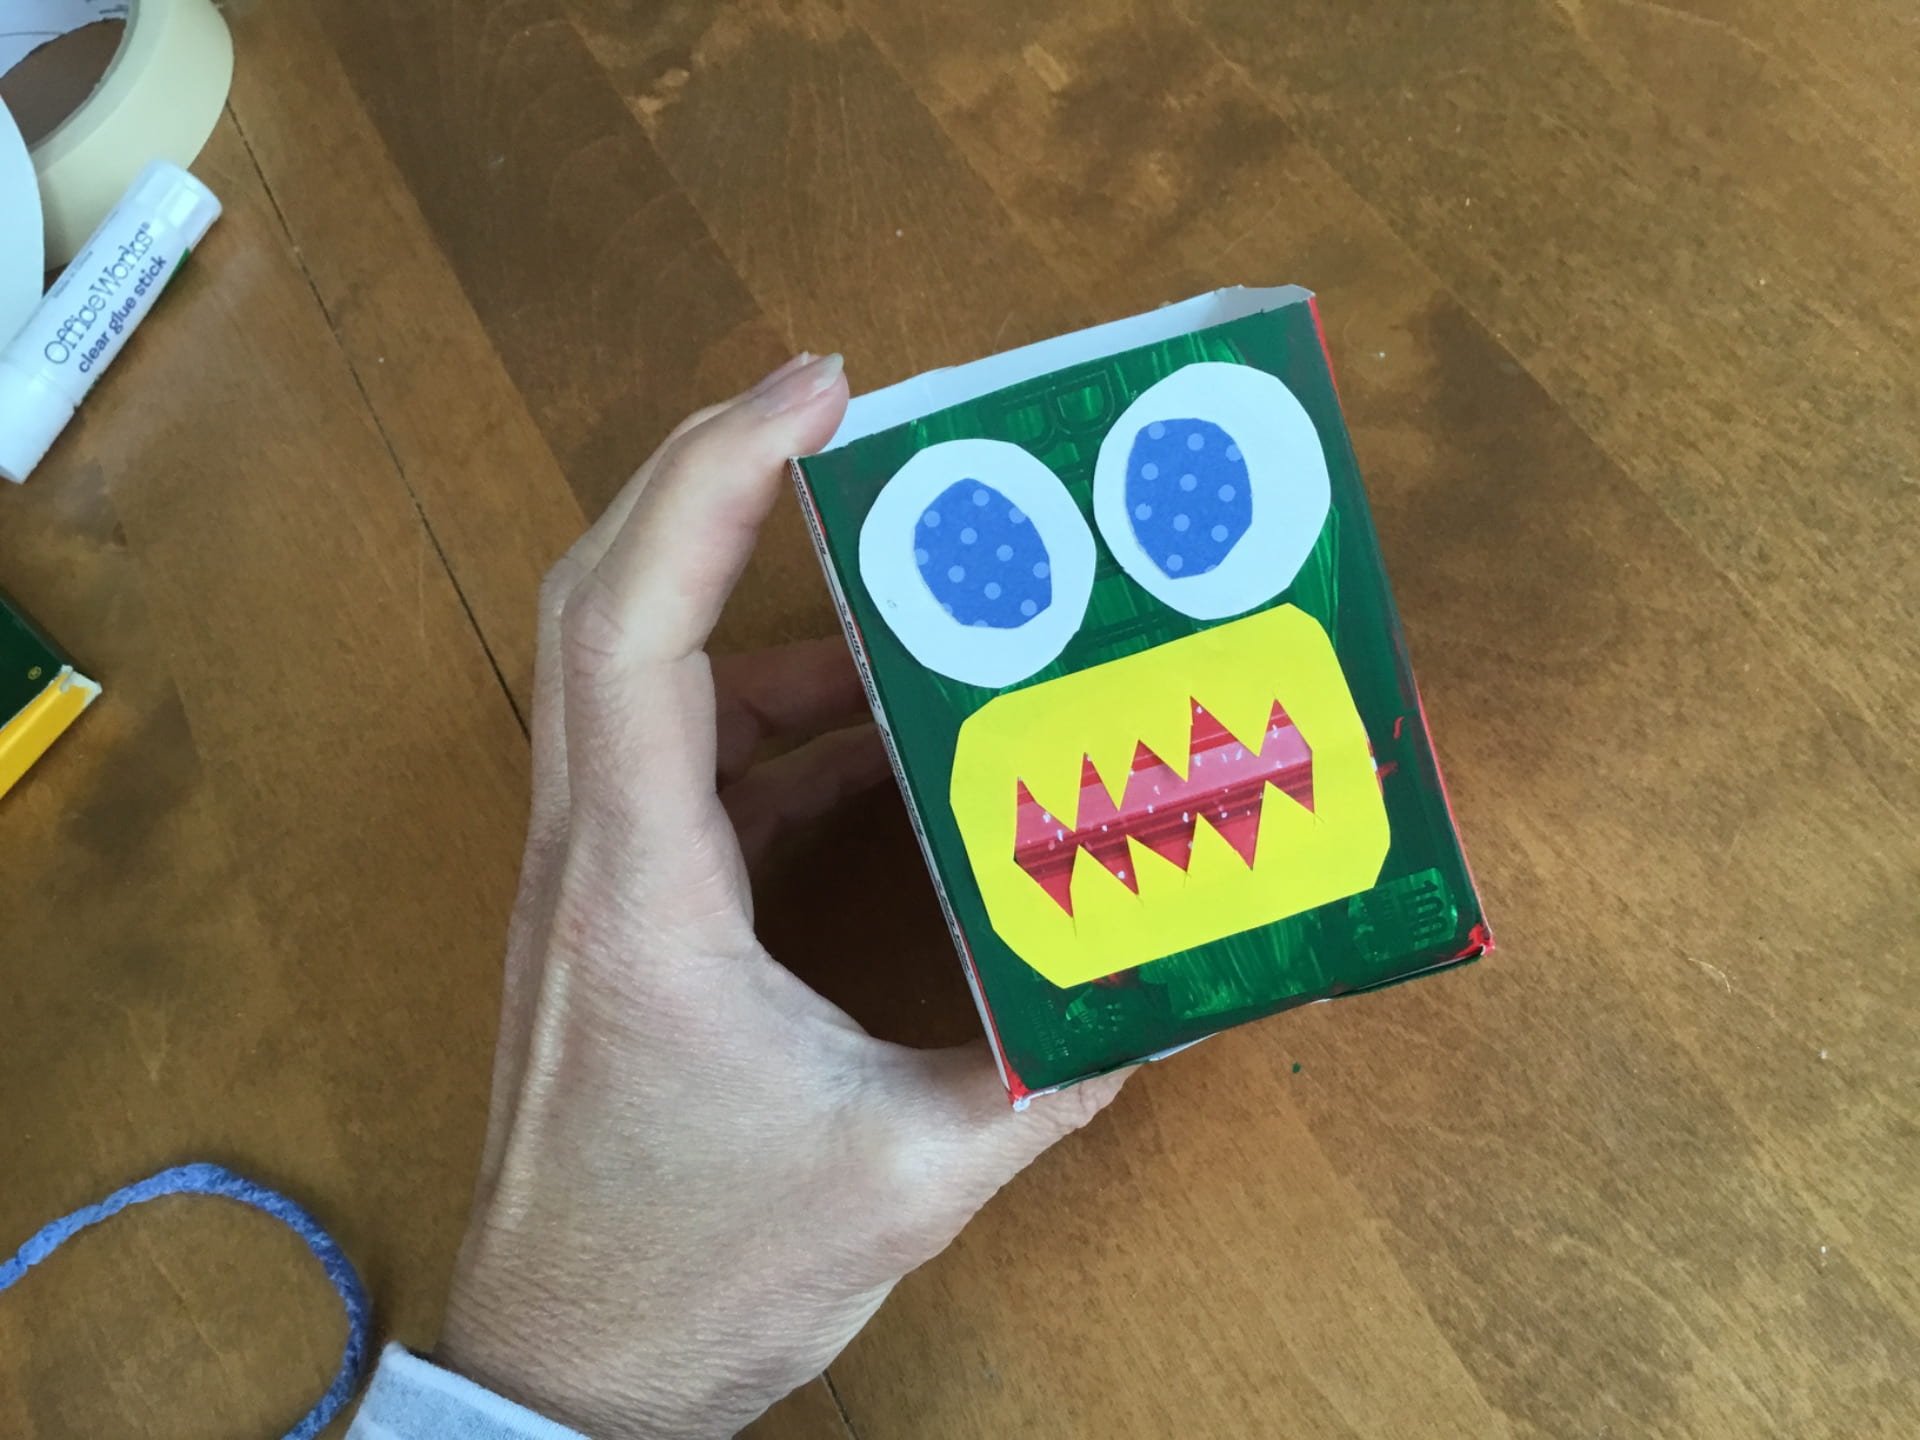
I was having so much fun, I just couldn’t stop myself. I grabbed the butter box and decided to paint it after I had cut off the top. While it was drying, I cut out shapes from colored construction paper and pieces of magazines to make a funny monster face. You could do just about anything here. I arranged the pieces on the table to make sure I had it the way I wanted and then I glued them on the painted box . Voila…

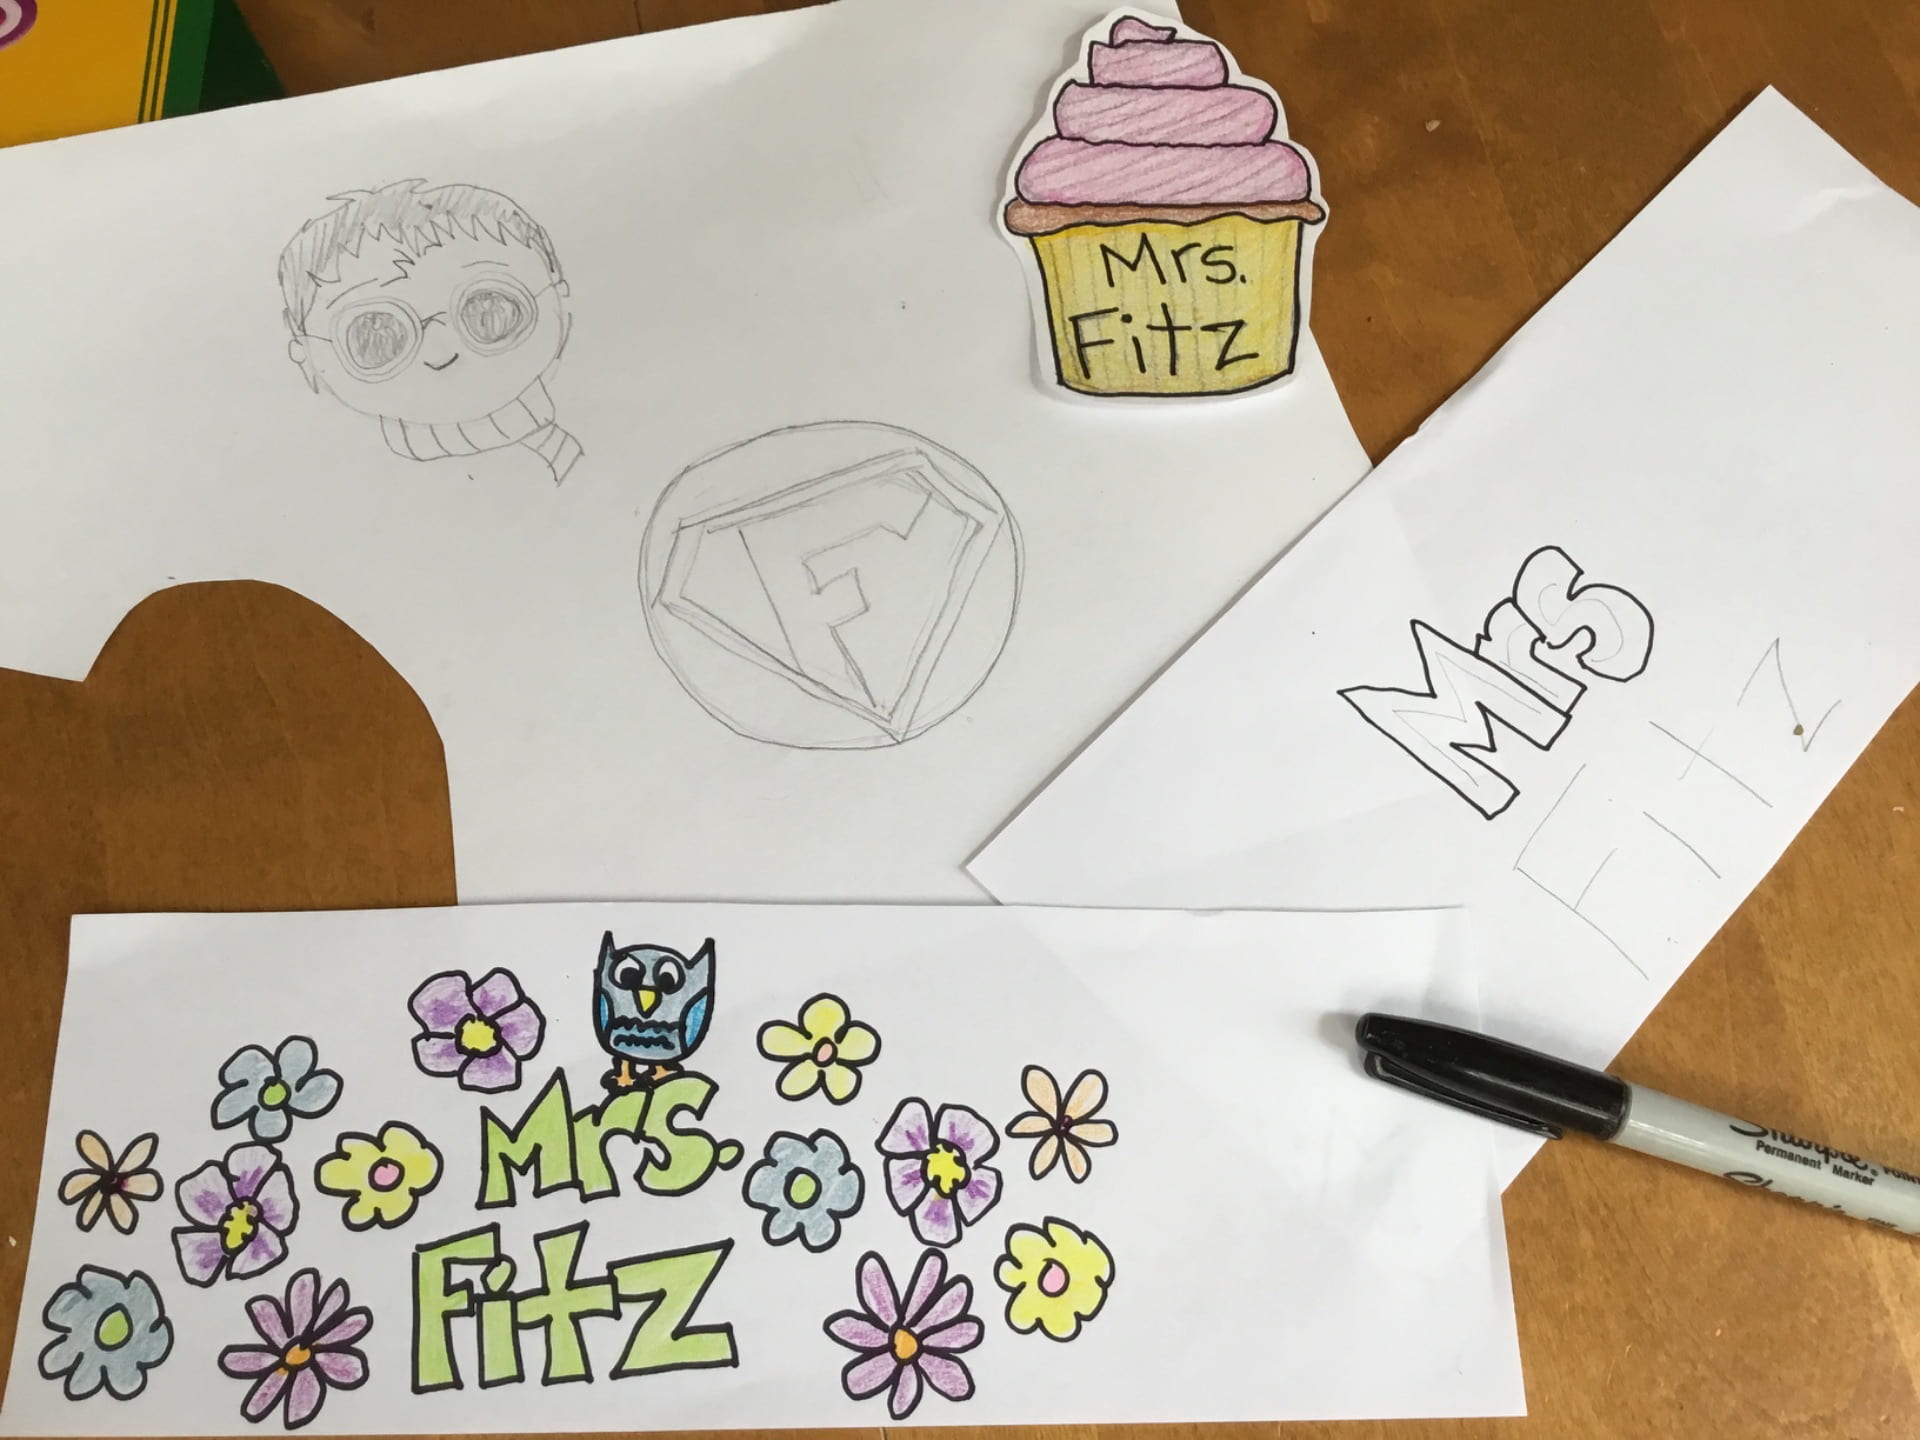
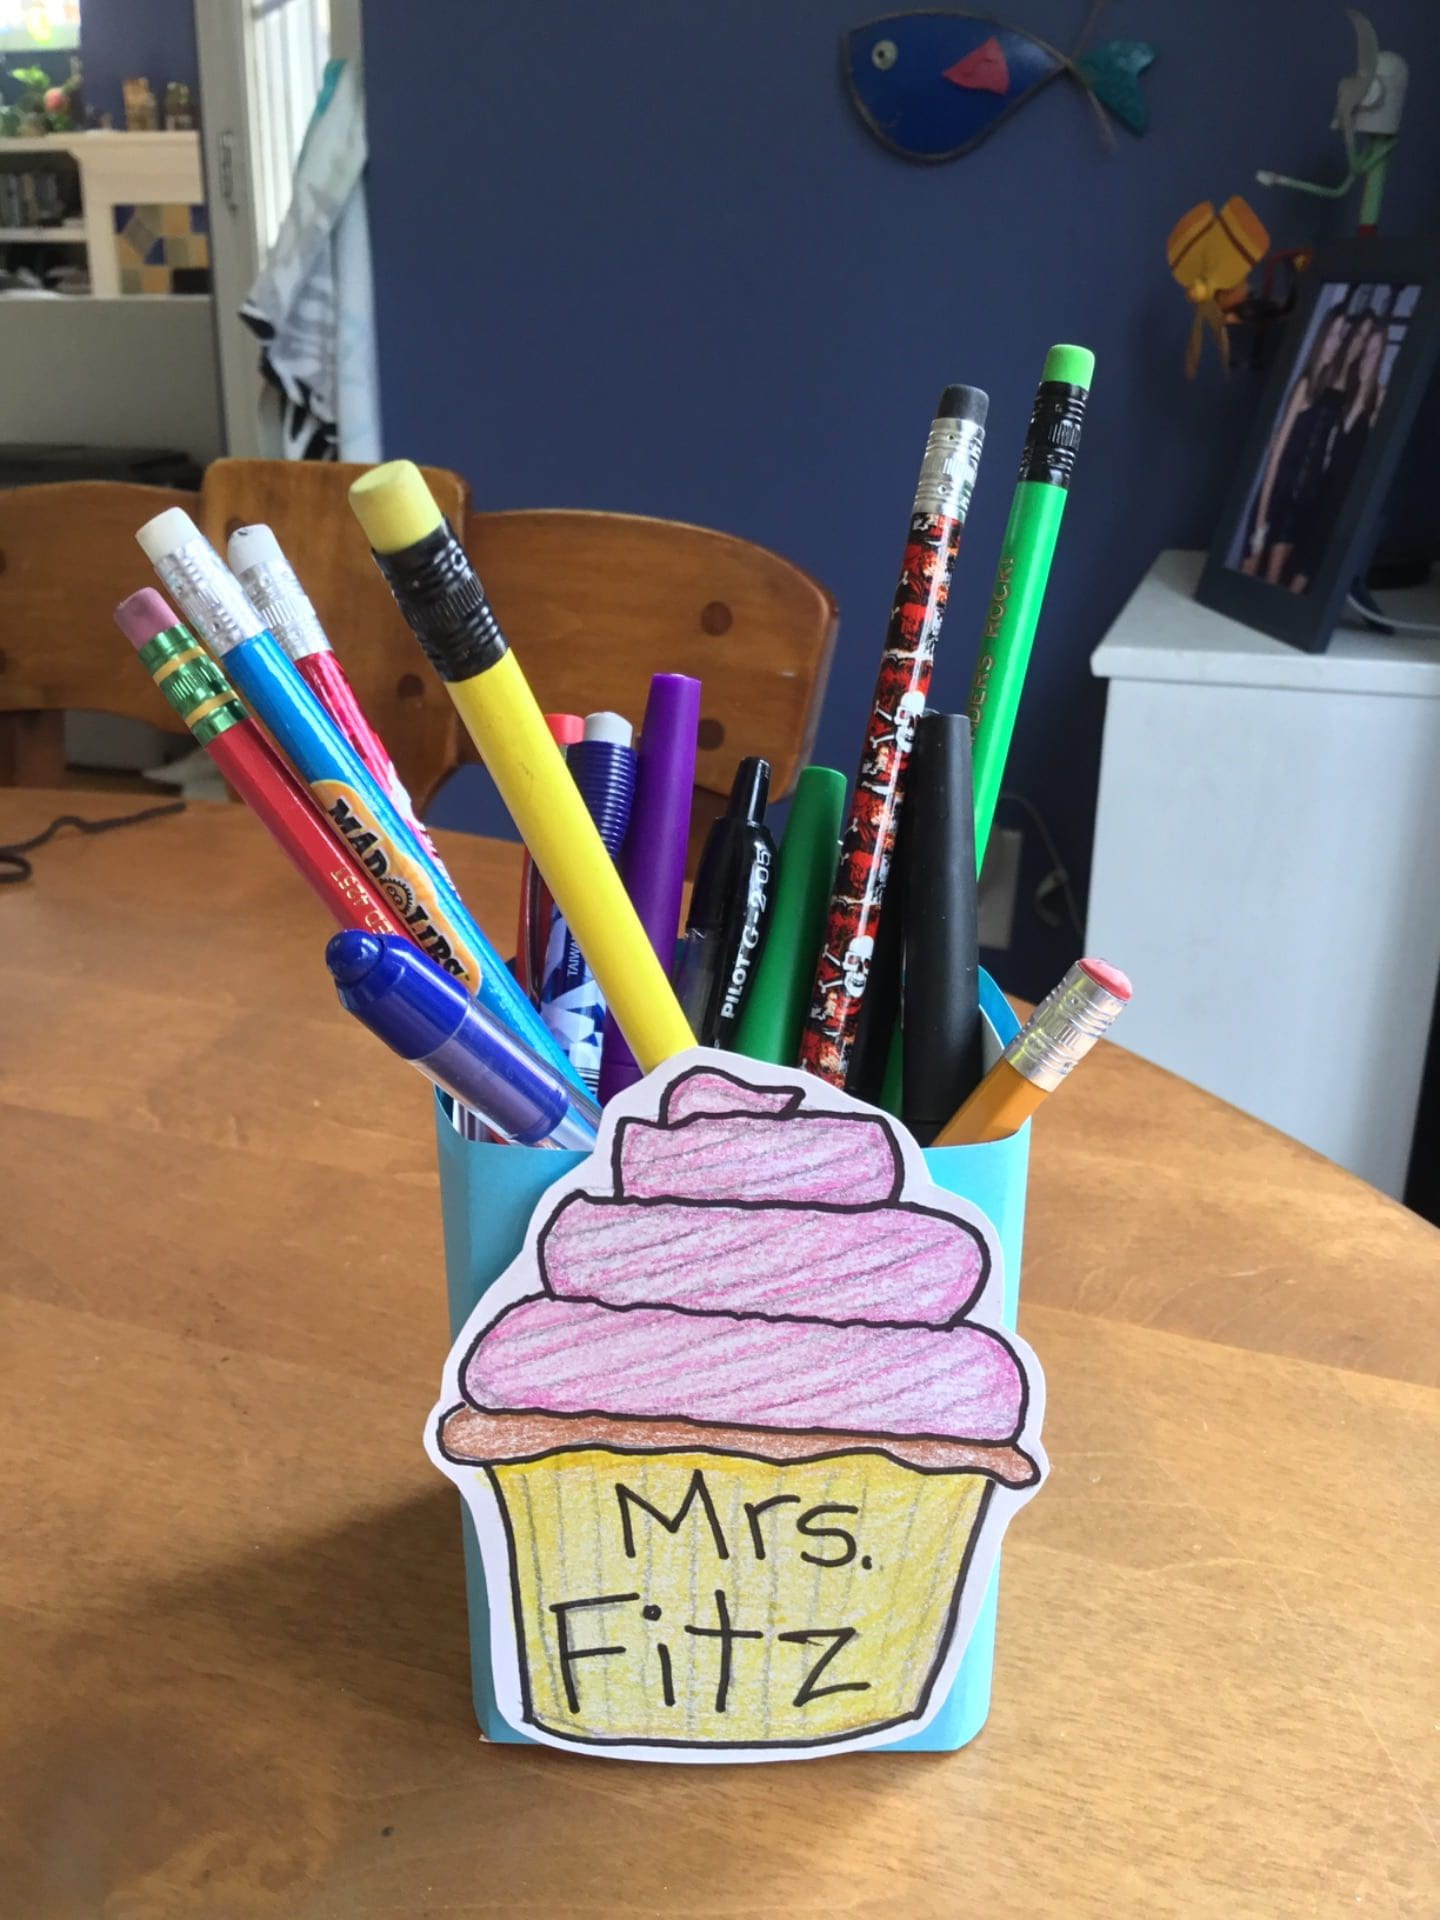
But I wasn’t done. Even if you don’t have magazines, colored paper or lots of yarn/string, you can still make a fun personalized pencil cup. I took some plain white paper and some crayons (colored pencils or markers would work too) and began to doodle. You could do you name and decorate around it. You can draw something you like and color it in. Anything! Then you just need to cut it out and glue or tape it around your container.

So…Have I sparked any ideas? Is anyone feeling an urge to create a unique, special pencil can to decorate their at home school space? If you do, I really want to see it!
Trail Topper
Every year I love to dream up things to make for Christmas presents. I like to give everyone in my family one thing that is homemade and unique to them. My projects have included bottle cap sculptures, pebble art pictures, barn wood silhouettes, pencil pouches made from favorite outgrown clothing items and more!
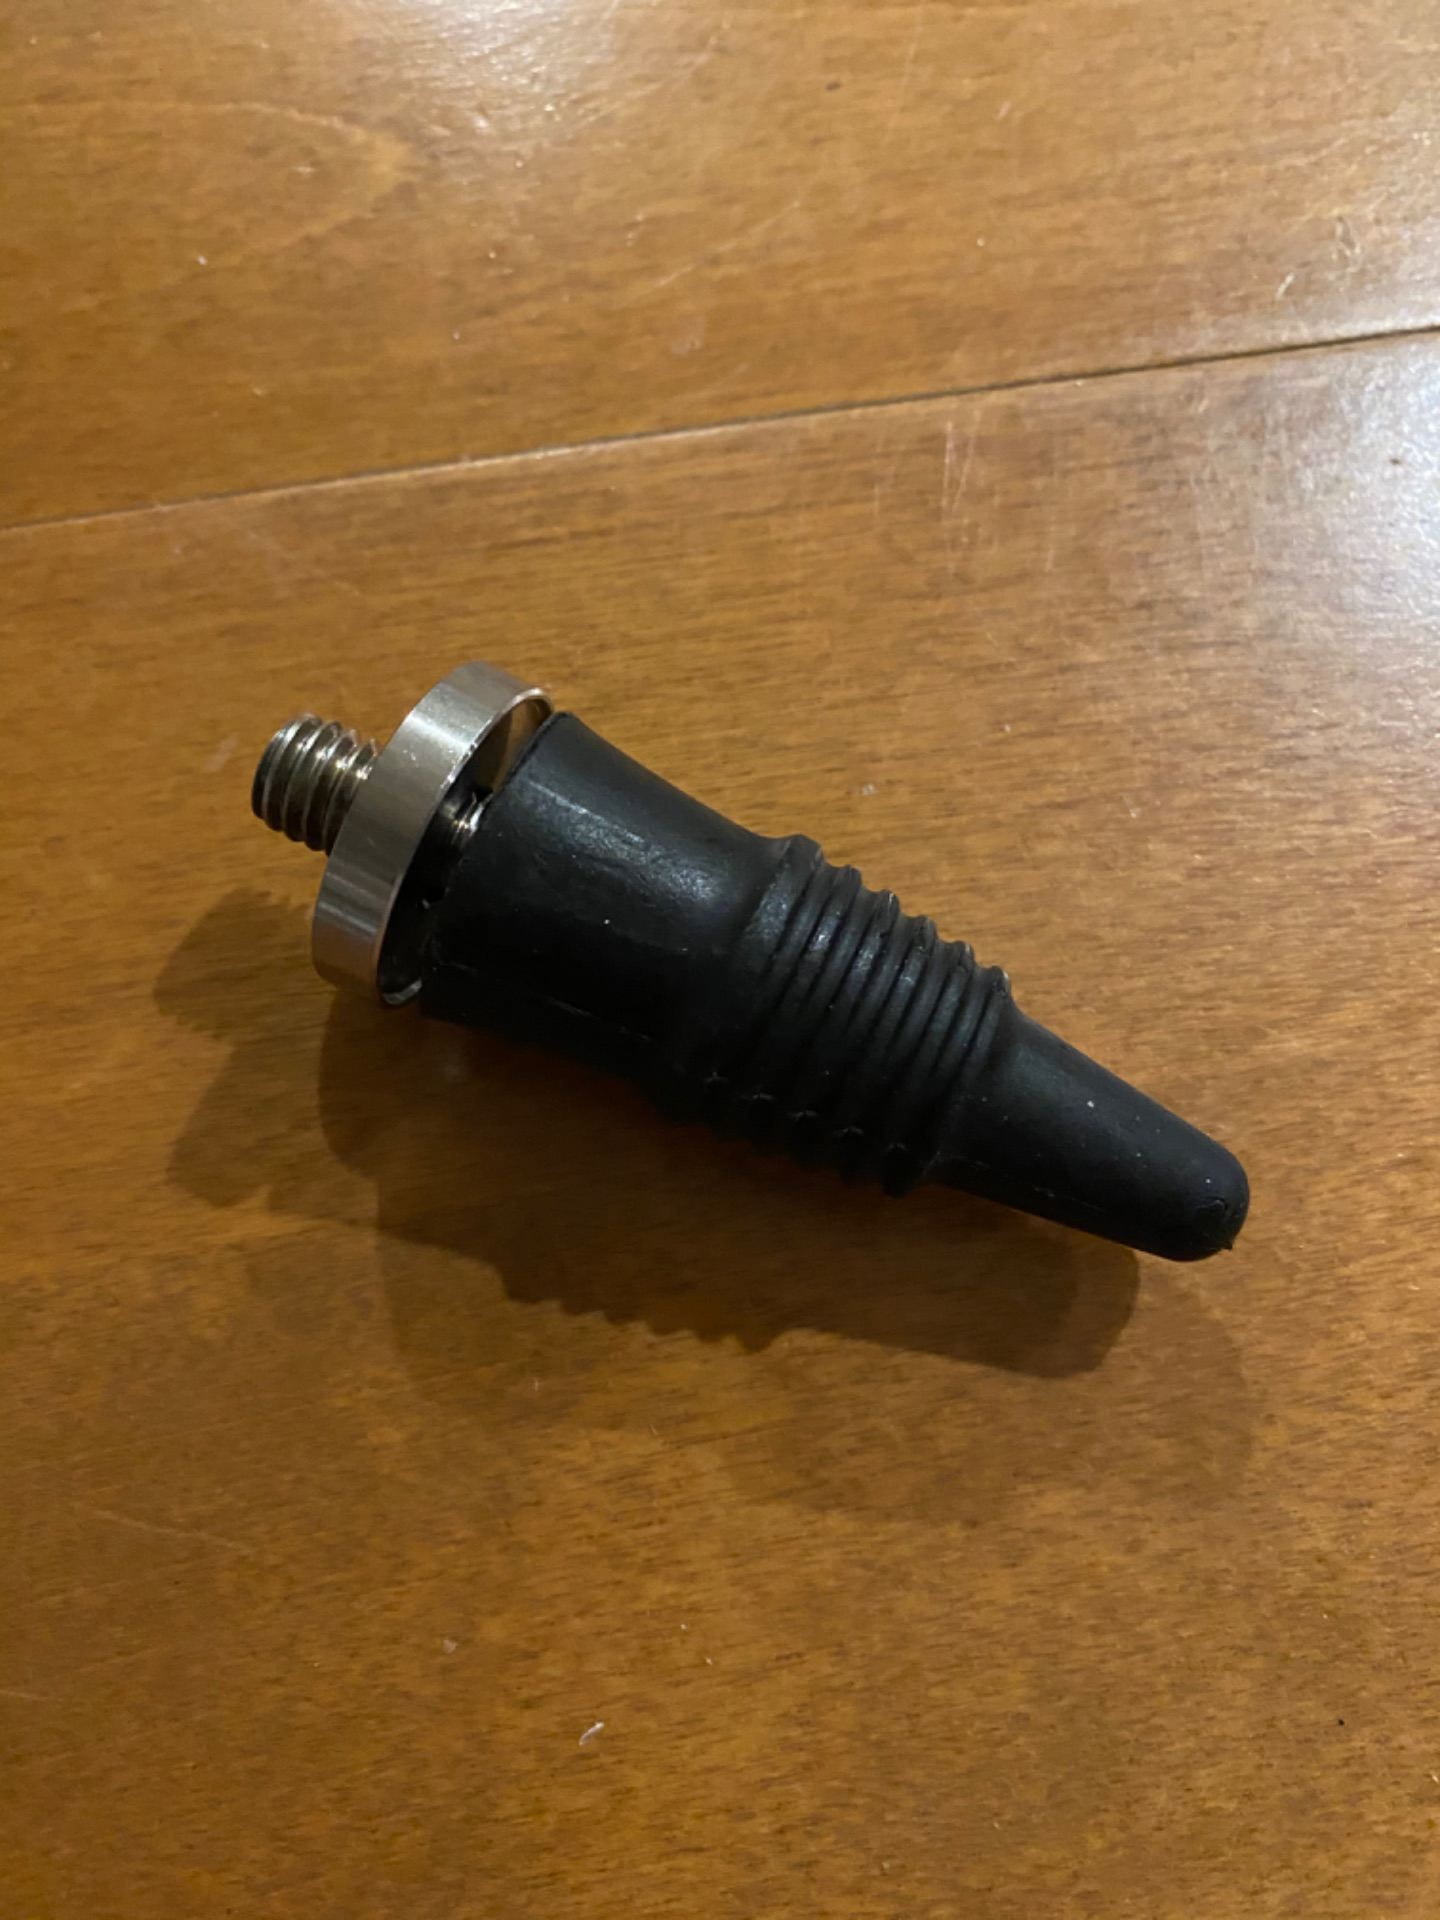
Since my oldest son had just finished his five month hike on the Appalachian Trail from Maine to Georgia, I wanted to do something with that in mind. I decided to make a wine bottle stopper that he could have in his new apartment and could remind him of the trail…a “trail topper”.
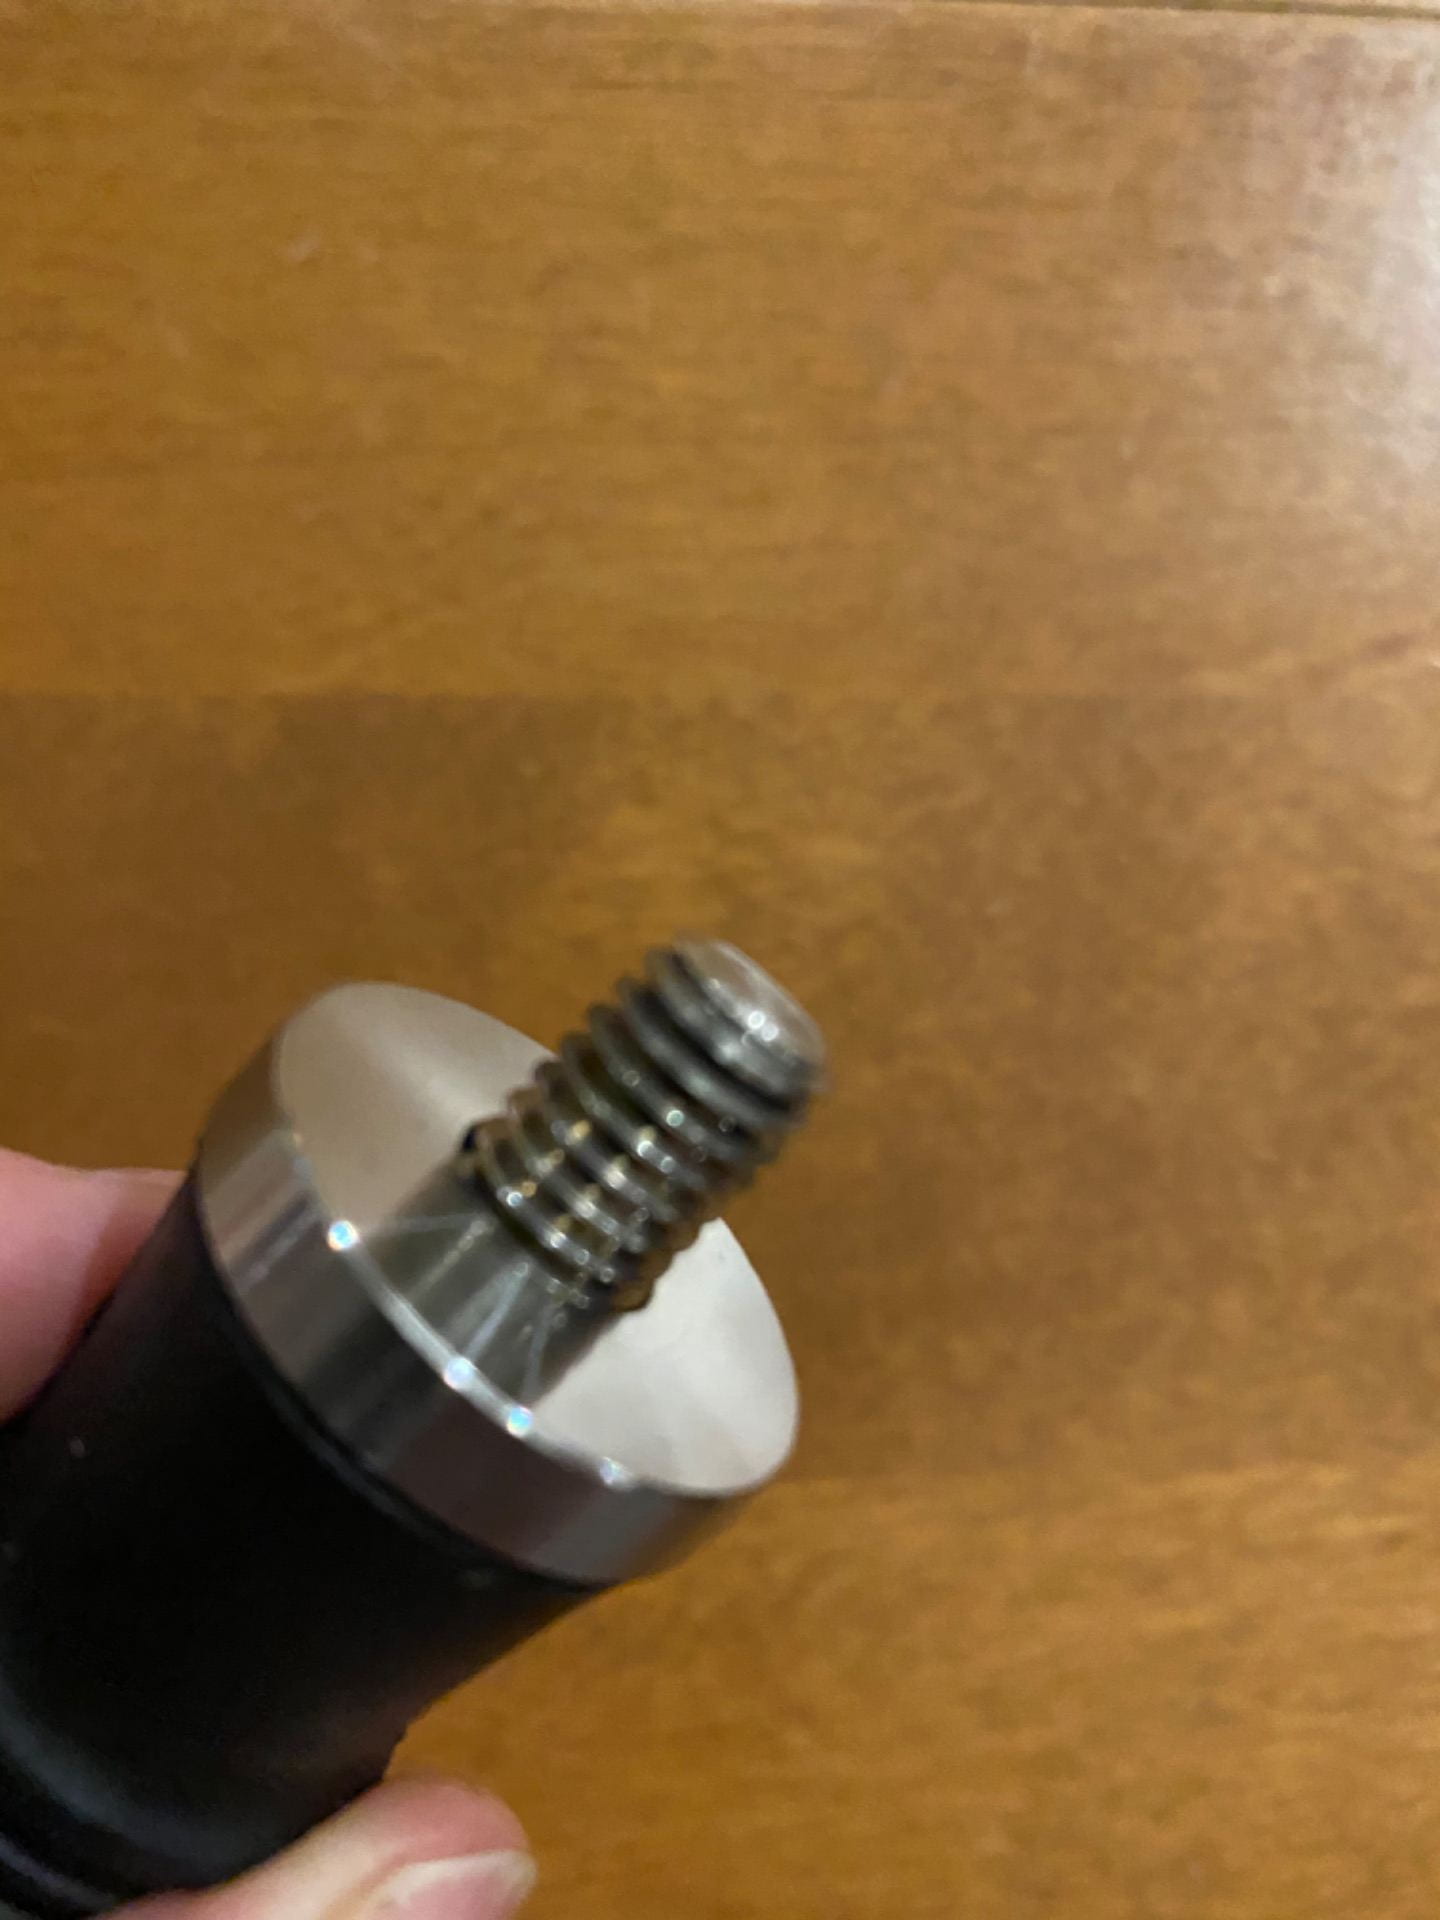
I looked online and found a silicone bottle stopper with a threaded post. I had to find inserts that I could use to attach something to the post.
After some research, I found some that are used by wood turners that looked like they’d be perfect.

I then had to find a fallen branch that had a circumference about the size of the silicone bottle stopper.
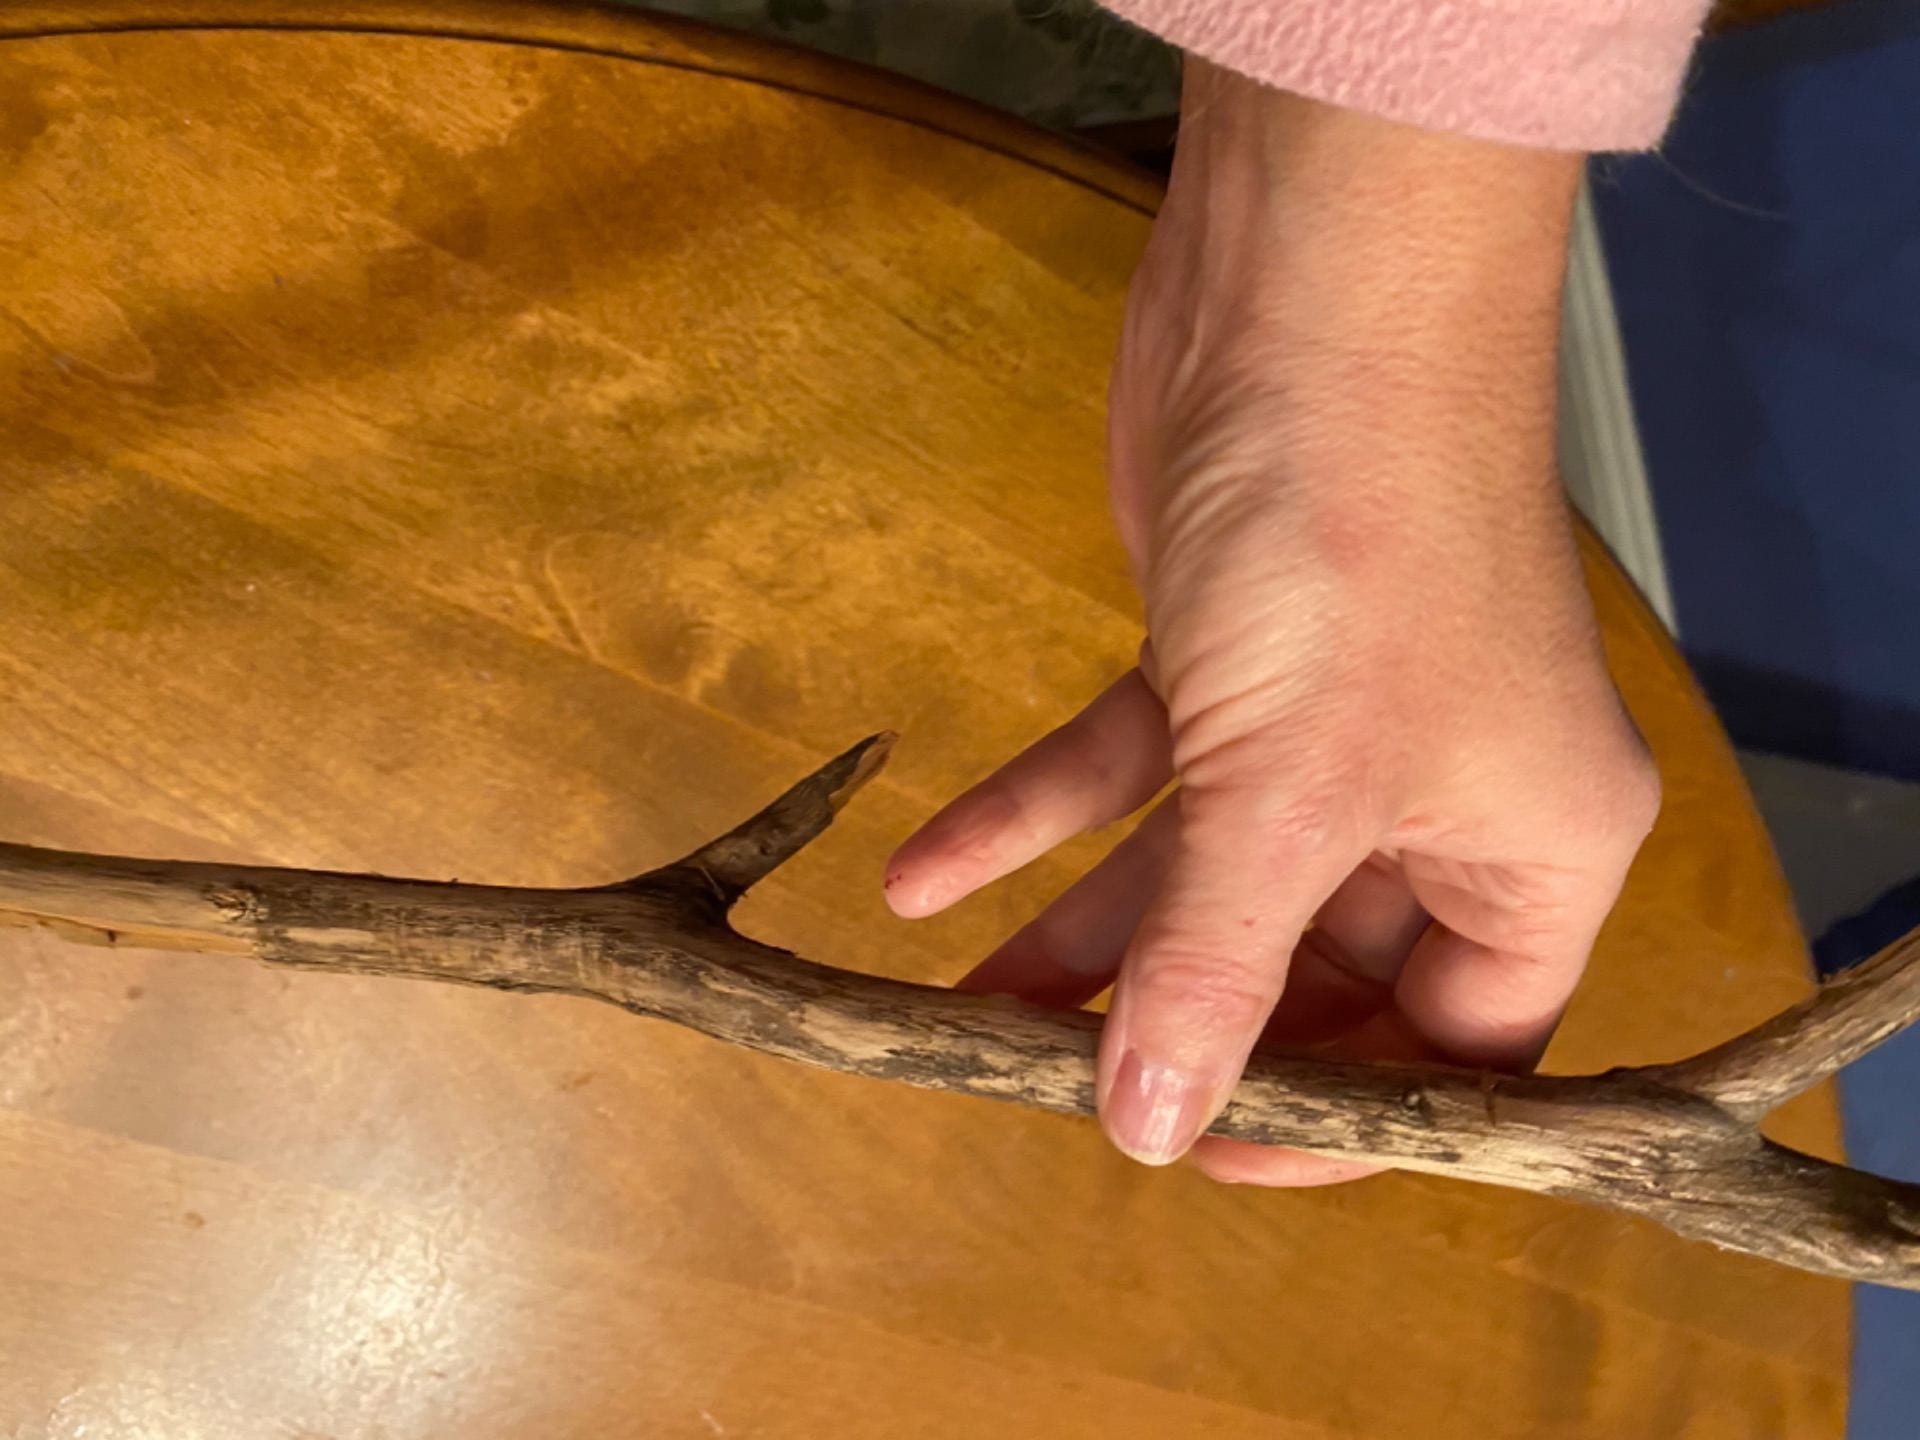
With supplies in hand, I began crafting it. I measured and cut the branch into a 3 inch stick. Then I carefully drilled a hole in one end it starting with a tiny drill bit and working up to 1/2″ so that I wouldn’t split the stick. I cleaned out the hole and then carefully twisted the threaded*******into the stick until it was flush with the bottom. The first attempt cracked, so I started again.
The second go round was better, and was ready to turn my little stick into a trail marker. I used white paint to create a small rectangle on the stick just like the Appalachian Trail blaze that was on trees, posts, and sometimes buildings (yes, the trail goes right down a town street in a few places). Once the paint dried, I sanded it a little to make it look weathered. I painted the whole thing with a couple coats of matte, water-based polyurethane and let it dry. Once dry, I screwed it onto the bottle stopper post and ta da…
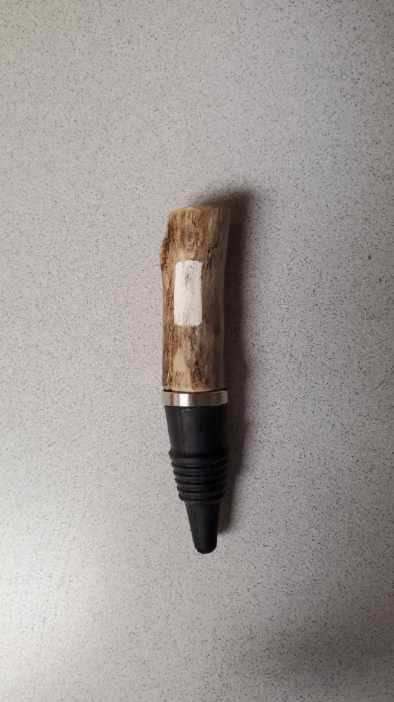

Now my son and his girlfriend have a little reminder of their time on the trail!
Candy Cane Craft
As the holidays approach, I always get busy with crafts. Along with new gift projects, there are two things I make every year… thank you cards and candy cane reindeer!
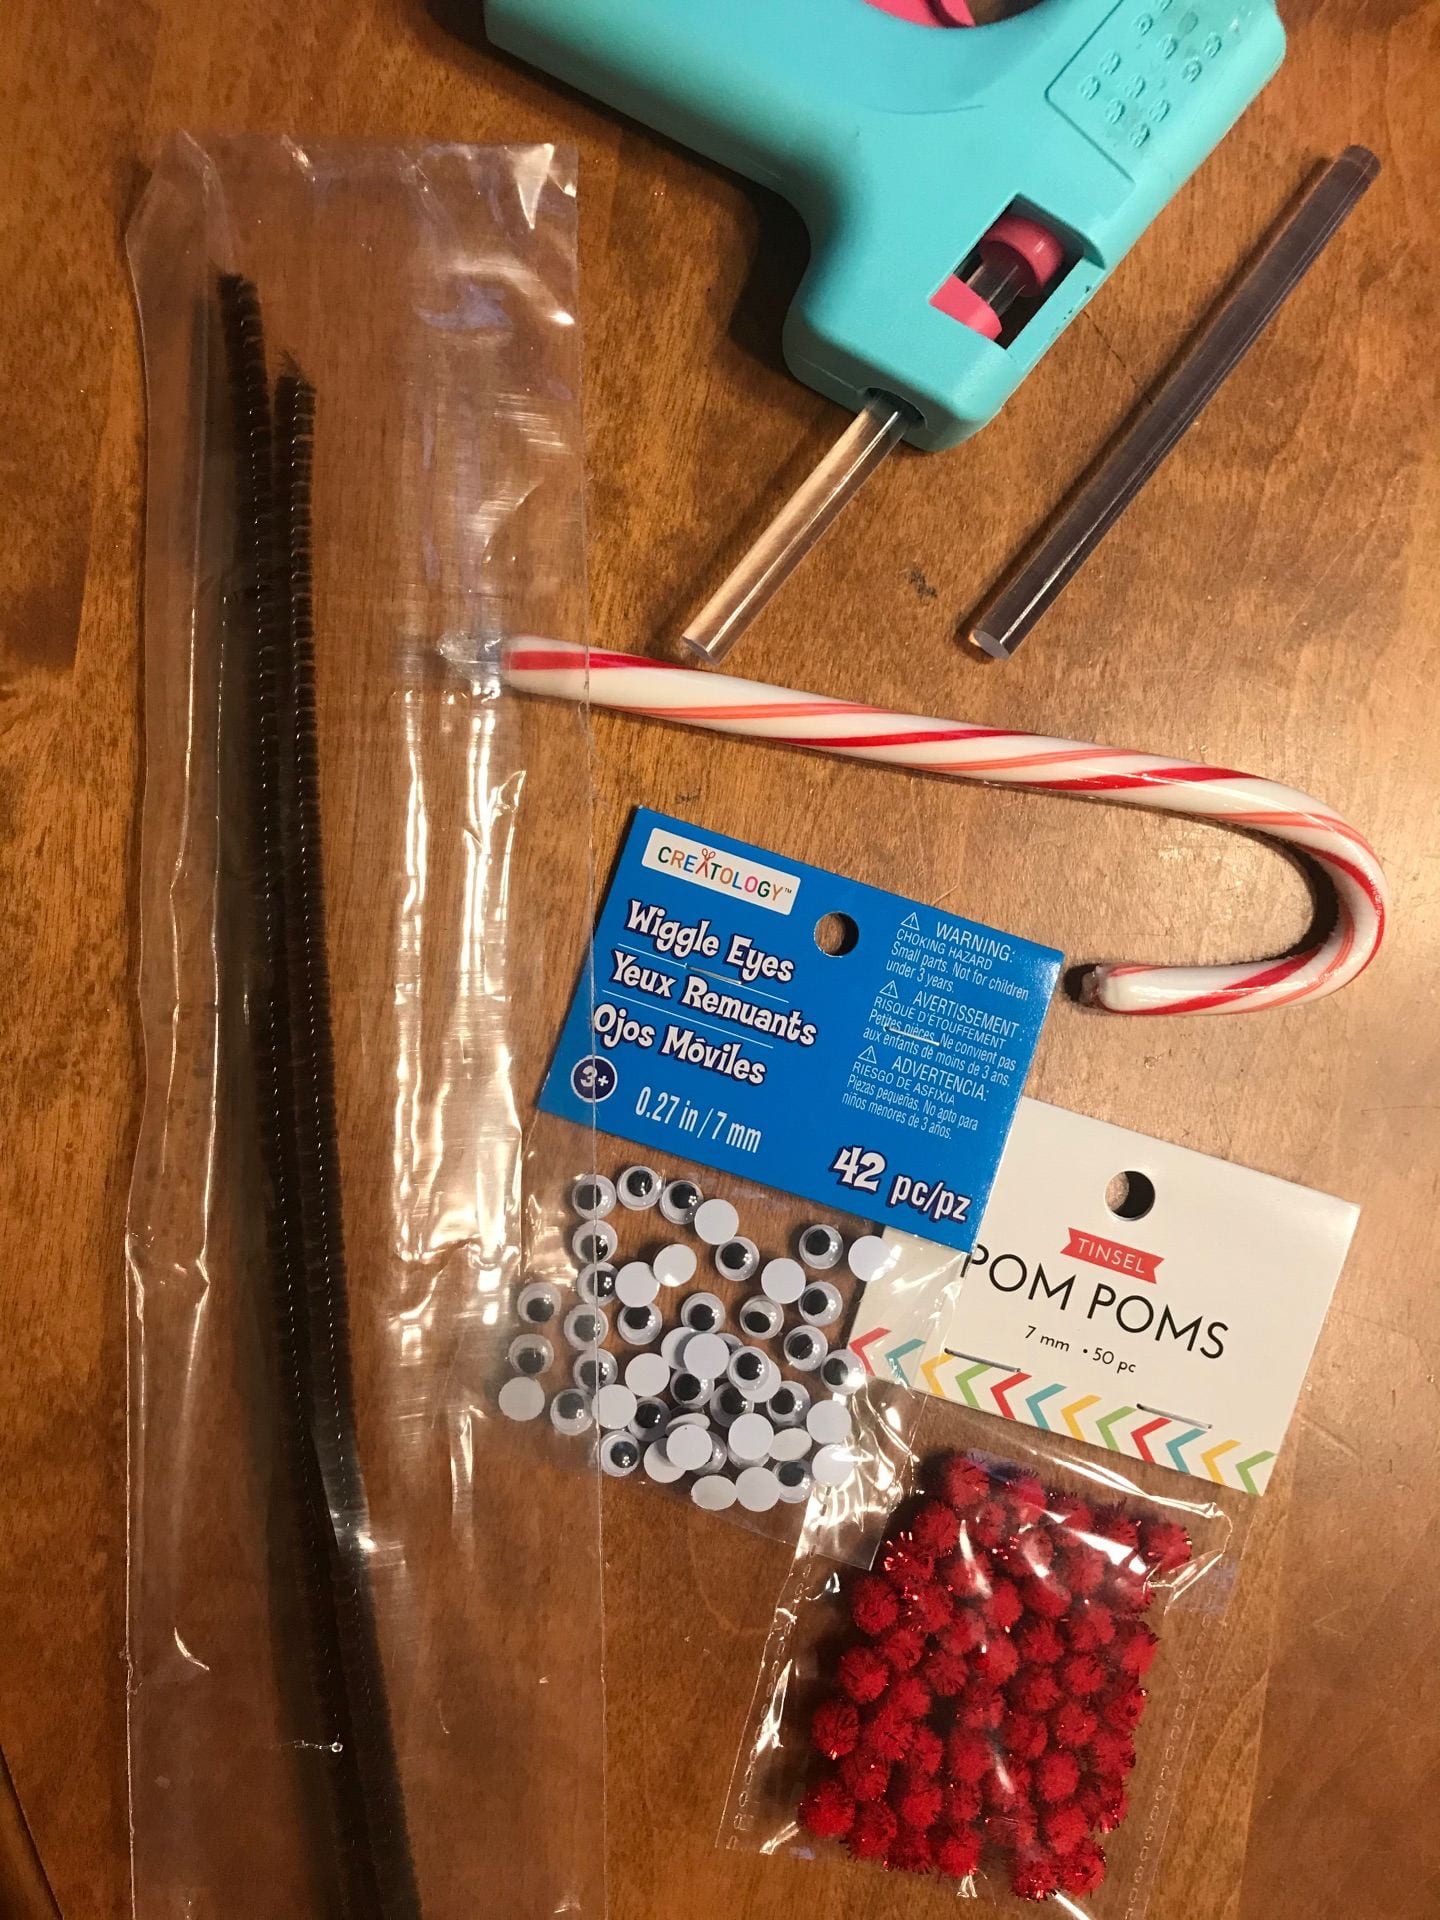
The reindeer are simple and only need a few supplies and a hot glue gun. You need a box or two of plain, old fashioned candy canes, brown pipe cleaners, little red pom poms , and small googly eyes.
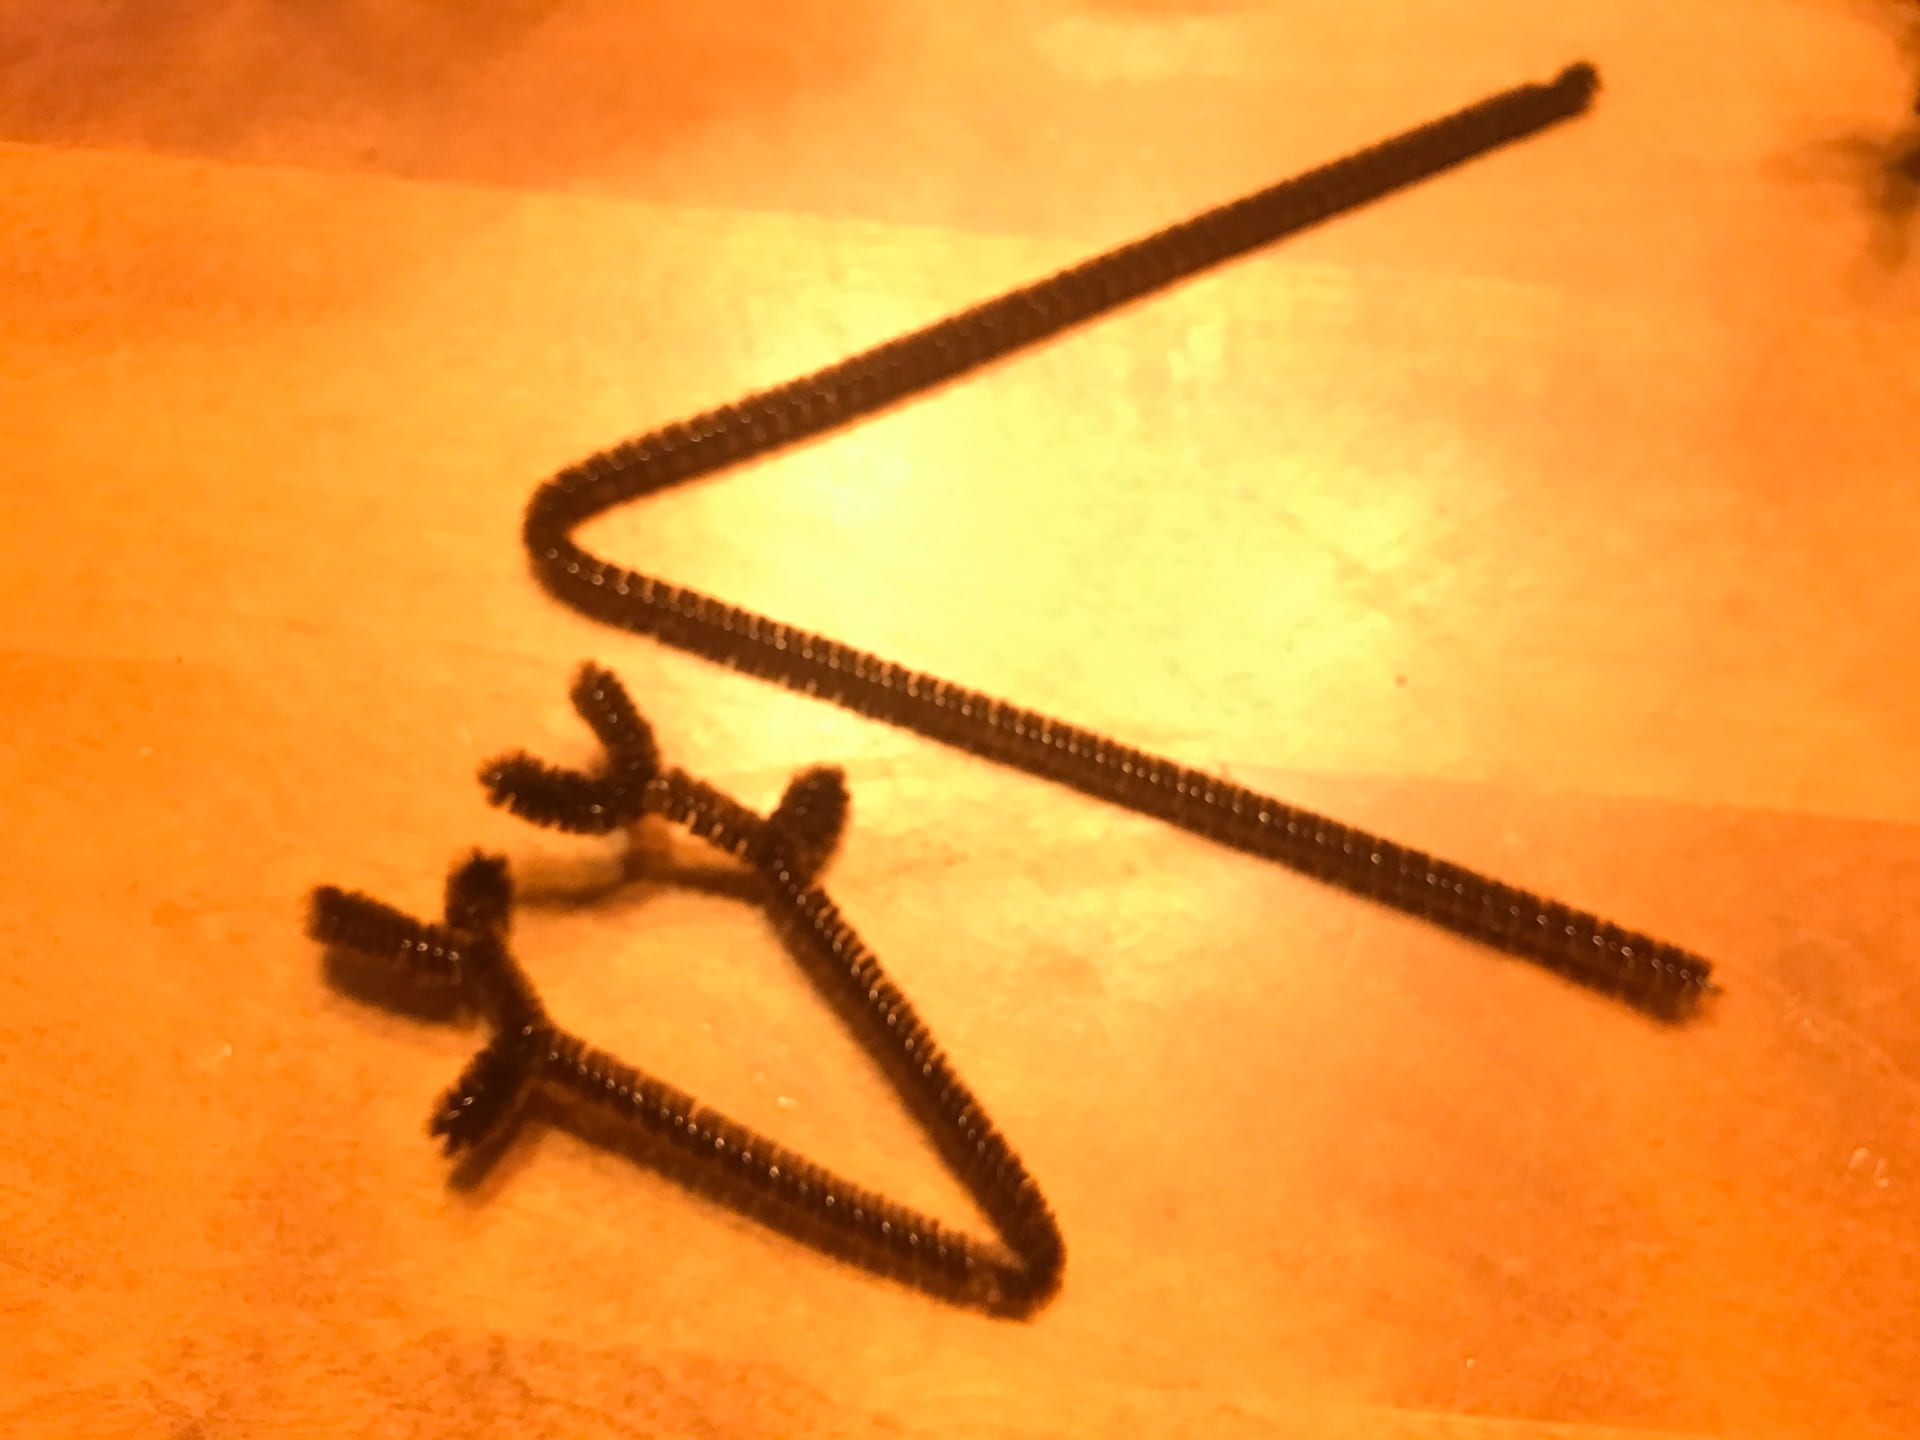
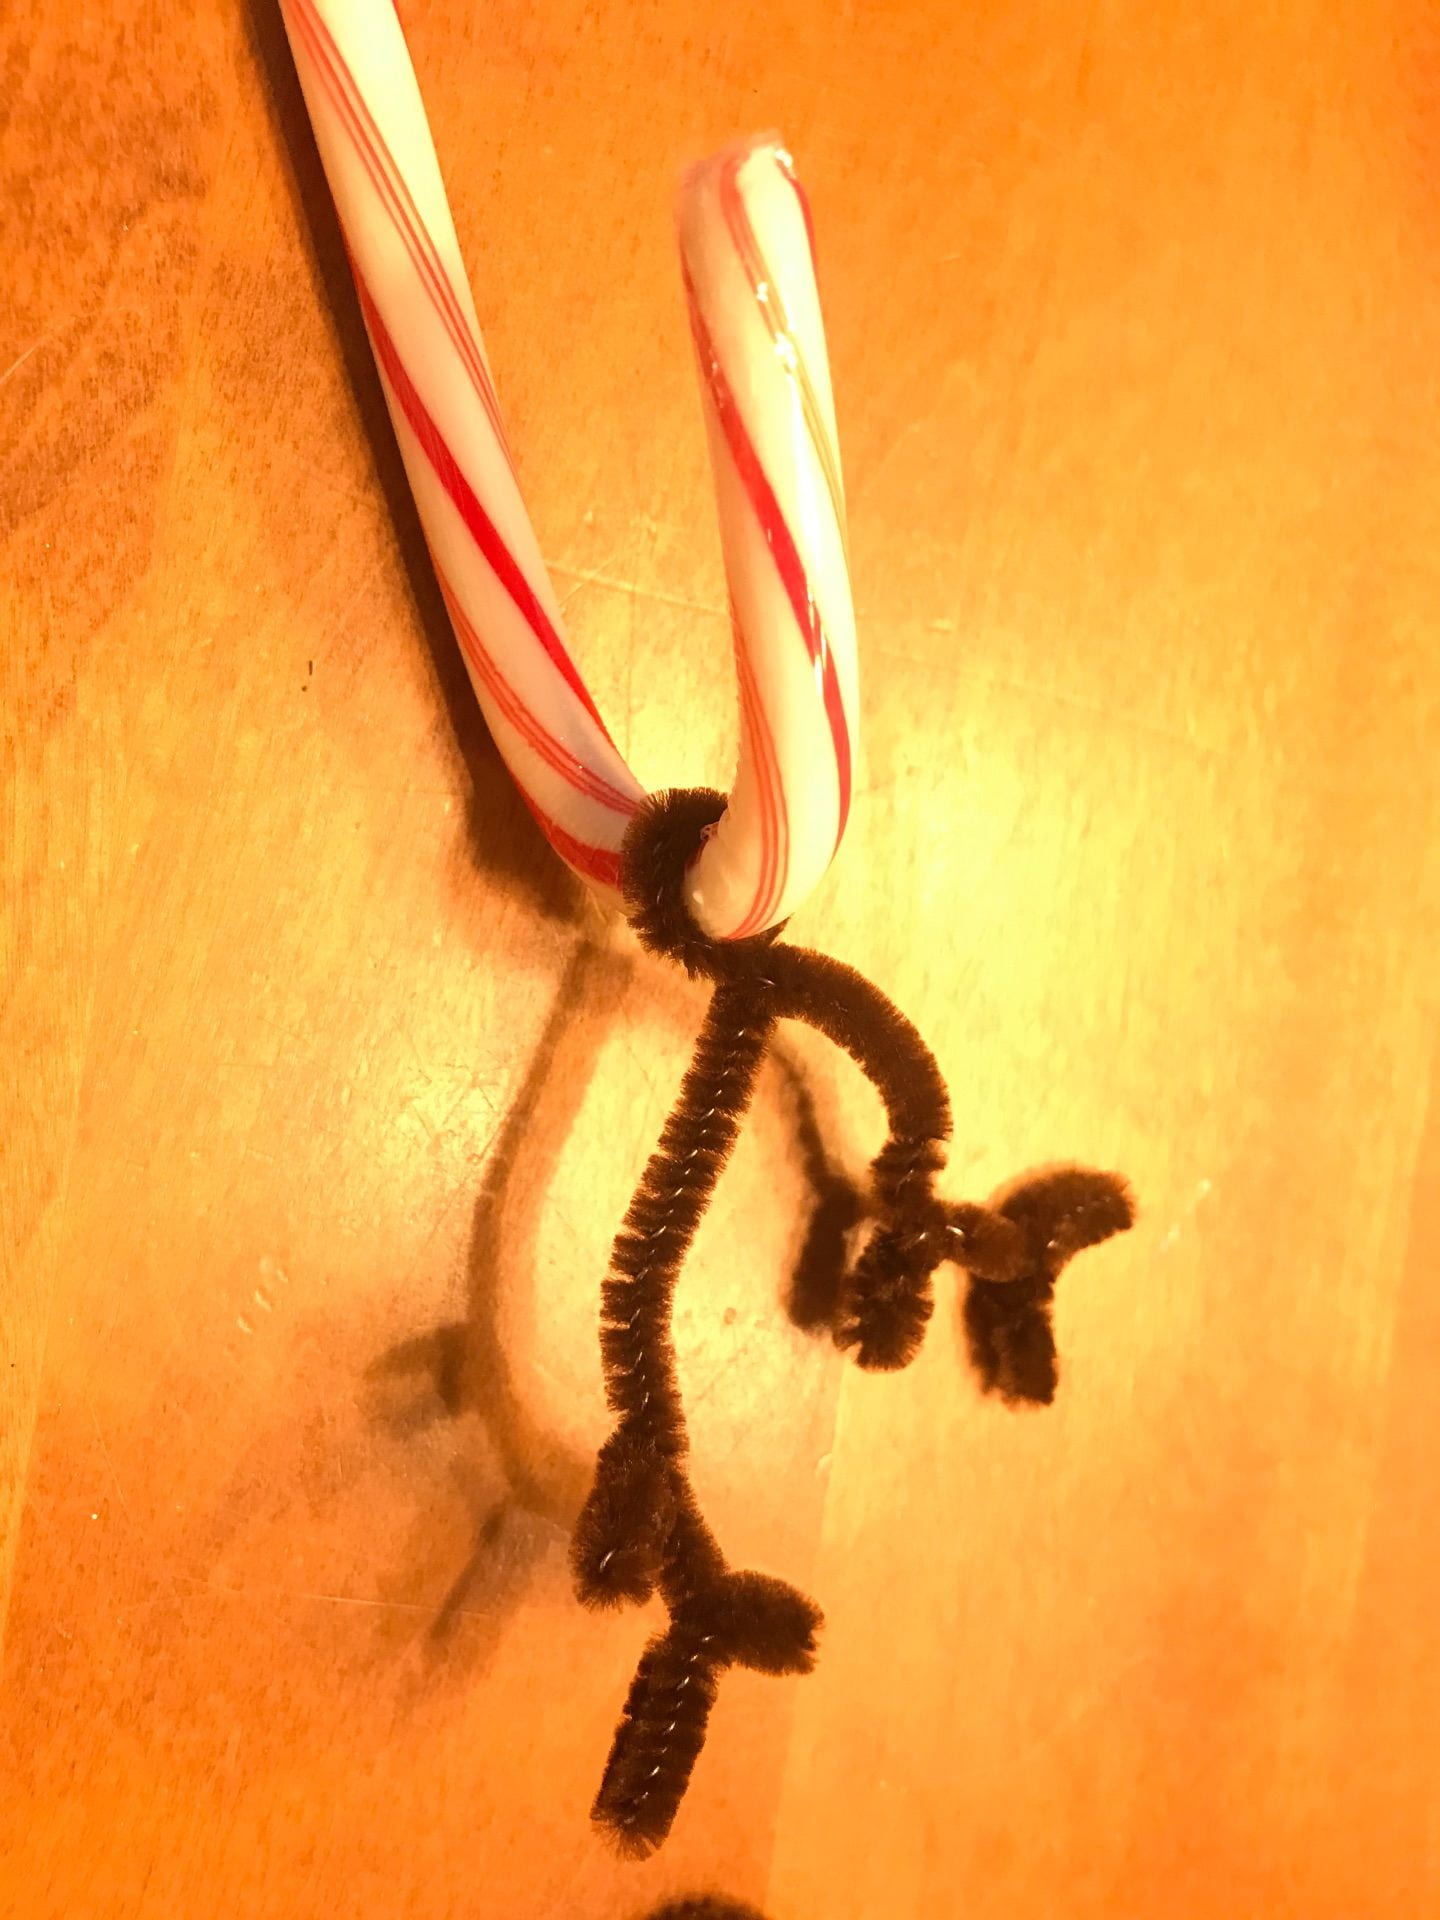
First, I bend a pipe cleaner in half and then form the two ends of the pipe cleaner into little points like antlers. Then I bend it around the hooked part of the candy cane.
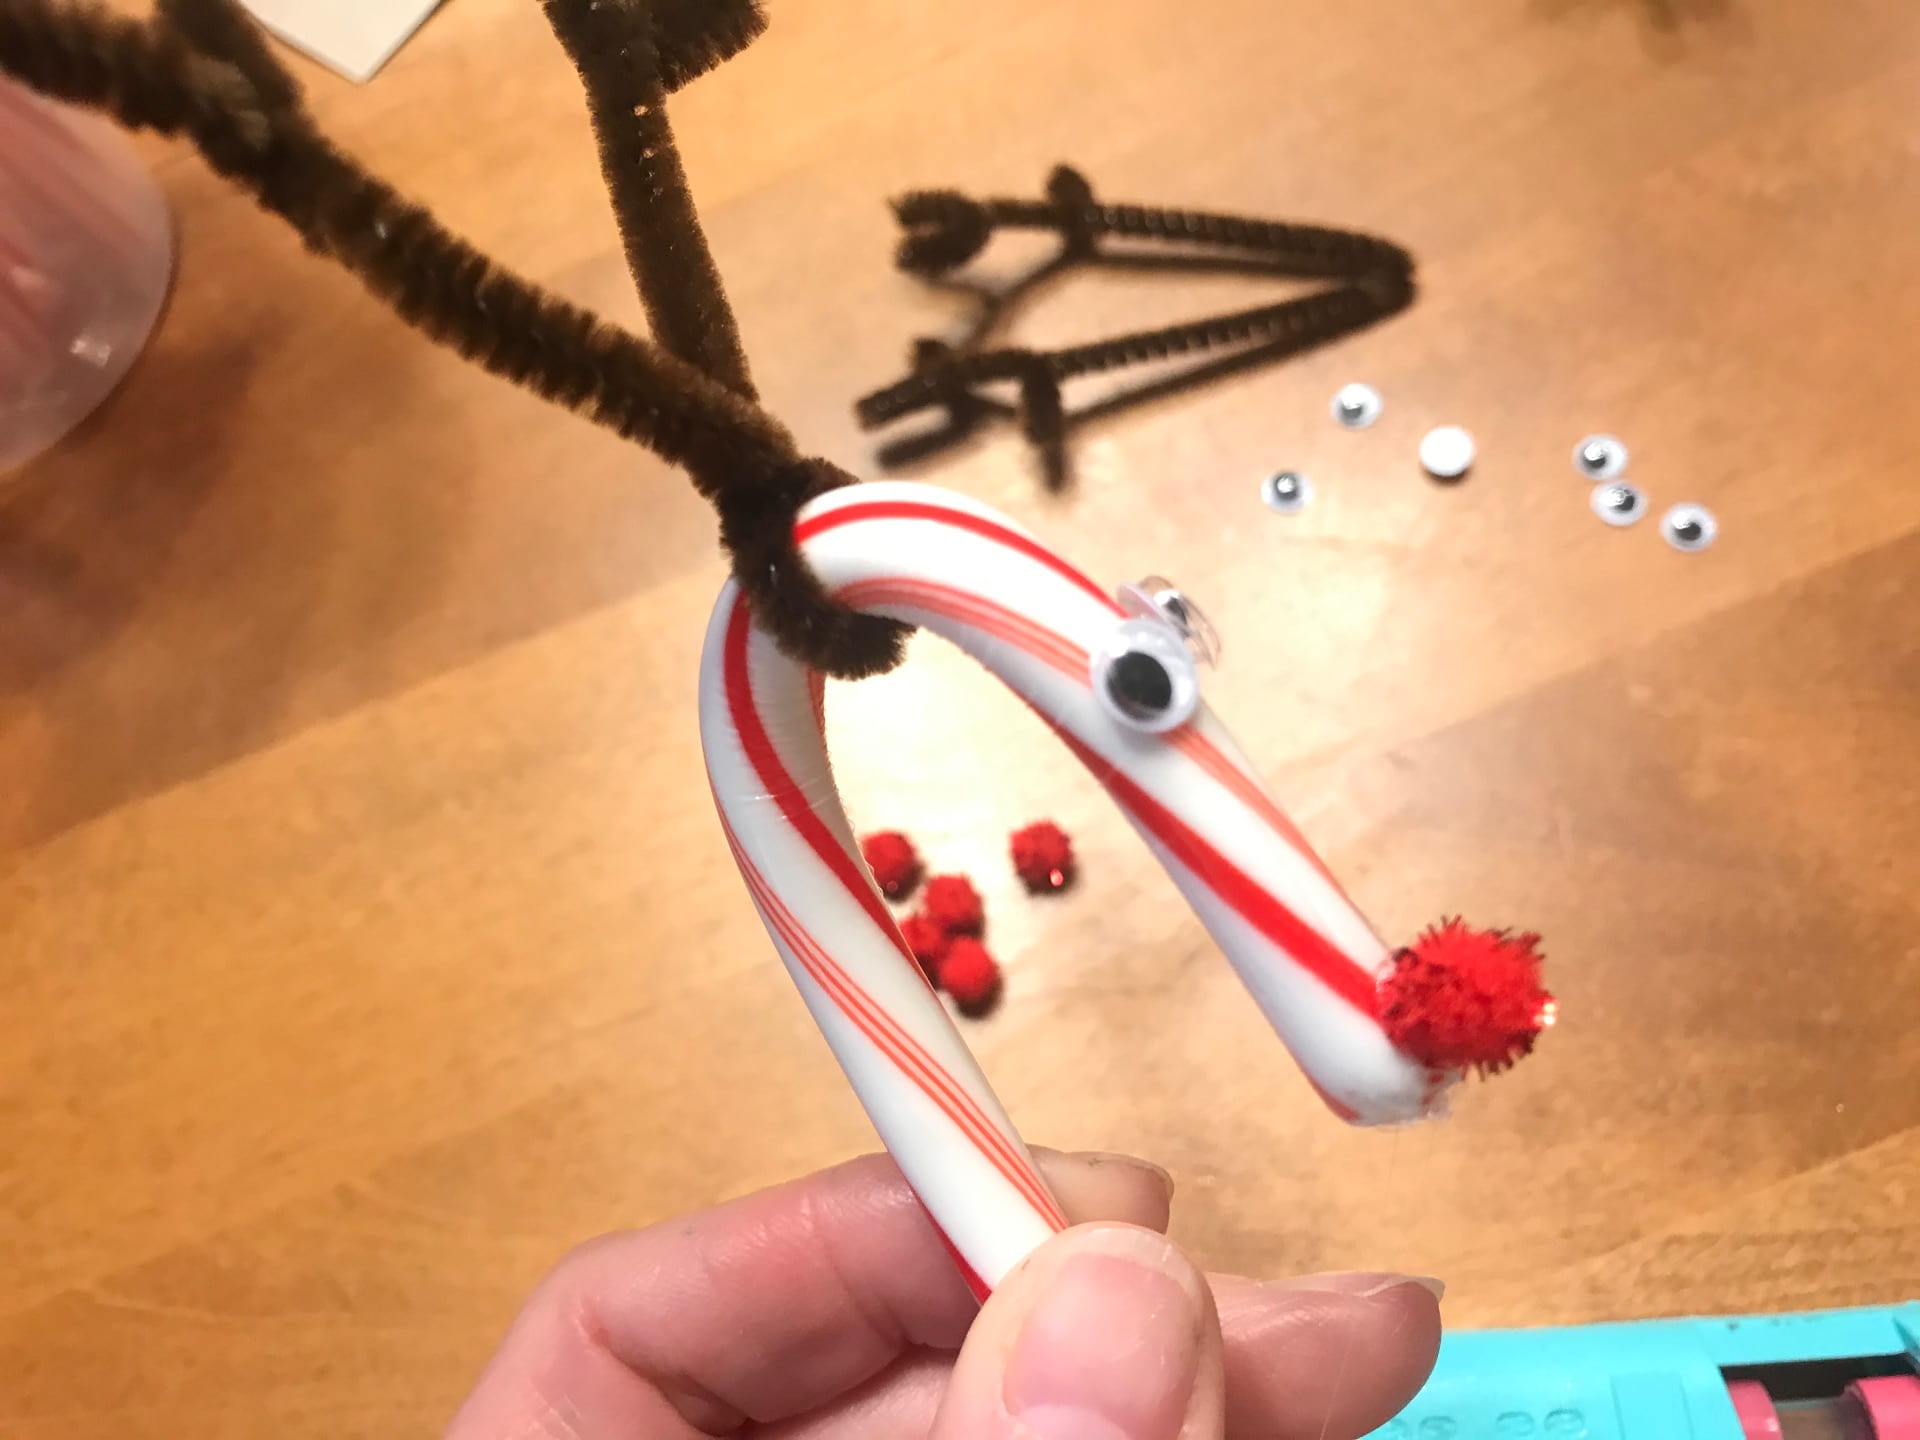
With the antlers in place, I then use the hot glue gun to stick on the pom pom nose and googly eyes. I usual tie a little note around the “neck “ with ribbon and I’m done.
In no time I have a whole team of reindeer!
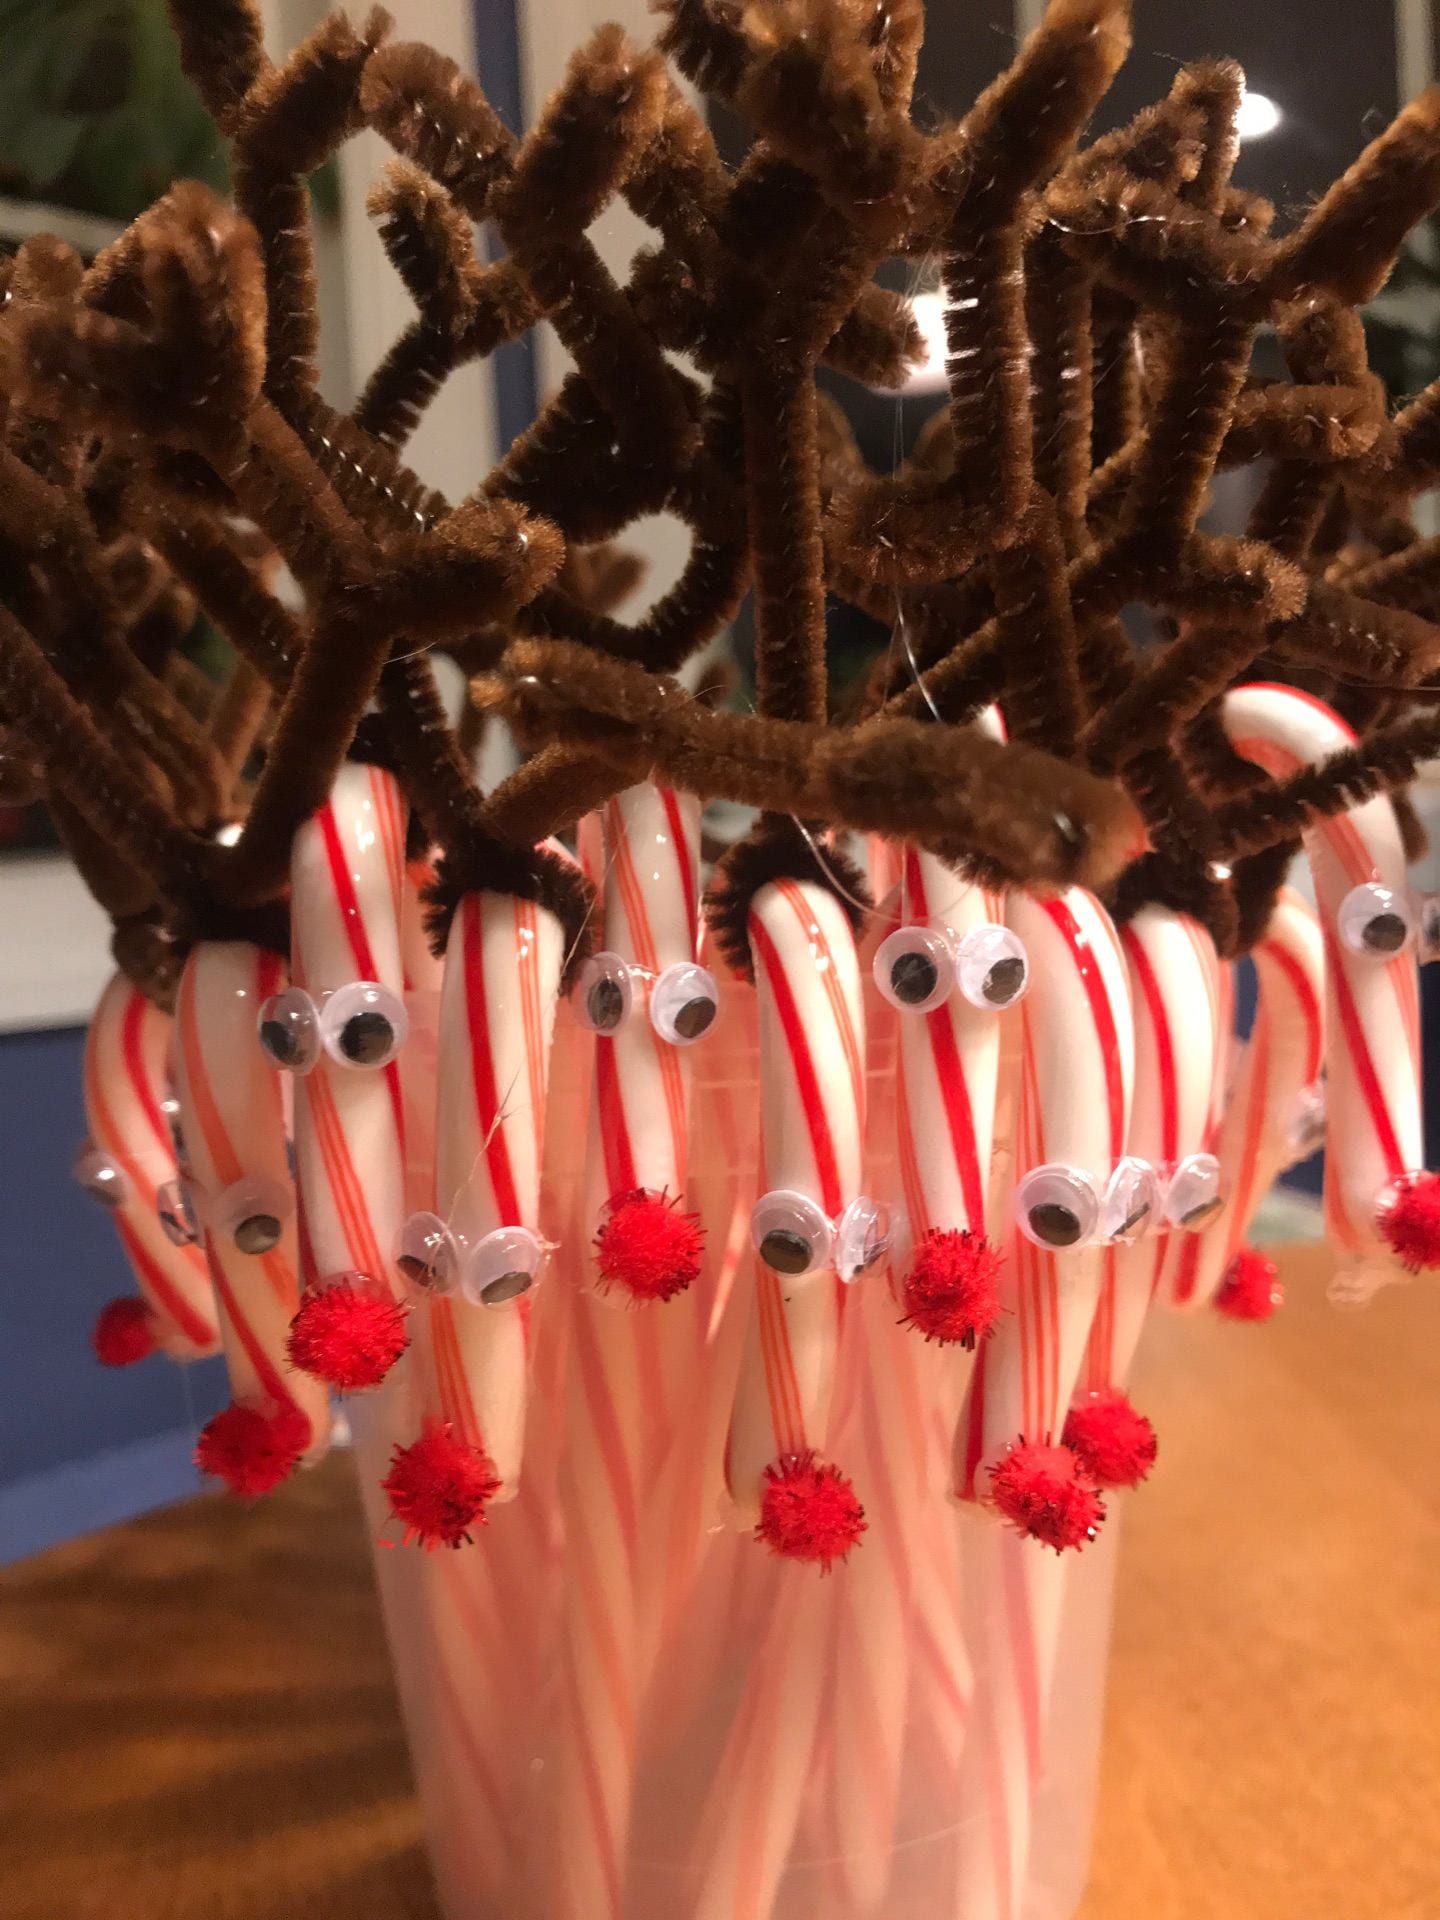
They are perfect to give to friends or tie onto packages as a fun, festive treat. With all the different kinds of candy canes they make these days, you could get multicolored pom poms and make a whole rainbow of reindeer. You could also tie a little jingle bell on with the ribbon to make them even more festive.
Have fun!
Hiker Halloween!
I love creating things, and Halloween is a perfect opportunity! Ever year, I would spend hours dreaming up ways and working with all kinds of materials to make my kids’ costume ideas become a reality.
Once my youngest hit middle school, it seemed my skills were not in high demand anymore. I had to focus my energies elsewhere, so I started using parts of their old costumes to concoct new one for myself.

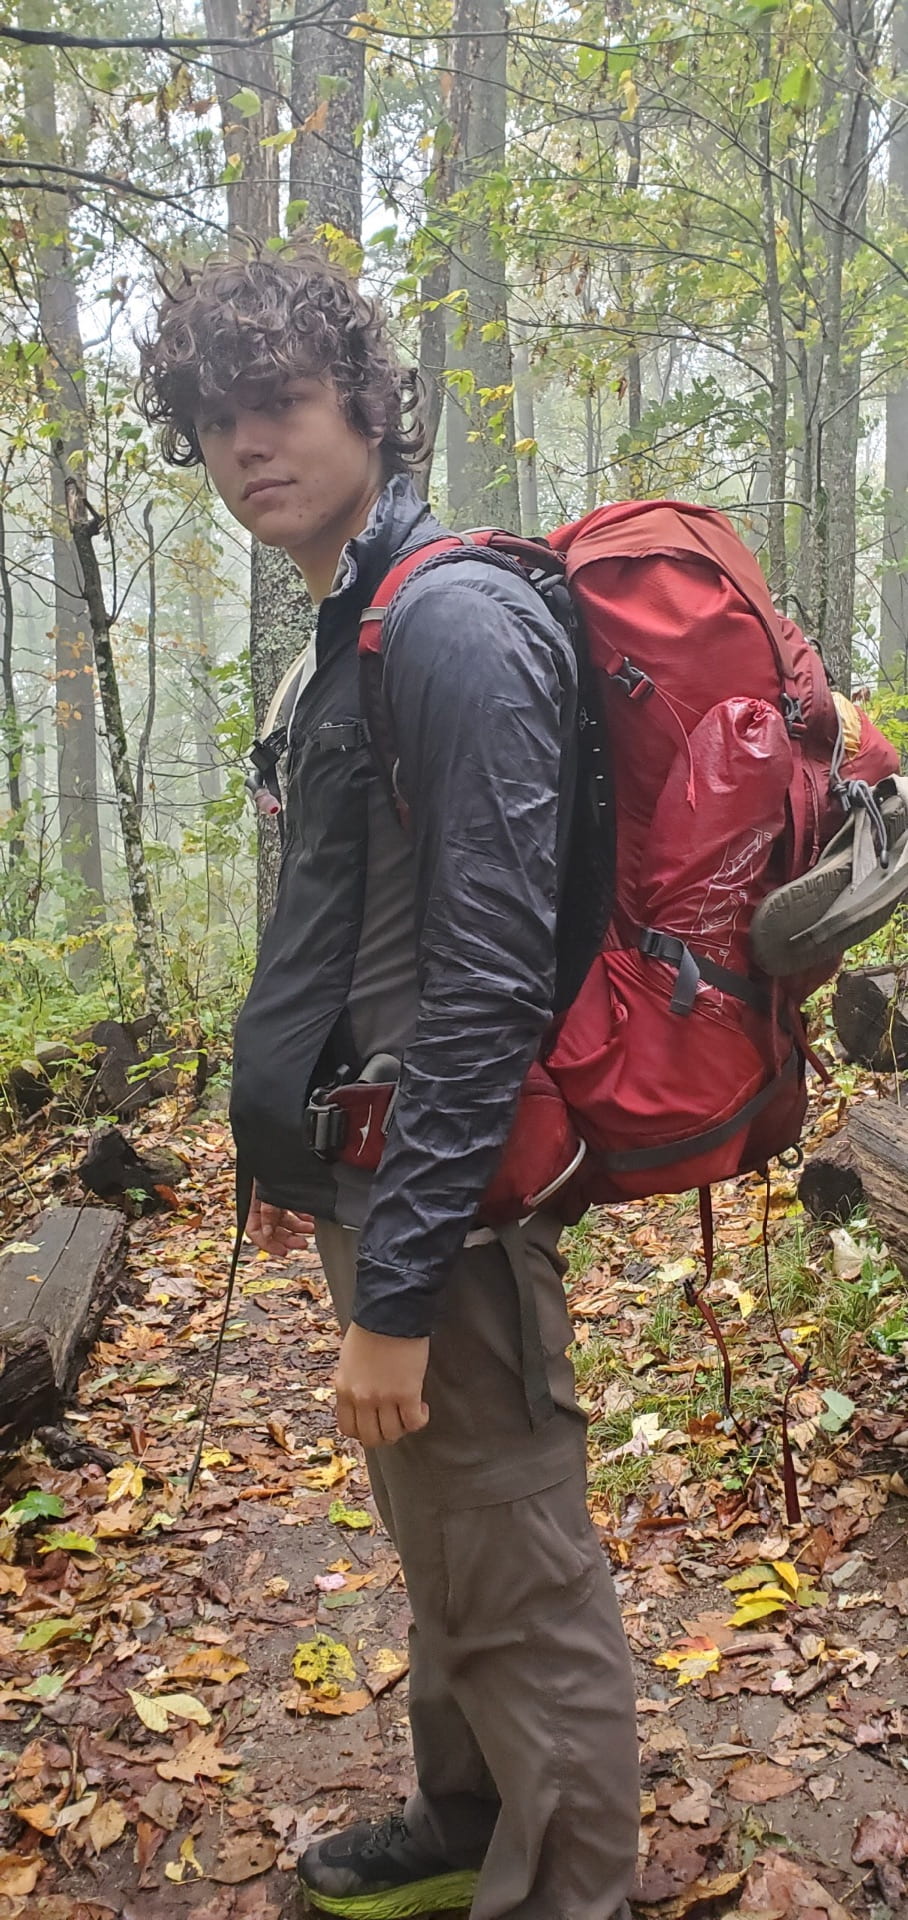
But this year, I got a welcomed surprise. My son and his girlfriend were almost five months into their thru hike of the Appalachian Trail and they wanted to dress up for Halloween! I was back in business!
They need costumes that were light, packable, easy to move around in AND incorporated a 65L backpack!
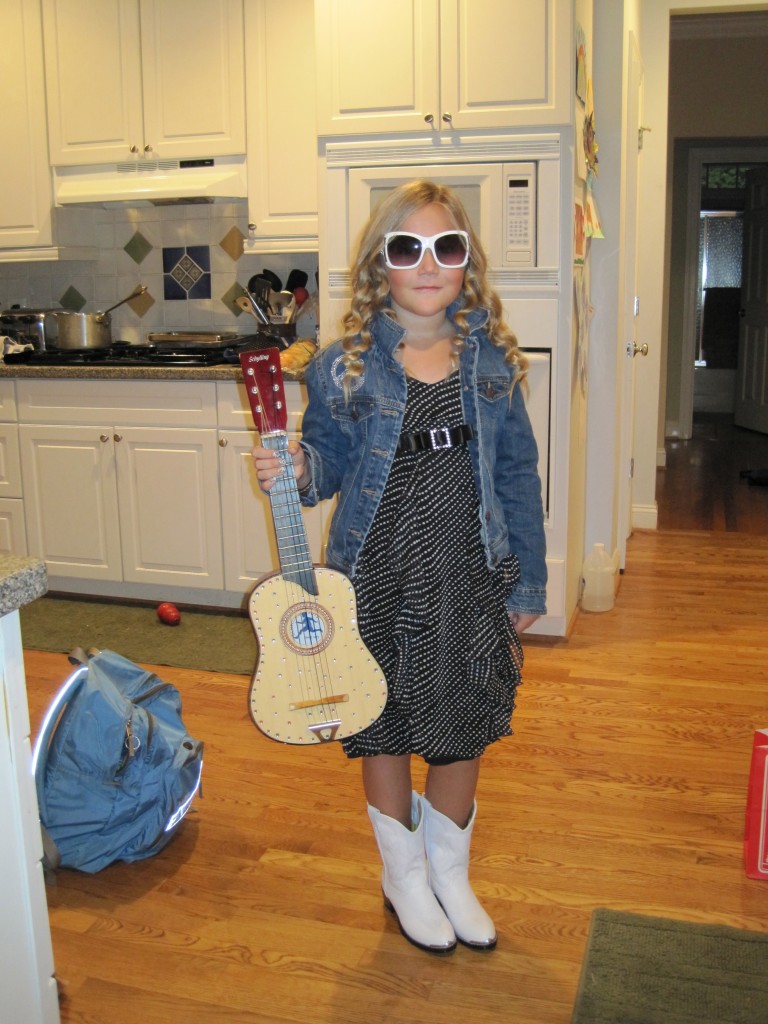
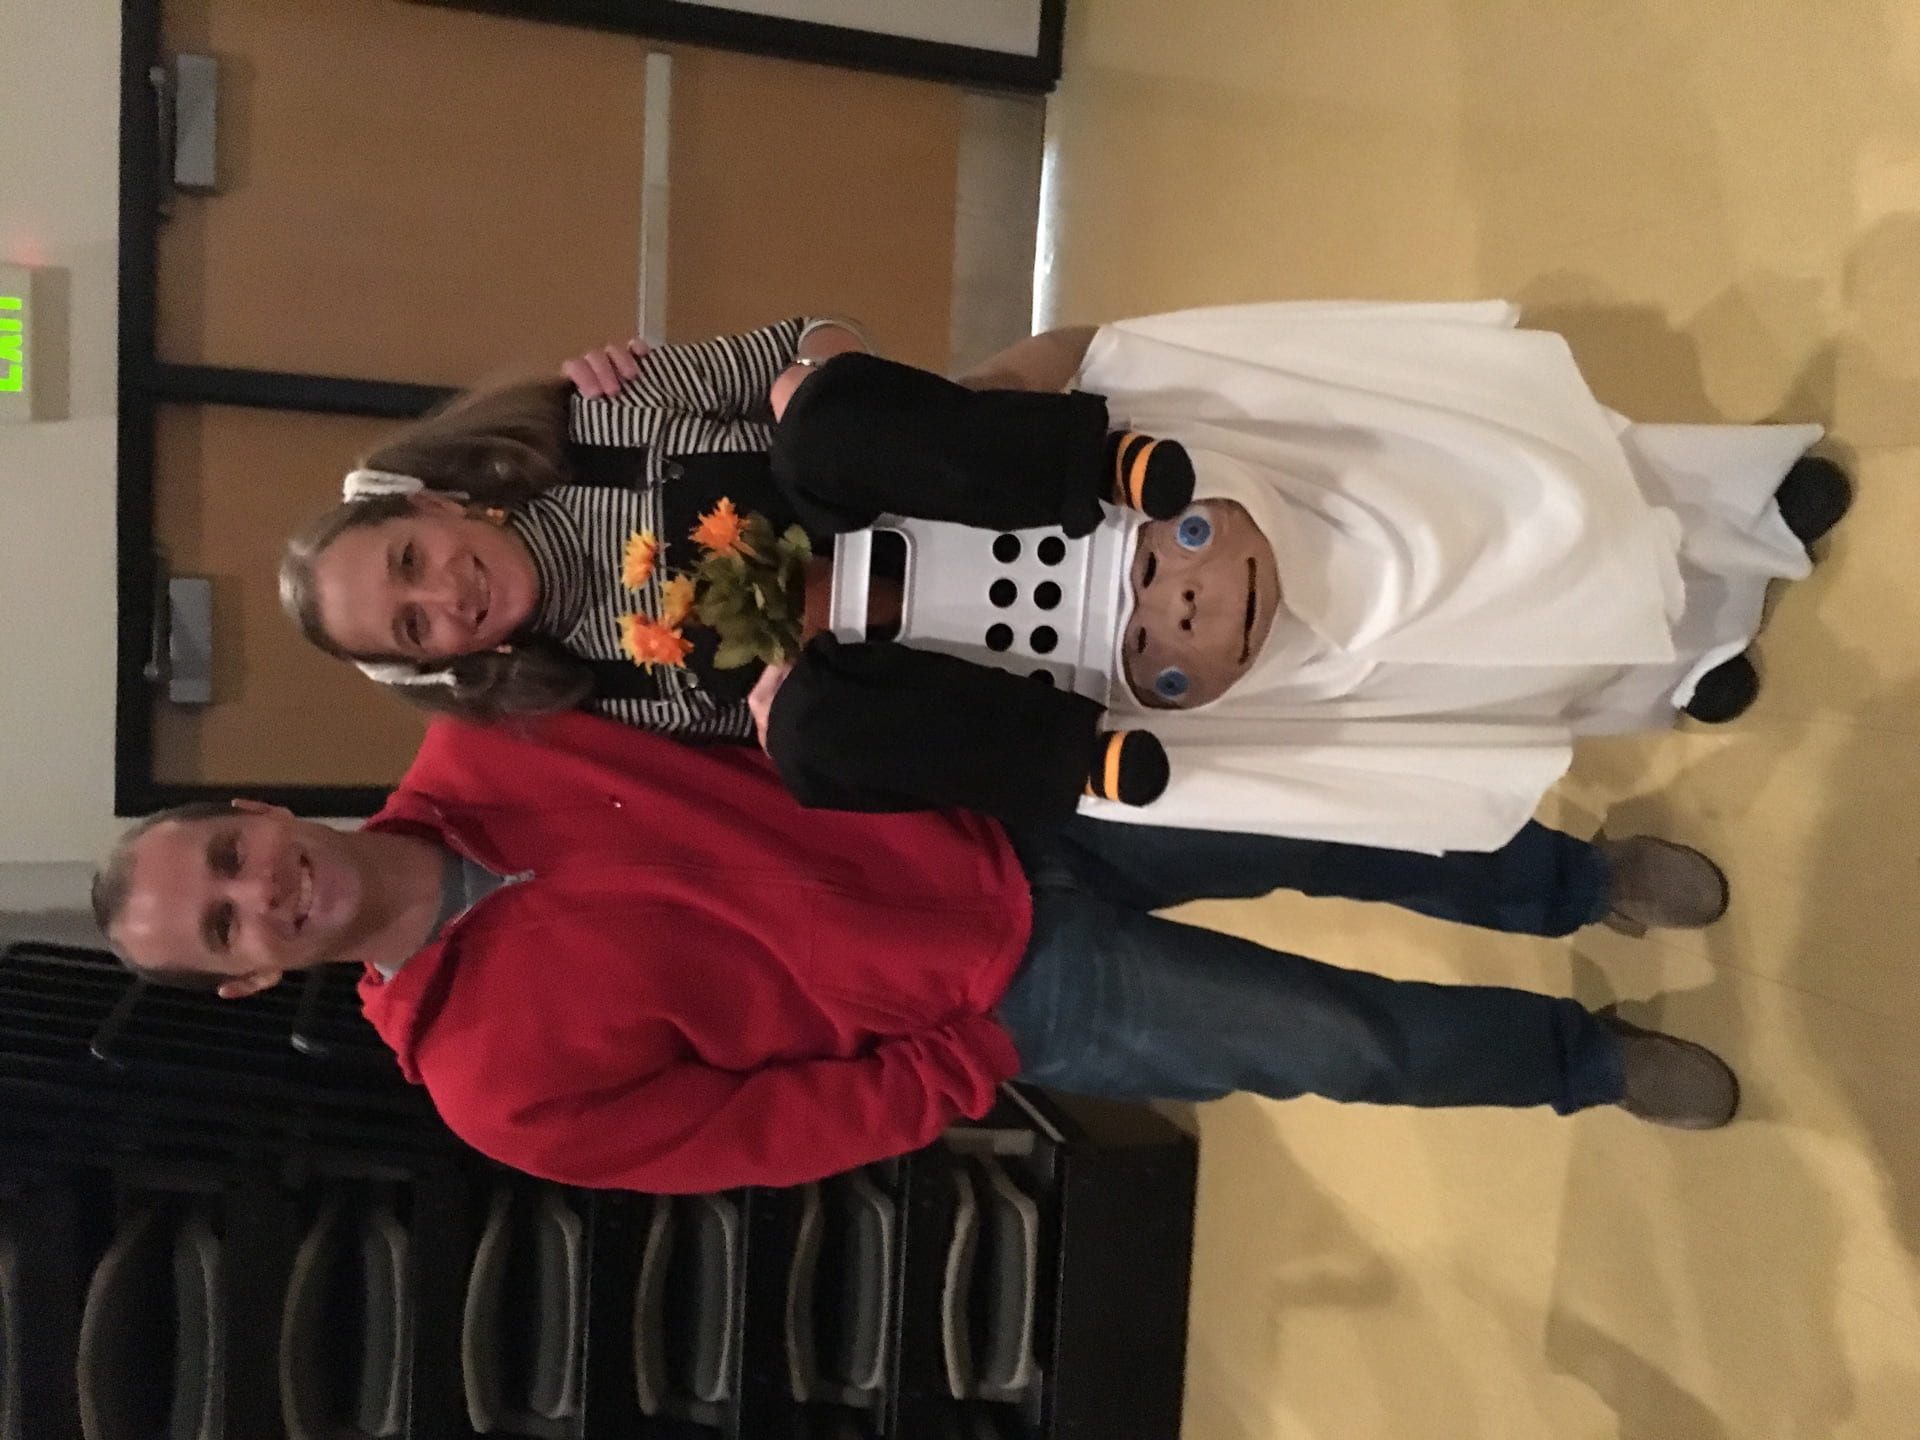
Mackenzie wanted to be a Ghostbuster which was easy enough. Jumpsuit, name tag and Ghostbuster symbol, proton pack, maybe a blaster…done. I used a printed version of a proton pack and sewed it onto a black stretchy cover I made from spandex material to slip easily over her pack with adjustable elastic cord. I wanted to make it special in some way, so I ordered a special name tag in the Ghostbuster font. When you are an AT thru hiker, you are given a “trail name”. These are created by other hikers and are unique to you. Mackenzie was dubbed “Needle” (there are a couple stories behind this name that are too long to go into here). So that is what I put o her jumpsuit!
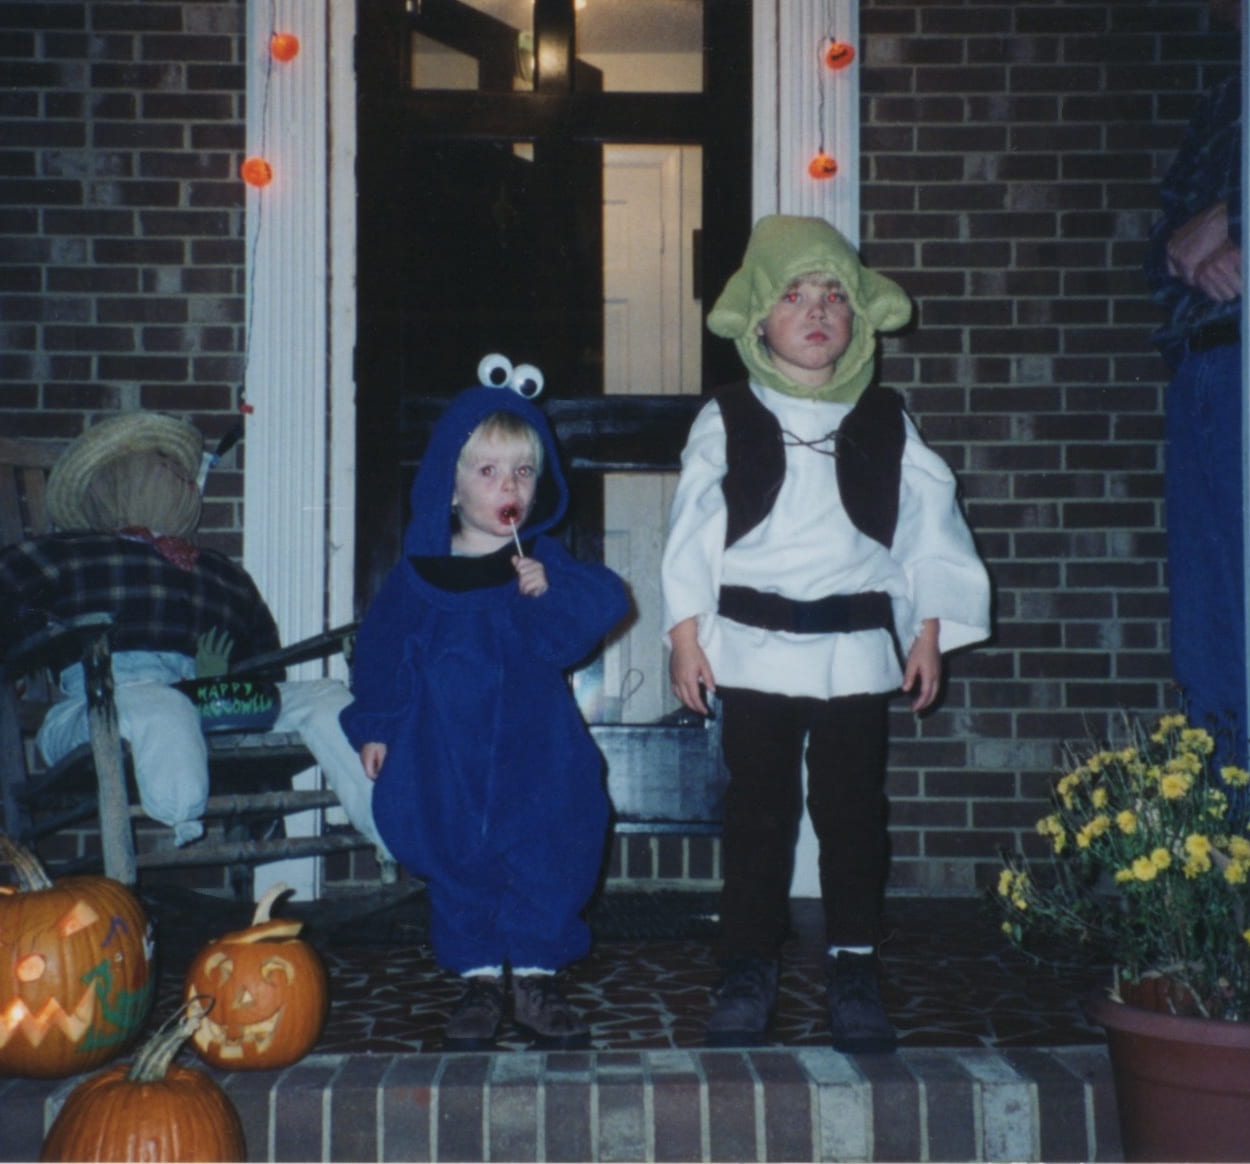
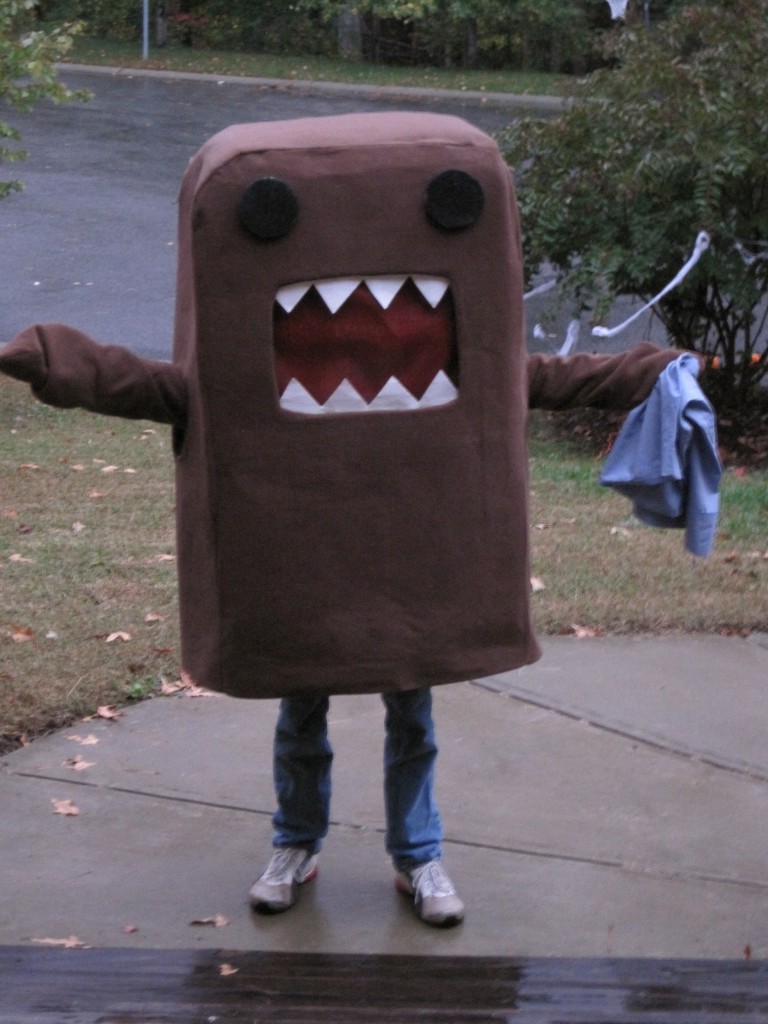
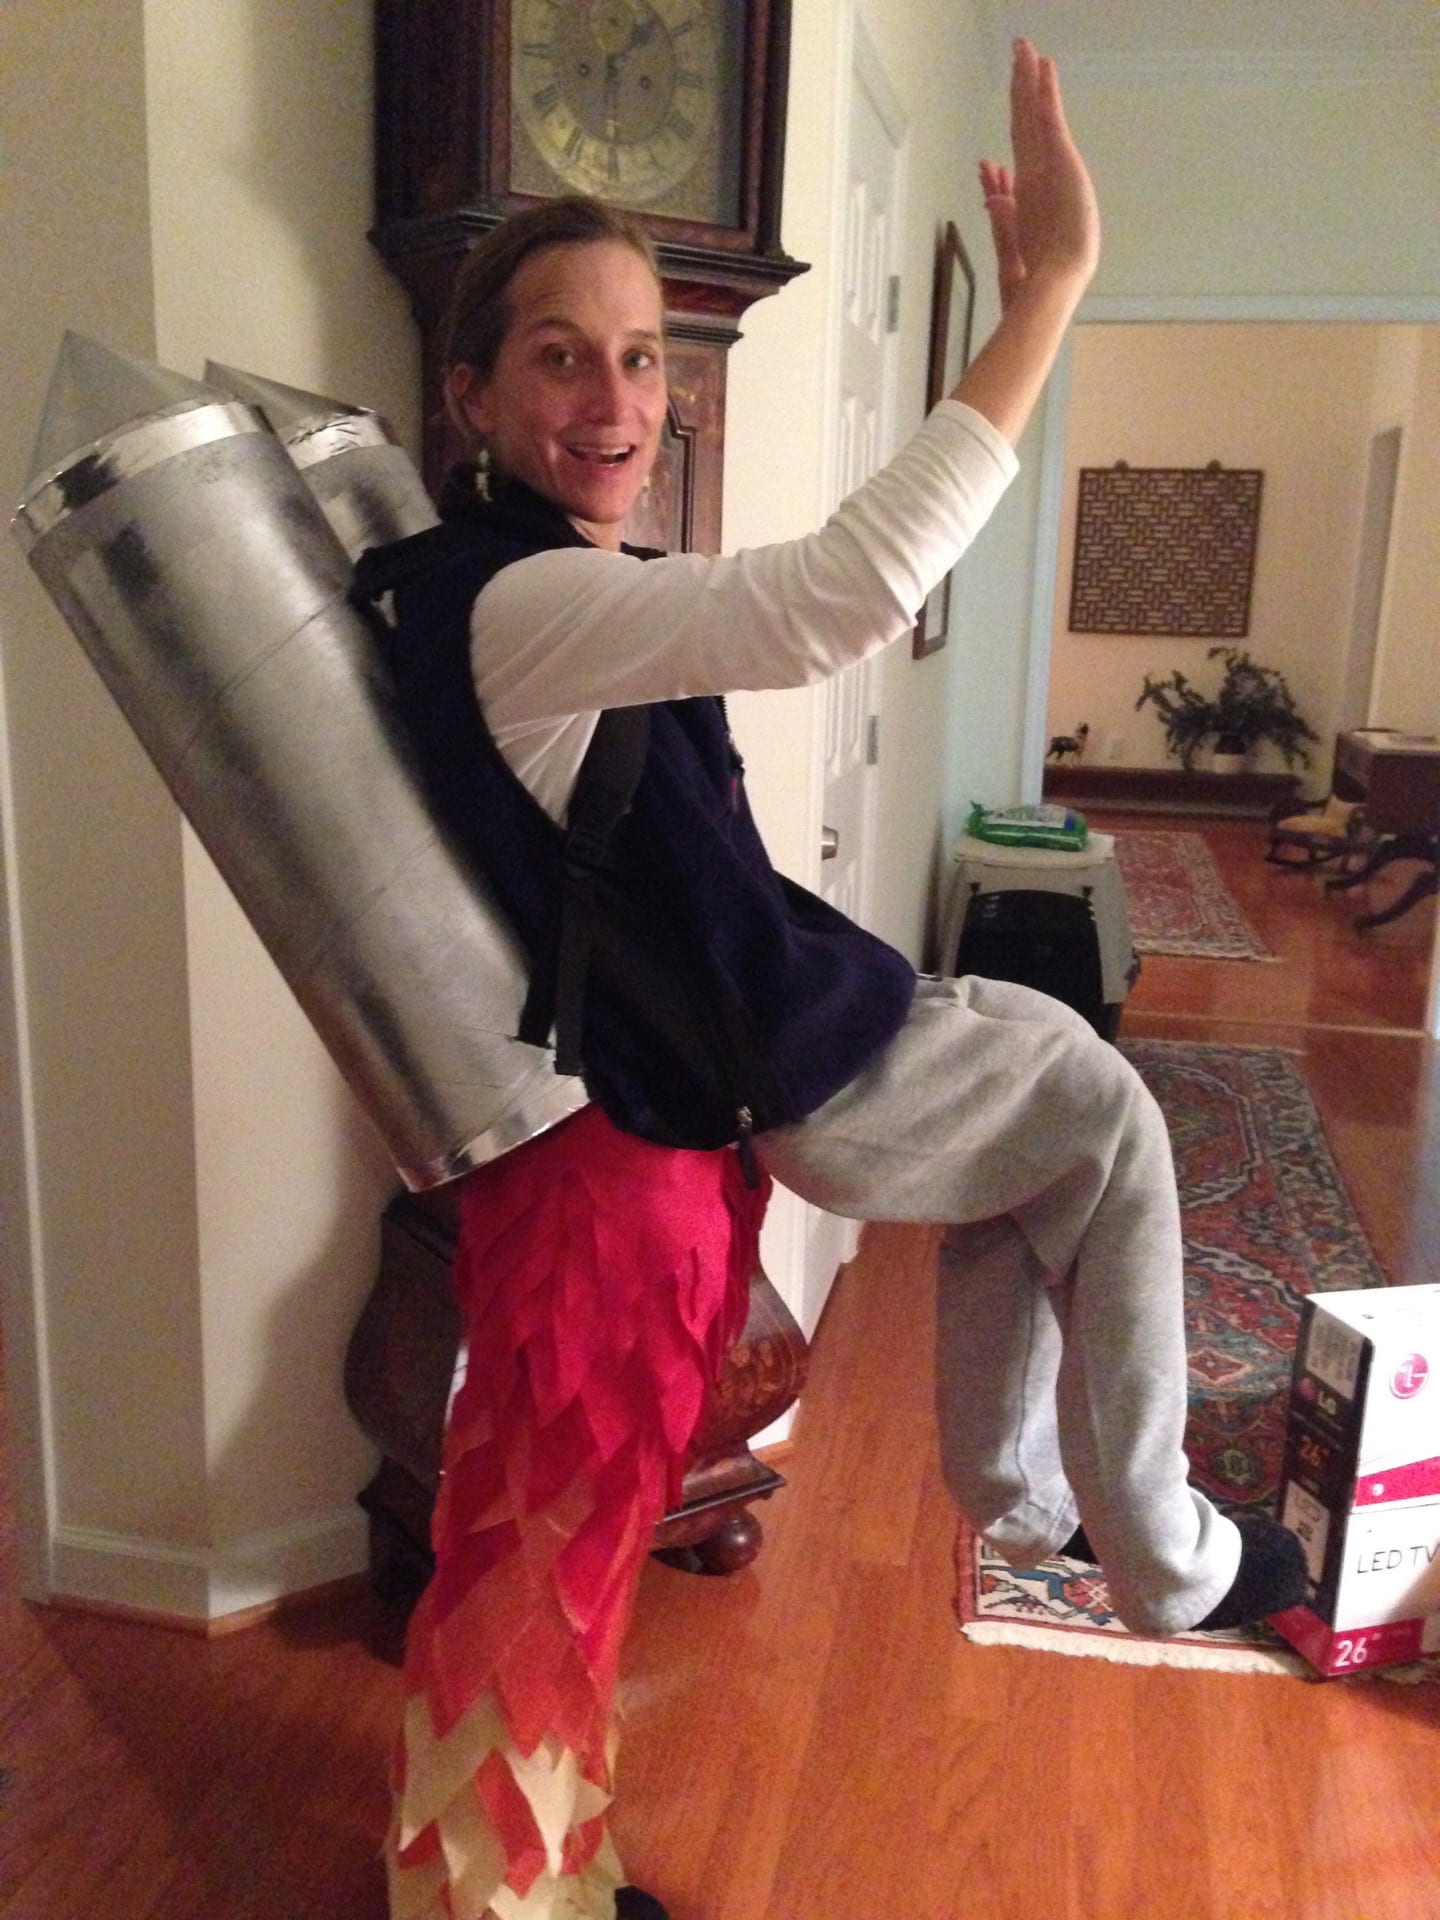
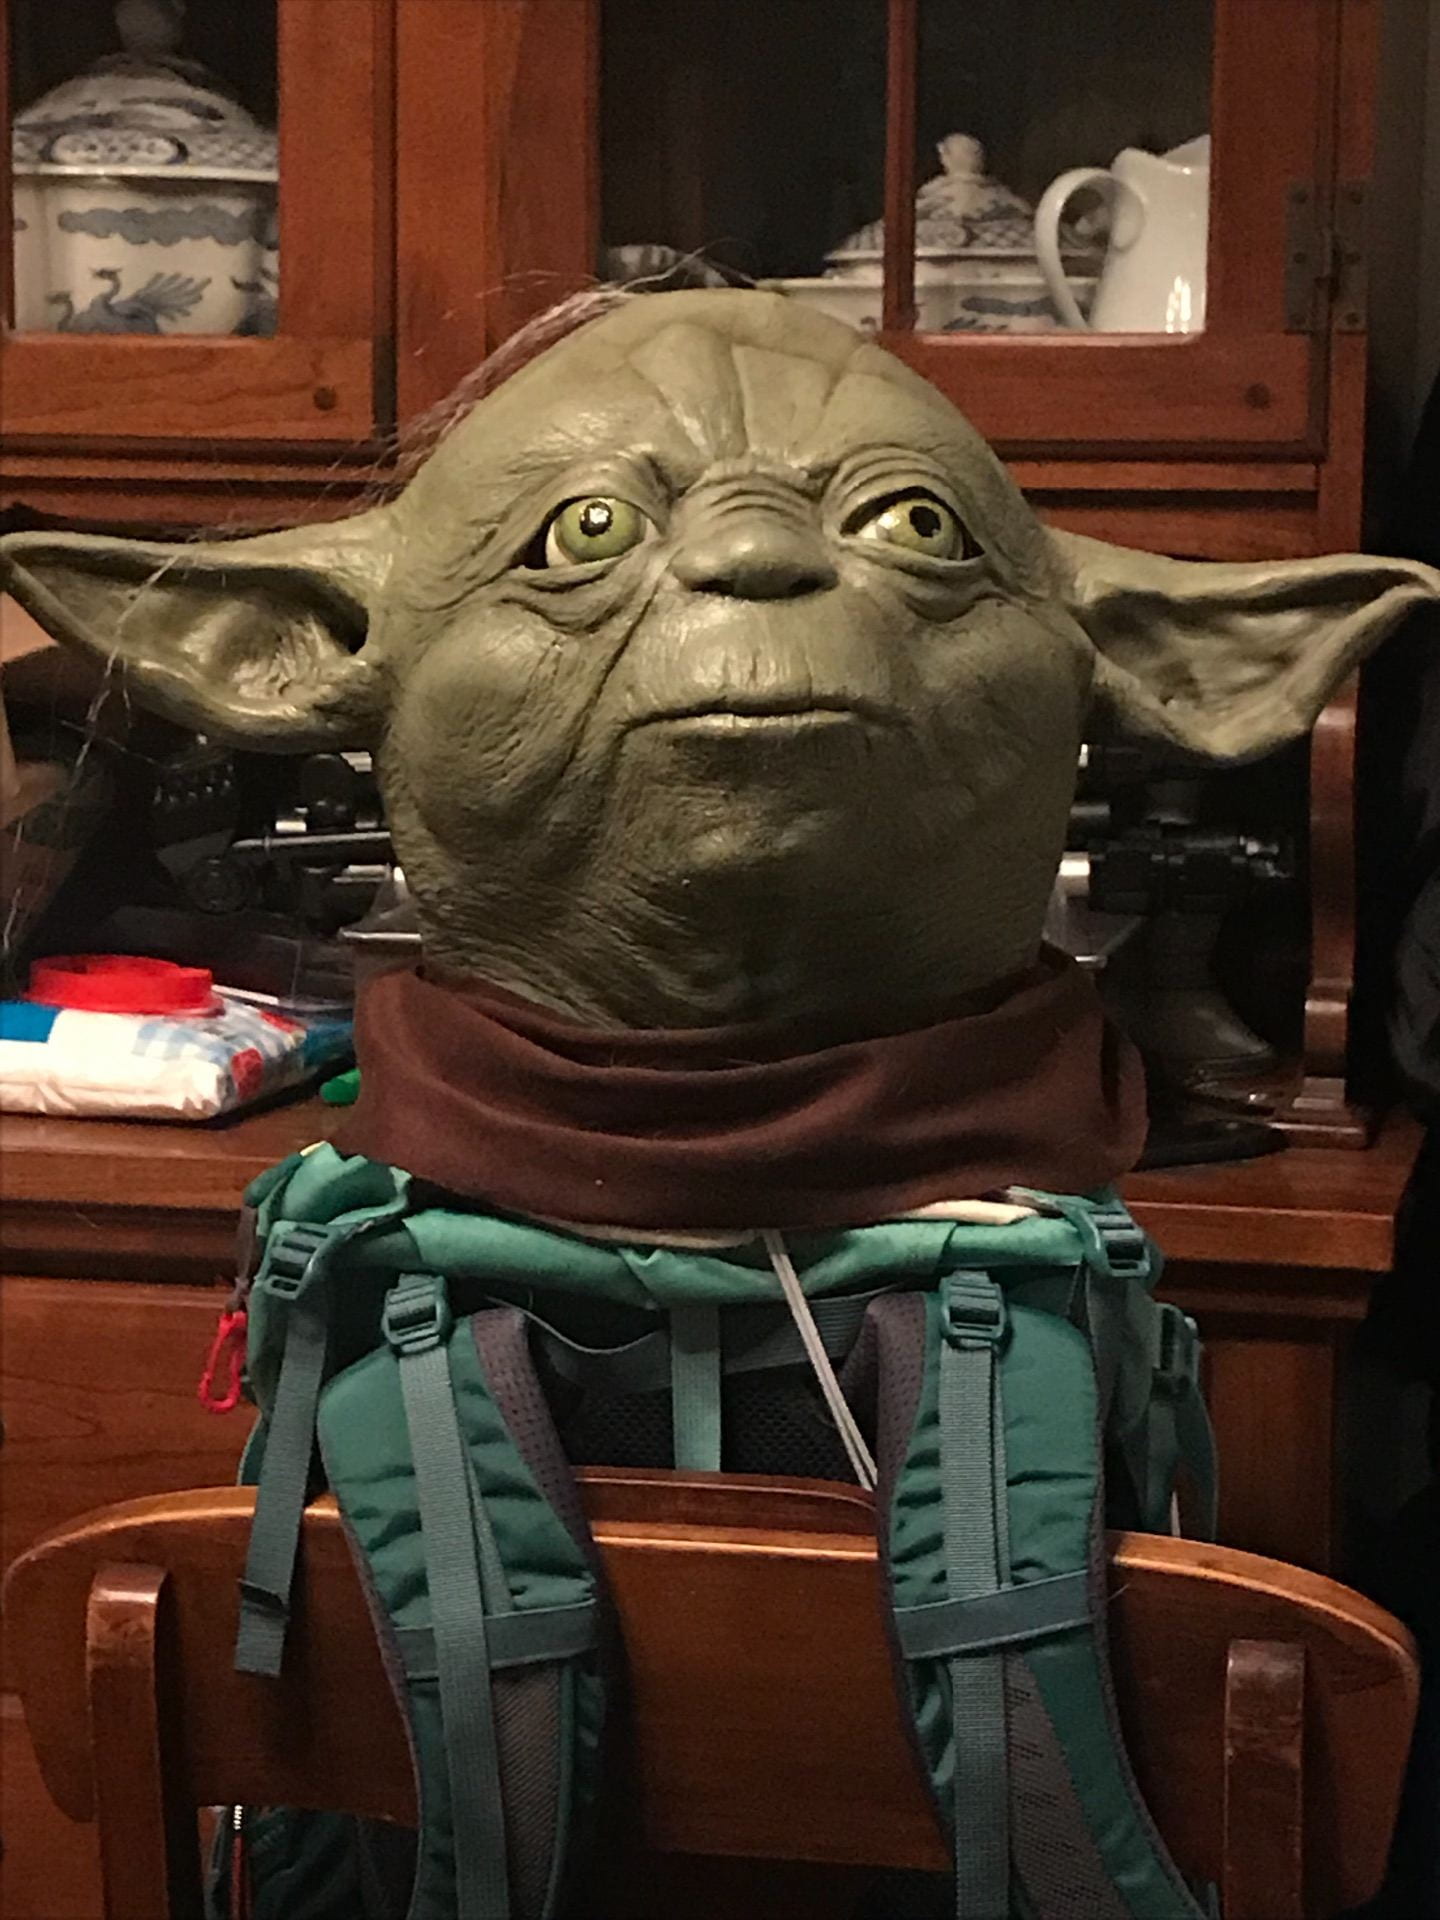
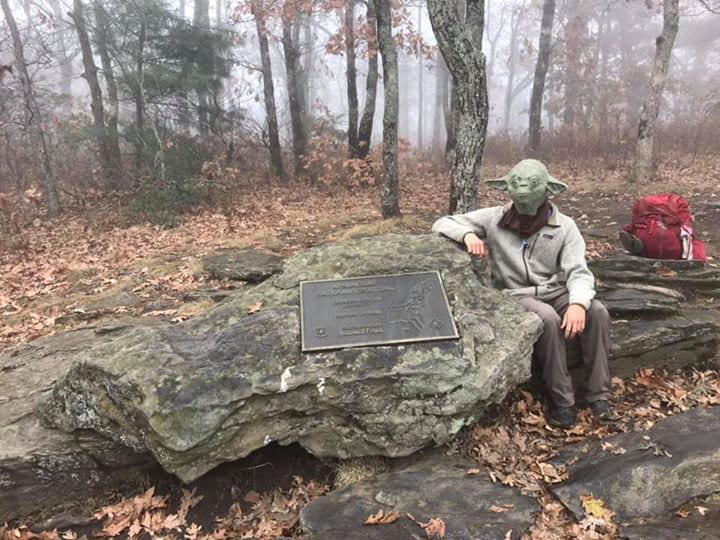
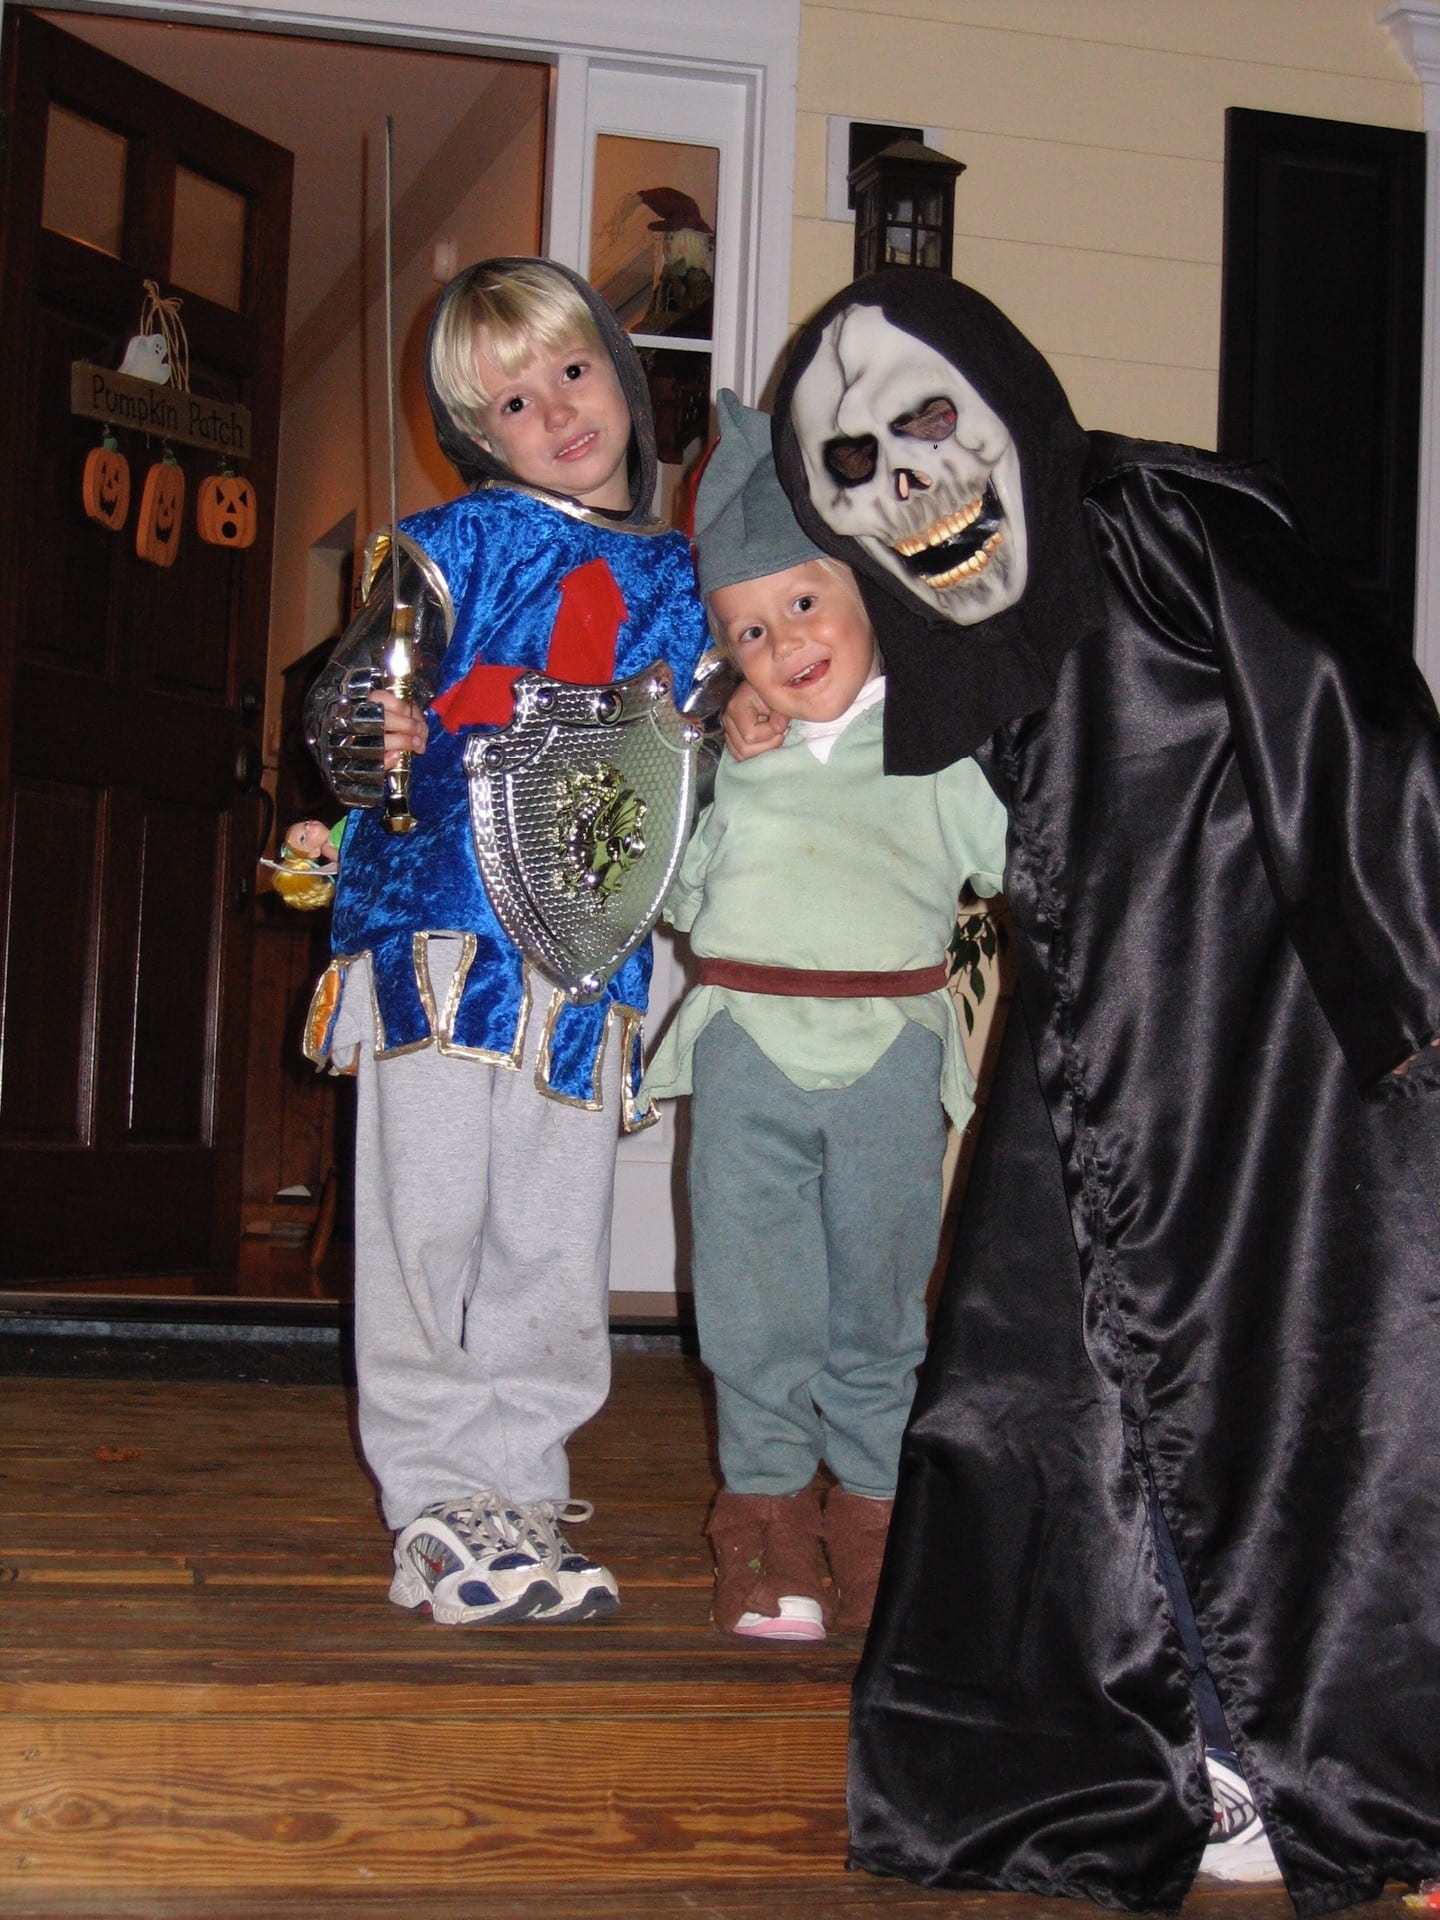
Now Jack wasn’t sure what to be. A Teenage Mutant Ninja Turtle was his first thought. But then I had an idea. Star Wars is an important thing to him. He grew up watching it with our family, his first date with his girlfriend was four years ago to see the latest Star Wars movie, and the final Star Wars movie which they are excited to see is being released in December. We had an old latex Yoda mask, so I thought of this…
He was excited and I went to work. First, how to get the mask to stay on top of his pack and how to “fill it” since it wasn’t going on someone’s head and was going to be packed flat. It had to be light and easy to pack. Ah ha…a balloon! Blown up inside, it was the perfect size. I attracted elastic cords to the base and they could be pulled down and secured to various points on his pack.
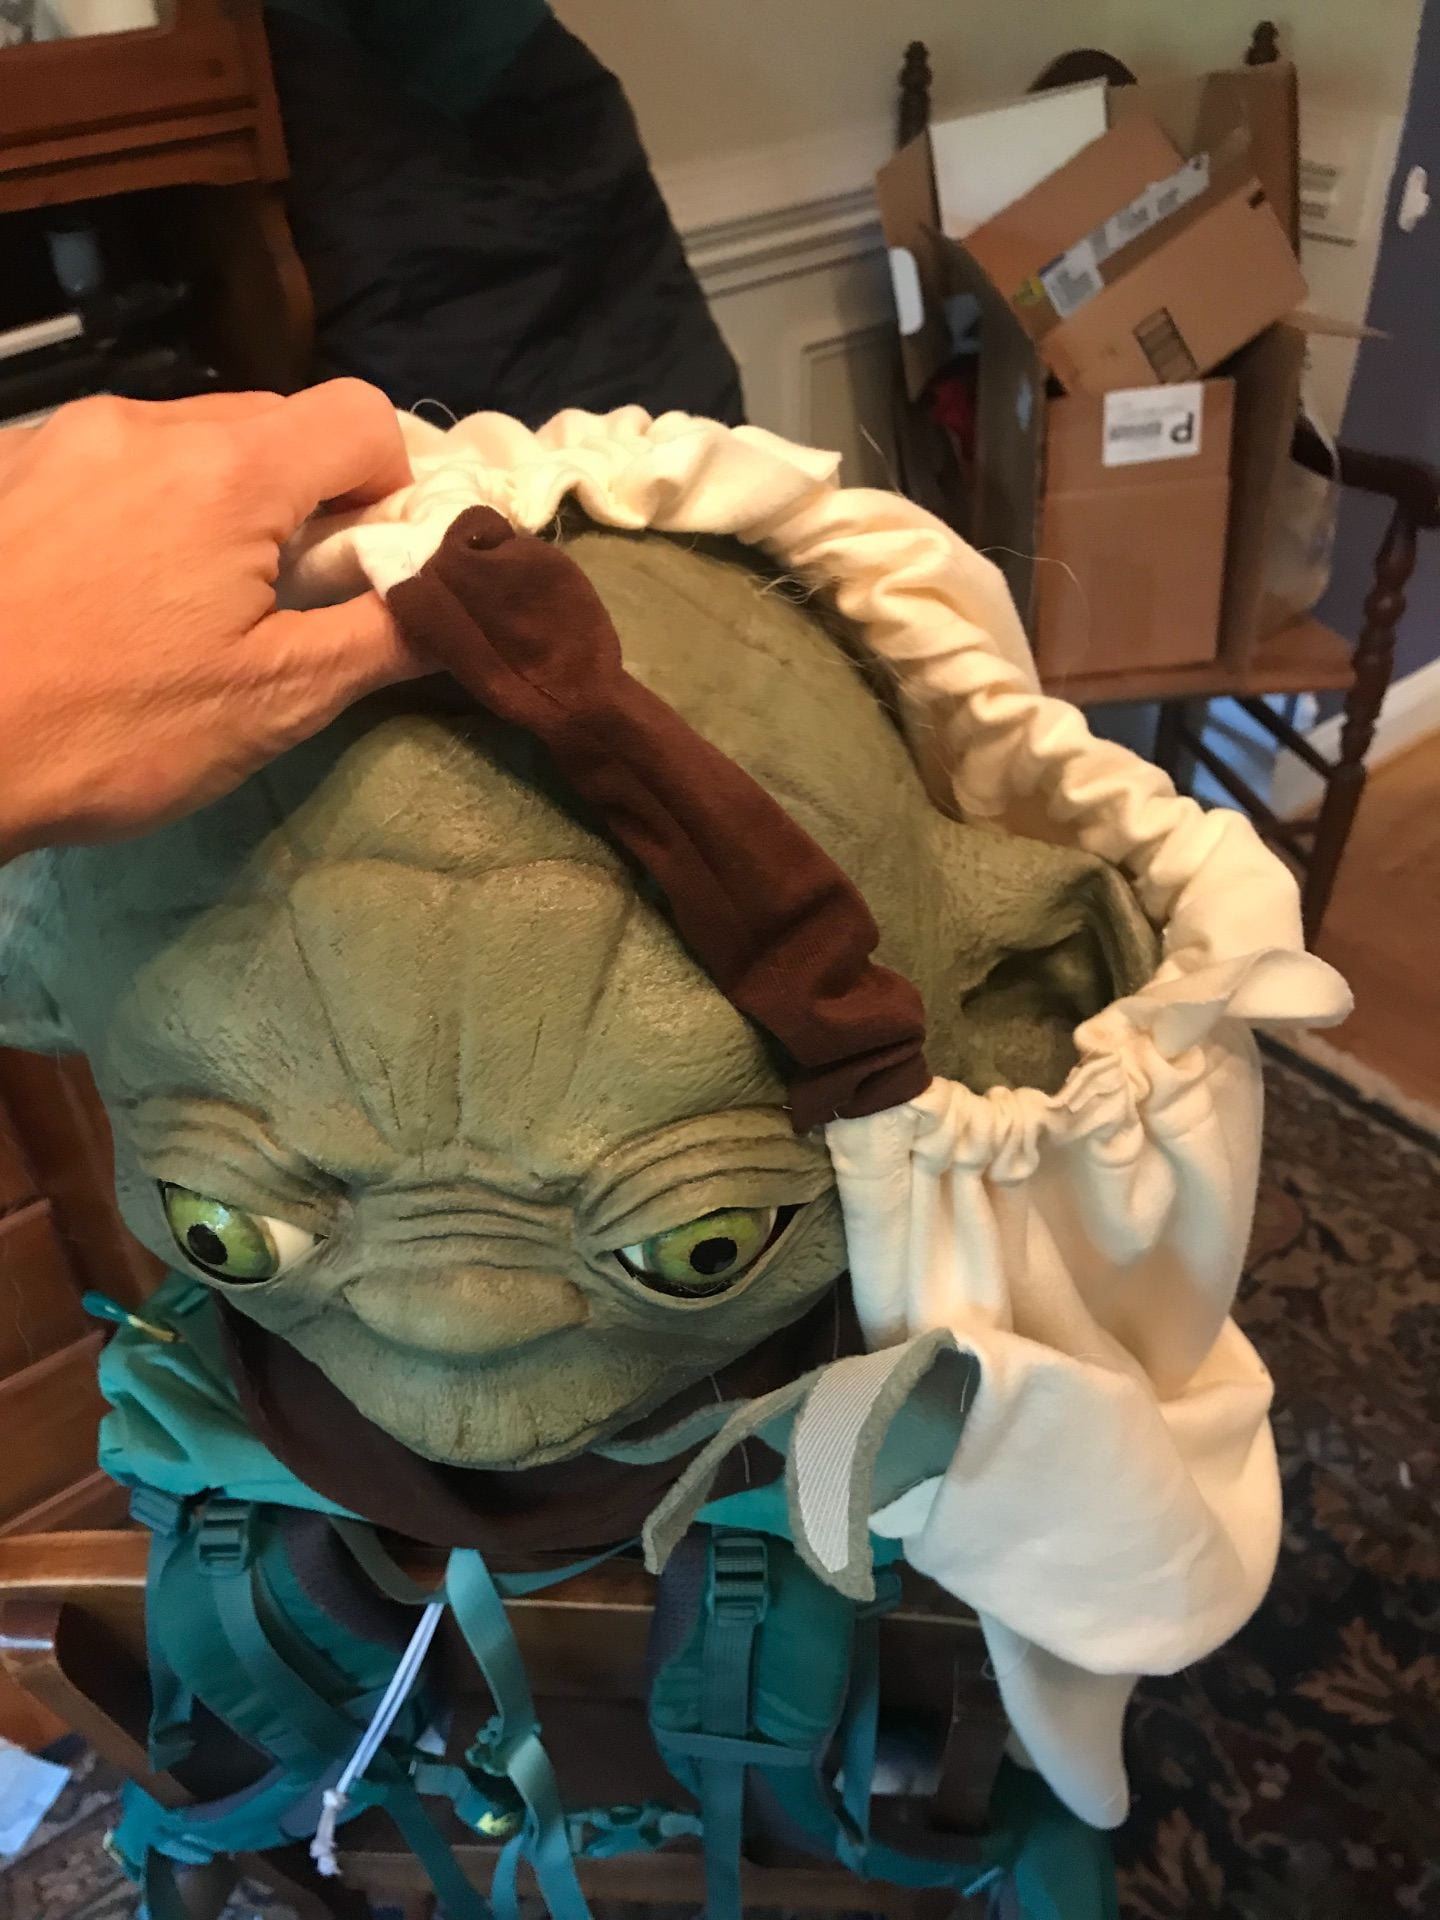
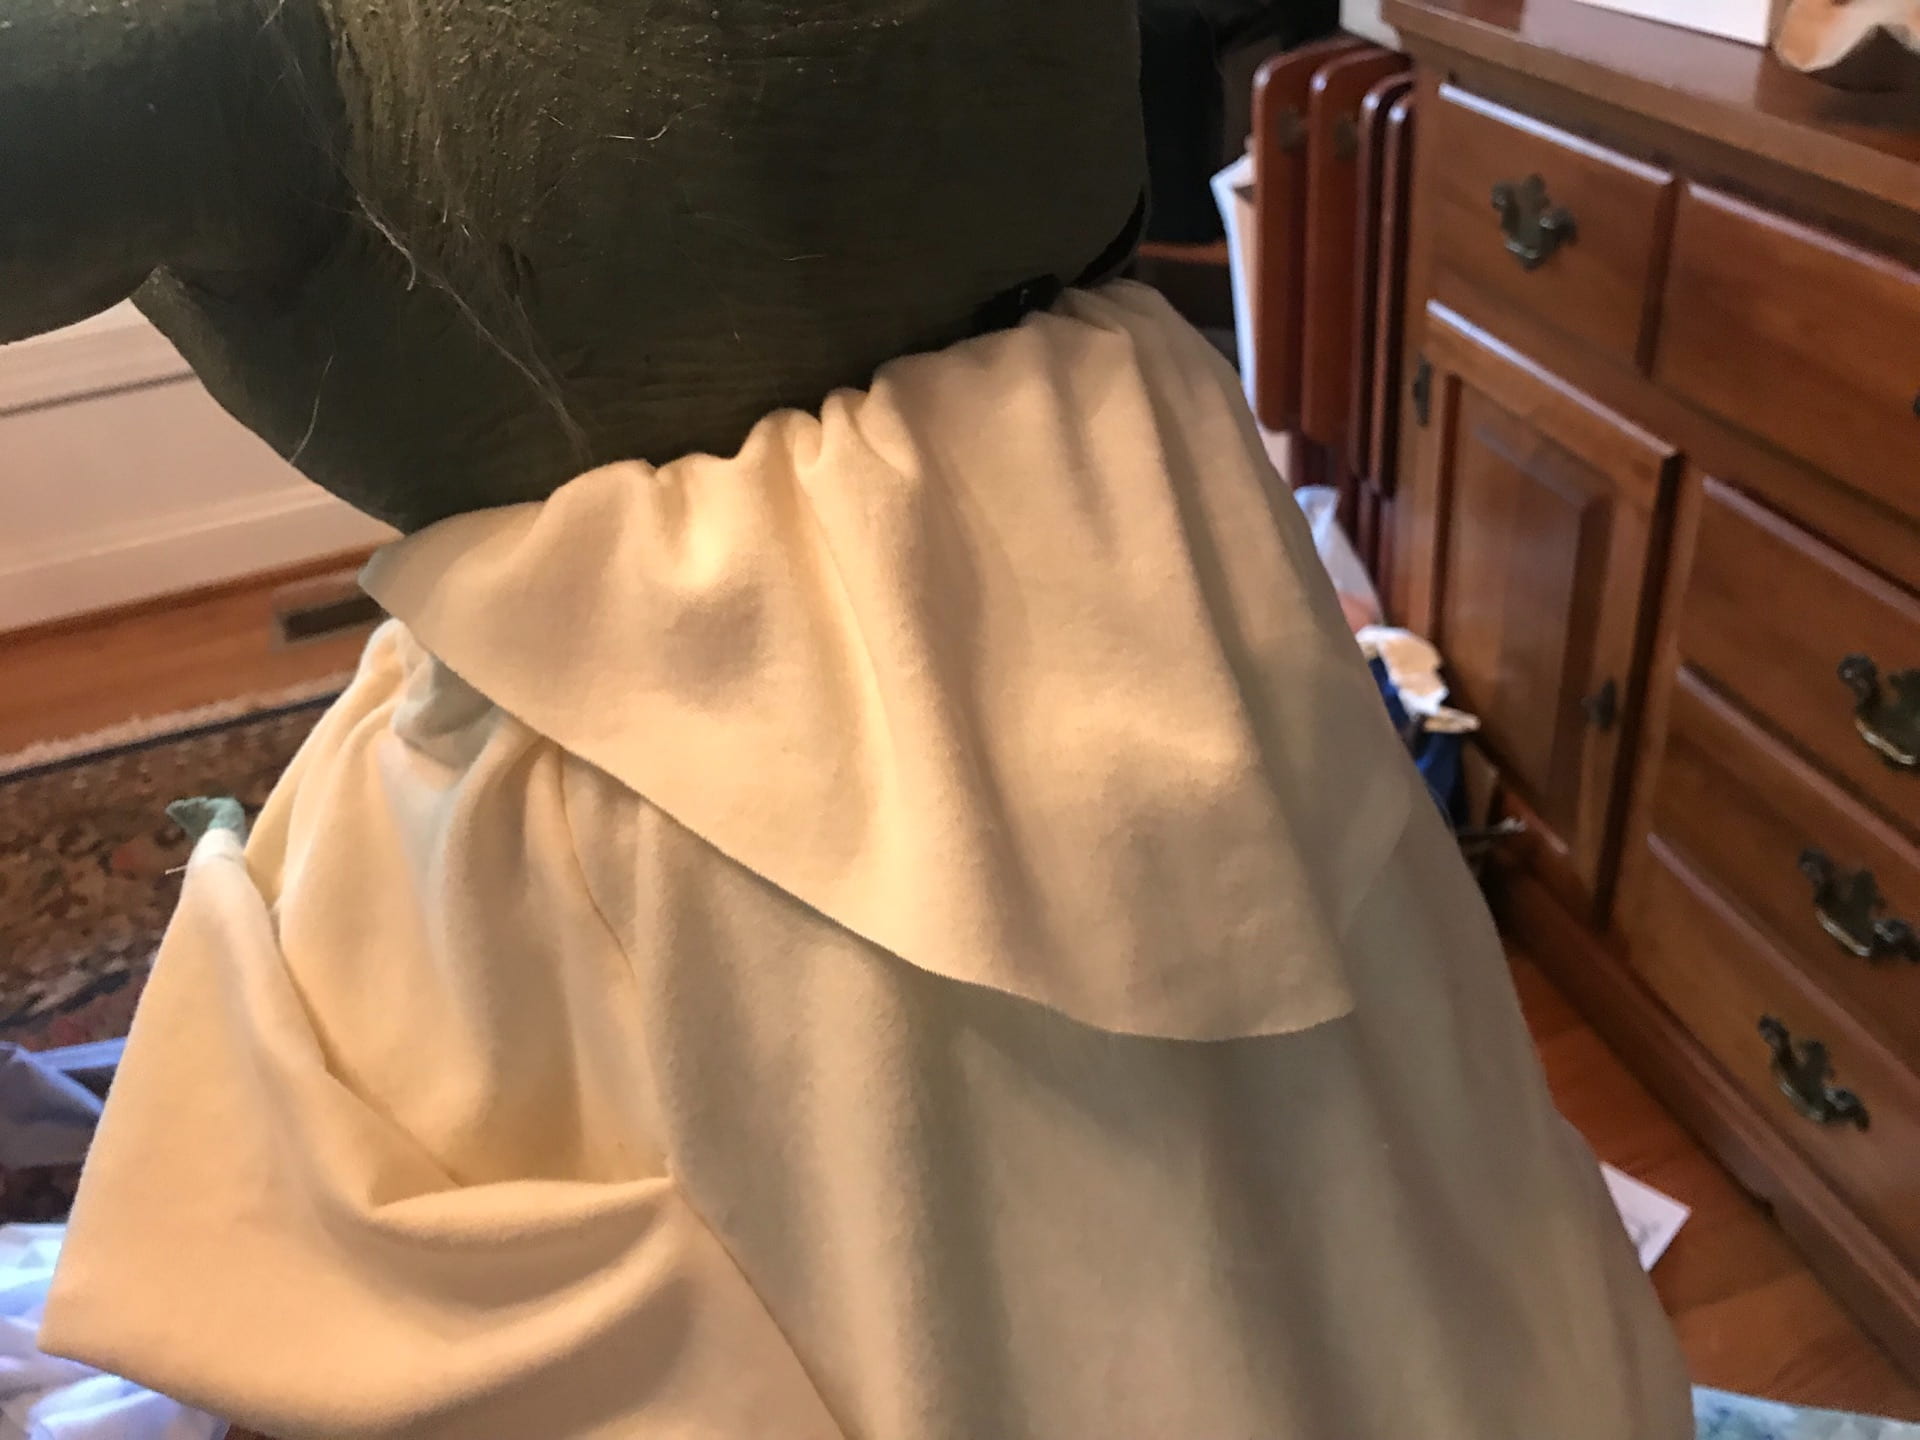
Next was Yoda’s robe. That was easy to make out of some soft and stretchy fabric with an elastic neck that could slip over the mask and be secured around and u dear his pack. It worked out well because it ended up looking like Yoda as sitting on his sleeping pad that was tied to the outside of his pack.

Jack had tan hiking pants with him, so I sent a grubby-looking sleeveless T-shirt to wear on top with a flesh-colored dryfit long sleeve T in case it was cold. A couple inflatable light sabers from Amazon and the costume was complete
Alas, Amazon delivery was late and the weather could not have been worse! It poured all day on Halloween and they were both drenched! To make matters worse, the temps fell below freezing that night and they woke to frozen gear! They had to bang their hiking shoes on the ground to “crack” them enough to get them on. Jack had to hold hand warmers on the ropes of their bear bag (a Kevlar bag they store all their food and garbage in and hang from a tree to protect it from animals) for twenty minutes to thaw them enough to untie!
But as the sun rose, they donned their costumes and celebrated a belated Hiker Halloween!
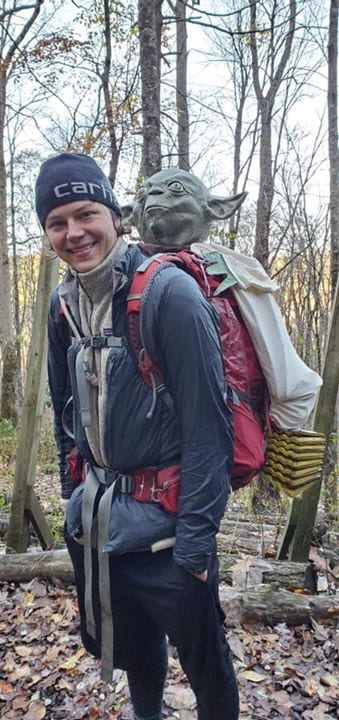

And…Yoda was right their with them when they finished their 2,192 mile journey on top of Springer Mountain in GA a week later 🙂
Baking Bonanza!
April and May are turning into a cake creating carnival! My 14-year-old oven is struggling under the pressure of repeated 45 minute stints at 325 degrees. Over and over it has been nurturing gooey batter into risen layers of delicious cake. It’s handle is loose, it’s display has dimmed to the point of being almost illegible, and it’s temperature swings have grown to a point that almost ruins what I’m baking. I think I’m making it’s imminent replacement necessary!
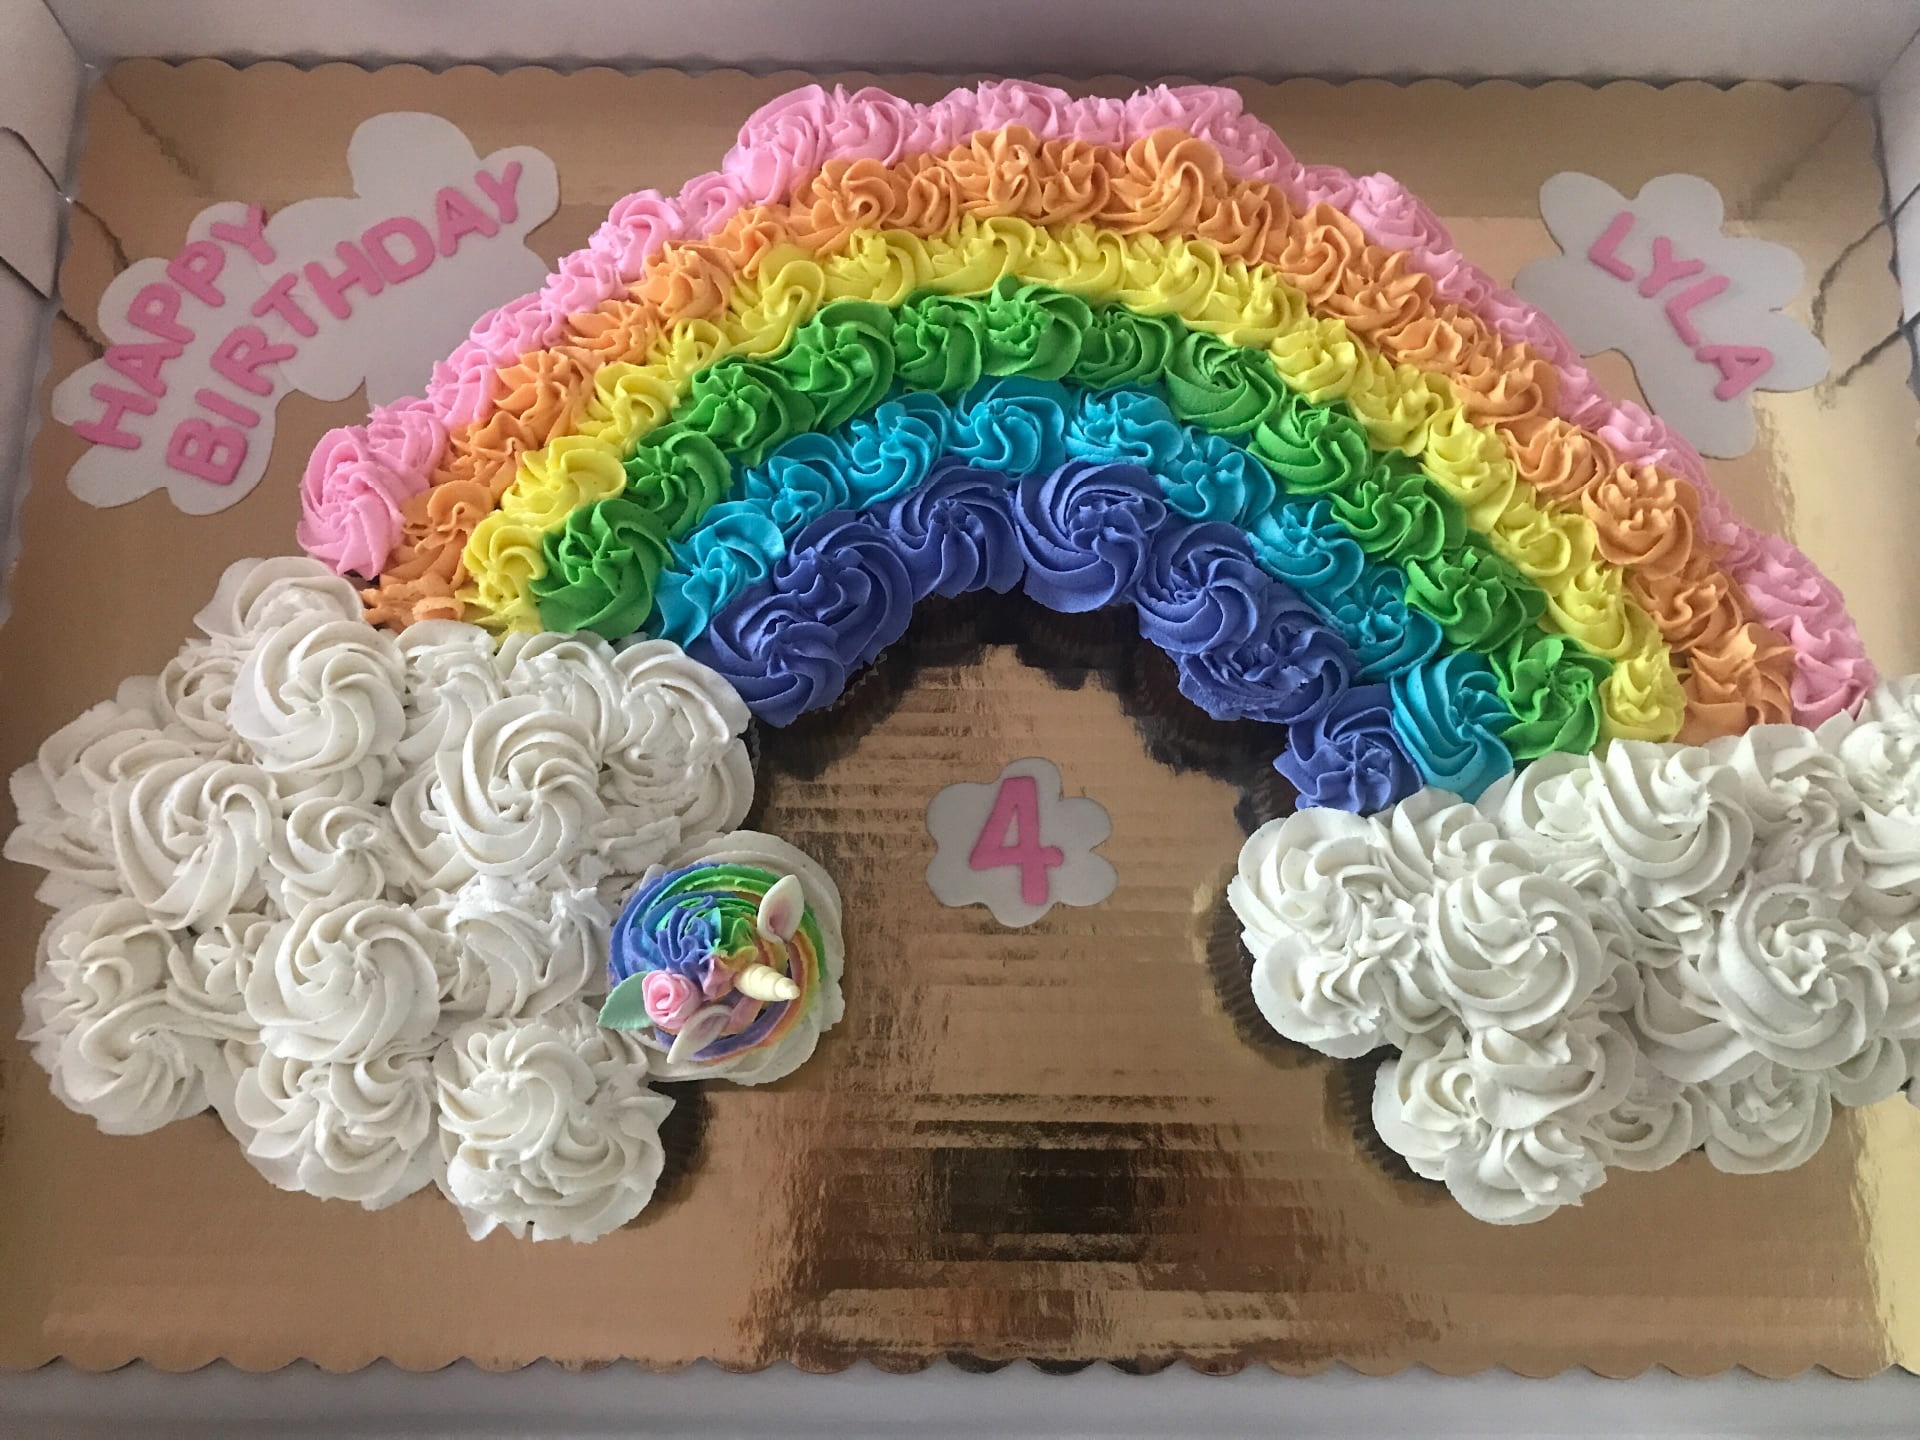
Right now, I’m working on a Lily and her purple purse cake for the 1st grade Kevin Henkes lunch. I made this cake 10 year’s ago when my daughter was in 1st grade, so it’s a fun and nostalgic endeavor. But this past weekend, I finished pull-apart cupcake cake for a children’s birthday party. The birthday girl was stuck between a rainbow and a unicorn cake, and decided on the rainbow. So I set to work.
First, the cupcakes. 40 of them. My first batch of 12 failed miserably. When my second batch did the same, I pulled out my oven thermometer and went to work figuring what was wrong with frustrated determination. I concluded it was a result of my aging oven and tried to show it some compassion. It fluctuates I temperature and has one side hotter than the other. I decided to try cooking at a lower, slower temperature and that seemed to help. The next batches turned out much better.
With 48 chocolate cupcakes baked and cooled it was time to set about decorating. I cut out paper circles to experiment with cupcake layout. I played around with them until I had an arrangement I liked.
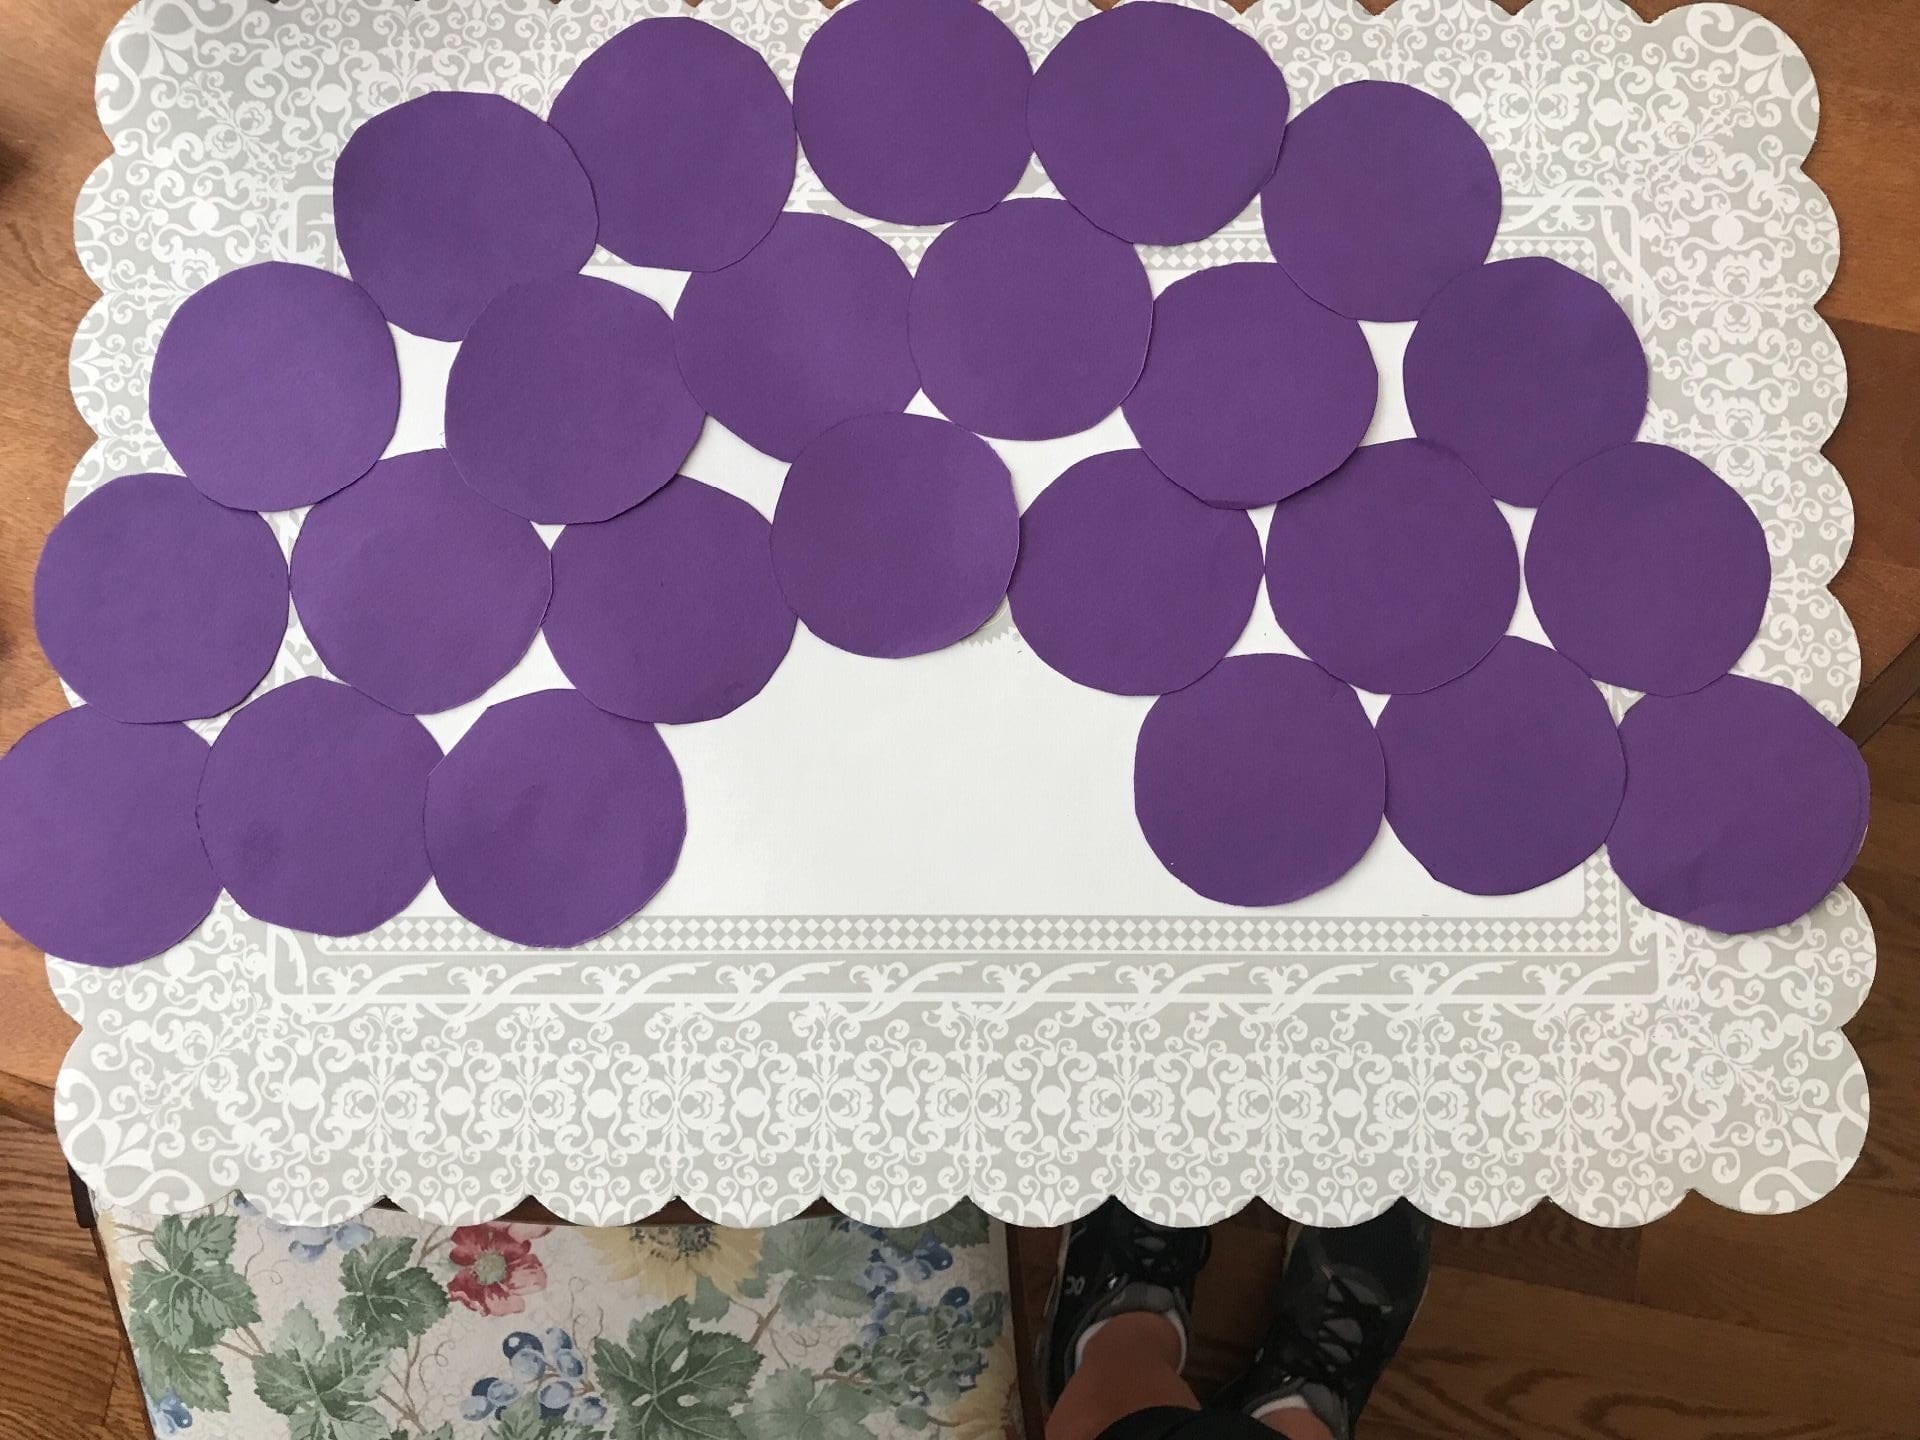
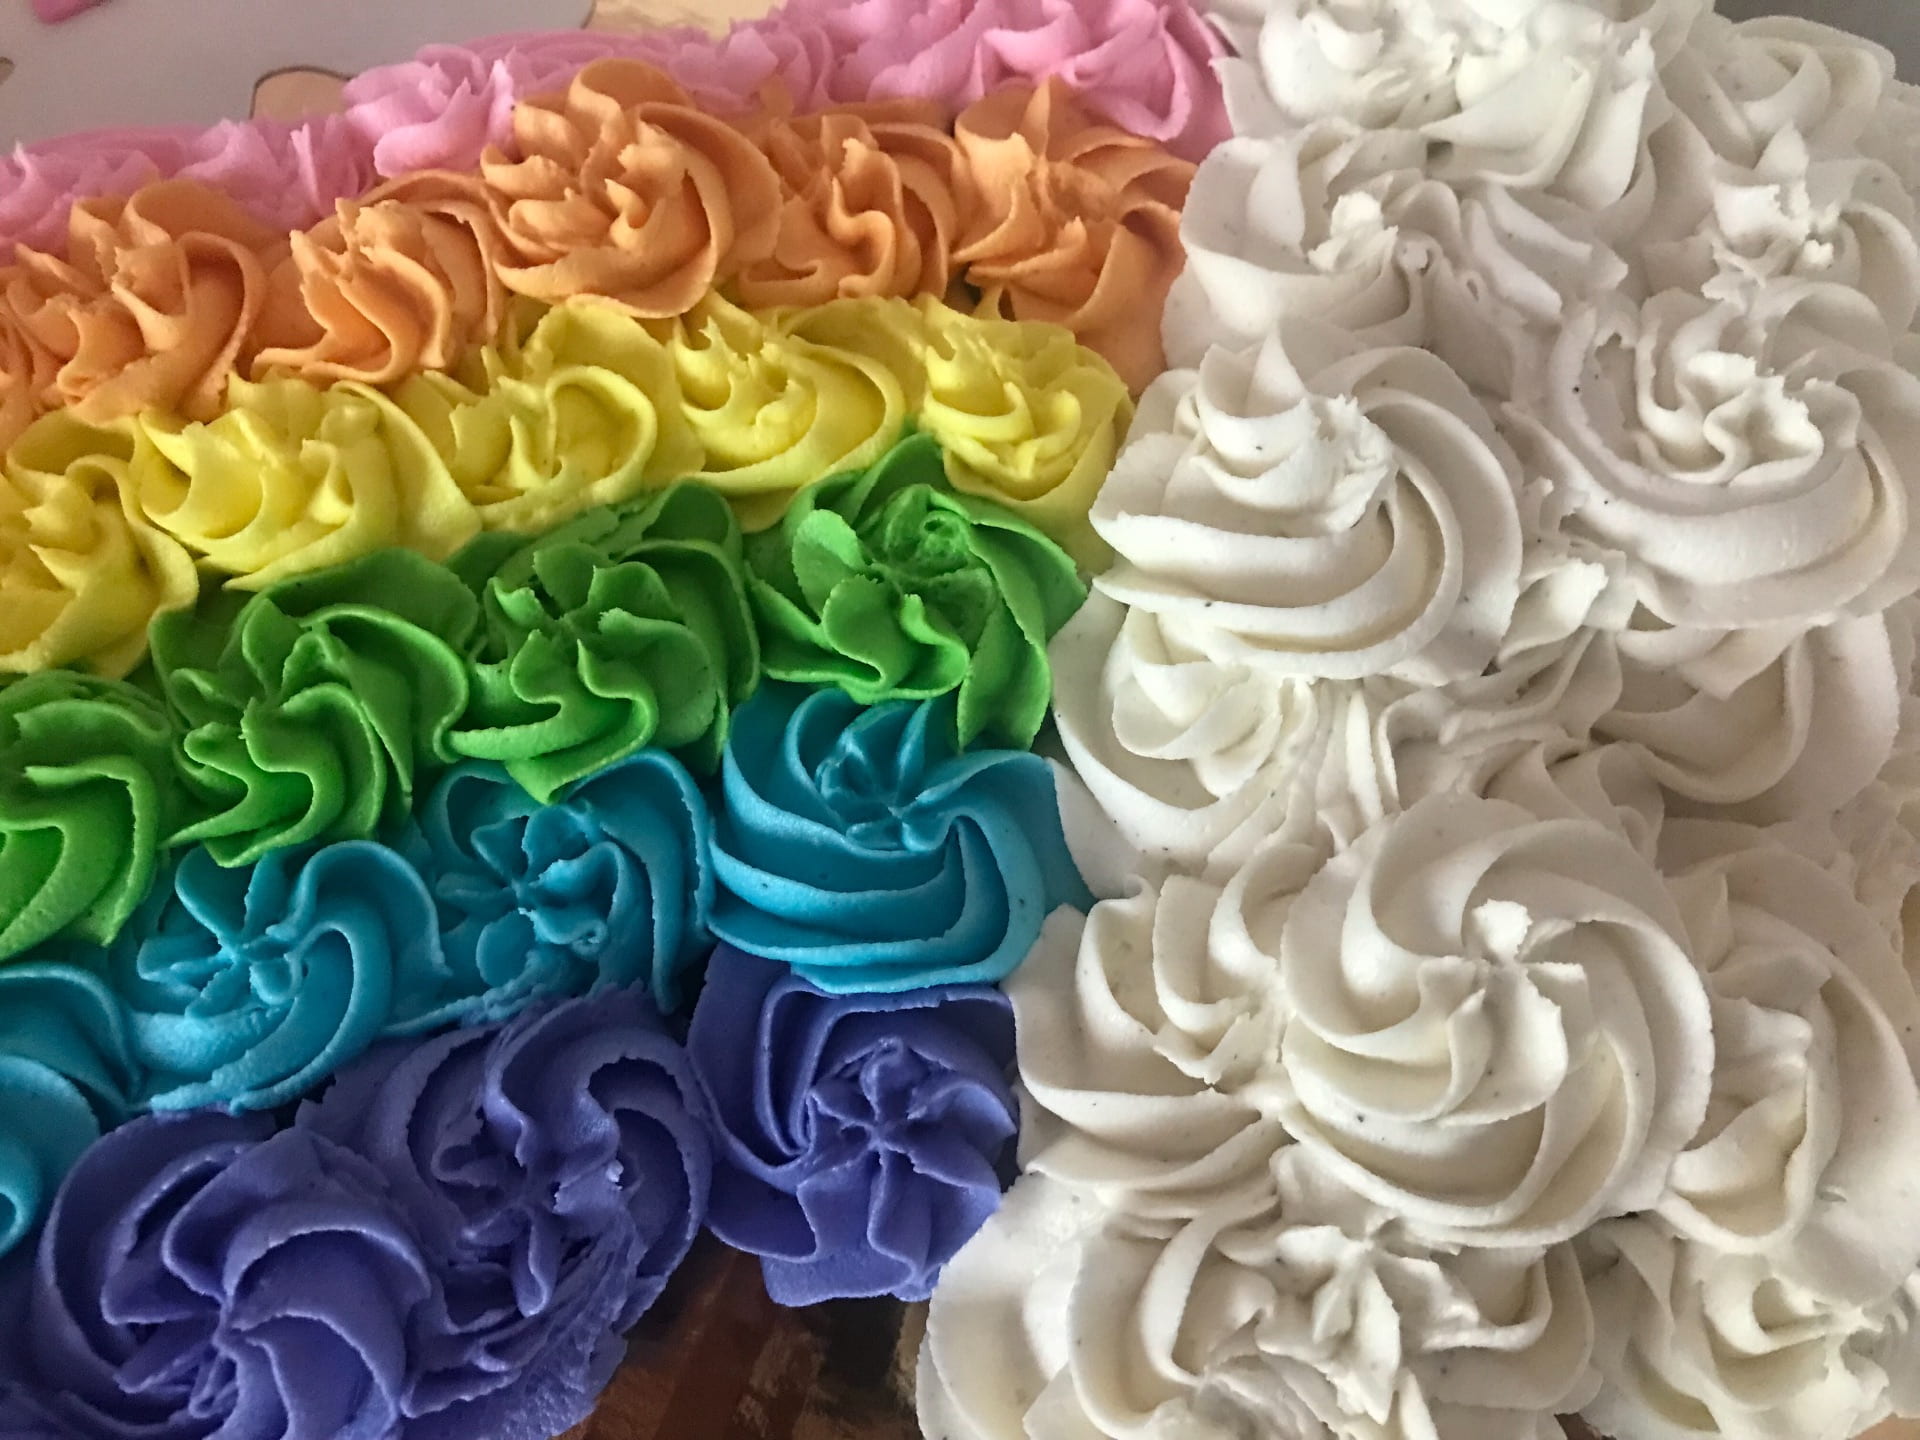
Then it was time to prepare the frosting. I made a triple batch of American buttercream frosting and divided into seven bowls. I used gel food coloring to create six rainbow colors and left the last owl white. All the frosting went into piping bags and I was ready to start. I arranged the cupcakes on a gold cake board in the pattern I chose and secured each one with a dab of frosting. I filled in any gaps between cupcakes with a squirt of frosting so that when I started decorating to top, the frosting would fall through or sag.
Next cake the fun part. With my giant 1M piping nozzle, I began to decorate the tops to look like a rainbow. I did each color one by one and then did the clouds.

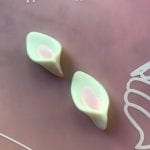
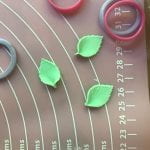
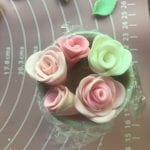
I decided to create one special cupcake for the birthday girl and decided it would be a unicorn nestled in a cloud under the rainbow. I used white fondant to create a horn and ears, and pink and green fondant to create little roses. I made several because I wasn’t sure exactly how I was going to arrange them and the sizes I’d need. I piped rows of colored frosting onto a piece of plastic wrap, then rolled it up into a log shape and dropped it into a clean piping bage. This was a cool swirl of rainbow colors can our of the tip and I created the unicarn’s mane. I painted the horn with gold luster dust and the stuck it in the cupcake with an ear on each side.
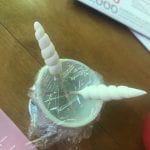
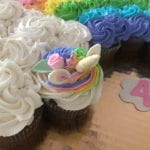
I rolled out some fondant clouds and letters for a birthday message and I was done!
Turn Fabric Fragments into Adorable Aprons
While visiting my mom over spring break, she mentioned that she wished she had a light, easy-to-put-on apron. She had an old, heavy one with LONG ties that we’re difficult to tie with her arthritic hands and rediculously tempting to her cat. I witnessed her nearly tripping over Rosie as she lunged for a dangling strap. So I started thinking…
I had often seen Mrs.McKenny, our art teacher, wearing a smart looking smock that didn’t require tying and had no daggling pieces. A quick google search gave me lots of different cool clothes cover patterns and I was set.
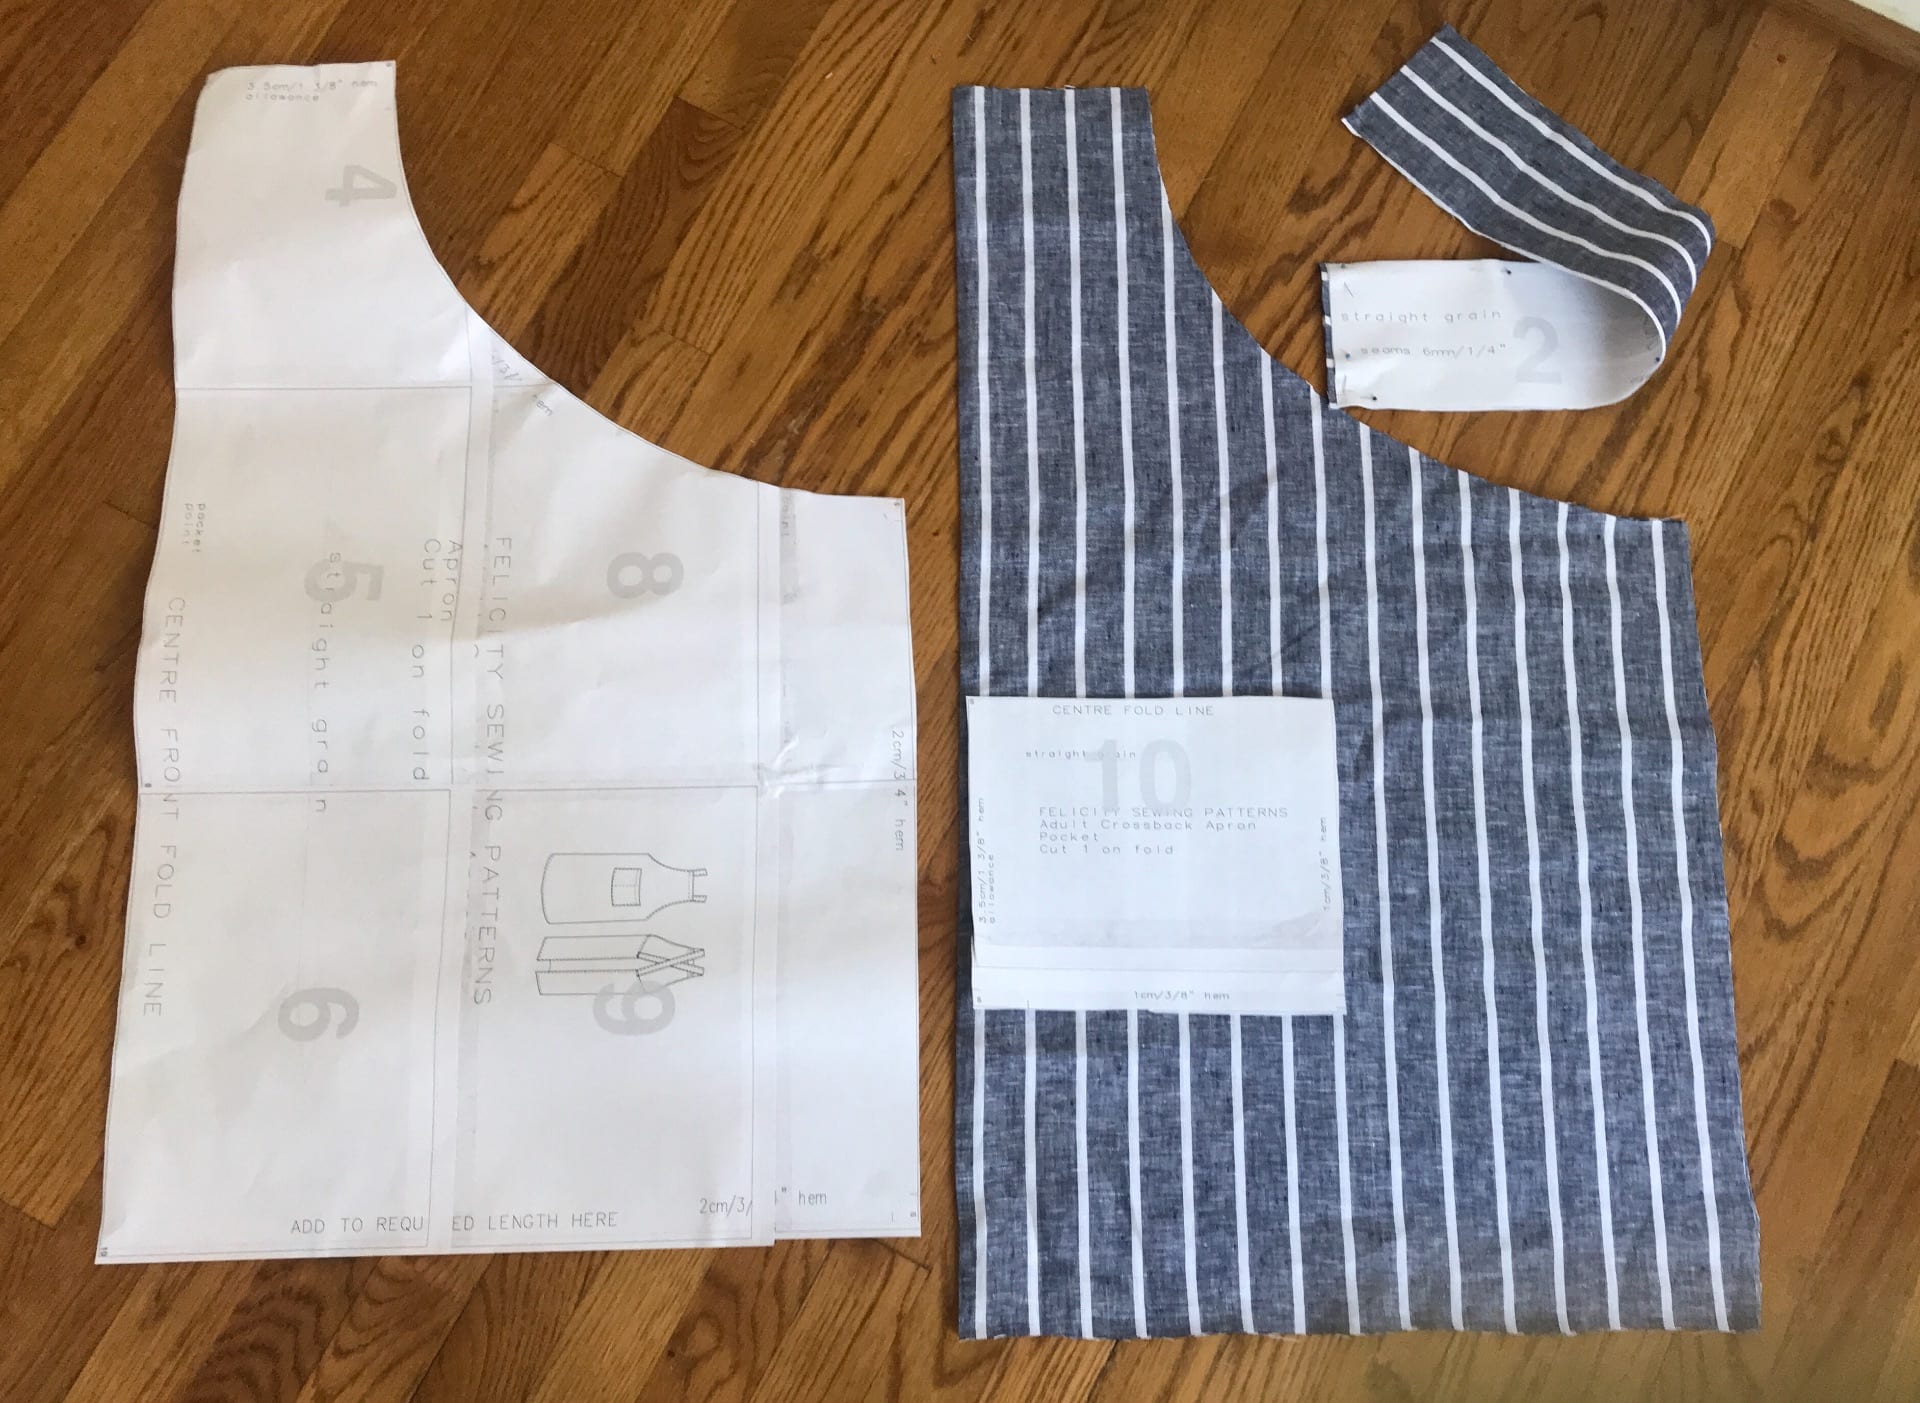
As I roamed through Joann Fabrics, I came to the remnant bins. I love repurposing, reusing and recycling, so I happily dug through them all. It was my lucky day because I found a 1+yard piece of linen fabric that would work perfectly.
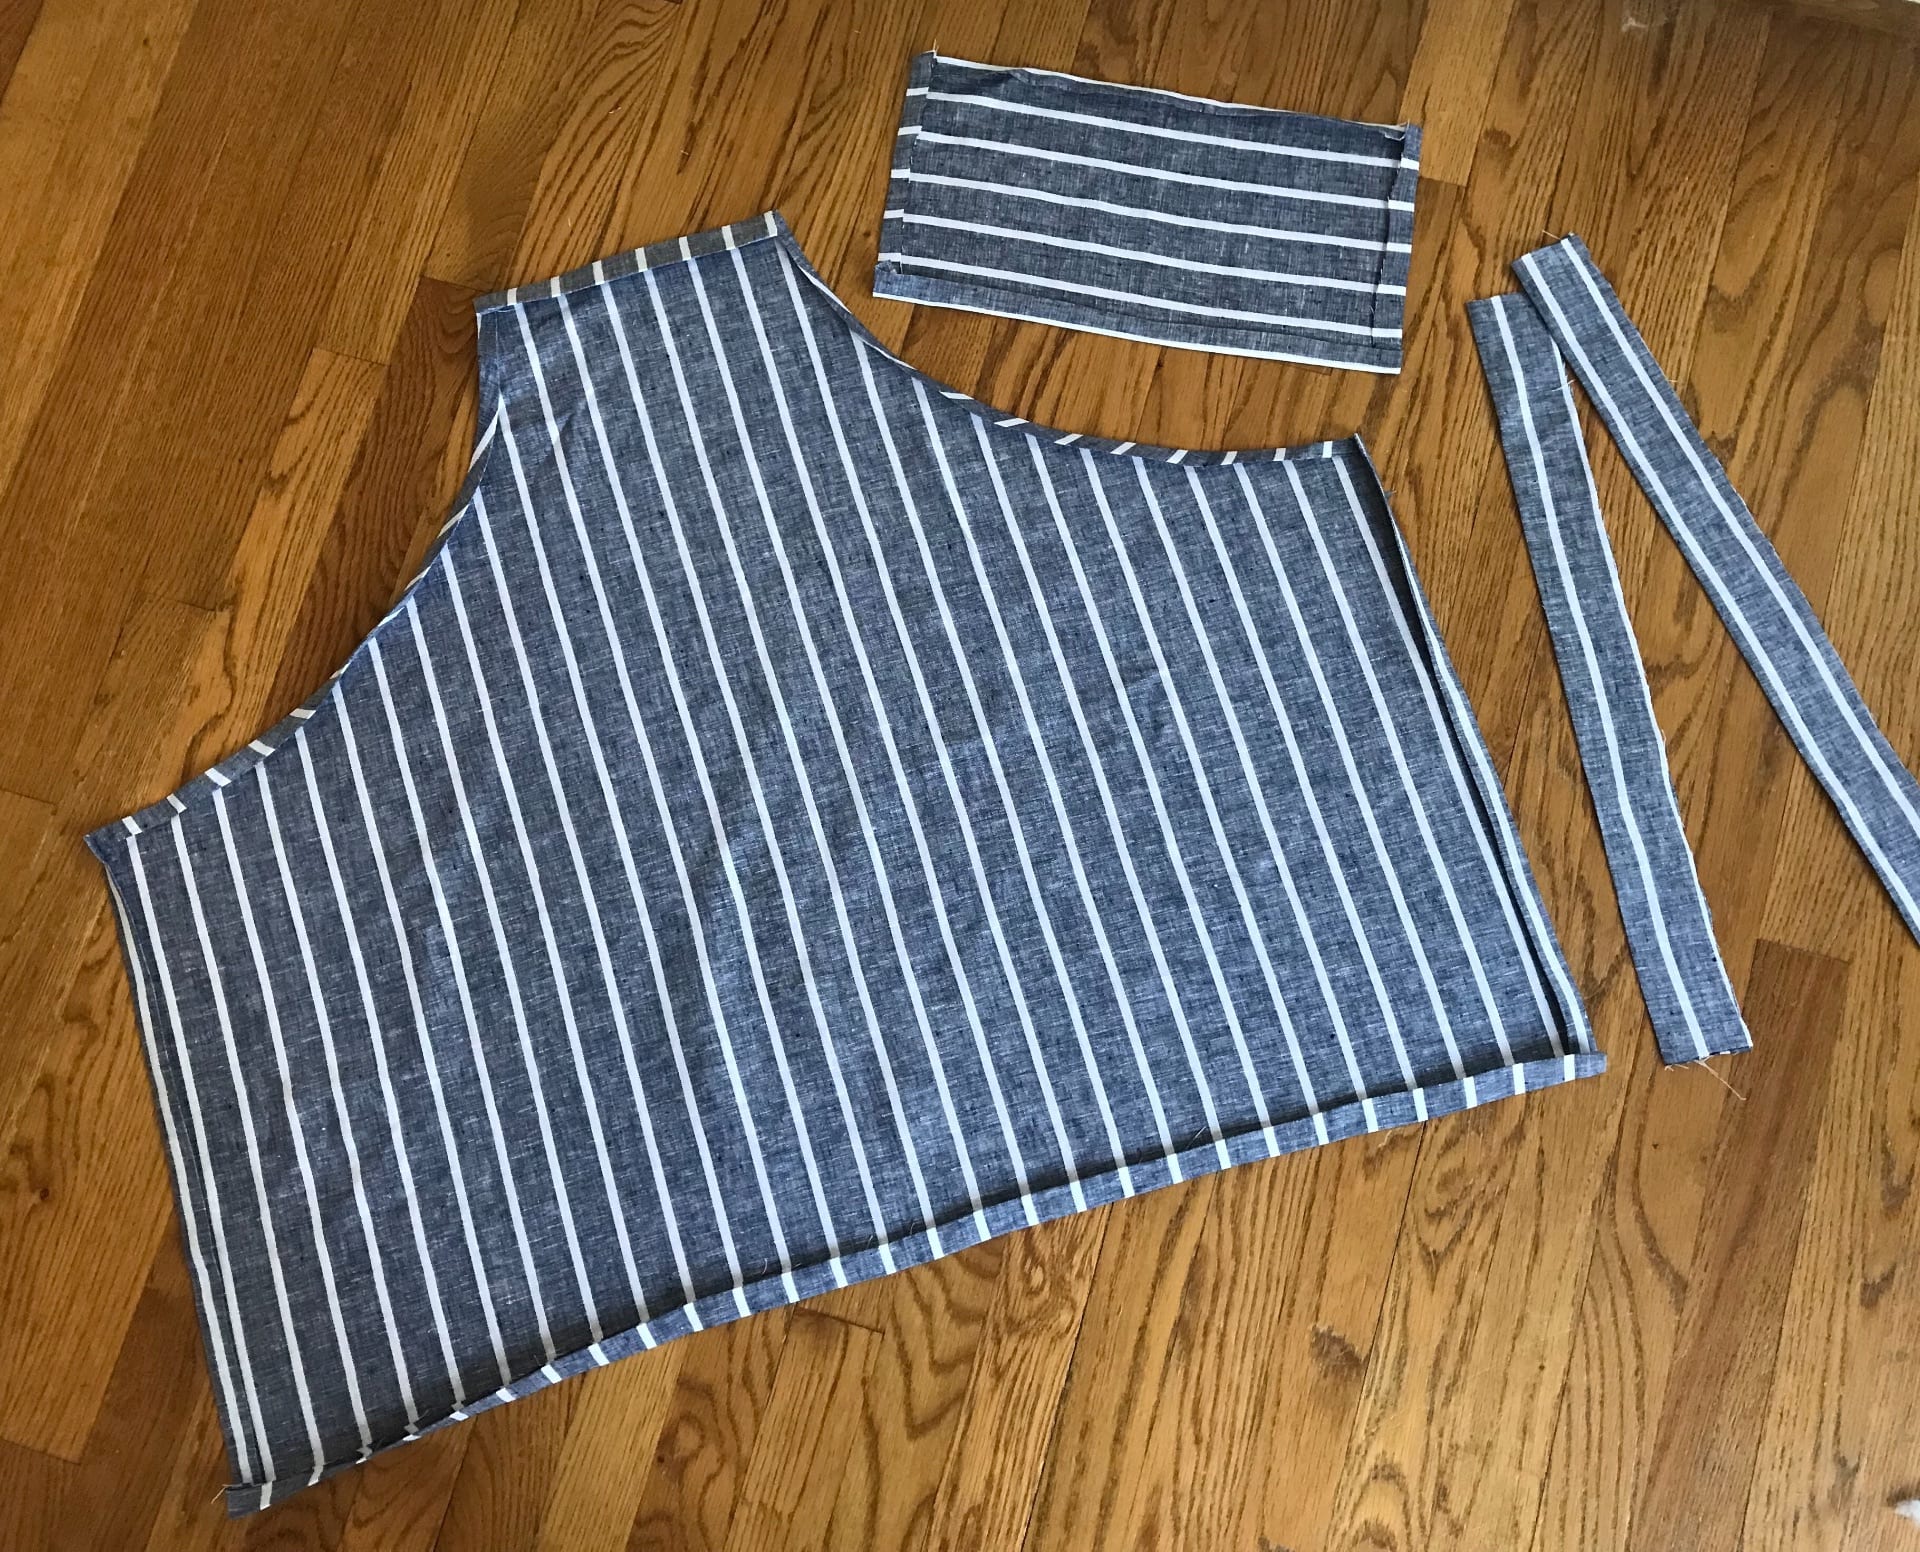
When I got home, I printed out the pattern and pinned it to the fabric. I carefully cut out the body, straps and pocket according to the pattern.
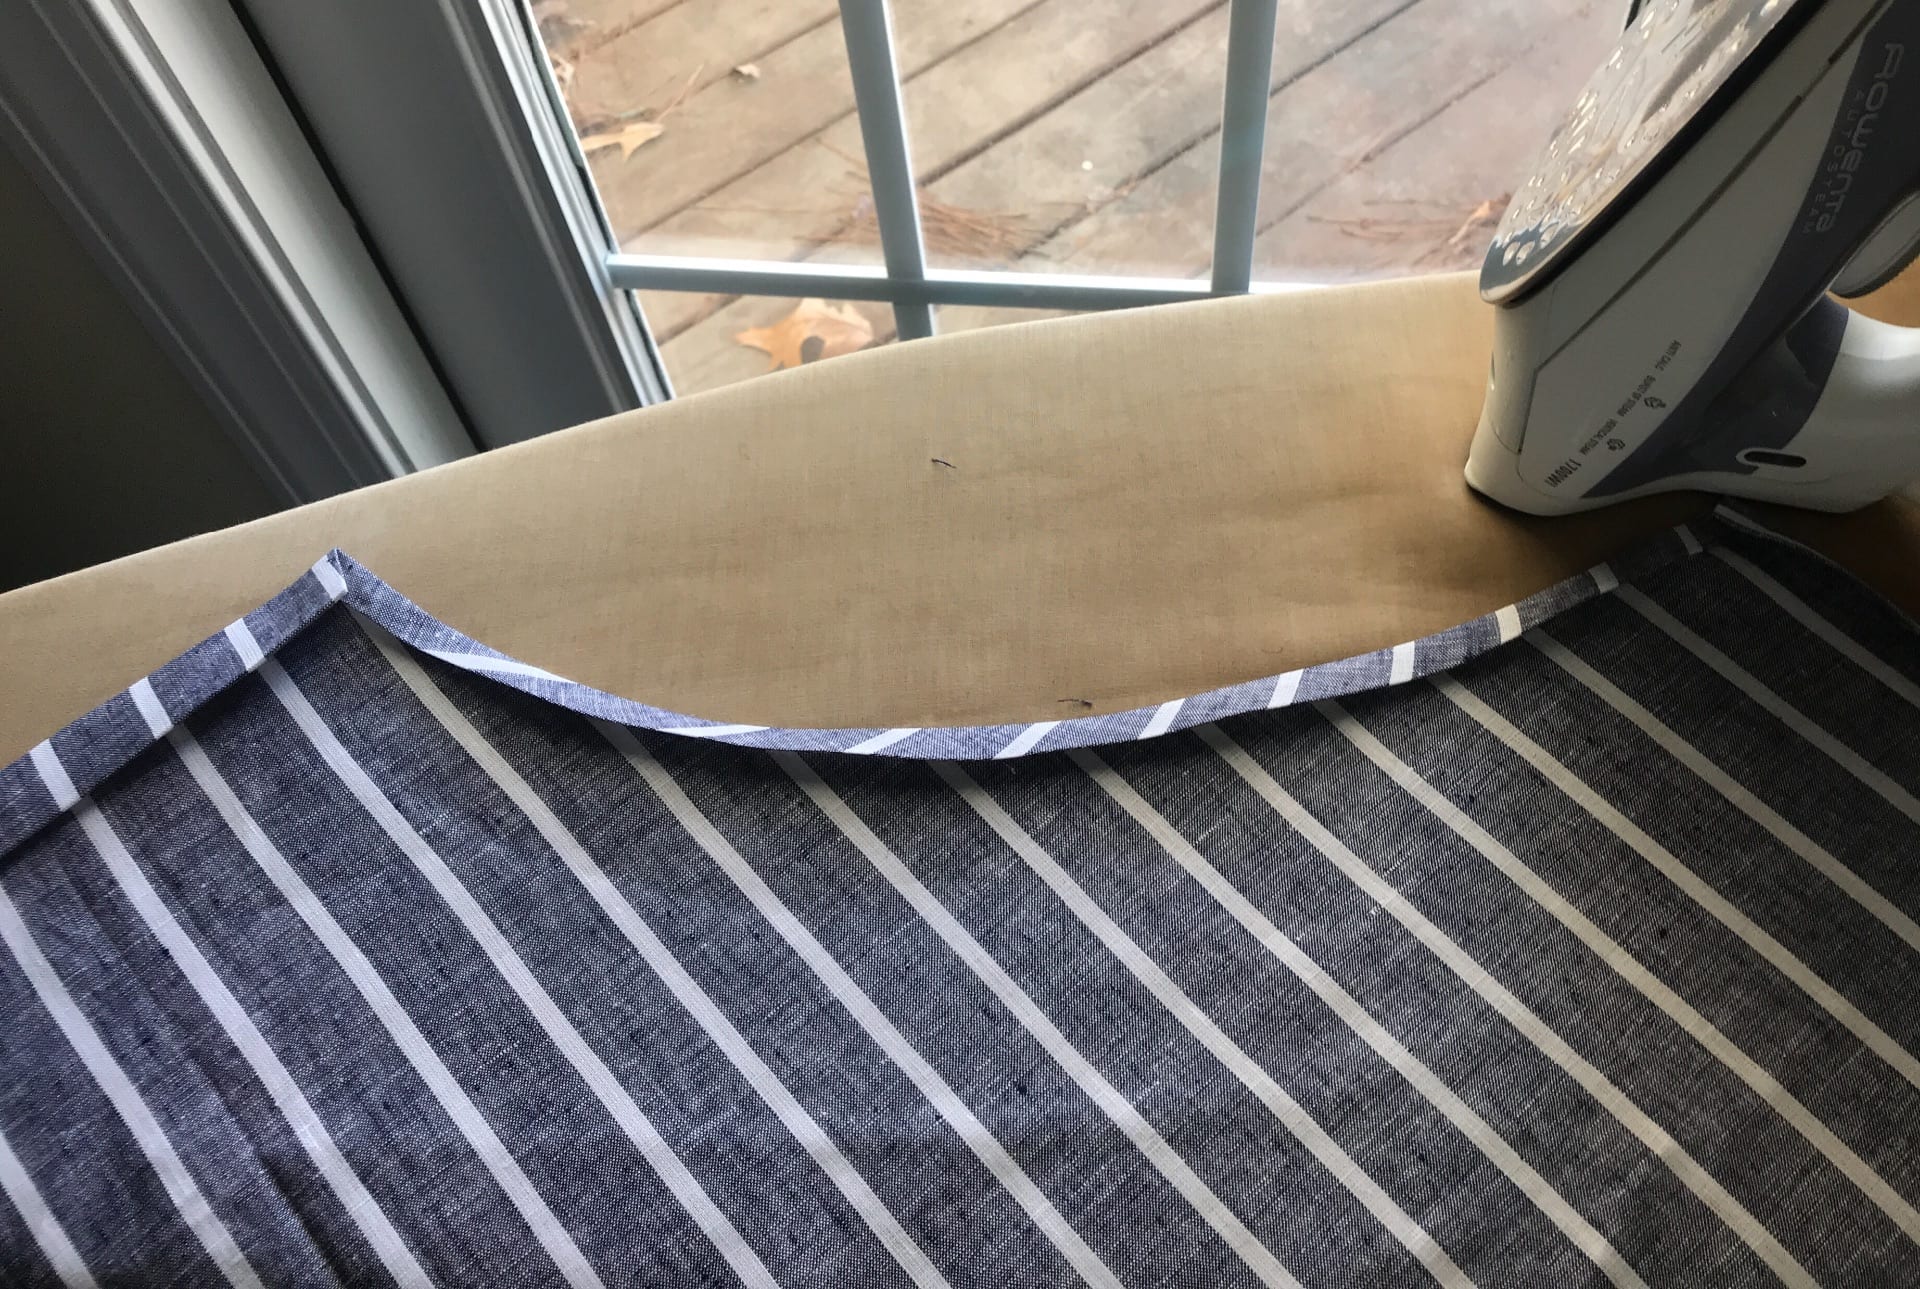
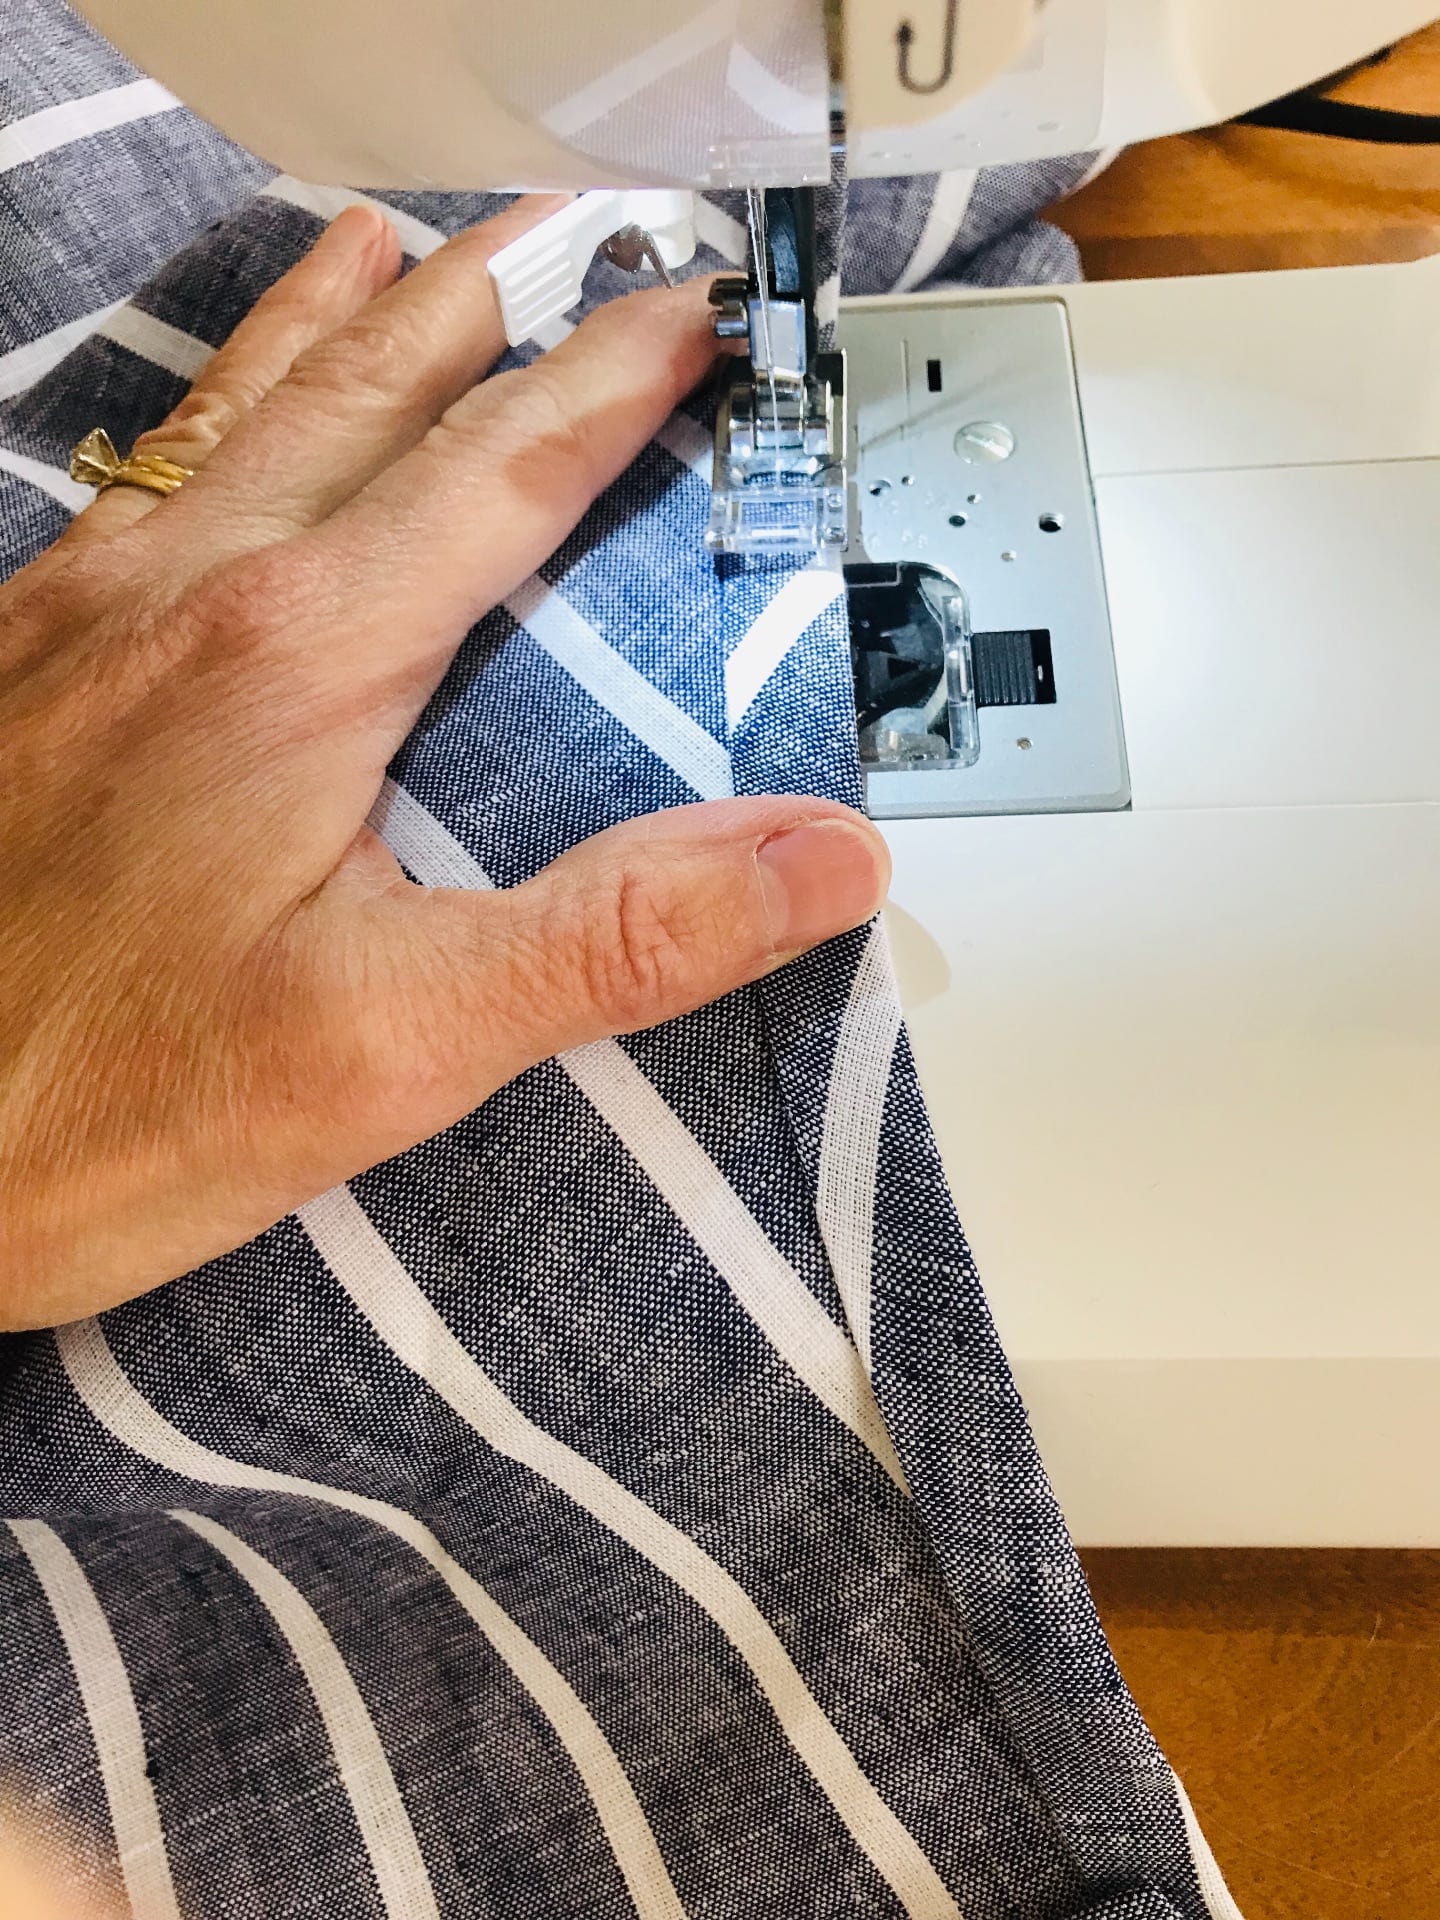
I ironed the seams before I sewed them to make then crisp and neat. I double folded the material for the seams so it would look nice and no edges were left to fray.

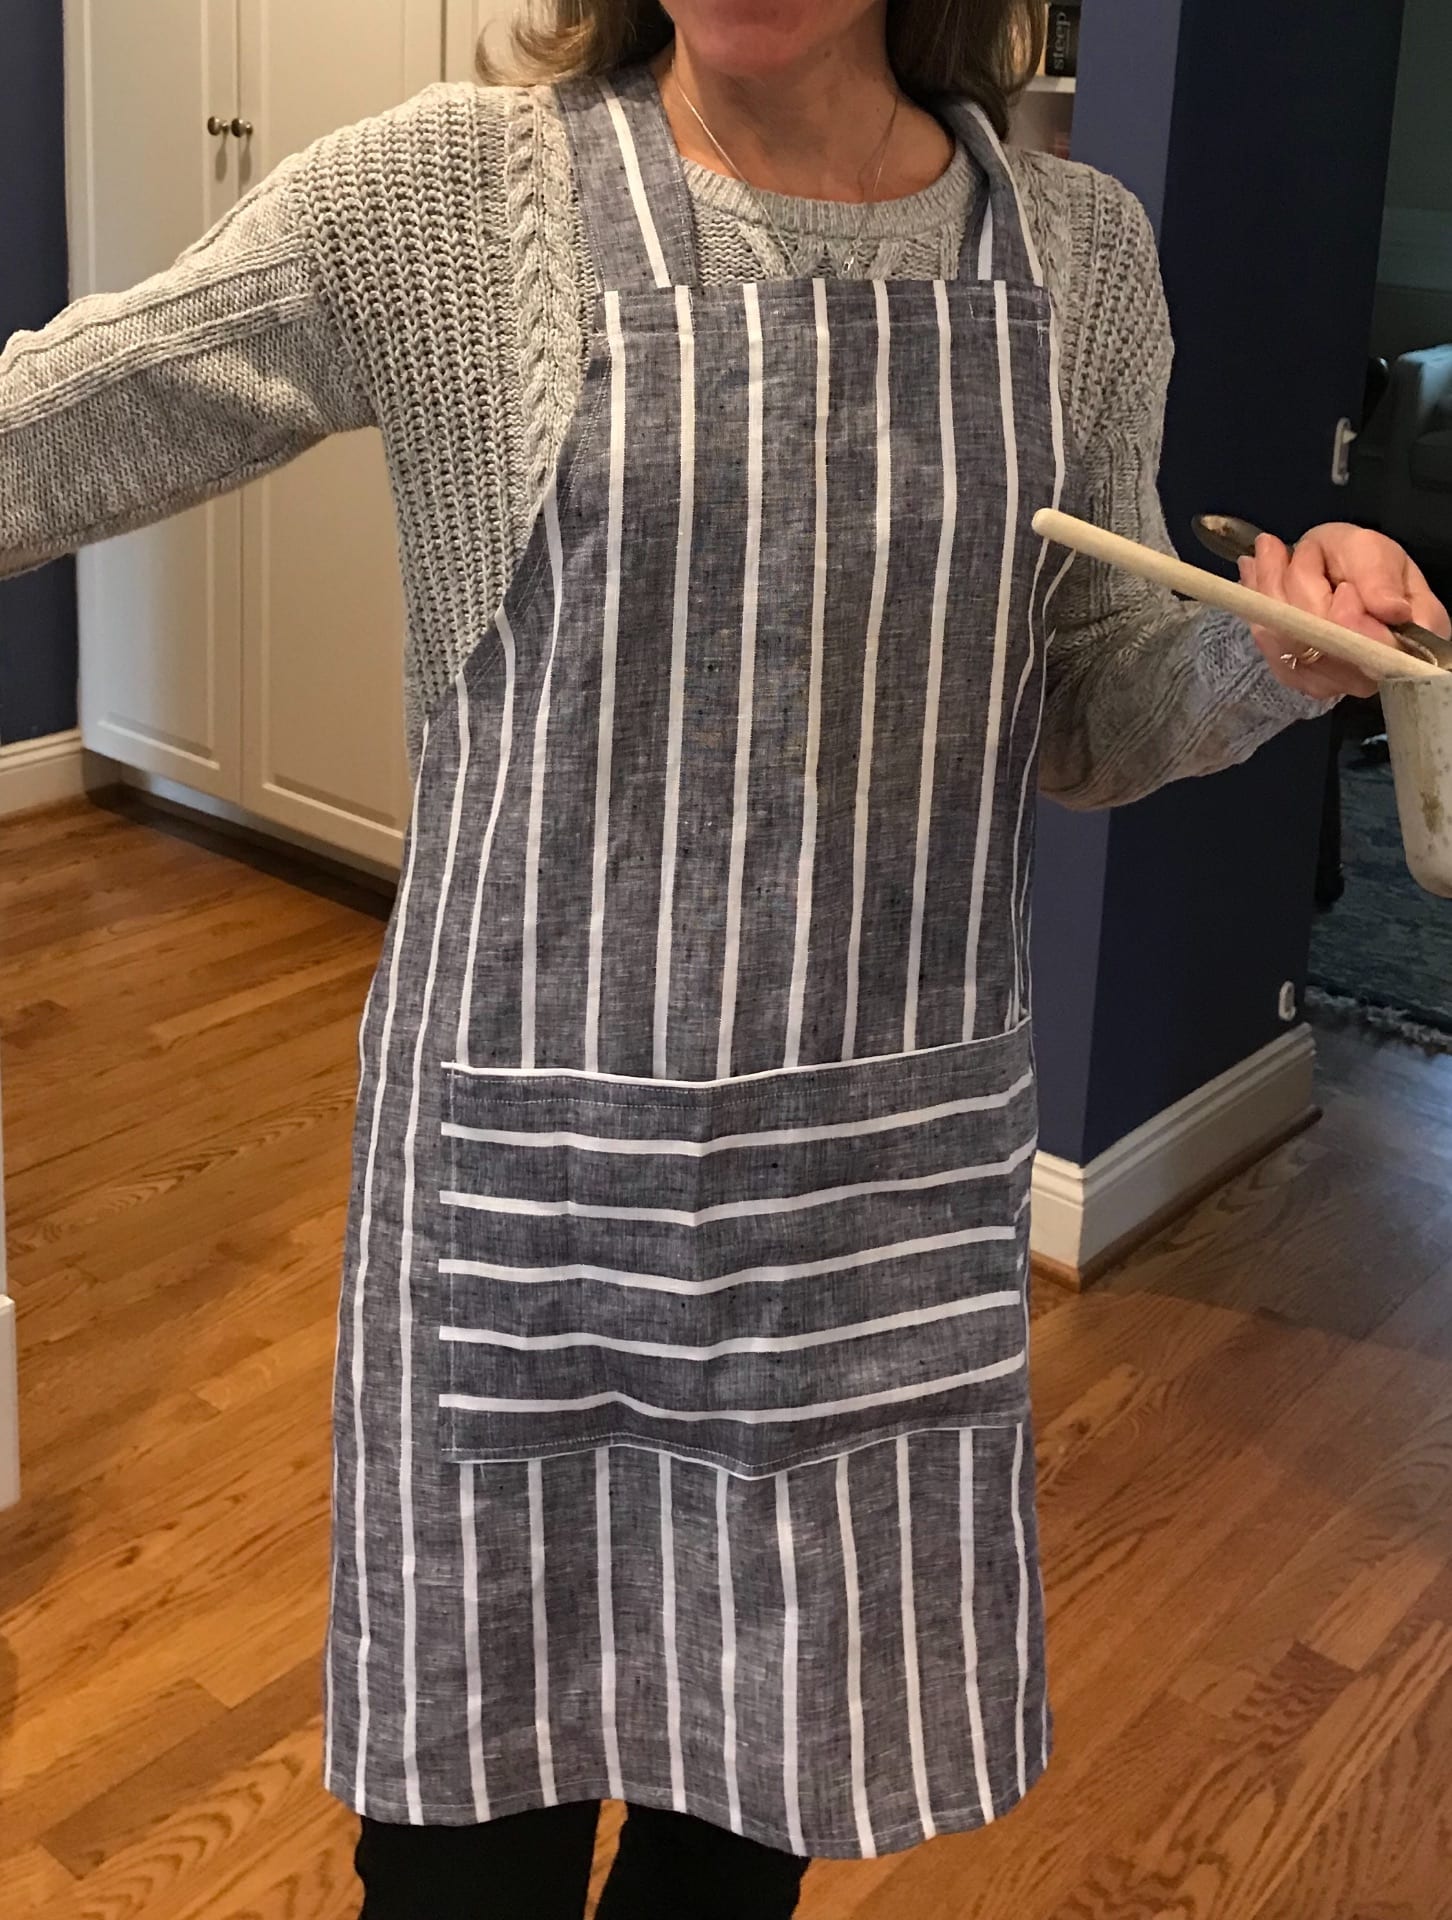
I then sewed all around the edges on the body. I sewed the straps leaving one end open so I could then turn them right-side out before sewing all the way around them to give them a finished look. I then sewed them onto the front corners of the apron, crossed them over and sewed the other ends to the back corners of the apron. Finally, I sewed the pocket onto the front.

A quick google search, a $6 fabric purchased, and 30 minutes of ironing and sewing and my mom has a new apron! After giving it a test run before sending it down to my mom, I decided I needed one, too. I got another remnant and I’m going to make one for myself.

Creating MORE Cards
A couple posts back, I shared how I created snowman thank you cards using a handmade paint stamp, paint pens, grocery bags and blank notecards. This time, I’m going to show you a quick way to create cards for any occasion using black notecards and a pen!
Recently, I needed to write a thank you note for a special honor I received. I had a box of simple thank you notes, but decided to create something unique instead. I got out some blank notecards and my favorite black ink gel pen and went to work. I had seen simple line drawings of those fuzzy dandelions that you make a wish and blow on and decided to try drawing them myself. I made some with hearts and some without. I made some right on the white cards, and I tried some on pieces of grocery bags that I then glued to white note cards. I wrote things like “Thank You” and “Thanks” and “Happy Birthday” in different styles on different ones. When I finished I had 6 cards that I could use for different occasions for different people.
Check out this video to see how I drew a couple of them!
Now when you need a card for a special occasion, you can grab a blank note card or piece of heavy paper/card stock and simply draw it! You can do it in black ink like I did, or you can add color. Whatever you feel inspired to do. What better way is there to let someone know how special they are or how much you appreciated something they did than taking the time and putting in the effort to create a homemade card.
Have fun!